Popular Recipes

Easy Reese’s Fudge

Easy Reese's Fudge Serving

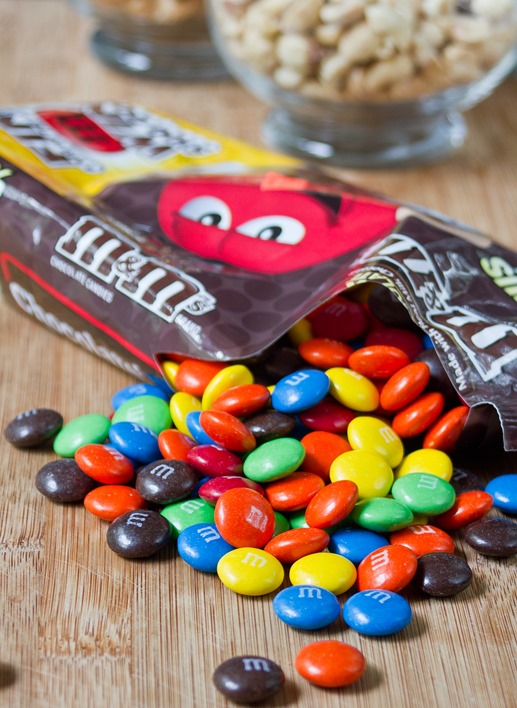
On a trip to New York a couple weeks ago, I had an hour to kill in Times Square. It’s probably no surprise I made a beeline for the M&M store and then quickly followed over to the Hershey’s store. Anywhere that sells that much chocolate should be a tourist destination in itself.

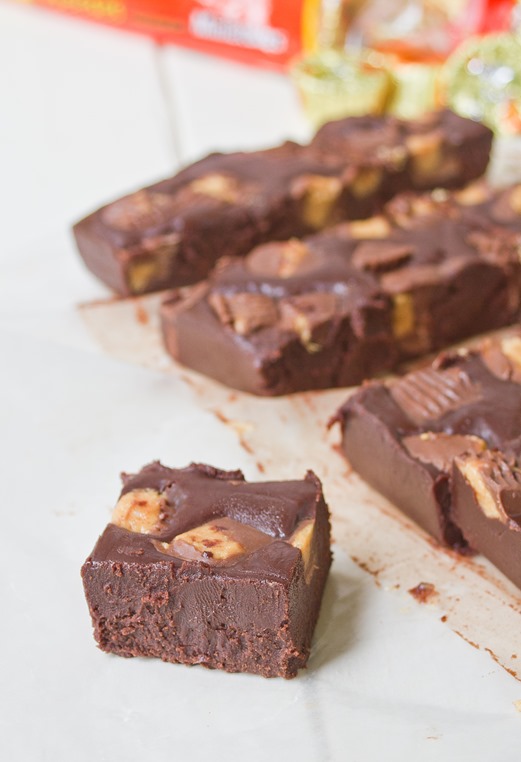
I still had chocolate on the brain after getting home from that trip and had to make this fudge. Surprisingly I hadn’t made microwave fudge in about a year so this was long overdue. Adding a little bit of Reese’s peanut butter cups was the perfect touch to these; if anything deserves a pairing with chocolate it’s peanut butter.

Easy Reese's Fudge Candies

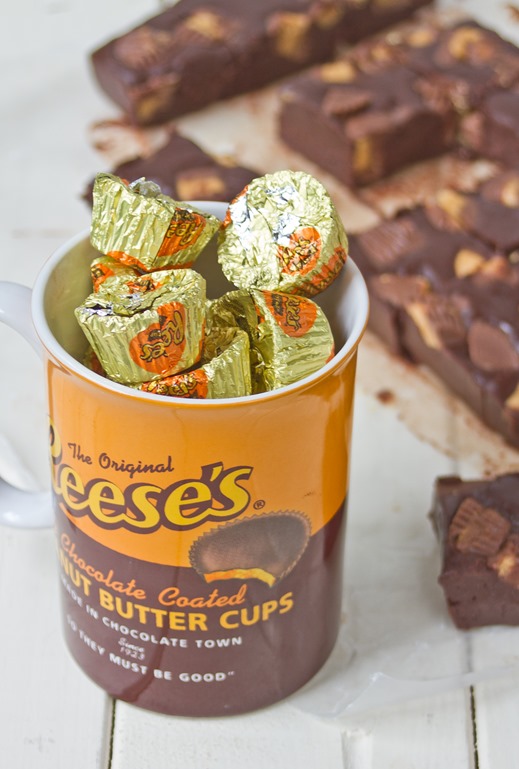
I used dark chocolate chips which made the fudge a little less sweet but gave a good contrast to the peanut butter cups. Instead of the fun-sized Reese’s cups you could use full-sized ones cut into more pieces or the new unwrapped miniatures.

Easy Reese’s Fudge

Prep time: 15 minutes

Cook time: 0 minutes

Ingredients(Makes about 20 servings):

  • 1 10oz bag chocolate chips
  • 1 4oz stick unsalted butter
  • 1/2 cup powdered sugar
  • 1/4 cup milk
  • 10 fun-sized Reese’s, chopped into fourths

Easy Reese's Fudge Yield

Method:

  1. Melt together the chocolate chips and butter in a bowl.
  2. In a separate bowl, mix together the milk and powdered sugar until the sugar dissolves.
  3. Mix the milk in with the melted chocolate and butter and beat until smooth.
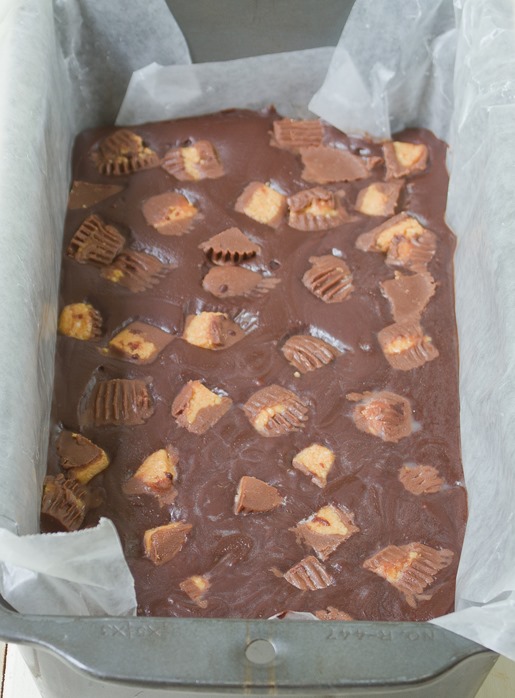
  4. Pour the hot fudge into a greased 8-inch loaf pan. You can add wax paper as a liner to make the removal and clean up easier.
  5. Sprinkle the chopped up Reese’s on top of the fudge and press it in gently with your hand.
  6. Refrigerate the fudge until it hardens, about 2 hours.
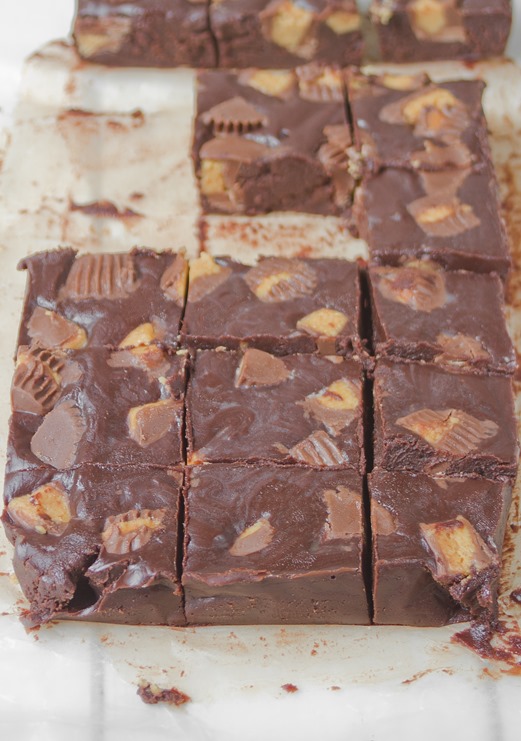
  7. With a sharp knife, slice the fudge into 1-inch squares. Keep it in the refrigerator when not enjoying.

Easy Reese's Fudge2

Lunch Box Trail Mix

Lunch Box Trail Mix

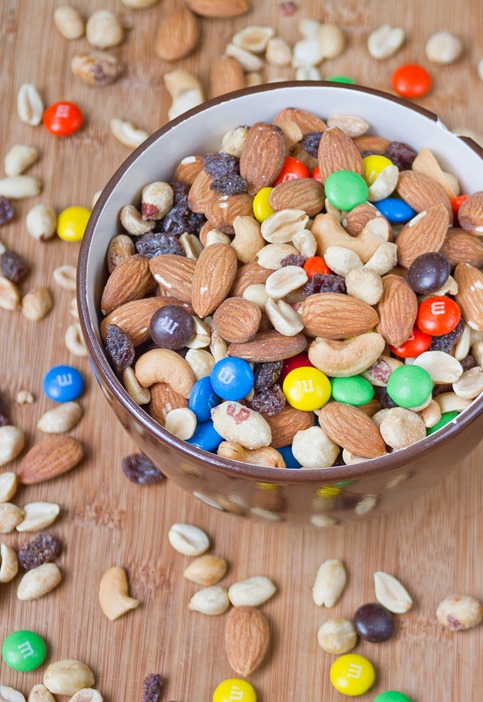
I’m a conservative when it comes to trail mix politics. I won’t go near one at the store if it has dried pineapples or brazil nuts; I would say that even pumpkin seeds are pushing it for me. The best trail mix is the simple kind you grew up with.

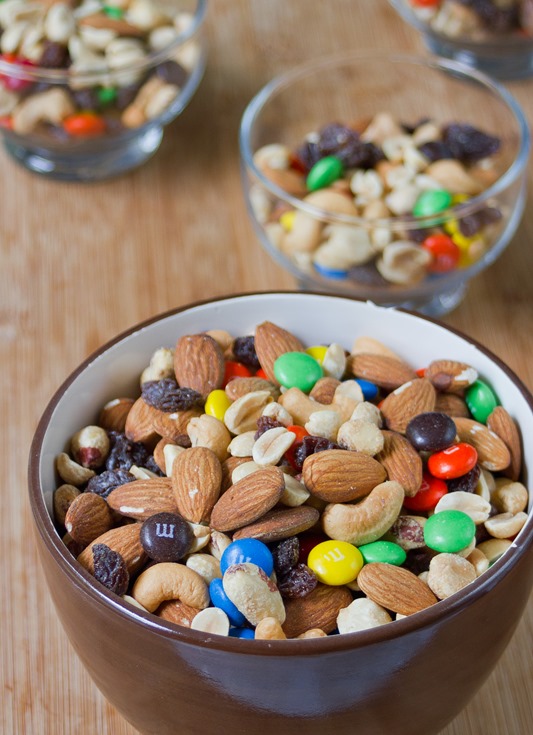
This is a classic mix with a few different nuts, chocolate M&Ms and of course lots of peanuts. My 5-year old self would probably pick out the chocolate first and leave the raisins behind but I’ve come to appreciate them more and more.

Lunch Box Trail Mix Candies

Pay attention to whether the nuts you use are salted or unsalted. I’d recommend only using salted peanuts and unsalted cashews and almonds for the best flavor. Roasted nuts are more traditional but use whichever you think have the best flavor.

Lunch Box Trail Mix

Prep time: 5 minutes

Cook time: 0 minutes

Ingredients(Makes 5 cups or 20 servings):

  • 1 1/2 cups roasted salted peanuts
  • 1 1/2 cups whole almonds
  • 1 cup whole cashews
  • 1 cup M&Ms
  • 1 cup Raisins

Lunch Box Trail Mix Yield

Method:

  1. Combine all of the ingredients in a large bowl and mix well.
  2. Store in an airtight container and keep in a cool place when not eating.

Low-Fat Cinnamon Brown Sugar Granola

Low-Fat Cinnamon Brown Sugar Granola

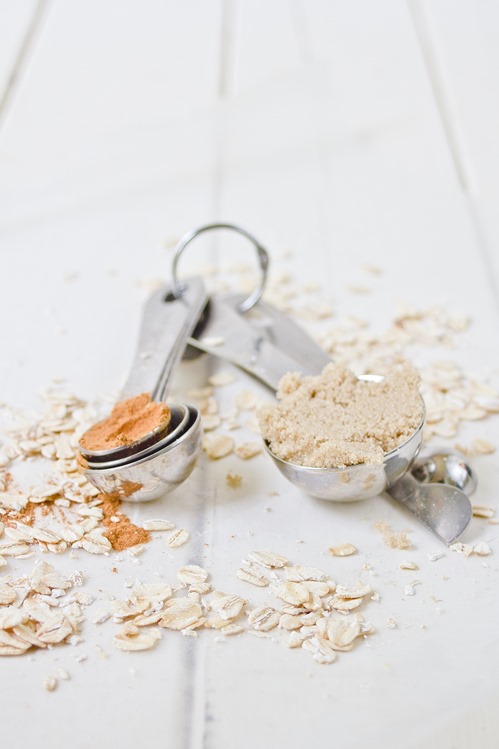
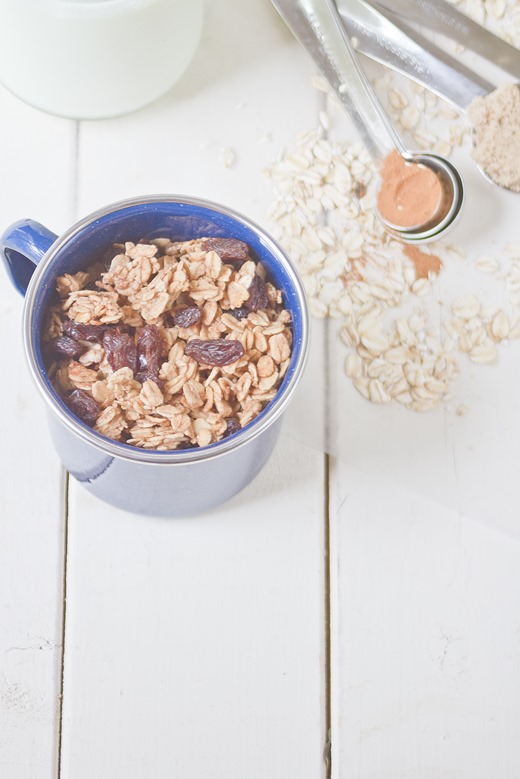
Brown sugar is an ingredient I don’t use enough. When I find it in the pantry, I could eat it by the spoonful. It reminds me of cinnamon rolls and apple crumbles, and so does this simple granola recipe.

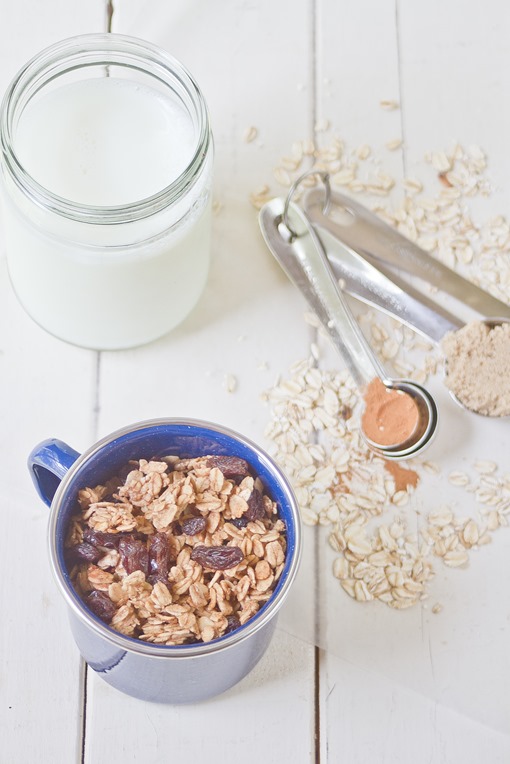
I usually like to add some sort of healthy fat like almonds or peanut butter to my granola but wanted to try something different. There’s only 2 Tablespoons of oil in the entire batch and no nuts. If you’re looking for a leaner breakfast, this will definitely fit the bill.

Low-Fat Cinnamon Brown Sugar Granola Ingredients

You can add more spices to suit your favorite flavors. Swapping in pumpkin pie spice or adding your own nutmeg and allspice will give it a slightly nuttier flavor. Make sure to use gluten-free oats if dealing with a gluten allergy.

Low-Fat Cinnamon Brown Sugar Granola

Prep time: 10 minutes

Cook time: 30 minutes

Ingredients

  • 2 1/2 cups rolled oats
  • 1/2 cup light brown sugar
  • 2 Tablespoons vegetable oil
  • 3 Tablespoons water
  • 1/2 teaspoon cinnamon
  • 1/4 teaspoon salt
  • 1/2 cup raisins

Jun 25th 002Low-Fat Cinnamon Brown Sugar Granola Baked

Method:

  1. Preheat your oven to 350 degrees.
  2. In a large bowl, mix together the oats, sugar, oil, water, cinnamon, and salt until the sugar dissolves and the ingredients are evenly mixed.
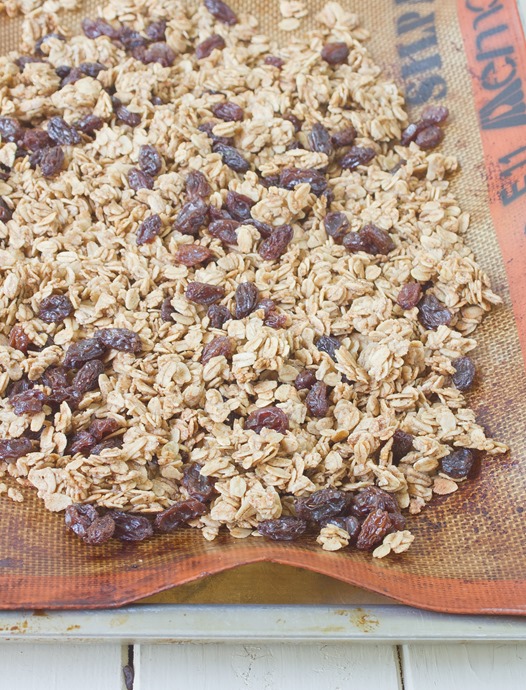
  3. Pour the oats out onto a non-stick baking surface and spread them out into a thin layer.
  4. Bake for 30 minutes or until the oats are crisp and turn golden.
  5. Remove from the oven and let cool completely.
  6. Add the raisins into the granola and mix well.
  7. Store in a sealed container at room temperature when not enjoying.
Low-Fat Cinnamon Brown Sugar Granola Serving

Chocolate Cashew Butter

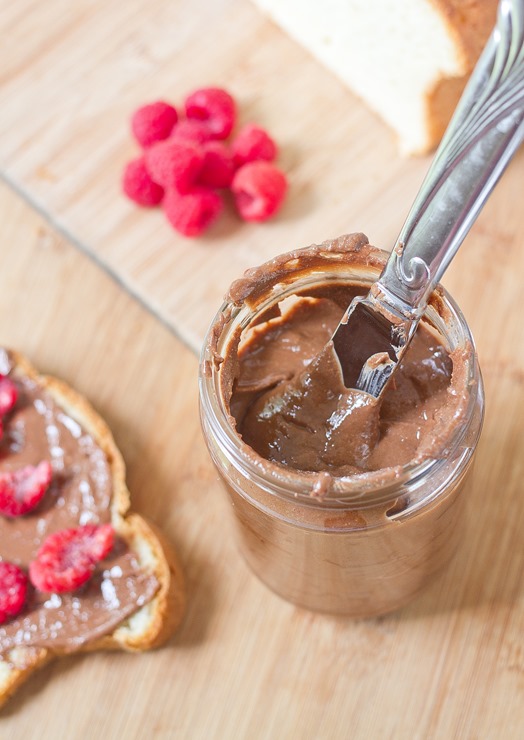
Chocolate Cashew Butter

Cashews and chocolate are an underappreciated combination.

Peanuts and chocolate have Reese’s. Almonds and chocolate have Trader Joe’s chocolate covered almonds. Hazelnuts and chocolate have Nutella. When will cashews get their moment to shine?

Until they do, we’ll all have to settle for homemade, which really isn’t so bad once you taste it. The cashews have a nutty, roasted flavor that perfectly mixes with the cocoa powder’s bitterness. If you have powdered vanilla, it’s a great way to add another depth of flavor. Starting the day off with a spoonful of this on toast or oatmeal will certainly keep you happy and healthy.

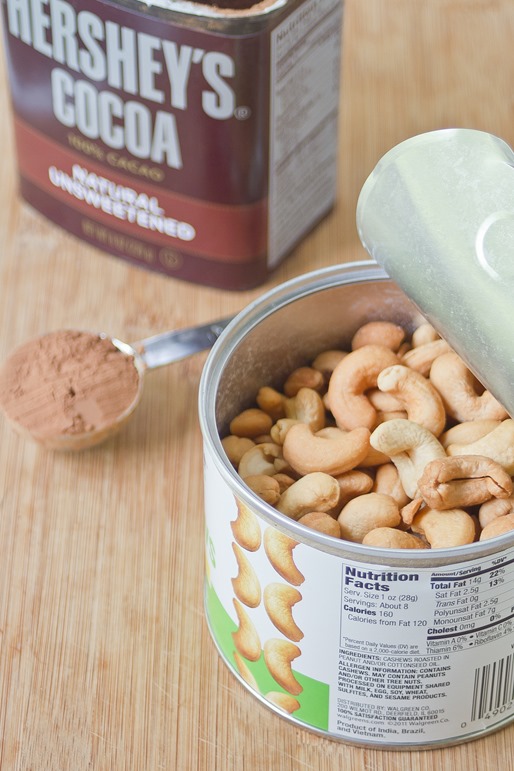
Chocolate Cashew Butter Ingredients

You can use roasted or unroasted cashews for this recipe, whole or halves and pieces. Since you’re pureeing them into a butter anyway, I would recommend choosing whichever is cheapest at the store.

Chocolate Cashew Butter

Prep time: 15 minutes

Cook time: 0 minutes

Ingredients(Makes 16 ounces):

  • 3 1/2 cups unsalted cashews
  • 1 Tablespoon oil
  • 1/4 cup cocoa powder
  • 5 Tablespoons sugar
  • 1/4 teaspoon salt
  • 1/2 teaspoon vanilla powder(optional)

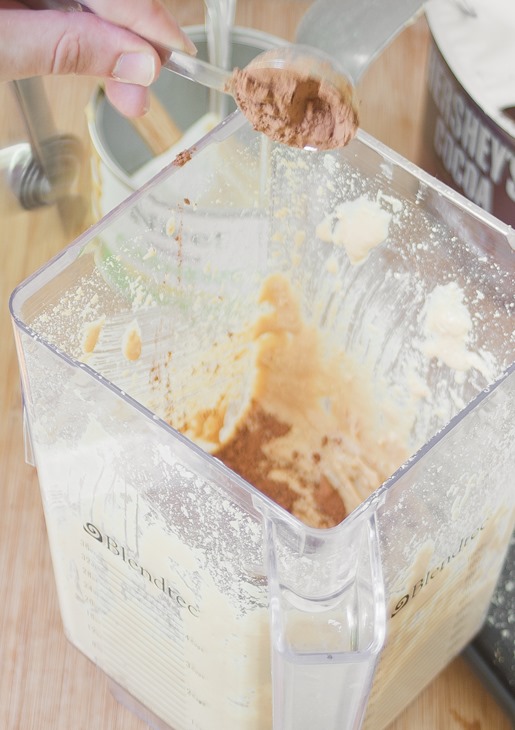
Chocolate Cashew Butter Making

Method:

  1. Combine the cashews and oil in a food processor or high-speed blender and puree according to the manufacturer’s directions until the cashews make a smooth butter.
  2. Add in the cocoa powder, sugar, vanilla and salt and blend until its mixed.
  3. Move to a sealable container and store at room temperature when not eating.

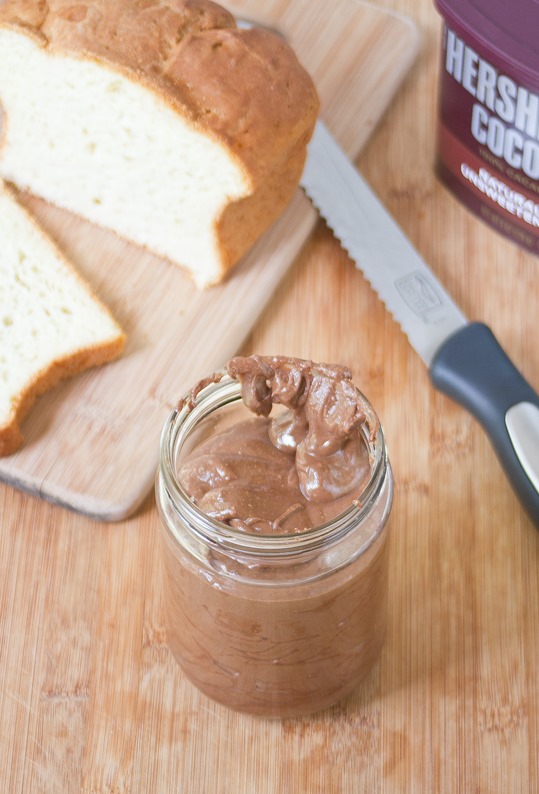
Chocolate Cashew Butter Yield

Coconut Blue Hawaiian

Coconut Blue Hawaiian

Because one recipe with pineapple and rum in a week isn’t enough, I had to include this one, too.

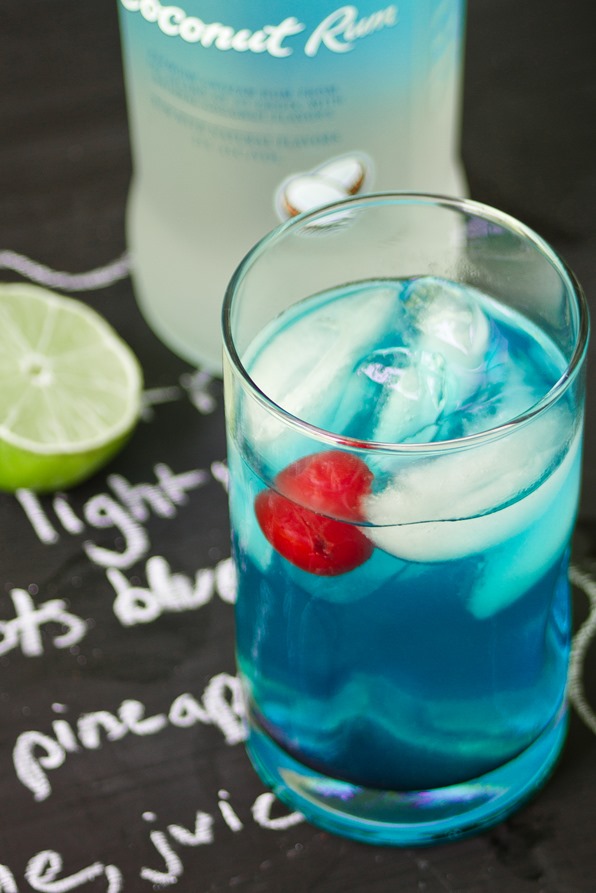
Since I’m a fan of sweet drinks, I usually gravitate towards the tropical ones. Pineapple juice, cherries, and rum never fail to make a winner. There are a lot of ways to make a Blue Hawaiian but this is the one I’d swear by.

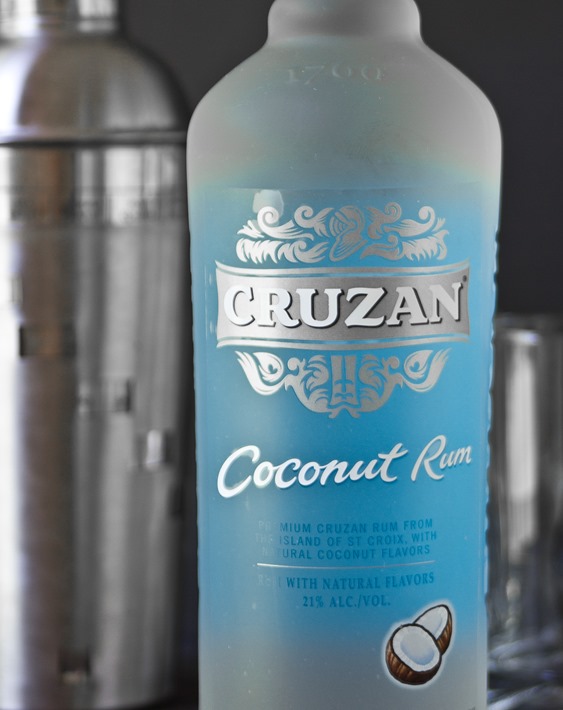
A lot of Blue Hawaiian recipes will have you use rum and vodka. But why use vodka when you could use more rum? And why use more rum when you could use coconut rum? It just all makes sense.

Coconut Blue Hawaiian Rum

I’d recommend using a clear rum to keep the flavor and appearance of this neutral. You could also substitute sweet and sour mix or even lemon juice in for the lime; just use what ever you have on hand.

Coconut Blue Hawaiian

Prep time: 5 minutes

Cook time: 0 minutes

Ingredients(Makes 2 servings):

  • 2 shots rum
  • 1 shot coconut rum
  • 2 shots Blue Curacao liqueur
  • 1/2 cup pineapple juice
  • Juice of a half a lime
  • Ice
  • Cherries for garnish

Coconut Blue Hawaiian Blue Curucao

Method:

  1. Pour the rum, coconut rum, blue curacao, pineapple juice, lime juice and ice into a cocktail shaker and shake vigorously until mixed.
  2. Pour the drinks evenly into two glasses with fresh ice.
  3. Garnish with a cherry if desired and serve cold.

Coconut Blue Hawaiian Serving 

Gluten-Free Pineapple Rum Bread

Gluten-Free Pineapple Rum Bread

I’ve been on a sweetbread kick lately. They’re a lot more appetizing in the morning than a bowl of hot oatmeal, especially with some cool Greek yogurt on the side. At first I had the idea to make a pineapple loaf but quickly realized it needed a little something extra. And what goes better in the Summer with pineapple juice than rum?

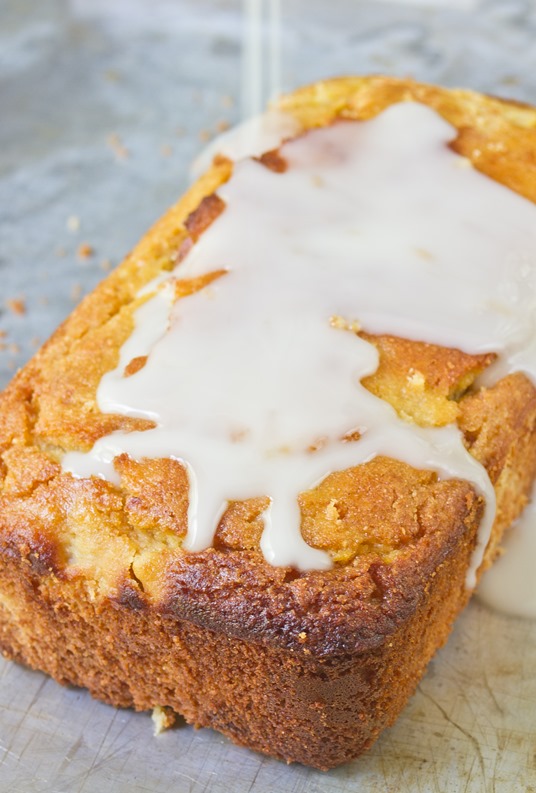
Gluten-Free Pineapple Rum Bread Glazing

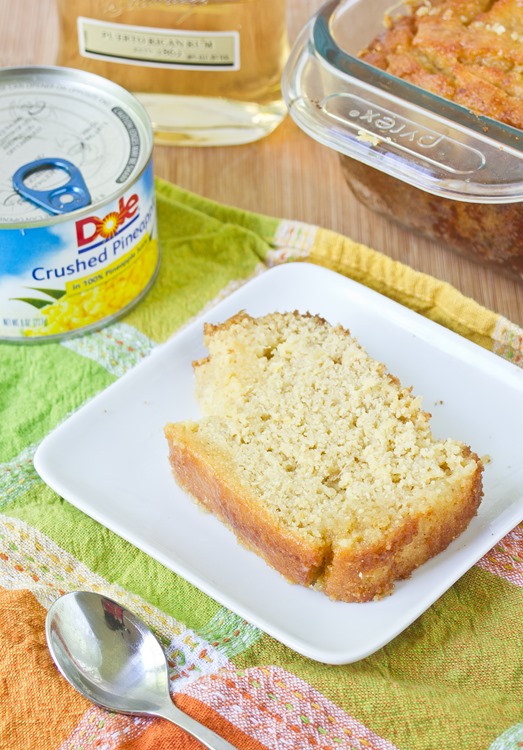
Make sure you buy crushed pineapple and not diced or rings. You can buy canned pineapple that’s exactly 1 cup; just reserve 1 Tablespoon of juice for the glaze. It’s better to add the glaze while it’s still in the loaf pan so that all of it gets absorbed.

Gluten-Free Pineapple Rum Bread

Prep time: 15 minutes

Cook time: 50 minutes

Ingredients(Makes 1 loaf):

  • 1 1/2 cups chickpea flour
  • 6 Tablespoons coconut flour
  • 3/4 teaspoon baking soda
  • 1/4 cup sugar
  • 1/4 cup brown sugar
  • 3 eggs
  • 1/4 cup vegetable oil
  • 1 cup pineapple chunks with juice, 1 Tablespoon of juice reserved
  • 1/4 cup + 1 Tablespoon rum
  • 1/2 cup powdered sugar

Gluten-Free Pineapple Rum Bread Ingredients

Method:

  1. Preheat your oven to 350 degrees.
  2. In a large bowl, mix together the chickpea flour, coconut flour, baking soda, sugar, and brown sugar.
  3. Beat in the eggs, vegetable oil, pineapple chunks, and 1/4 cup of rum until the batter comes together.
  4. Grease an 8-inch loaf pan. Pour the batter in and gently shake it to level out.
  5. Bake for 50 minutes or until the center has set.
  6. Remove the loaf from the oven and let it rest.
  7. In a small bowl, beat together the powdered sugar, 1 Tablespoon of rum and 1 Tablespoon of pineapple juice until the sugar dissolves.
  8. Poke the top of the loaf multiple times with a toothpick and pour the glaze on top. Let the loaf set for another 2 hours until the glaze has been absorbed.
  9. Slice and serve at room temperature. Keep refrigerated when not enjoying.
Gluten-Free Pineapple Rum Bread Serving

Why You Need A Tripod

IMG_3140-2

Let me start out by saying I’m not a member of the tripod guild of America and I’m not getting any kickbacks from Best Buy for writing this post; I just really think that anyone from a part-time food blogger to a photography hobbyist should own their own tripod.

I’ve been using a tripod on and off for a couple years now. After my first starting to get rough around the edges I upgraded to a Manfrotto 3-section tripod and pan tilt head last month and haven’t looked back. A good tripod might seem like a large, frivolous and expensive piece of equipment but it is anything but unnecessary. Compared to hand-held shooting, it opens up a whole new world of possibilities for your pictures.

Increased Detail:

IMG_3092

One of the biggest freedoms of using a tripod is eliminating shaky hands. When I’m holding the camera, I can’t push the shutter speed faster than 1/40 or 1/30 without risking camera shake; with a tripod you can set the shutter for as long as you’ll need and never have to deal with a blurry picture again. Longer exposures also let you use a good ISO value for crisp, clean detail and very little noise.

Free Your Hands:

Vegetarian Buffalo Chicken Dip

It’s a pretty obvious fact that you can’t be behind the camera and in front of it at the same time. I know this because whenever I go on vacation I have a hundred pictures of the people I was with and very few of myself to look at. For food bloggers, using a tripod means you can take pictures of yourself actually handling the food and cooking the recipes, letting you create more interesting shots. For hobbyist photographers it means being able to take a family photo without awkwardly deciding which family member sits out and takes the picture.

Low-Light/Night Photography:

July 16th 080

If you’re working with natural light, you have to time your day around the patterns of the sun. Sometimes that just doesn’t fit everyone’s schedule. With a tripod, you can set the camera to take long exposures so that even dark scenes come out bright and full of contrast.

Less Editing:

ffff

This is by far my favorite part about using a tripod: On average I take 70% fewer photos when using a tripod. That means 70% fewer photos to upload to the computer, 70% fewer photos to comb through for decent ones, and 70% fewer photos to edit in photoshop. All of that combined saves a lot of time.

Have I convinced you yet? Do you have anymore questions? Feel free to comment with them and I’ll help however I can.

Strawberry Cheesecake Frozen Yogurt + Giveaway

Strawberry Cheesecake Frozen Yogurt

There are some foods that just taste better in the Summer: Trifles, anything with fresh berries, and—of course—ice cream. Stonyfield recently asked their Clean Plate Club bloggers to come up with recipes to kick off Summer. What’s a better way to kick off Summer with Greek yogurt than to make frozen yogurt?

This quickly became one of my favorite frozen yogurts I’ve had. It’s smooth, creamy, and refreshing. I’m sure the block of cream cheese took away some of the health benefits of frozen yogurt, but there’s still a good cup of protein-packed Greek yogurt in there to encourage you to have another scoop.

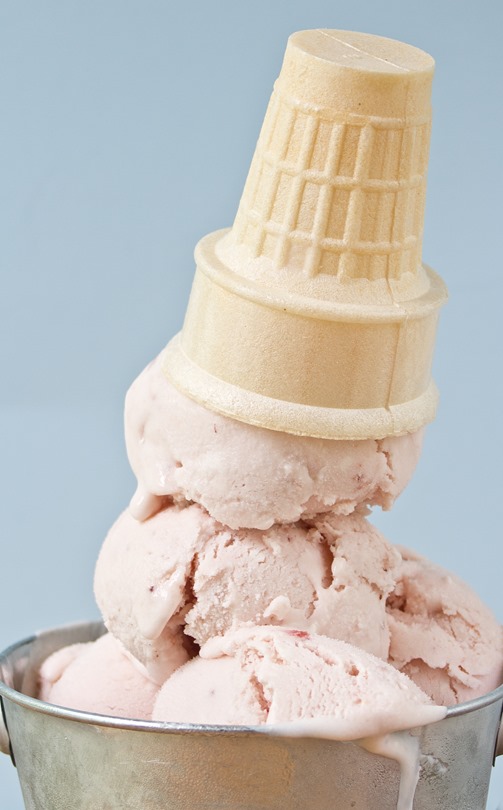
Strawberry Cheesecake Frozen Yogurt Stack

The ice cream maker I use is a 1 1/2-quart Cuisinart. I got it a few years ago and have used it every Summer, so I highly recommend adding one to your kitchen collection. Make sure to read the manual for whatever ice cream maker you have and follow their instructions for freezing it correctly.

Strawberry Cheesecake Frozen Yogurt

Prep time: 15 minutes

Freeze time: 2 1/2 hours

Ingredients:

  • 1 cup Stonyfield plain Greek yogurt*
  • 1 8oz block Neufchatel cream cheese*
  • 3/4 cup strawberry jam*
  • 1 1/2 cup 0% or 1% milk
  • 1/2 cup + 2 Tablespoons sugar
  • 3/4 teaspoon vanilla extract
  • 1/4 teaspoon cinnamon

*These ingredients will be easiest to mix if they’re at room temperature.

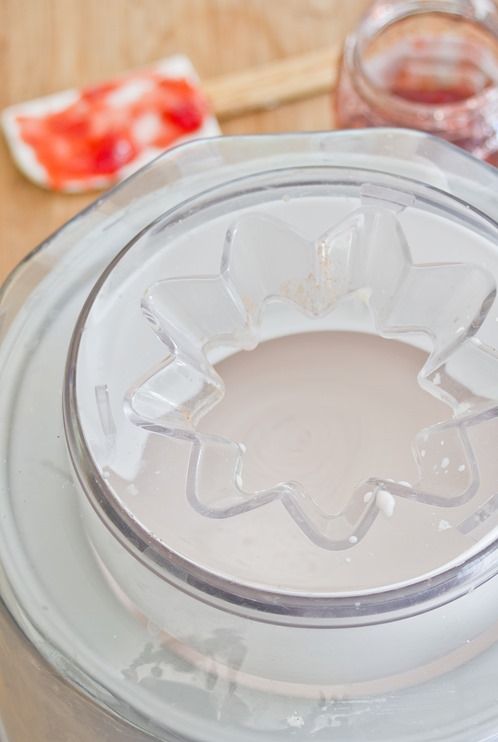
Strawberry Cheesecake Frozen Yogurt Churning

Method:

  1. In a large bowl, beat together the yogurt, cream cheese, and jam until there are no clumps in the mix.
  2. Add in the milk, sugar, vanilla, and cinnamon and beat until fully mixed.
  3. Pour the base into an ice cream maker and freeze using the manufacturer’s directions.
  4. Let the frozen ice cream sit out for 5 minutes before scooping and serving to soften.

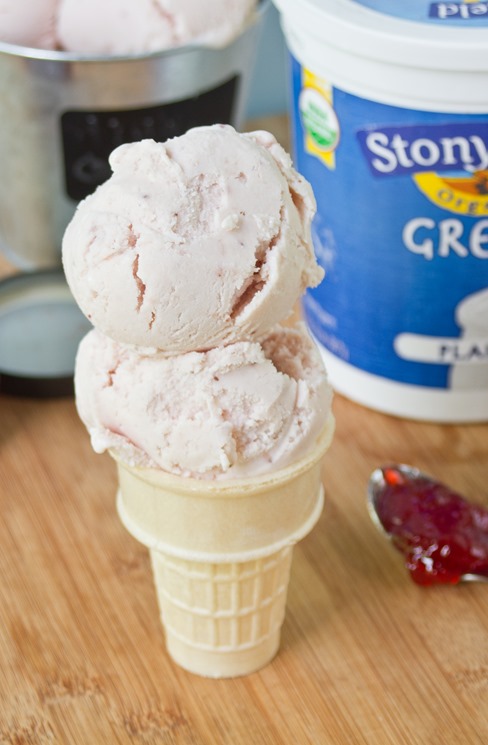
Strawberry Cheesecake Frozen Yogurt Serving

Giveaway

Stonyfield wants to give away coupons equal to a free case of Stonyfield Greek and a Stonyfield cookbook to help kick off the Summer for a reader. There are 5 ways to enter the giveaway; I’ll keep it open through next Thursday, June 27th.

  1. Leave a comment with your favorite frozen yogurt flavor.
  2. Follow @Stonyfield on Twitter and comment saying that you did.
  3. Follow @WannabeChefEvan on Twitter and comment saying that you did.
  4. Like Stonyfield Organic on Facebook and comment saying that you did.
  5. Like The Wannabe Chef on Facebook and comment saying that you did.

Good luck!

Gluten-Free Lemon Crinkle Cookies

Gluten-Free Lemon Crinkle Cookies

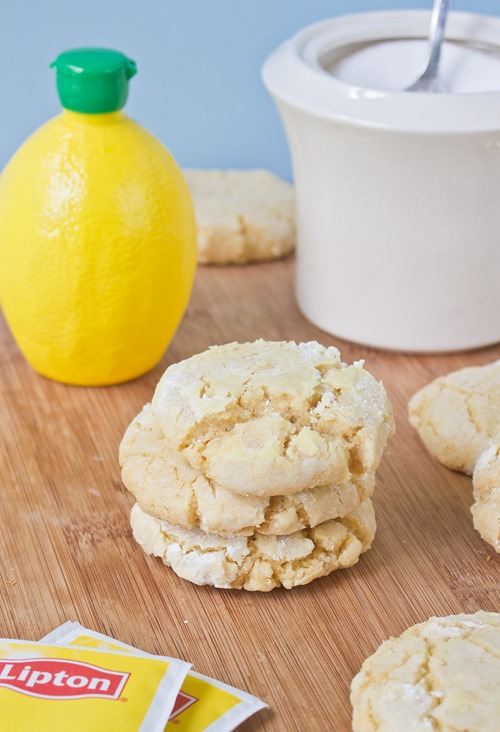
While cookies aren’t my favorite dessert, there are a few that I have a soft spot for. Soft, delicate lemon cookies covered in a powdered sugar glaze are definitely one of those few.

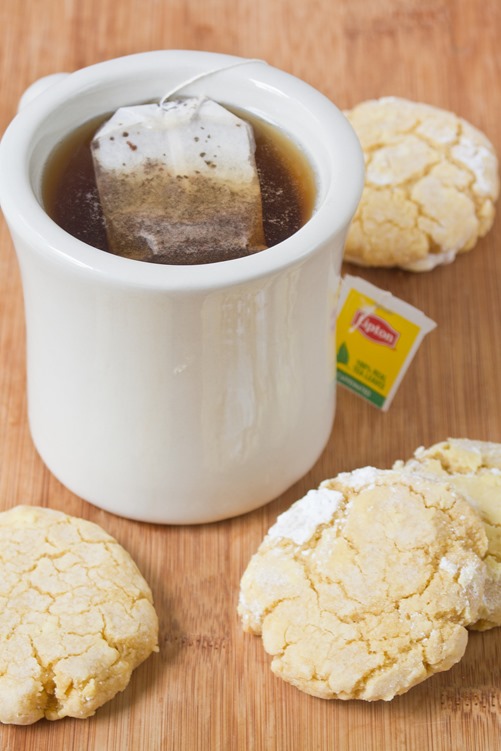
Even though there’s no chocolate in these, I find them just as addicting as if there were. The outside is sweet and glazed while the inside is chewy and slightly tart from the lemon. They’re perfect in the morning or after dinner with a cup of tea. And while fresh lemon juice surely would make these cookies taste amazing, using the plastic lemon juice is just as good, too.

Gluten-Free Lemon Crinkle Cookies Tea

The hardest part of making these cookies(which aren’t really hard at all) is getting the consistency of the dough right to shape them. When they’re too dry, the dough crumbles; adding a little bit of lemon juice to get them to the texture of Play-Doh makes them just right for shaping into cookies.

Gluten-Free Lemon Crinkle Cookies

Prep time: 15 minutes

Cook time: 18 minutes

Ingredients(Makes about 16 cookies):

  • 1 1/2 cups all-purpose gluten-free flour
  • 3/4 cup sugar
  • 1/2 teaspoon baking powder
  • 1/4 cup vegetable oil
  • 1 egg
  • 1/2 teaspoon vanilla extract
  • 1 teaspoon lemon extract
  • 1 Tablespoon lemon juice + extra
  • 1/2 cup powdered sugar

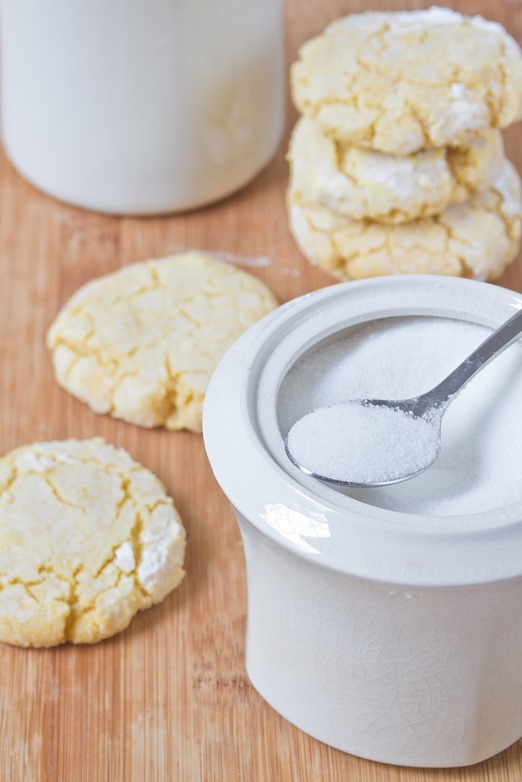
Gluten-Free Lemon Crinkle Cookies Sugar

Method:

  1. Preheat your oven to 350 degrees.
  2. In a large bowl, stir together the flour, sugar, and baking powder until evenly mixed.
  3. Add in the oil, egg, extracts and lemon juice and mix the dough together by hand.
  4. Mold the dough into 1-inch balls and then flatten them gently into a cookie shape in your hands. If the dough is too dry and crumbles, add a little more lemon juice to wet it and bring it to the right consistency.
  5. With clean hands, pour the powdered sugar into a shallow bowl or dish.
  6. Drop the cookies on both sides onto the powdered sugar to coat the outside.
  7. Put the sugar-covered cookies onto a non-stick baking tray and repeat until all of the dough is used up.
  8. Bake for 18 minutes.
  9. Remove from the oven and let the cookies cool completely before moving them.
  10. Store in an air-tight container at room temperature when not enjoying.
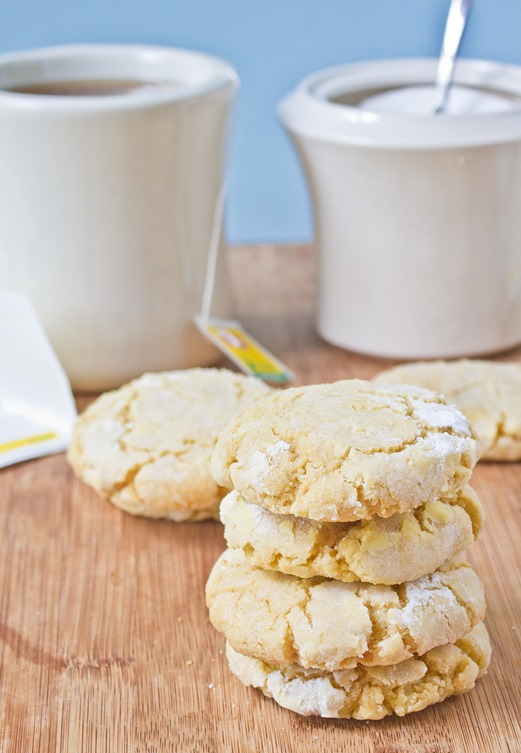
Gluten-Free Lemon Crinkle Cookies Stack

Gluten-Free Pumpkin Bread

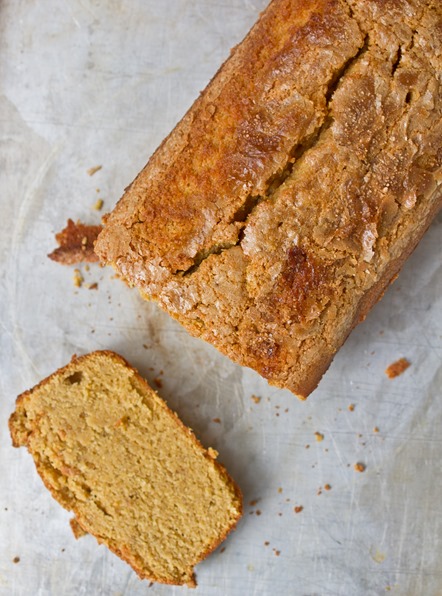
Gluten-Free Pumpkin Bread

I usually keep things very organized. I’m a serial to-do list maker and planner. But sometimes my pantry can get a little bit hectic; I’ll throw an ingredient in there and not see it for another 5 months.

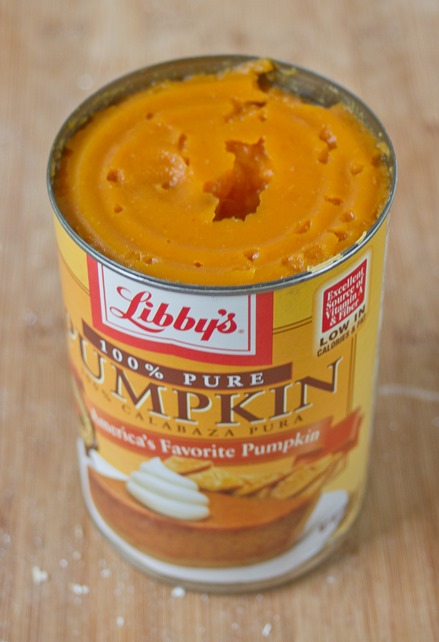
When I moved 2 weeks ago I found 3 cans of pumpkin that never got baked into a pie, custard or pudding. I know it’s not at all the season for pumpkin desserts but there are some things I can’t turn down and a good slice of pumpkin bread is one of those.
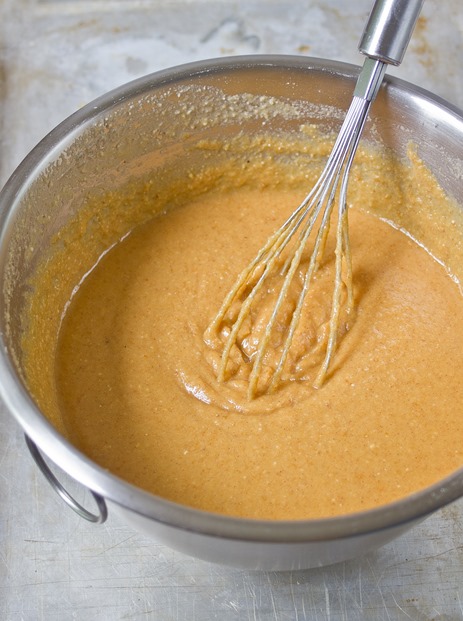
Gluten-Free Pumpkin Bread Batter

My one warning with this recipe(and most gluten-free recipes for that matter) would be not to taste the batter. The batter will taste terrible because raw chickpea flour and coconut flour have weird tastes to them. However, once fully cooked, the funny flavor goes away and all you’ll be able to taste is spices and pumpkin.

Gluten-Free Pumpkin Bread

Prep time: 15 minutes

Cook time: 60 minutes

Ingredients(Makes 1 loaf):

  • 1 1/2 cups chickpea flour
  • 6 Tablespoons coconut flour
  • 3/4 cup cane sugar
  • 1/4 cup brown sugar
  • 3/4 cup pumpkin puree
  • 4 eggs
  • 6 Tablespoons oil
  • 1/2 cup water
  • 1 1/2 teaspoons pumpkin pie spice
  • 1 teaspoon vanilla extract
  • 3/4 teaspoon baking soda
  • 2 Tablespoons brown sugar for topping

Gluten-Free Pumpkin Bread Pumpkin

Method:

  1. Preheat your oven to 350 degrees.
  2. In a large bowl sift together the chickpea flour and coconut flour and set aside.
  3. In a separate bowl beat together the remaining ingredients until well mixed.
  4. Combine the wet and dry ingredients and beat together. Slowly incorporate the water while beating until all of the ingredients are mixed together.
  5. Grease the bottom and sides of a 8-inch loaf pan.
  6. Pour the batter into the loaf pan and shake it gently to level the top.
  7. Sprinkle the remaining brown sugar on top of the batter in a thin layer.
  8. Bake for 60 minutes or until the center of the loaf is baked through.
  9. Remove from the oven and let cool completely before slicing.

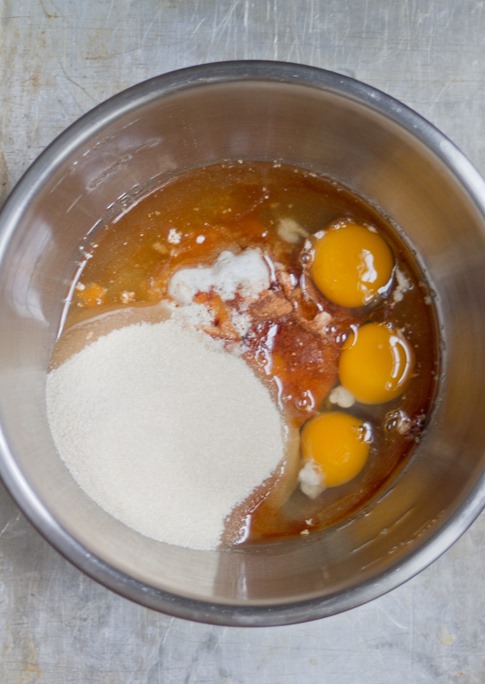
Gluten-Free Pumpkin Bread Ingredients