Category Archives: Snack

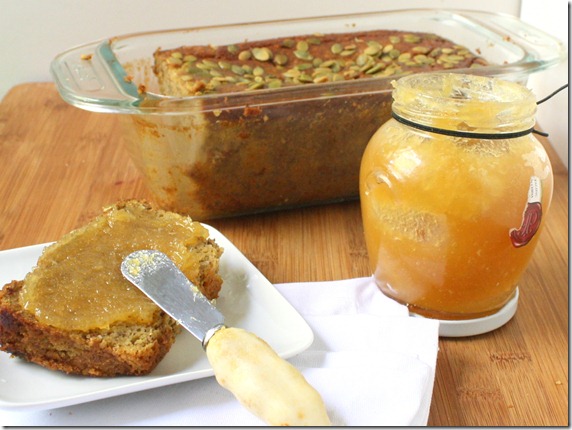
Almond Flour Pumpkin Bread

almond-flour-pumpkin-bread

Christopher Columbus discovered America.

I discovered that you can make a moist and delicious pumpkin bread that’s gluten and grain-free. Not to belittle Mr. Columbus’ achievement, but I think that’s pretty damn good.

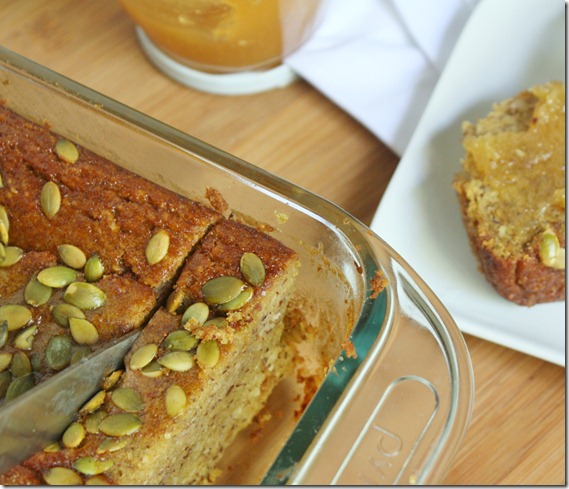
almond-flour-pumpkin-bread-cutting

Maybe I’m just a little too excited because I wasn’t sure this could be done. A few hours before I pulled this loaf out of the oven, it was literally just a bunch of almonds and a whole pumpkin. Not pumpkin puree. Not almond meal. Just the raw ingredients.

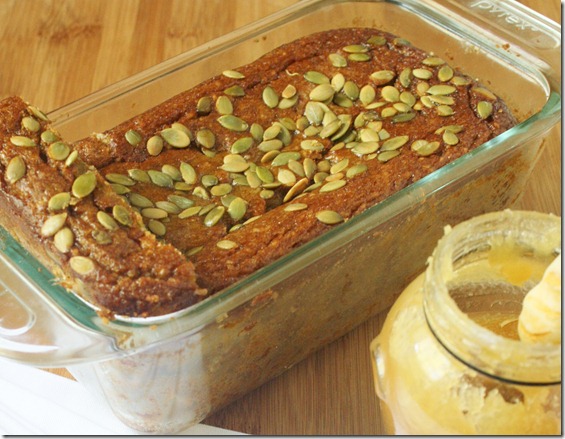
After roasting + pureeing the pumpkin and grinding the almonds, I threw these ingredients together and hoped for the best. Luckily, the best is what I got. This pumpkin bread is sweet, soft, moist(I hate that word but it really is) and spicy. It’s one of the best pumpkin breads I’ve had ever; it just happens to be gluten-free.

Almond Flour Pumpkin Bread

Prep time: 10 minutes

Cook time: 75 minutes

Ingredients(Makes 1 loaf):

  • 2 cups almond flour
  • 3/4 cup brown sugar
  • 3/4 cup pumpkin puree
  • 4 eggs
  • 6 Tablespoons oil
  • 1/4 cup tapioca starch(or corn starch)
  • 1/4 cup water
  • 1/2 teaspoon baking powder
  • 1/2 teaspoon cinnamon
  • 1/4 teaspoon nutmeg
  • 1/4 teaspoon cloves
  • 1/4 teaspoon ginger
  • pepitas to garnish(optional)

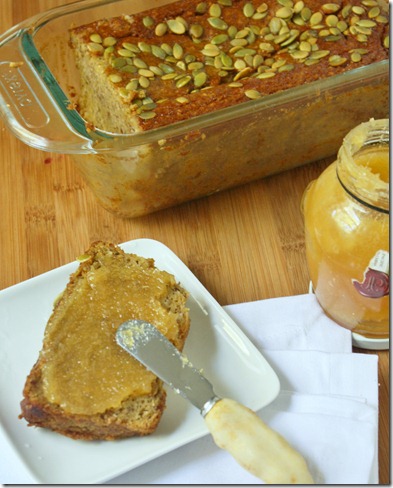
almond-flour-pumpkin-bread-smeared

Method:

  1. Preheat your oven to 350 degrees.
  2. Add all of the ingredients except for the pepitas into a large bowl and mix until fully combined. Stir extra well to ensure there aren’t any clumps.
  3. Grease a medium-sized loaf pan and pour the batter in.
  4. Bake for 75 minutes or until the center is cooked through.
  5. Remove and let cool for an hour before removing from the pan.

almond-flour-pumpkin-bread-loaf

On top I spread a little(or a lottle) ginger jam. Have you seen this stuff? It’s made by Ginger People; it’s basically crystallized ginger made into a jam, and it’s heaven. A little goes a long way, though, which is why that jar has lasted me almost 2 years. This would also be good with pumpkin butter, cream cheese, peanut butter, or plenty of other spreads.

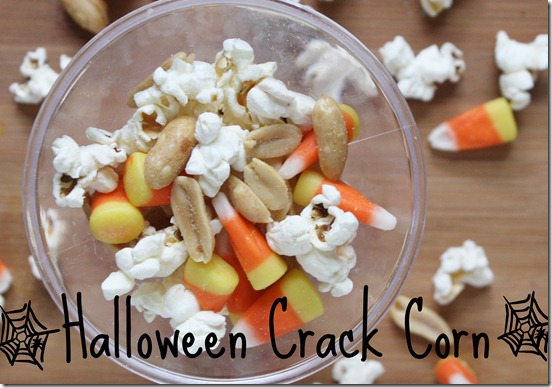
Halloween Crack Corn

halloween-crack-corn

I must have been living under a rock or sheltered as a child because I never knew the amazing combination of candy corn and peanuts until Holly posted about it. I really should have guessed that two of my favorite food groups(because they definitely deserve their own food groups) would only be even better put together. And combined with popcorn it’s a crunchy, crackly, filling snack that tastes eerily like kettle corn. 

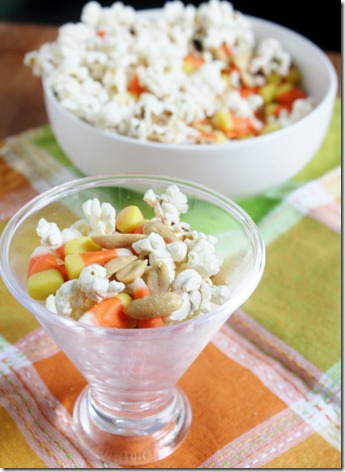
halloween-crack-corn-portion

The truth is I don’t see a time when this wouldn’t be good. You can make it as an afternoon snack or a dessert late at night, put it in a bowl and serve it at a Halloween party or put it into goodie bags to give out at a kid’s party. There’s no one who wouldn’t like this.

Halloween Crack Corn(inspired by Holly’s post)

Prep time: 5 minutes

Cook time: 0 minutes

Ingredients(for 2 servings):

  • 3 cups of popcorn(click here to see how to DIY)
  • 1/2 cup candy corn
  • 1/2 cup peanuts

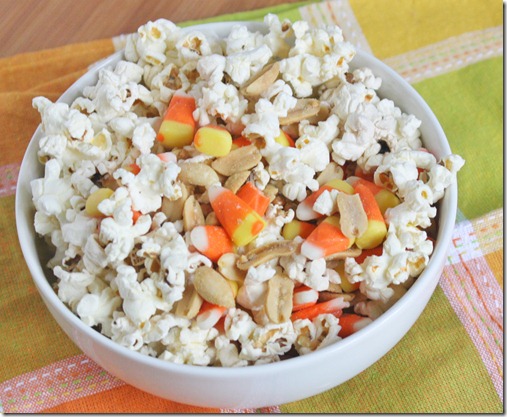
halloween-crack-corn-bowl

Method:

  1. Combine all of the ingredients together and toss until evenly mixed. Pour into a serving bowl and eat up immediately.

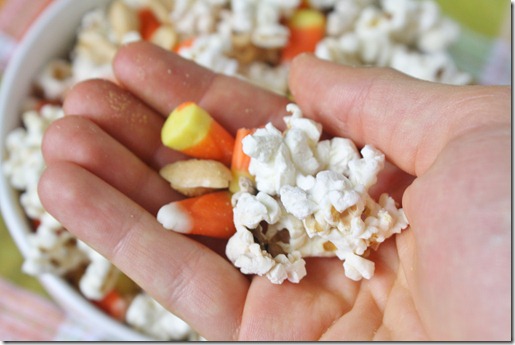
halloween-crack-corn-handful

This makes for a very filling afternoon snack when you eat the whole thing yourself. That is until you remember you have all the ingredients to make more.

Make Your Own Microwave Popcorn

I really couldn’t wait to share this one. If you’ve made your own microwave popcorn before, you know why; it’s almost too simple and too good to be true.
My family used to make our own popcorn in an air-popper machine that cost $20 at some department store. While it was nice, it was always a burden to take it out from the cupboards and put it back in. This method eliminates all that fuss. I wish I could remember and credit where I first saw the idea a few months ago; it might have came from the Healthy Eats blog. Anyway, I vaguely remembered what you needed and went from there.

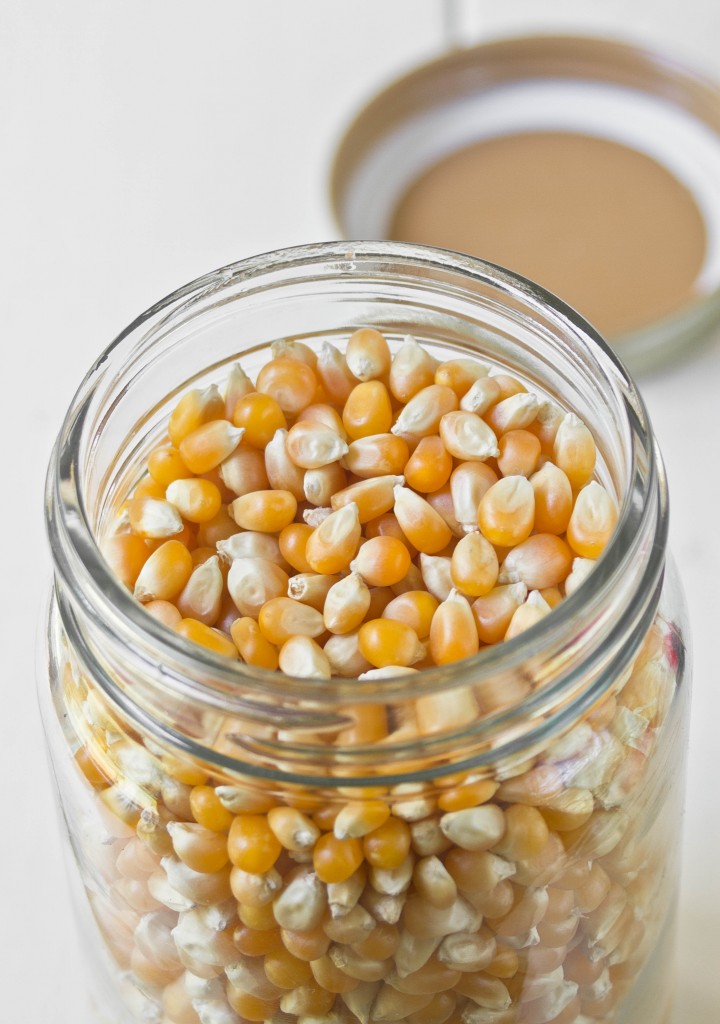
Essentially all you’ll need to buy are popcorn kernels and brown paper bags. I got organic kernels from the bulk bin section of my grocery store for $1.59/lb and the bags from CVS also for pretty cheap. That means for less than $5, maybe enough for 2 boxes of store-brand microwave popcorn bags, I got enough for ~20 servings to make myself. And it’s really not any much more trouble to do.

Make Your Own Microwave Popcorn

You’ll need…

  • Popcorn kernels
  • Brown paper bags
  • A stapler
  • A microwave
  • Oil, salt, butter, or whatever else you want on your popcorn

Measure out the amount of popcorn you’ll need. I’d say about 1/4 cup is a good single snack serving. I wouldn’t put more than 1/3 cup in a bag or there won’t really be enough room.

Pour the kernels in the bag along with a tablespoon of butter or oil(optional) and salt(also optional) to flavor the popcorn. If you’re going to add toppings to your popcorn like parmesan cheese or nutritional yeast or herbs a little oil will help it stick to the popcorn instead of singing to the bottom of the bag.

Staple the bag shut and microwave it for 2-3 minutes until most of the kernels have popped and it only makes sound every second or so—just like you would a store-bought bag of popcorn!

Open the bag up and add any toppings you might want on the popcorn. Close it and shake the bag to move things around before pouring it into a serving bowl.

It’s really that simple! And even better your microwave will smell like popcorn for the next day or so.

Go-To Hummus Recipe

go-to-Hummus-recipe

This weekend was a rush. When everyone else was loading up on food to brace for Hurricane Irene, we were loading up on food for a neighborhood party. I made a few things including hummus, because what’s a party without hummus? Ain’t no party like a hummus party ‘cause a hummus party don’t stop.

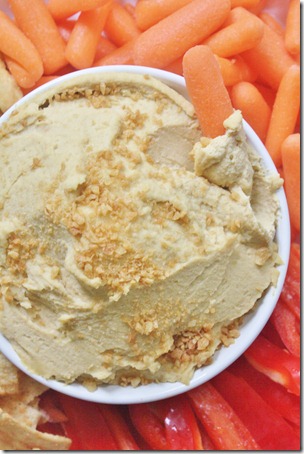
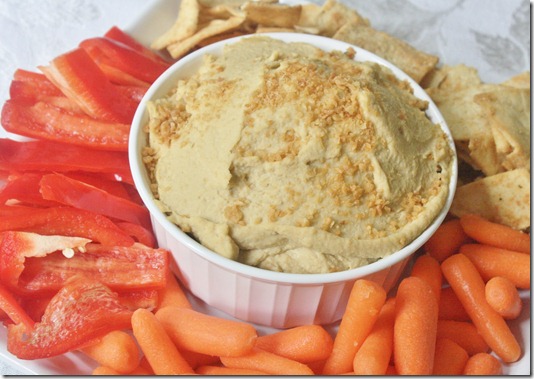
My favorite hummus recipe isn’t very fancy. It doesn’t have red pepper or pine nuts or artichokes or whatever. It’s just a trusty, reliable, go-to garlic hummus. What really helps enhance the flavor is a hefty dose of salt, good olive oil, and peeled chickpeas.

go-to-Hummus-recipe-plate

Peeling chickpeas is a little tip I learned from bloggers for a smoother, creamier hummus. It takes a lot more time and it’s kind of a gross process, but once you taste hummus made with peeled chickpeas it’s hard to justify going back to “regular”. If you don’t have time, don’t worry and skip it.

Go-To Hummus Recipe

Prep Time: 5 minutes(plus way more if you decide to peel the chickpeas)

Cook Time: 0 minutes

Ingredients:

  • 2 (14-ounce) can chickpeas, drained and peeled(optional but recommended)
  • 6 roasted garlic cloves
  • 2 Tablespoons tahini
  • 1/4 cup extra virgin olive oil(preferably Greek)
  • 1 Tablespoon lemon juice
  • 1/2 teaspoon salt

go-to-hummus-recipe-overhead

Method:

  1. Combine all of the ingredients in a food processor and blend until smooth. Add extra water if desired for a slightly thinner consistency.
  2. Serve at room temperature. Store leftovers in a refrigerator. 

go-to-Hummus-recipes-veggies

I added a little bit of Garlic Gold on top for some added crunch and texture. It was a neighborhood party and there was a storm keeping everyone inside; garlic breath was not a big concern.

Chocolate Hazelnut Balls

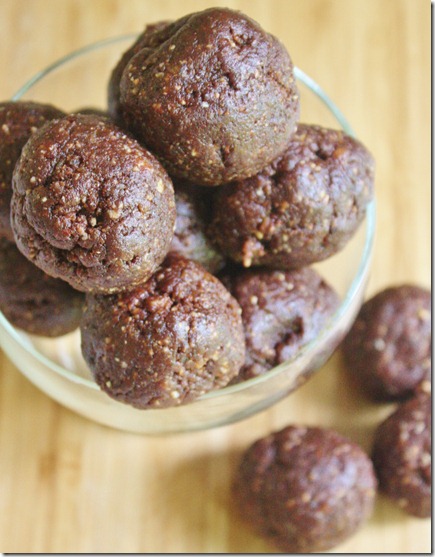
Chocolate-hazelnut-balls

Something exciting happened last week: I went viral for the first time. No, that doesn’t mean I need to be put on antibiotics. My post on Raw/Vegan Chocolate Hazelnut Cake got picked up on StumbleUpon and things got a little crazy. In 3 days it obliterated almost every page view record my tiny little site had. Last I checked it had 26,000 views; I guess people like cake? I posted How To Use StumbleUpon To Promote Blog Content last February and had a little success since then but this was ridiculous.

chocolate-hazelnut-balls-serving

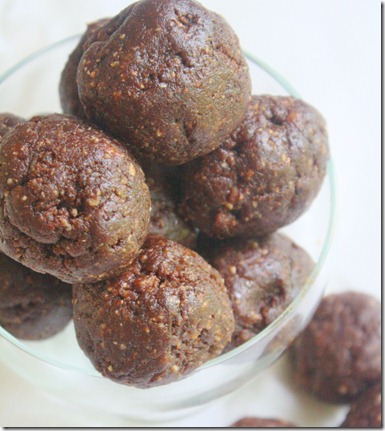
Because of that, I’ve had this cake on my mind pretty much non-stop since. Even though it’s raw and vegan, cake isn’t really a “health food”. I wanted something like it that I could eat any time, any place. These chewy little balls are just that. They’re flavorful, portable, and incredibly delicious. It’s almost like having the real dessert but much more socially acceptable for a mid-afternoon snack… or at 10am when you still haven’t put on clothes for the day.

Make sure when you’re forming the balls that there are no date pits in the final product. Even though store-bought dates are usually pit-free, it’s very likely that one or two slipped by, and those are not nice to bite in to.

Chocolate Hazelnut Balls

Prep Time: 10 minutes

Cook Time: 0 minutes

Ingredients(makes 14 balls):

  • 1 1/4 cup hazelnuts, raw
  • 2 cups pitted dates
  • 3 Tablespoons cocoa powder
  • ~2 Tablespoons water

chocolate-hazelnut-balls-bowl

Method:

  1. Blend the hazelnuts into a fine powder in a food processor
  2. Add in the dates and continue blending until the dates have broken up into smaller pieces
  3. Add the cocoa powder and continue blending
  4. Slowly add water into the processor while blending until the flour starts sticking to itself and becoming a dough. Stop adding water and turn off the food processor as soon as the ingredients hold together and form a giant ball.
  5. Store at room temperature in an airtight container.

These make a perfectly healthy snack…

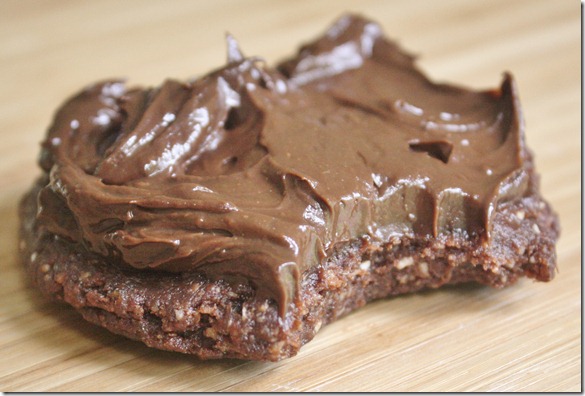
chocolate-hazelnut-balls-cake

…until you remember you still have leftover frosting and decide to make 2 balls into a cake. Still pretty healthy and incredibly delicious.


Watermelon With Mint And Lime

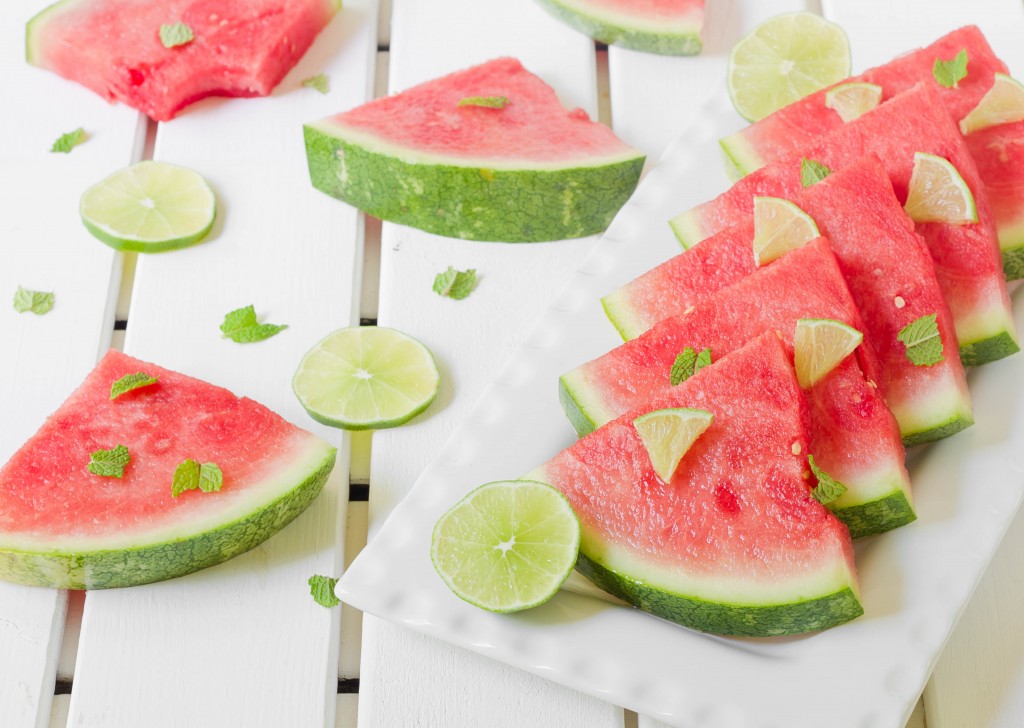
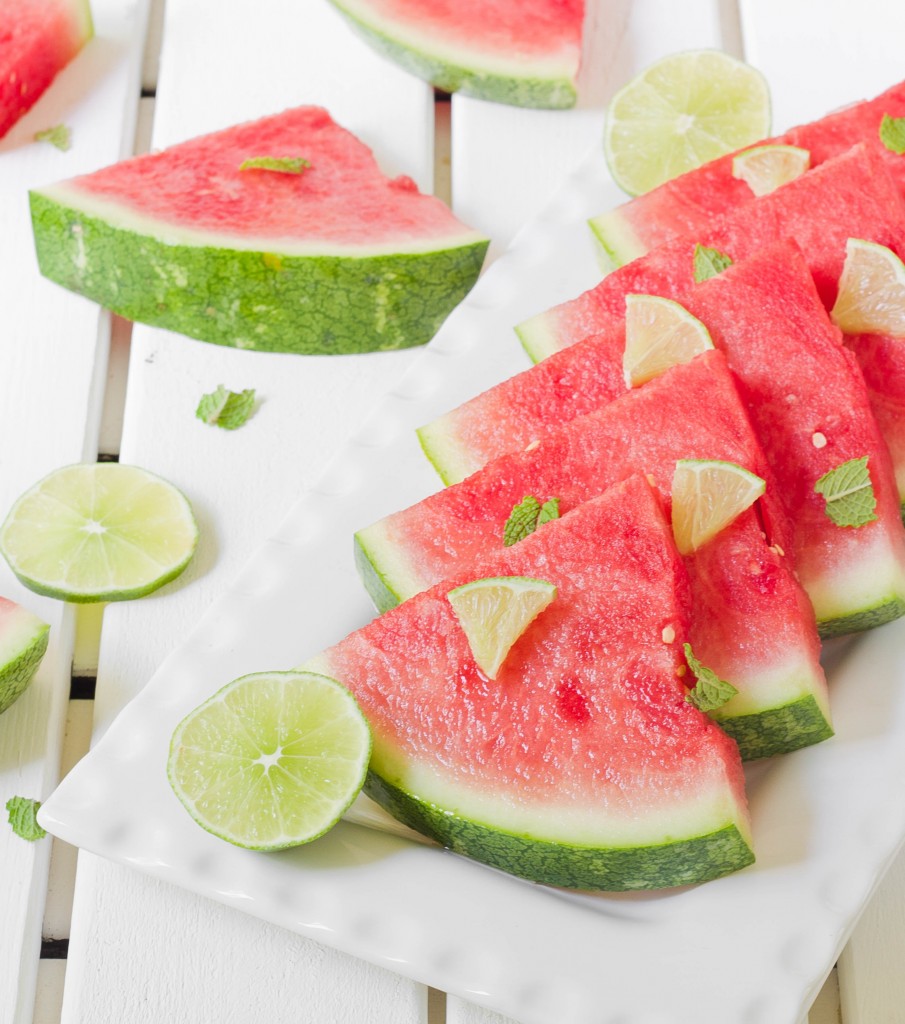
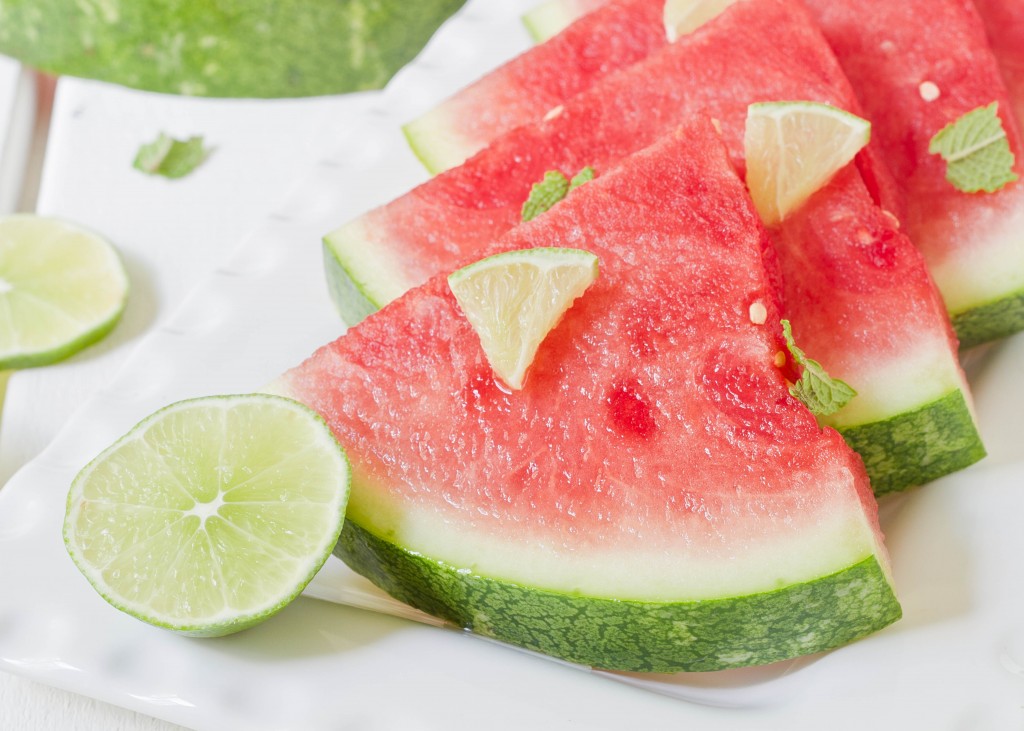
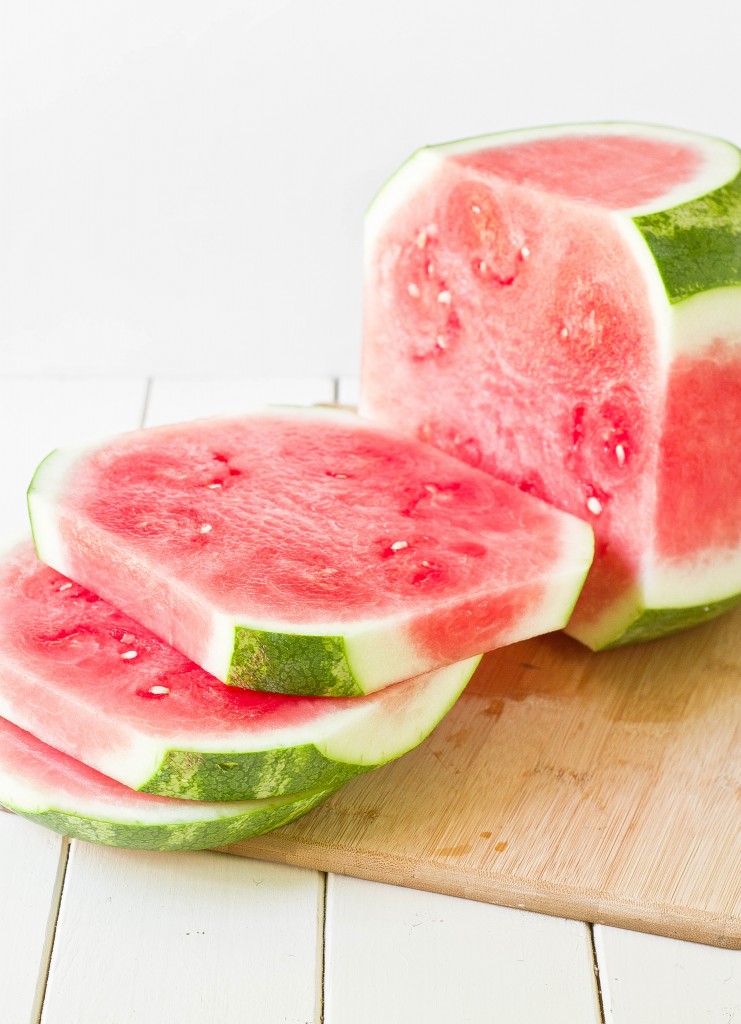
Watermelon is without question my favorite Summer fruit. I go through 2-3 a week and to be honest I don’t remember what I ate instead before the season started. It’s going to be a real problem when Autumn rolls around but I’m trying not think about that.

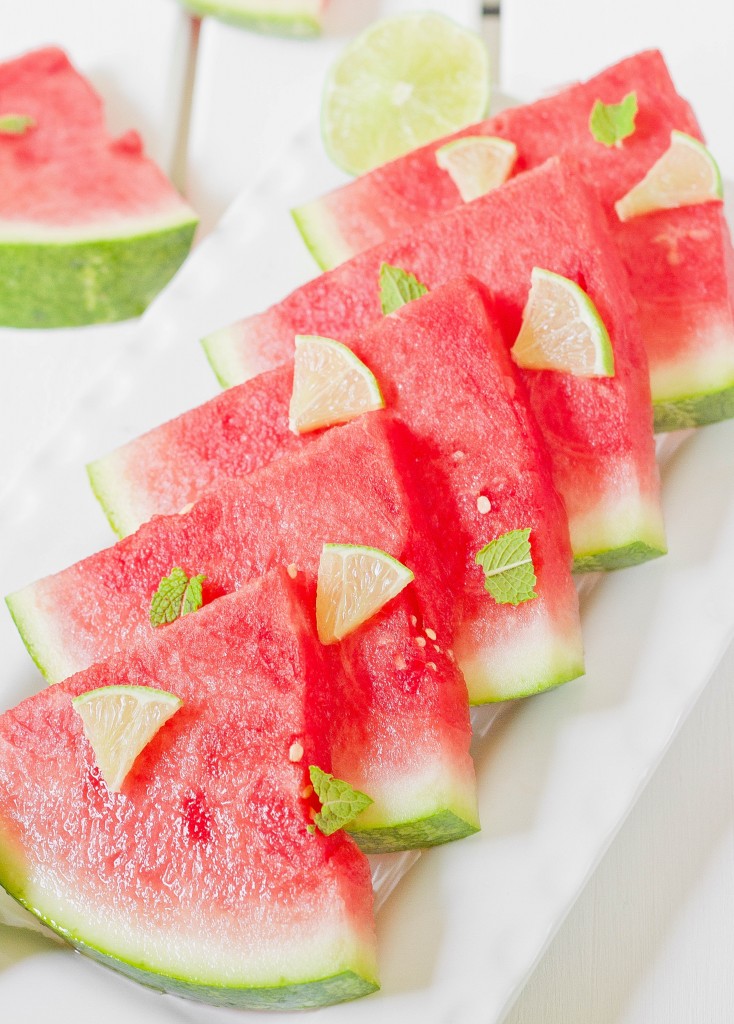
I could eat plain watermelon all day, but where’s the fun in that? This no-fuss fancified melon packs a big flavor punch. The lime and the mint balance each other out nicely and make the watermelon even more cool and refreshing.

You can use any time of mint in this recipe–wintergreen, peppermint, spearmint. Just use whichever is on hand or whichever you have a preference for. 

Watermelon With Lime And Mint

Ingredients:

  • 1/4 watermelon, cut into wedges
  • Juice of 1 lime(~3 Tablespoons)
  • 2 Tablespoons sugar
  • 7-8 mint leaves, torn

Method:

  1. Mix together the lime juice and sugar until the sugar has completely dissolved.
  2. Toss together the lime mix with the watermelon wedges so that all the sides get layered with the juice.
  3. Plate and garnish with the torn mint leaves.


Gluten-Free Baked Onion Rings + Twitter popchips Giveaway

July 17th 070

When I was a kid I never liked onion rings. When everyone else was going for bags of Funyuns, I chose potato chips. I didn’t even care that they were fried; they had the word “onion” in them so how could they be good?!

Well, I grew up and so did my taste buds. Now I love onions sautéed, caramelized—however you make them. And when I had my first taste of onion rings in England they were surprisingly good.
July 17th 083

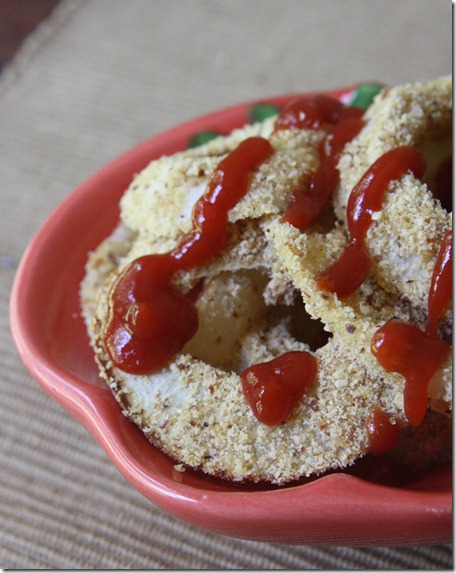
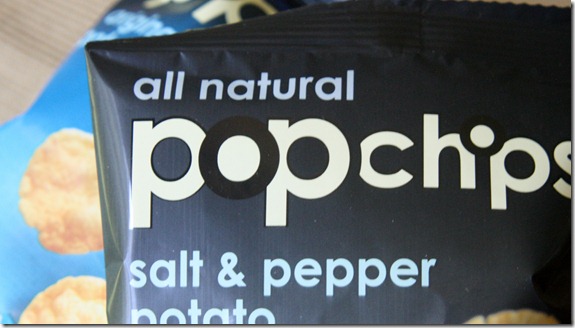
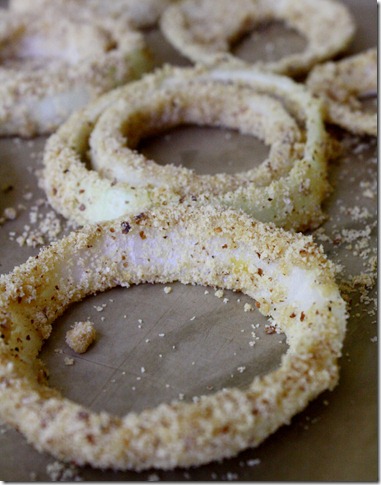
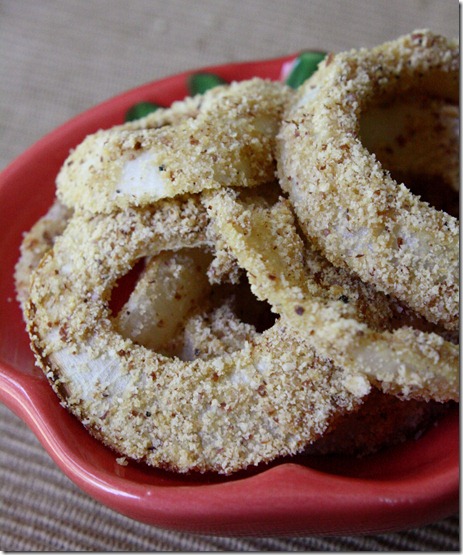
popchips sent me a Summer supply of their tasty all natural snacks, and when I started looking at recipes on their facebook wall these onion rings grabbed my attention. If there’s anything better than potato chips, it’s onion rings. And baking them in a batter with low-fat popchips means they’re better for you than the original, too.
Gluten-Free Baked Onion Rings

Ingredients:

  • 2 onions, sliced and separated
  • 2 eggs
  • 1/2 cup milk or non-dairy substitute
  • 1 teaspoon vinegar
  • 1/2 cup potato chip crumbs*
  • 1/3 cup almond flour

*I used 1 .8oz bag of original popchips and 2 .8oz bags of salt & pepper.

July 17th 001

Line 2 sheets of baking trays with parchment paper and preheat your oven to 350 degrees.

Beat together the eggs, milk, and vinegar. In a separate bowl, mix together the almond flour and potato chip crumbs. It’s best to use the finest crumbs you can so running them through a food processor is recommended.

With one hand, lift the onion rings and dredge them in the wet ingredients. Take it and put it in the breading, tossing to coat with your other hand. Using the dry hand, place it on the lined baking tray. Repeat this process for all of the onion rings.

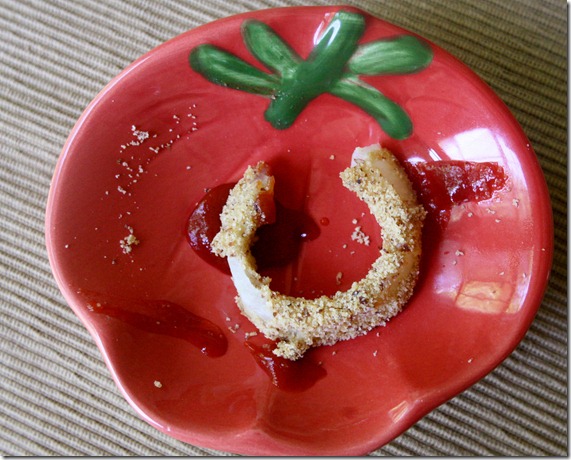
Bake at 350 degrees for 15 minutes. Serve slightly warm with ketchup.

July 17th 067

I wasn’t sure if these would actually taste good. They’re “healthy”, free of grains and low in fat. They’re easy, too, compared to actually frying the onion rings which would require a lot more attention cooking.

The verdict?

July 17th 073

I had no problem finishing them all. I don’t think it’s too soon for another batch.

popchips wants to give away a Summer supply of popchips to one lucky person on Twitter! To enter, simply tweet between now and next Friday, the 29th, “I snack healthy with ________ @popchipsboston @wannabechefevan” answering the question with your favorite healthy snack or favorite popchips flavor and you’ll be entered to win.

Peach-Almond Yogurt Dip

June 6th 049

I love recipes that lend themselves to endless variations. Example: Fruity Peanut Yogurt Dip. Even though it’s just 3 ingredients, with those you can make countless combinations that taste completely different.

June 6th 039

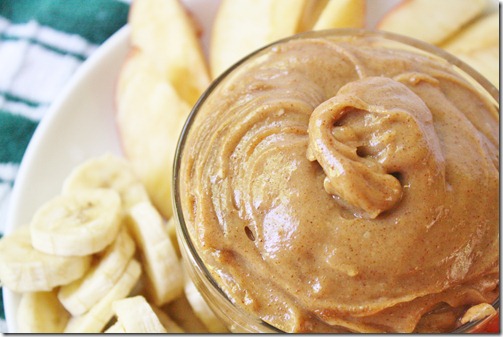
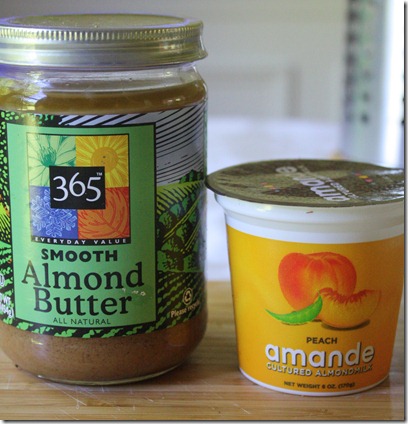
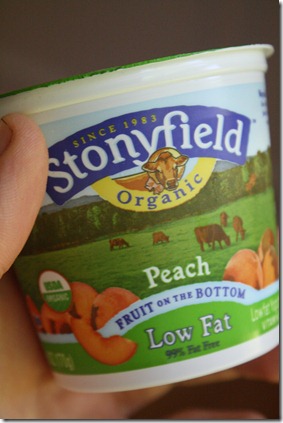
Peach and almond is one of my favorite flavor combination, so this was a no-brainer. I used an almond milk yogurt for my base but you can use any peach yogurt and it will come out just as delicious. Try Greek yogurt for a protein-packed punch.

Peach-Almond Yogurt Dip

Ingredients:

  • 1/2 cup smooth almond butter(preferably unsalted)
  • 1/2 cup peach yogurt(Greek, non-fat, soy, almond—any will do)
  • 1/4 cup powdered sugar

June 6th 069

In a small bowl, mix together the yogurt and almond butter. If you’re using a fruit on the bottom yogurt, make sure to stir it first so that the fruit is all through the yogurt.

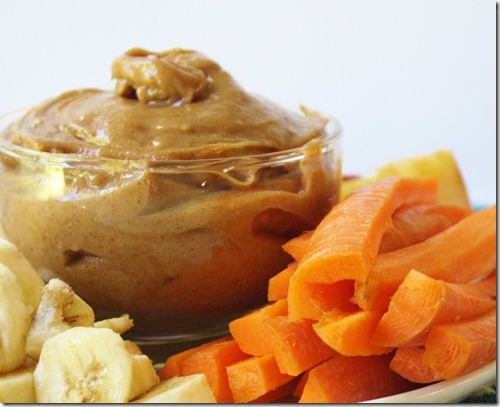
Sift in the powdered sugar and beat until no lumps remain. Scoop the dip into a serving bowl.

June 6th 031

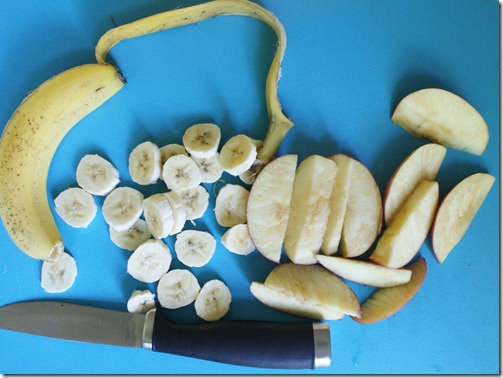
Cut up fruits and vegetables for dipping and serve. Keep leftovers in a covered container in the refrigerator for 2-3 days.

June 6th 050

I was really happy with how this tasted. Neither the peach nor the almond stood out over the other; instead it was a perfect blend of flavors. Can you really get better than peaches and almond butter in the Summer time?

June 6th 053

Peaches: Healthy. Almonds: Healthy. Yogurt: Healthy. Peach-almond yogurt dip: Triple healthy, so dip away.

Watermelon With Sea Salt, Black Peppercorn, And Basil

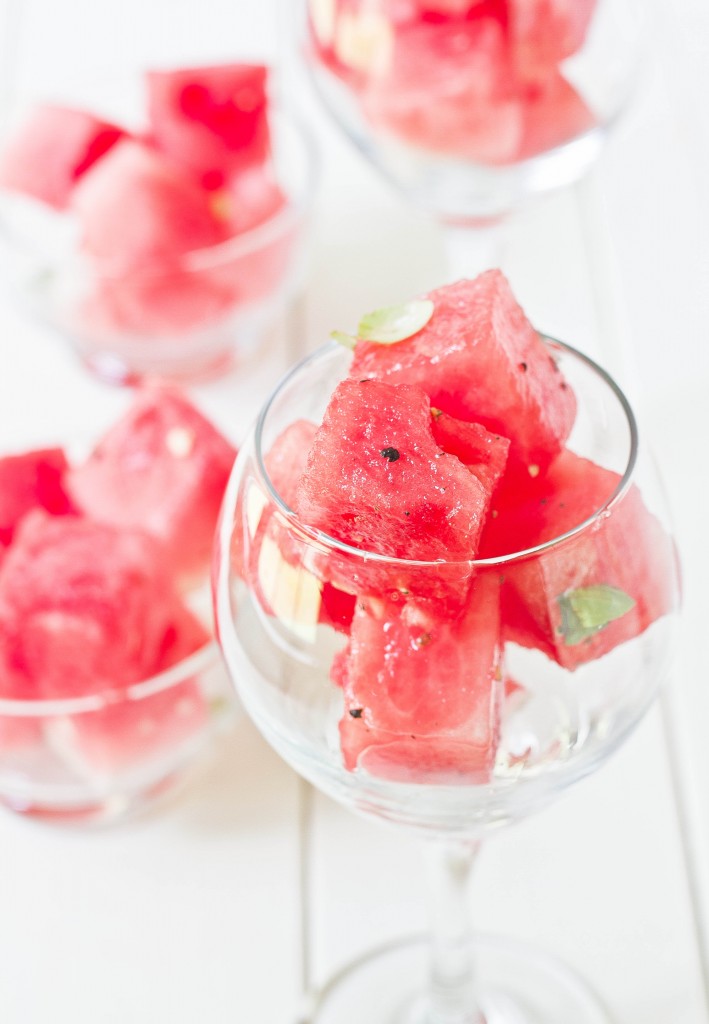
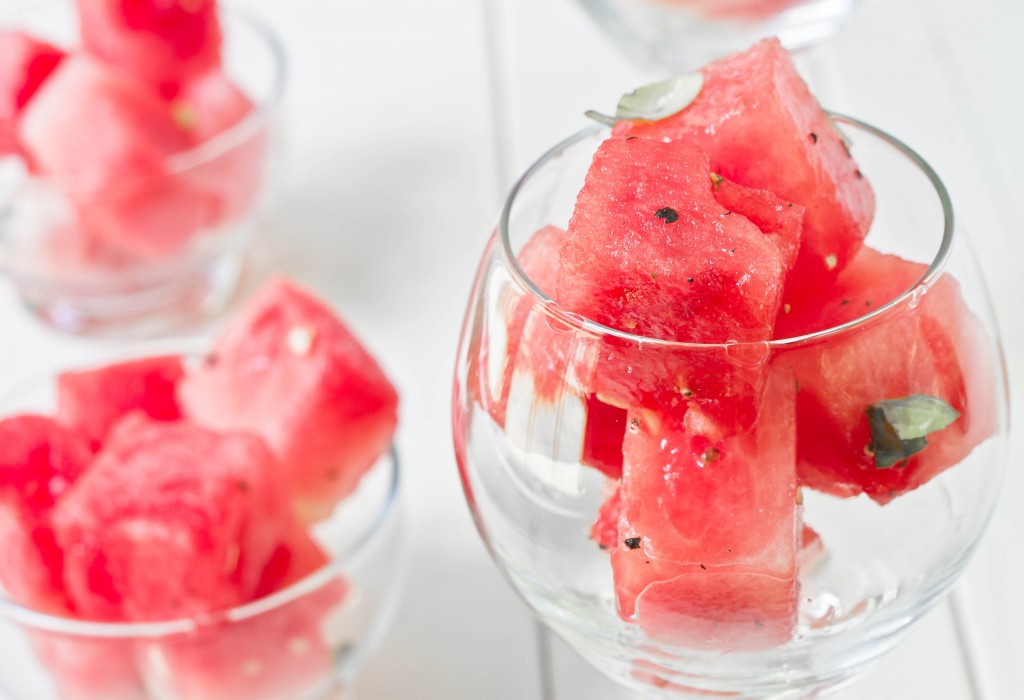
I think I could eat watermelon alone all Summer long and never get tired of it. Well, maybe watermelon and chocolate, you know, for a well-rounded diet. This takes watermelon to the next level. It’s sweet and spicy with just a small kick of flavor from the basil. As soon as I started eating from the bowl I couldn’t put it down, and I’m not even one for savory foods.

This recipe is great to use fancy seasonings like lemon pepper or smoked salt since the watermelon is so pure and really a blank canvas to flavor however you’d like.

Watermelon With Sea Salt, Black Peppercorn, and Basil

Prep time: 10 minutes

Cook time: 0 minutes

Ingredients:

  • 1 whole seedless watermelon, cut into cubes
  • 3/4 teaspoon coarse sea salt
  • 1/2 teaspoon coarsely ground black pepper
  • 10 basil leaves, torn

Method:

  1. Cube the watermelon into bite-sized chunks.
  2. Combine the watermelon in a large bowl with the salt, pepper, and basil.
  3. Toss the ingredients together until they are evenly mixed.
  4. Serve immediately or refrigerate for a few days.

Addictive. Purely addictive. Perfect for Summer, too!


Fruity Peanut Butter Yogurt Dip

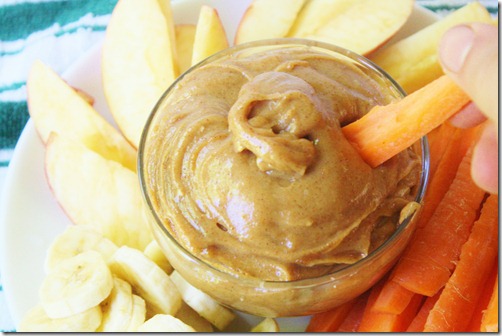
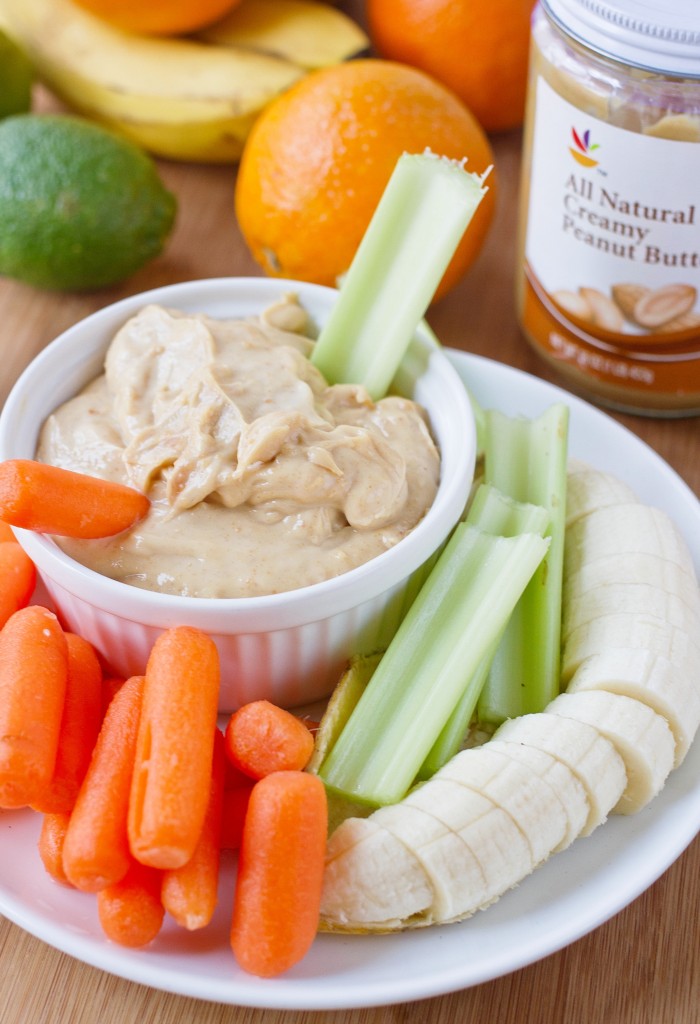
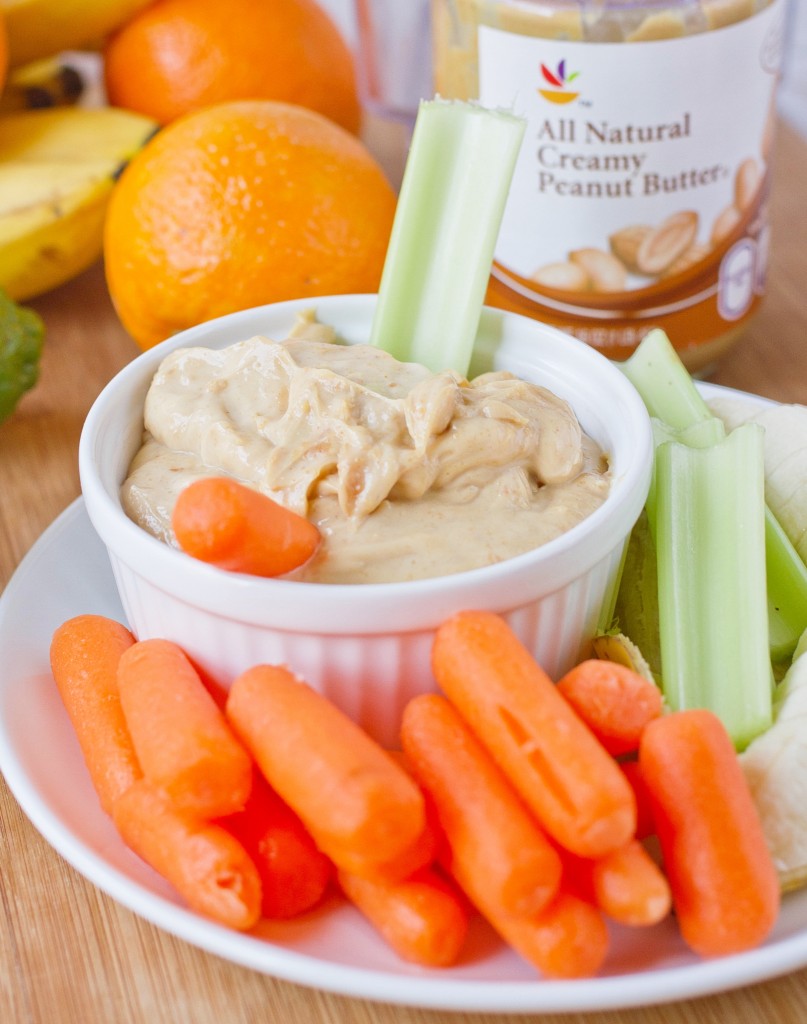
Fruity Peanut Butter Yogurt Dip

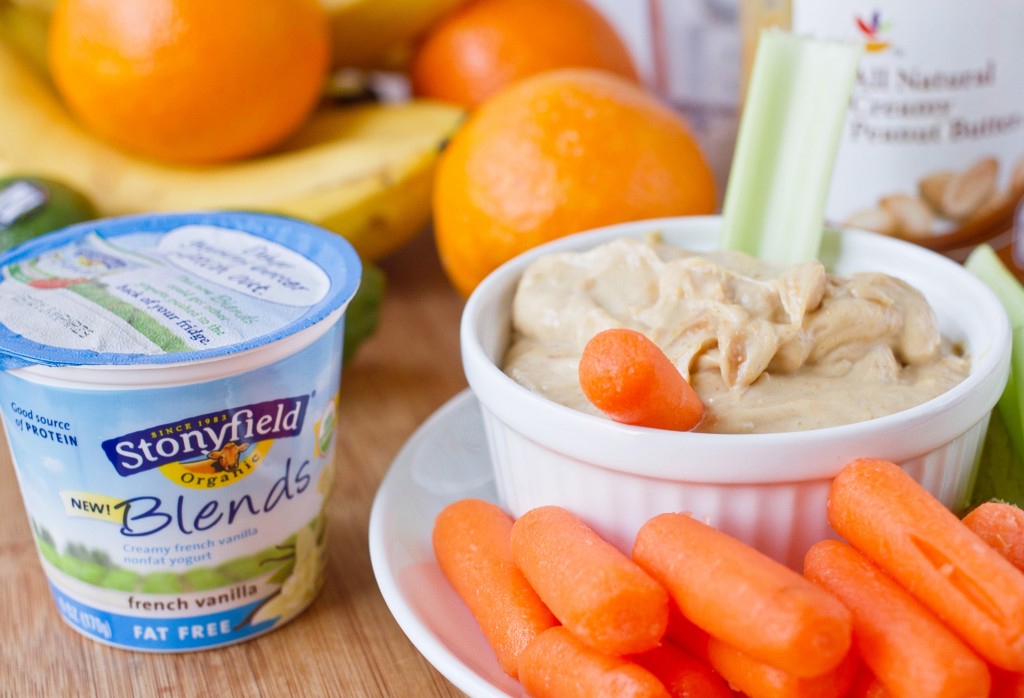
As good as peanut butter, fruit, and chocolate are, peanut butter and fruit can be damn good on their own, too. With fruit and yogurt, this is a great snack for a toddler. Or yourself if you don’t want to share; I didn’t. I used a strawberry yogurt and the dip tasted just like a PB&J but the recipe is totally customizable. It keeps in the refrigerator for a few days, too—not that they’ll be any extra.

Fruity Peanut Butter Yogurt Dip

Prep time: 5 minutes

Cook time: 0 minutes

Ingredients(Makes 6-8 servings):

  • 1/2 cup fruit-flavored yogurt*
  • 1/2 cup natural runny peanut butter
  • 1/4 cup powdered sugar
  • Fruit/veggies for dipping

*To customize the flavor, use 6 tablespoons of yogurt and 2 tablespoons of any fruit jam.

Fruity Peanut Butter Yogurt Dip Yogurt

Method:

  1. Mix together all of the ingredients completely making sure there aren’t any clumps.
  2. Move to a serving dish.
  3. Serve with chopped fruit and vegetables.

Fruity Peanut Butter Yogurt Dip Yield