Category Archives: Snack

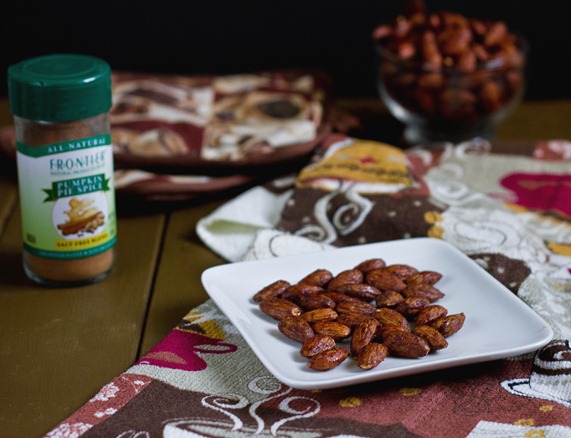
Pumpkin Pie Spice Almonds

Pumpkin Spice Almonds

The nice thing about Fall and cooler temperatures is that it gets me to use the oven more. During the Summer I’d much rather make ice cream than cupcakes but recently I’ve been using my oven more and more. The kitchen is quickly becoming my favorite room again.

Roasting nuts is something I make time to do every year. You can come up with the most fun flavors using different spices, and they always are a healthier treat, too. A lot of the time I think I like pumpkin pie spice more than pumpkin itself. These almonds have all the right flavors to make you think of Fall in a portable, no-mess snack.

Pumpkin Spice Almonds Serving

If you don’t have pumpkin pie spice, there are plenty of recipes online to make your own. If you don’t feel like looking up a recipe, just toss together cinnamon, ginger, allspice, and nutmeg to get a range of flavors.

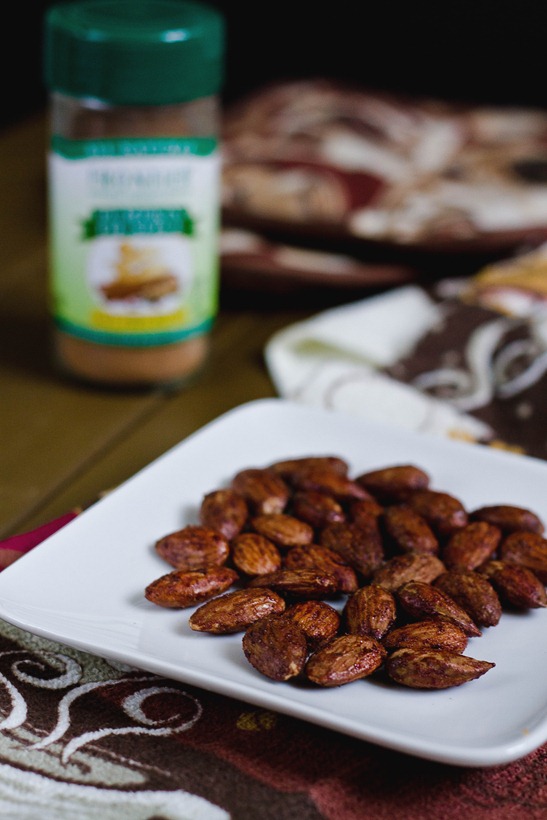
Pumpkin Pie Spice Almonds

Prep time: 5 minutes

Cook time: 15 minutes

Ingredients:

  • 1 1/4 cup raw almonds
  • 1/2 Tablespoon pumpkin pie spice
  • 1/4 tablespoon salt
  • 2 Tablespoons maple syrup

Method:

  1. Preheat your oven to 375 degrees.
  2. In a small bowl, combine all of the ingredients until the almonds are coated well.
  3. Lay out the almonds on a non-stick baking tray.
  4. Bake for 15-20 minutes disturbing the almonds halfway through until they’ve roasted to a darker brown. They should still be slightly sticky when you take them out.
  5. Let the almonds cool, break any that are stuck together apart, and store them at room temperature.

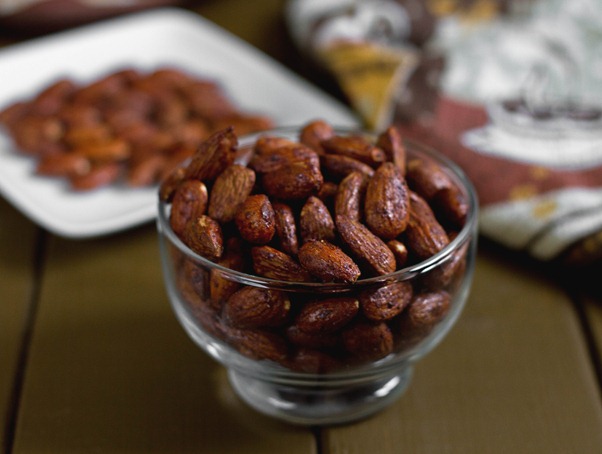
Pumpkin Spice Almonds Yield

These are a great snack to leave out at a party. Clean out a mini-pumpkin and serve it in that for something festive.

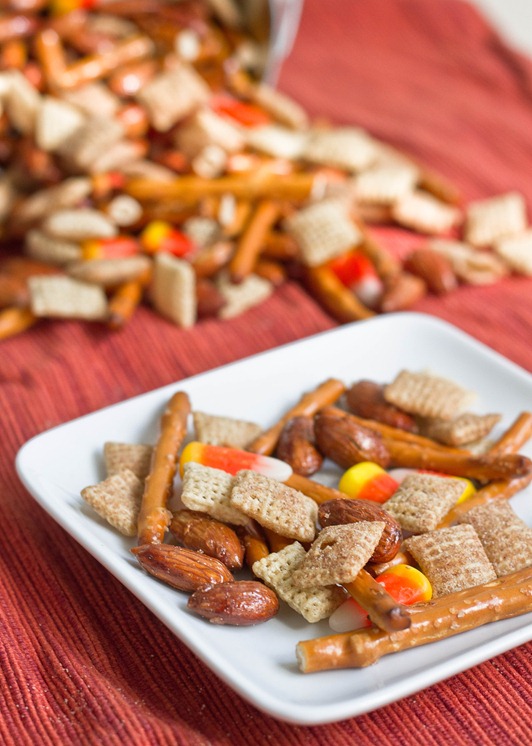
Salty-Sweet Halloween Chex Mix

Salty-Sweet Halloween Chex Mix

Fall is really a much better season for foodies than Winter. You have your candy corn, your pumpkin spice, fresh apples—what more can you need? Besides, can you ever remember anyone making a recipe with fruitcake or ribbon candy that you just loved? Didn’t think so.

I’m not typically a big snacker but when I do feel like something to nibble on I have the hardest time deciding. Salty or sweet? Nutty or candy? Healthy or… not? There’s a lot to consider.

Salty-Sweet Halloween Chex Mix Bucket

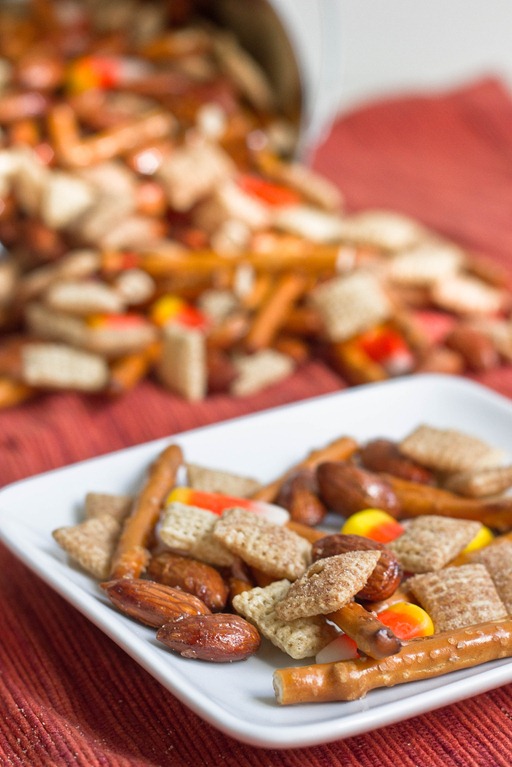
Lately I’ve been digging this Chex mix since it hits all the marks. It has candy corn—my all-time favorite candy—, spicy Chex cereal, salty gluten-free pretzels and sweet almonds. It’s a little healthy with whole grains and nuts and a little not. It’s easy enough to make for yourself but also fun enough to bring to a party.

If you don’t feel like making your own almonds, you can buy honey roasted or cinnamon sugar almonds and use those instead.

Salty-Sweet Halloween Chex Mix

Prep time: 5 minutes

Cook time: 0 minutes

Ingredients(Makes about 5 cups)

  • 2 cups cinnamon Chex cereal
  • 1 cup salted-maple almonds(recipe below)
  • 1 1/4 cup pretzel sticks*
  • 3/4 cup candy corn

*I used Snyder’s of Hanover gluten-free pretzel sticks

Method:

  1. Combine all of the ingredients in a large bowl and enjoy.

Salted-Maple Almonds

Prep time: 5 minutes

Cook time: 20 minutes

Ingredients(Makes 1 cup):

  • 1 cup almonds
  • 2 Tablespoons maple syrup
  • 1 teaspoon coarse salt

Method:

  1. Preheat your oven to 375 degrees.
  2. Mix all of the ingredients together in a small bowl.
  3. Pour the almonds on top of a non-stick baking try in a single layer.
  4. Roast for 20 minutes, disturbing the almonds about halfway through. Don’t worry if they still look sticky after 20 minutes; as they cool down they’ll become less wet.
  5. Break the almonds apart while they’re warm. Store in an airtight container for up to 2 weeks at room temperature.

Salty-Sweet Halloween Chex Mix Serving

A note about candy corn: Last year I found out through error that most name brand candy corns are not vegetarian because they have gelatin in them. However, CVS store brand is vegetarian so if that’s a concern you can still go ahead and enjoy this.

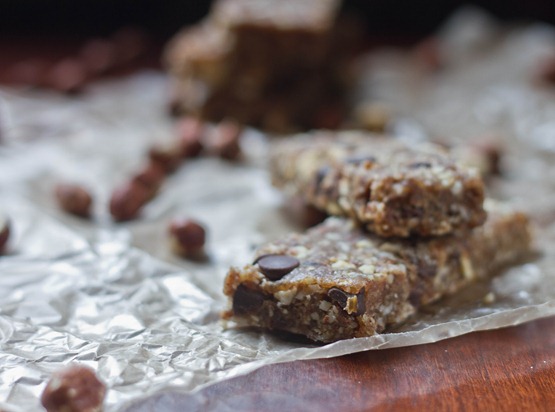
Copycat Chocolate Hazelnut Larabars

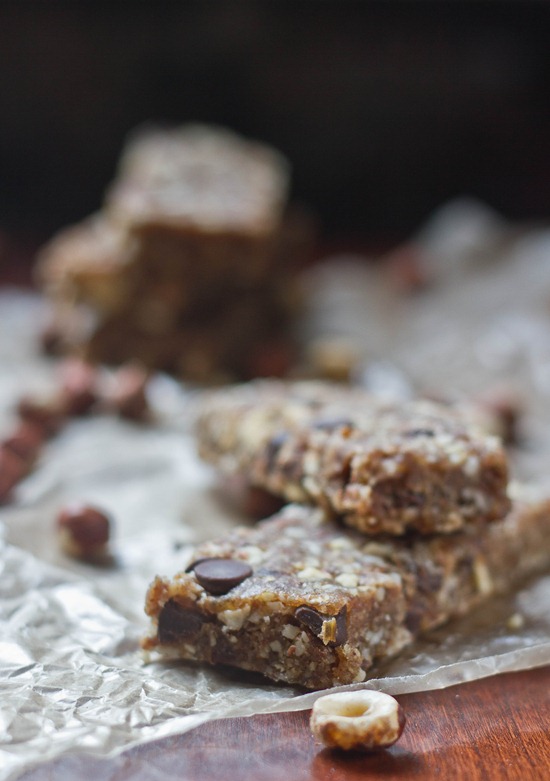
copycat chocolate hazelnut larabars

One of my most popular recipes is the raw/vegan chocolate cake I made last Summer, and every time someone new comments on the post or makes it for themselves and blogs their own mouth-watering photos(I’m looking at you, Texanerin) it makes me want it again.

Well, cake every week is a bit much, even if it’s raw and vegan. But as soon as I finished eating my chocolate chip peanut butter “Larabars” I was thinking of what flavor I could make next, and chocolate hazelnut seemed like the perfect answer.

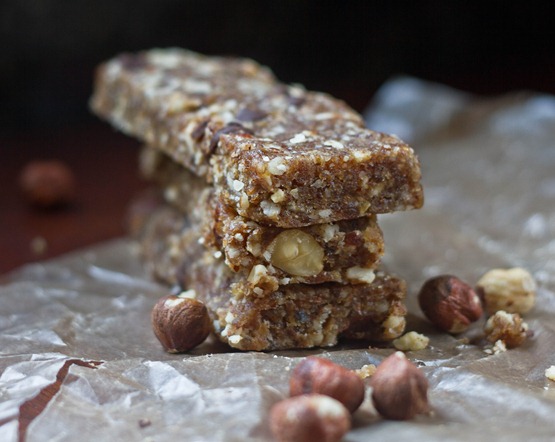
copycat chocolate hazelnut larabars stack

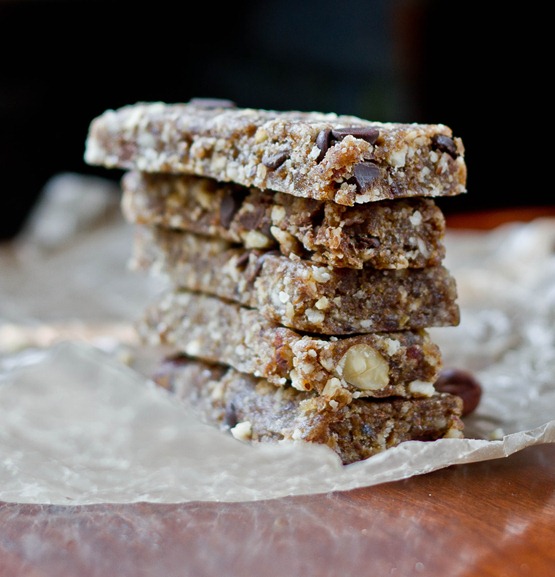
These are definitely healthy enough to have every day but also can easily satisfy a candy craving. You can use raw or roasted hazelnuts, skin on or off. Roasted will definitely have a nuttier and stronger flavor. To make them truly raw, use cacao nibs in place of the chocolate chips. 

Copycat Chocolate Hazelnut Larabars

Prep time: 10 minutes

Cook time: 0 minutes

Ingredients(Makes about 7 bars):

  • 8oz(about 2 cups) pitted dates
  • 3/4 cup hazelnuts
  • 1/4 teaspoon salt
  • 1/4 cup chocolate chips

copycat chocolate hazelnut larabars yield

Method:

  1. In a food processor, blend the dates until they clump together and form a sticky dough ball.
  2. Add the hazelnuts and salt into the food processor and pulse until the nuts are broken into a coarse flour.
  3. Transfer all the contents of the food processor into a large bowl with the chocolate chips and massage by hand until the hazelnut pieces and chocolate chips are completely mixed into the dates.
  4. Form the dough into equal-sized bars, squares, or balls. Store in the refrigerator until ready to eat.

copycat chocolate hazelnut larabars bars

OK, it’s no raw chocolate cake with avocado buttercream, but it will definitely satisfy a late-night sweet tooth.

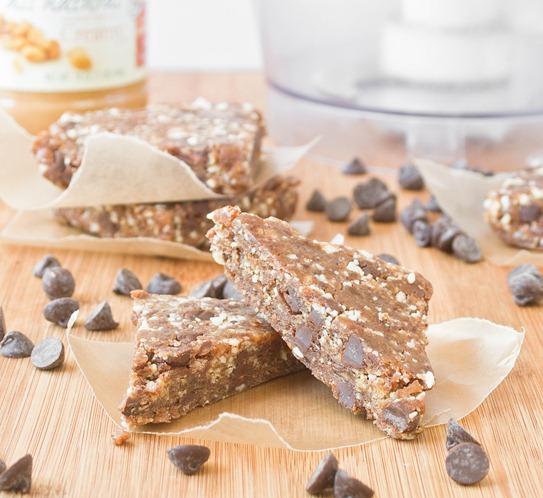
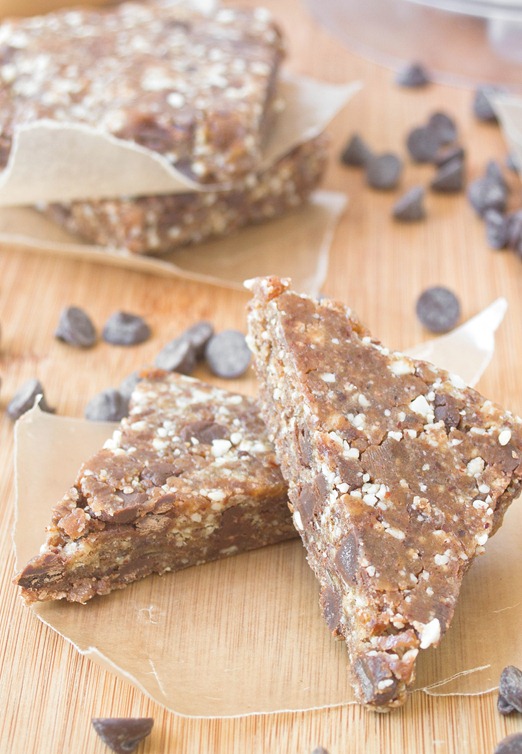
Copycat Peanut Butter Chocolate Chip Larabars

Copycat Peanut Butter Chocolate Chip Larabars

When you’re a food blogger, you end up having some pretty weird “snacks”. Leftover cheesecake in the afternoon? Sure. Chocolate granola for lunch and dinner some times. Anything goes.

That’s all great and delicious but there are times when I wish I ate a little bit healthier. Of course, the answer’s simple; if you want to eat healthy you need to buy and make healthy meals and snacks. So to start I made one of my favorites: peanut butter chocolate chip larabars.

Copycat Peanut Butter Chocolate Chip Larabars Serving

Most pre-portioned snacks at the grocery store are overpriced; they’re even pricier if you get them from kiosks or snack stands. By making your own, you control the costs and quality of the ingredients. Larabars have pretty clean and simple ingredients as is, but by buying dates and using other ingredients I already had I was able to bring the cost down.

You could make your own and use almonds instead of peanuts to adapt these for someone with a peanut allergy.

Copycat Peanut Butter Chocolate Chip Larabars

Prep time: 10 minutes

Cook time: 0 minutes

Ingredients(Makes about 6 bars):

  • 8oz pitted dates
  • 1/2 cup peanuts
  • 2 Tablespoons peanut butter
  • 1/4 teaspoon salt
  • 1/3 cup chocolate chips

Method:

  1. Combine the dates and peanuts in a food processor and blend on high until the ingredients start to form a paste.
  2. Add in the peanut butter and salt and continue blending until a dough begins to form.
  3. Lastly, add in the chocolate chips and pulse a few times.
  4. Line a loaf or baking pan with plastic wrap.
  5. Drop the dough on top of the plastic wrap and press the dough into a square or rectangle about 3/4-inch thick.
  6. Cut into bars or squares. Wrap individually and refrigerate until ready to eat.

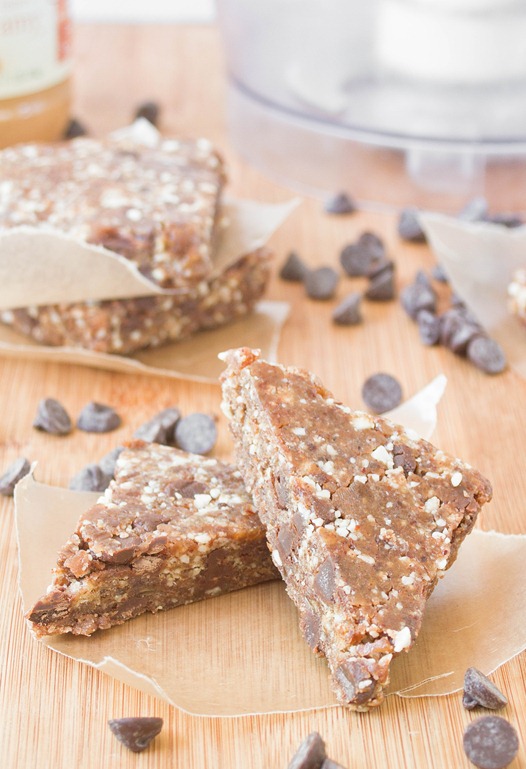
Copycate Peanut Butter Chocolate Chip Larabar Cut

I left mine in squares. You could make bars or balls or really any shape you could think of with these.

Mini Caprese Salad Bites

Mini-Caprese-Salad-Bites

Happy July 4th! If you’re looking for red, white, and blue, then you’re going to have to take a second look at last week’s flag cake. Instead I have something red, white, and green. That’s close enough, right?

One of the best parts of Summer is how little you actually need to do to make food taste good. Some fresh vegetables and fresh herbs are all you need to make something taste clean and delicious. And when you’re spending time outside and at cook-outs, all that extra time is a great thing. You can make these appetizers in just 15 minutes and I guarantee they’ll be gone by the end of the party.

Mini-Caprese-Salad-Bites-Collage

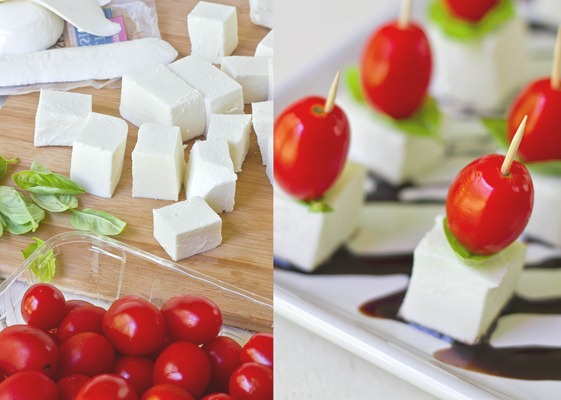
You could use 1-inch fresh mozzarella balls; however, when I was at the store those cost twice as much and the point is for this to be delicious—not expensive. A cheaper option is to buy a log of mozzarella, shave a thin layer off of the sides so that they’re flat, and cut the rectangle into equal sized squares.
Mini Caprese Salad Bites

Prep time: 10 minutes

Cook time: 5 minutes

Ingredients(Makes 24 bites):

  • 1/2 cup + 2 Tablespoons balsamic vinegar
  • 24 cherry tomatoes
  • 24 basil leaves, washed
  • 24 1-inch cubes or balls of fresh mozzarella
  • 24 toothpicks

Mini-Caprese-Salad-Bites-Assembly

Method:

  1. Pour the vinegar into a small sauce pan and bring it to a rolling boil over a burner for 5 minutes until it has reduced to half its original amount. Move it to a serving dish and let it cool.
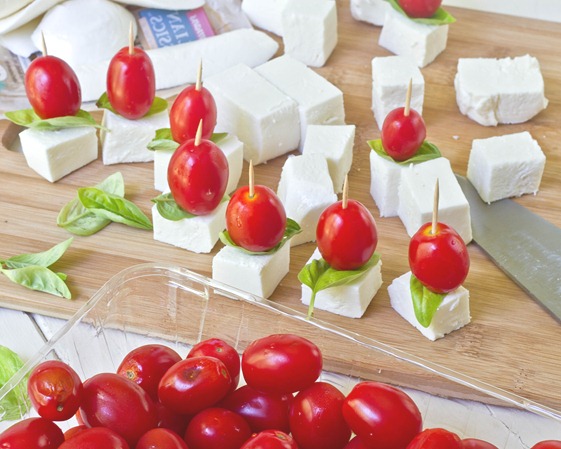
  2. Start by pushing a cherry tomato three quarters the way up a toothpick.
  3. Next put on a basil leaf on and move it up to touch the tomato.
  4. Lastly put on the mozzarella until the toothpick is mostly through.
  5. Repeat until all of the ingredients are gone.
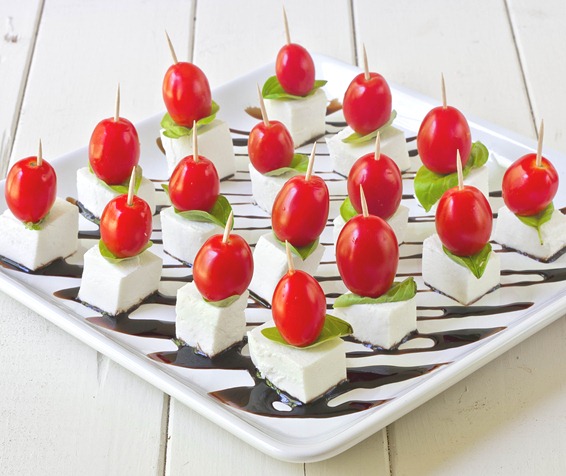
  6. Plate the caprese bites and serve with the reduced vinegar on the side or decoratively pour the vinegar onto the plate before putting down the bites.
  7. Keep refrigerated until ready to serve.
Mini-Caprese-Salad-Bites-Plated

You can make another easy dipping sauce by mixing extra virgin olive oil and crushed red pepper flakes in a bowl or small plate.
White Chocolate Peanut Butter Granola Bars

Glad to know I’m not the only one who thinks peanut butter and baked beans are a delicious combination. But I forgot to mention the best part! If you leave a comment on the recipe page on Peanut Butter & Co.’s All Star Recipe Blog you’ll be entered to win a jar of their deliciously sweet Smooth Operator peanut butter.

And speaking of peanut butter…

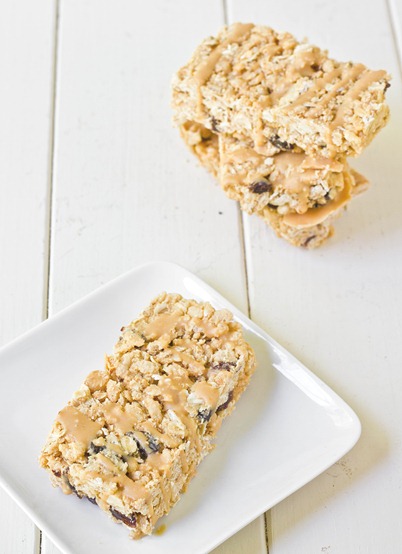
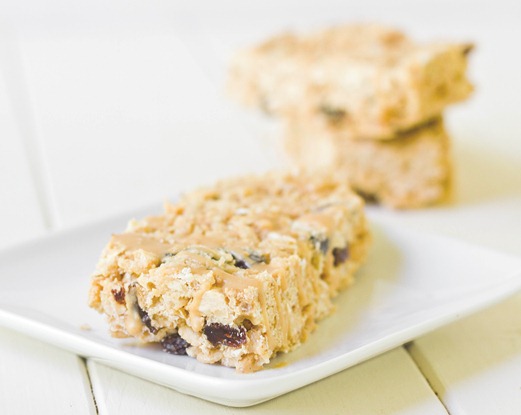
White Chocolate Peanut Butter Granola Bars Sliced

As soon as I made chocolate almond granola bars I knew I wanted to make a version using peanut butter. What goes better together than peanut butter and chocolate? But when I finally got around to making it, I thought of improvising and using white chocolate; if anything beats peanut butter and chocolate, it’s peanut butter and white chocolate.

White chocolate’s one of those things I don’t like so much on its own but goes great with just about anything. It adds a rich, buttery flavor to these granola bars that make them taste like they’re so homemade you grew the oats yourself.

White Chocolate Peanut Butter Granola Bars

Want to take these to the next level? Try using PB&Co.’s white chocolate peanut butter.

White Chocolate Peanut Butter Granola Bars

Prep time: 10 minutes

Cook time: 0 minutes

Ingredients(Makes 8 bars):

  • 1/2 cup white chocolate chips
  • 1/2 cup no-stir peanut butter
  • 3 Tablespoons honey
  • 1 cup oats*
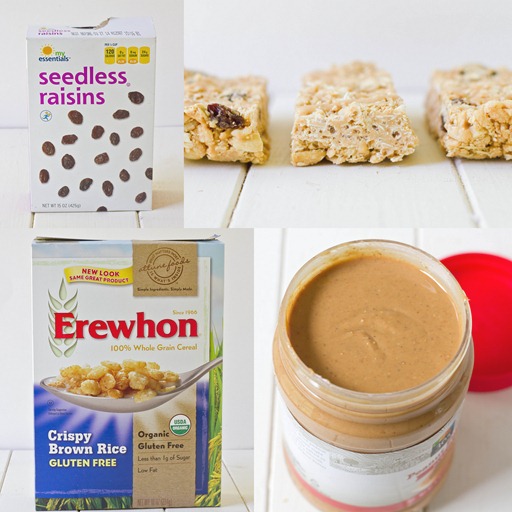
  • 1 1/2 cups rice crisps cereal*
  • 1/2 cup roasted peanuts
  • 1/2 cup raisins
  • 1/4 teaspoon salt

*To make these granola bars gluten-free, make sure these two ingredients are certified gluten-free.

White Chocolate Peanut Butter Granola Bars Collage

Method:

  1. In a microwave or over a double boiler, melt the white chocolate.
  2. Stir in the peanut butter and honey until smooth.
  3. Add in the oats, cereal, peanuts, raisins, and salt and mix until everything is completely covered.
  4. Line an 8 x 8 baking tray with wax paper. Dump the batter into the pan and press down into an even layer.
  5. Refrigerate the bars until they’ve hardened—about 20-30 minutes.
  6. With a sharp knife, cut the bars in half horizontally and into quarters vertically into 8 2 x 4 bars.
  7. Store in the refrigerator for up to 2 weeks.

White Chocolate Peanut Butter Granola Bars(2)

These were a little more crumbly than the other granola bars I made for whatever reason. Make sure when you cut into them they’re extra cold and you use a sharp knife.

Chocolate Almond Granola Bars

Chocolate Almond Granola Bars

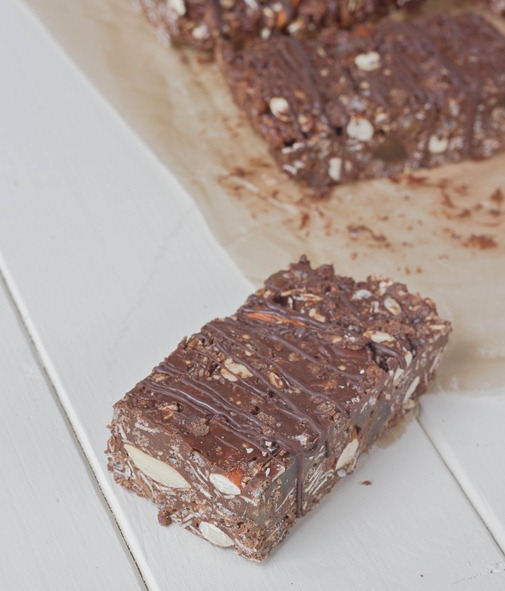
I’ve never had much luck making granola bars until now. They usually turn out caky or crumbly and never hold together; I was just about ready to give up on making granola bars. This recipe has completely changed that around for me.

Not only are these delicious and gluten-free, they’re also no-bake and come together in about 10 minutes. I couldn’t think of anything more to ask for. The ingredients are simple, organic, and whole grain. It could easily be made vegan by swapping out the honey.

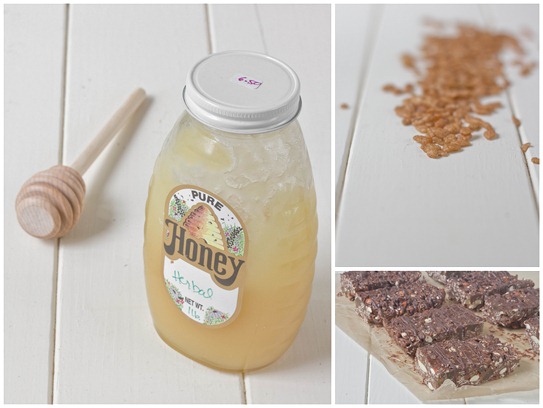
Chocolate Almond Granola Bars Collage

For the “dried fruit” we were out of the standard raisins or craisins, so I improvised and used chopped candied ginger. The flavor could not have been more spectacular. I generally love ginger and chocolate and the added bite held its own to the nuttiness of the bars.

Chocolate Almond Granola Bars

Prep time: 10 minutes

Cook time: 0 minutes

Ingredients(Makes 8 bars):

  • 1/2 cup semi-sweet chocolate chips
  • 1/2 cup almond butter
  • 1/4 cup honey**
  • 1 cup oats*
  • 1 1/2 cups chocolate rice crisps cereal(I used Erewhon Cocoa Crispy Brown Rice Cereal)*
  • 1/2 cup almonds, whole or crushed
  • 1/2 cup dried fruit
  • 1/4 teaspoon salt

*To make these granola bars gluten-free, make sure these two ingredients are certified gluten-free.

**Use 3 Tablespoons of agave to make these vegan.

Method:

  1. In a microwave or over a double boiler, melt the chocolate chips.
  2. Stir in the almond butter and honey until smooth.
  3. Add in the oats, cereal, almonds, dried fruit, and salt and mix until everything is completely covered.
  4. Line an 8 x 8 baking tray with wax paper. Dump the batter into the pan and press down into an even layer.
  5. Refrigerate the bars until they’ve hardened—about 20-30 minutes.
  6. With a sharp knife, cut the bars in half horizontally and into quarters vertically into 8 2 x 4 bars.
  7. Store in the refrigerator for up to 2 weeks.

Chocolate Almond Granola Bars Serving

I don’t see myself ever paying for granola bars again.

Perk Me Up Trail Mix

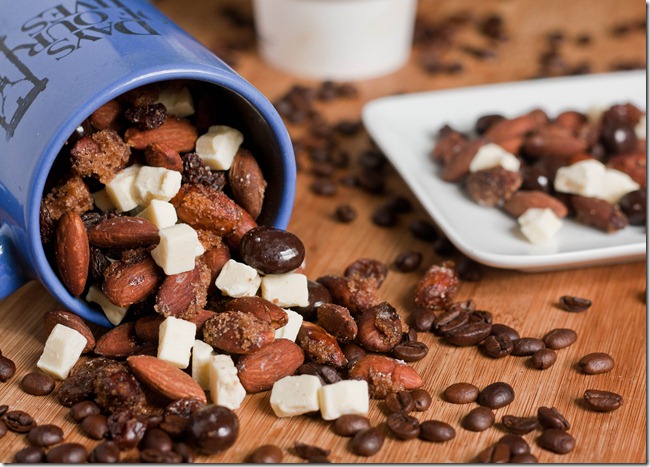
Perk-Me-Up-Trail-Mix

What I’m about to say may be sacrilegious so read on at your own risk.

I don’t really like coffee. I used to love it but now I could count on one hand the number of times I’ve drank it in the past year. I’m a much bigger fan of tea now.

The one exception is chocolate covered coffee beans. I’ve probably spent a small fortune on those alone; I really can’t get enough. I’d much rather wake up to a handful of those than a cup of coffee any day.

Perk-Me-Up-Trail-Mix-coffee

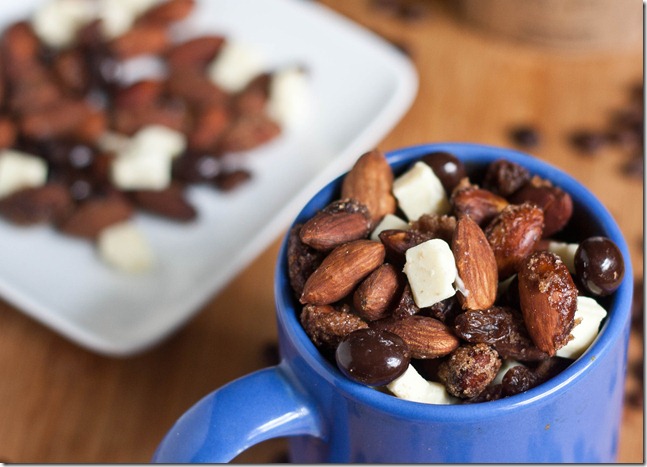
This trail mix has all the flavors you could want in a fancy Starbucks coffee drink: Vanilla, almond, chocolate, white chocolate, and coffee. When I do drink coffee, it’s always black, but a trail mix with just coffee beans wouldn’t be nearly as exciting. I threw in some raisins, too, because those are healthy and that makes the rest of it healthy by association, right? If you don’t want to make the vanilla sugar almonds, you can always buy flavored almonds and substitute them instead or just use regular roasted almonds.

Perk Me Up Trail Mix

Prep time: 10 minutes

Cook time: 20 minutes

Ingredients:

  • 1/2 cup chocolate covered coffee beans
  • 3/4 cup white chocolate
  • 1 cup seedless raisins
  • 2 cups vanilla sugar almonds*

*Vanilla sugar almonds

  • 2 cups almonds
  • 2-3 heaping Tablespoons sugar
  • 1 1/2 teaspoon vanilla extract
  • 1 Tablespoon oil
  • 1 Tablespoon liquid sweetener(corn syrup, agave, maple syrup, etc.)

Perk-Me-Up-Trail-Mix-top

Method:

  1. Preheat your oven to 350 degrees.
  2. Combine all of the ingredients for the almonds in a bowl and mix together.
  3. Lay the almonds out in a single layer on a baking tray and roast for 20-30 minutes, jostling occasionally until the liquid evaporates and the almonds turn golden. Remove and let the almonds cool completely before continuing.
  4. Toss the almonds, white chocolate, raisins, and chocolate covered coffee beans together. Store in an air-tight container for up to a month.

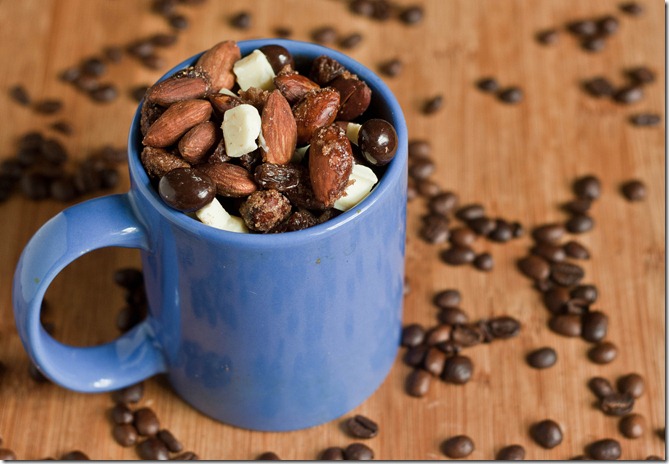
Perk-Me-Up-Trail-Mix-mug

The best part of waking up is this in your cup.

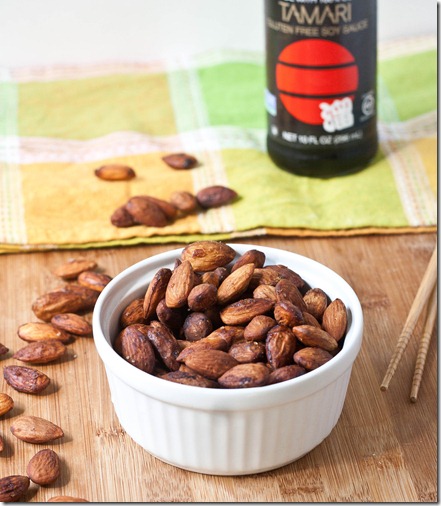
Homemade Tamari Almonds

homemade-tamari-almonds

I like to say I don’t have a sweet tooth, I have a mouth of sweet teeth. I don’t eat savory foods nearly as much as I should, especially not savory snacks when it’s so easy to pick up something sugar-laden or covered in chocolate. It’s not my best habit and I’d like to think I’m working on it.

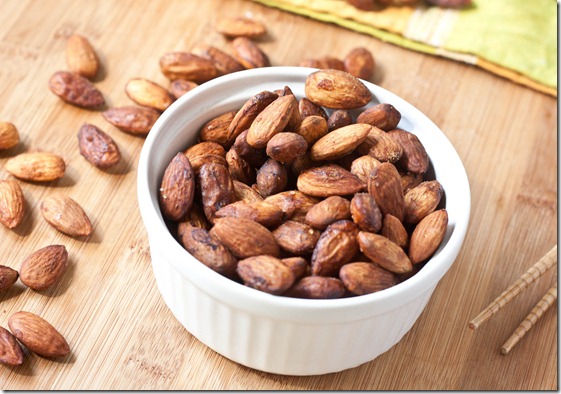
homemade-tamari-almonds-long

These almonds are delicious and you don’t have to feel bad enjoying them on the go. I’ve seen savory almonds on supermarket shelves but rarely are they ever gluten-free. Thankfully they aren’t hard to make yourself. All you need is a little time and patience.

Like whenever you’re roasting nuts, make sure to keep an eye on these to keep them from burning.

Homemade Tamari Almonds

Prep time: 5 minutes

Cook time: 20 minutes

Ingredients:

  • 2 cups raw almonds
  • 3 Tablespoons tamari(or soy sauce)
  • 1/2 teaspoon salt

homemade-tamari-almonds-slant

Method:

  1. Preheat your oven to 350 degrees
  2. Mix the almonds, tamari, and salt thoroughly
  3. Lay the almonds out in a single layer on a baking tray.
  4. Roast for 20 minutes or until the moisture has boiled off, occasionally tossing the pan.
  5. Remove and let cool completely before snacking. Store in an airtight container at room temperature for up to 2 weeks.

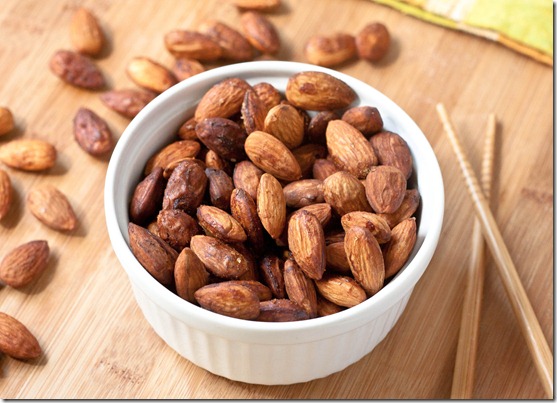
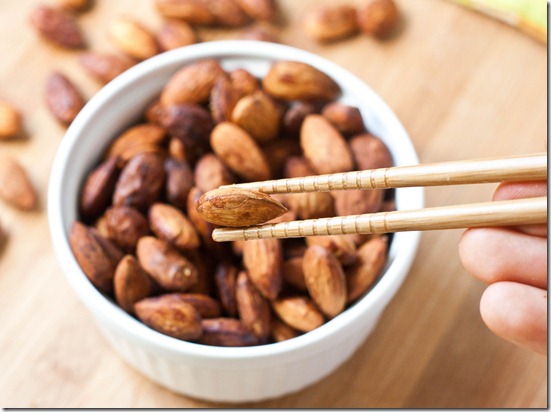
homemade-tamari-almonds-chopsticks

The chopsticks are completely unnecessary. But if you can pick up an almond with them then you’re definitely improving your abilities.

Tropical Greek Yogurt Parfait

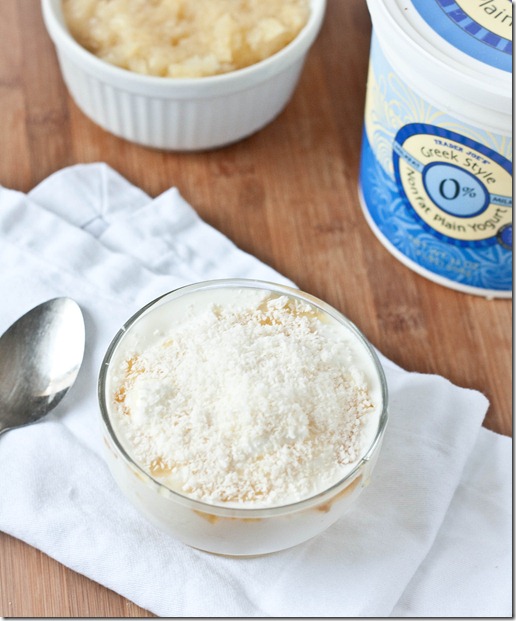
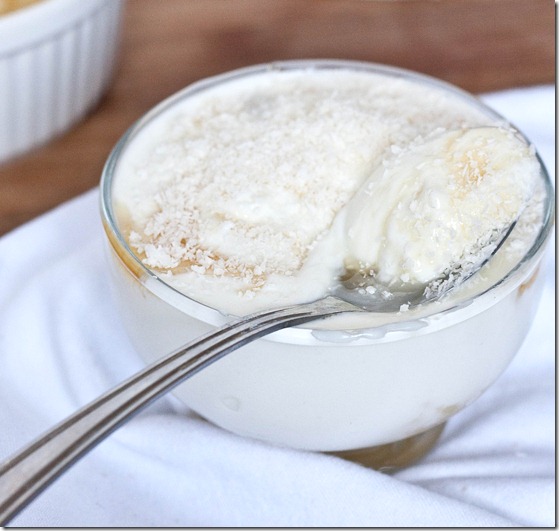
tropical-greek-yogurt-parfait

It’s been a long time since I posted a dairy-heavy recipe. A long time. I stopped eating dairy for a while after watching foodie documentaries and getting all the info; I don’t think that was a bad choice, but recently my snacking choices have been less-than-healthy, and the idea of something tasty, high in protein, and–most importantly–tasty was too appealing to pass up.

I can’t believe how much I forgot I missed greek yogurt. Between pineapple and pomegranate Chobani and cherry Fage, I go through those 6oz containers like nobodies business. It’s becoming an expensive habit. It ends up being so much cheaper to buy the plain yogurt and flavor it myself. I don’t mind because it makes the flavor combinations almost endless.

tropical-greek-yogurt-parfait-spoon

Look for crushed pineapple—not diced or sliced—and one that has no added sugars in it to keep this naturally sweetened.

Tropical Greek Yogurt Parfait

Prep time: 5 minutes

Cook time: 0 minutes

Ingredients(Makes 1 serving):

  • 2 Tablespoons canned crushed pineapple
  • 6 oz plain Greek yogurt
  • 1 Tablespoon honey
  • 1 Tablespoon unsweetened shredded coconut

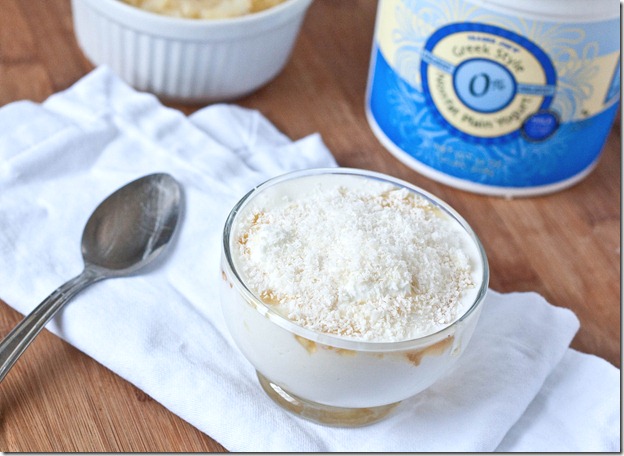
tropical-greek-yogurt-parfait-2

Method:

  1. First spoon the pineapple into the bottom of a medium sized bowl.
  2. Then pile the yogurt on top.
  3. Drizzle on the honey and finish with coconut. Eat immediately or put back in the refrigerator for later.

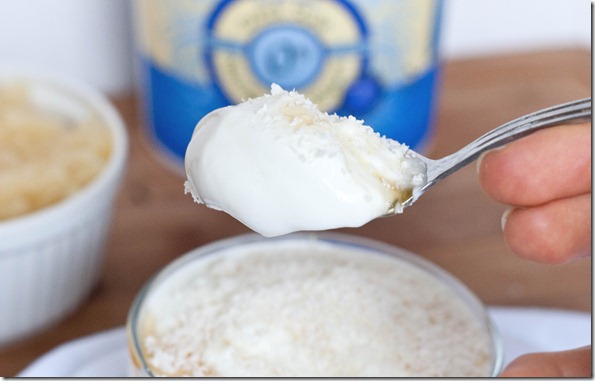
tropical-greek-yogurt-parfait-spoonful

Honey-Pineapple-Coconut. I’m telling you, Chobani needs to get on that flavor.