Category Archives: Side Dish

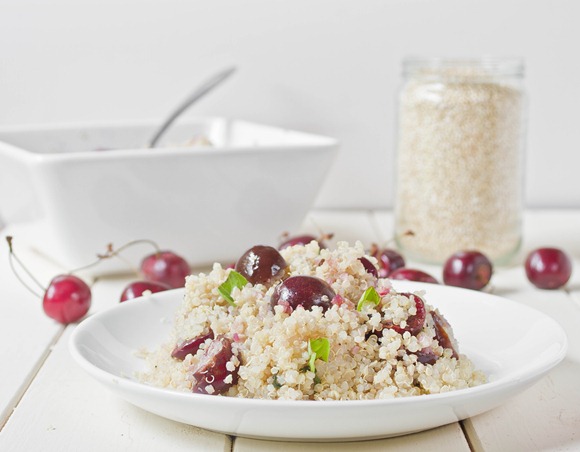
Cherry Basil Quinoa

Cherry Basil Quinoa

One cherry recipe and now another; if you can’t tell I bought a couple pounds of cherries last weekend and had to find ways to eat them. Now that they’re gone, I’m tempted to get more and see what comes out of it.

The great thing about fruits in the Summer is that you don’t really need to do anything to them. I thought about roasting the cherries before adding them in with quinoa(which you certainly can do), but the light and tangy flavors of fresh cherries mixed with herbs and seasoning didn’t need anything more.

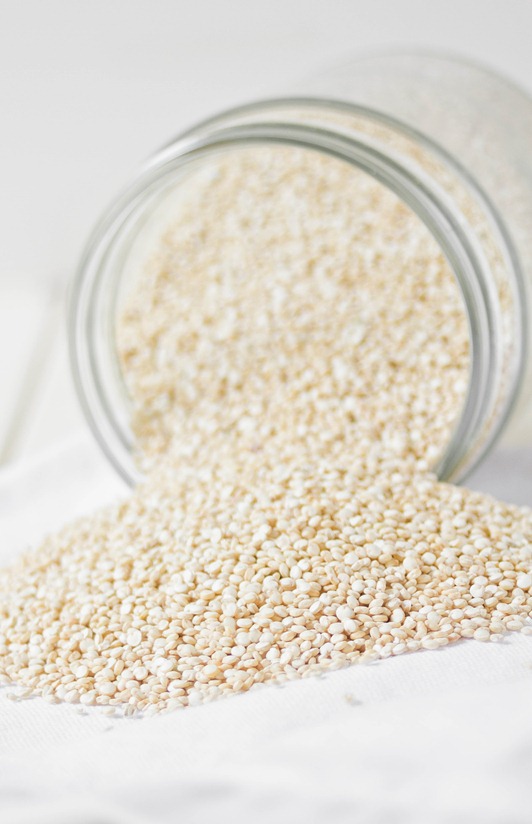
Quinoa

Quinoa’s one of my favorite grains and a pantry-staple in my house. If you’re out of quinoa and still want to try this, you could use couscous or a short-grain rice like Arborio. You could roast the cherries before mixing them in for a different flavor, but when they’re this fresh I think they’re even better as is.

Cherry Basil Quinoa

Prep time: 10 minutes

Cook time: 20 minutes

Ingredients(Makes 4-6 servings):

  • 1 1/2 cups dry quinoa, washed and rinsed
  • 3 cups water*
  • 3/4 cup pitted and halved cherries
  • 2 Tablespoons extra virgin olive oil
  • Small handful of basil, roughly chopped
  • 3/4 teaspoon salt
  • 1/2 teaspoon pepper

*This is the average amount of water I use for cooking quinoa. If you have a different method or the brand you use recommends more or less, by all means you can adjust this.

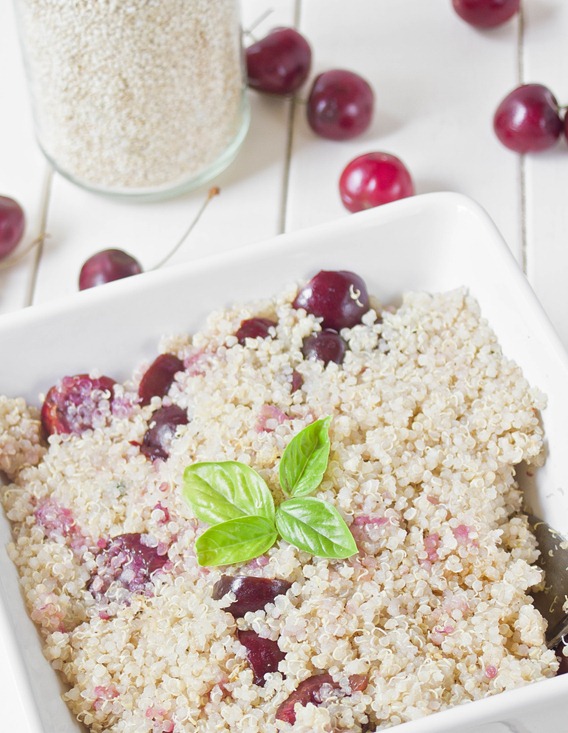
Cherry Basil Quinoa Yield

Method:

  1. Bring the quinoa and water to a boil in a pot and put on the lid.
  2. Turn the burner off and leave the quinoa undisturbed for 15-20 minutes until the water is entirely absorbed.
  3. Toss in the cherries, olive oil, basil, salt, and pepper and mix. Transfer from a pot to a serving dish.
  4. Serve hot or cold. Keep leftovers in the refrigerator for 2-3 days.

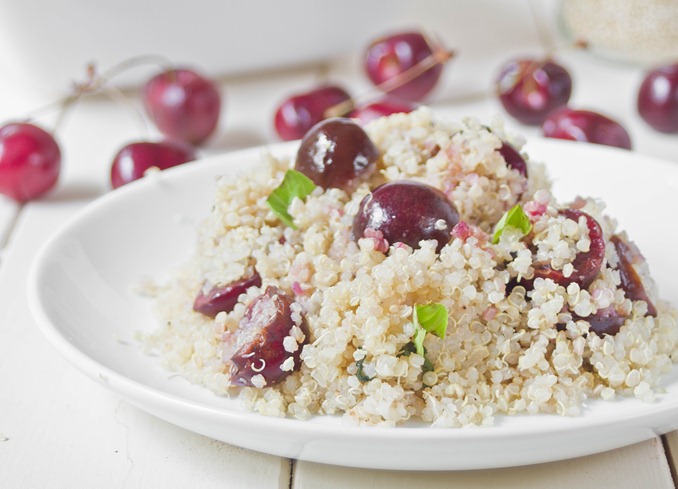
Cherry Basil Quinoa Plated

Who knew simple could be so good? You can add some beans into the mix or add crushed pistachios or almonds on top to make this more of an entrée.

Easy Chilled Watermelon Soup

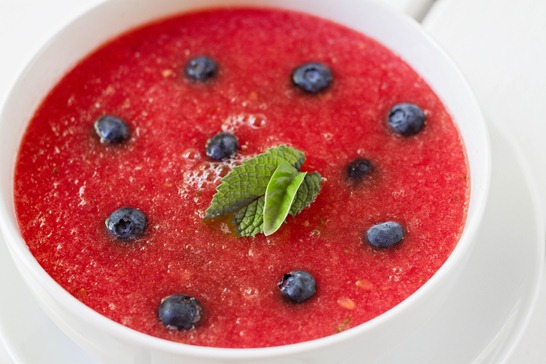
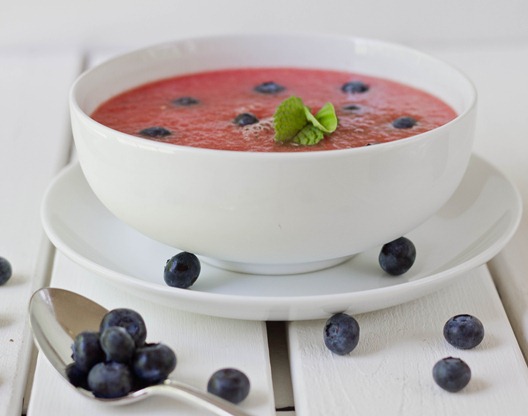
Easy Chilled Watermelon Soup

Here’s another red and blue recipe to go along with that cake.

I really can’t take credit for the idea of this soup at all; it was one of those cases when you go to a restaurant and try something and think, “Hey, I can make that!” I would never have thought a sweet watermelon soup could be a good appetizer but the balance of herbs and a touch of sour watermelon make this soup a lot more than just sweet.

As soon as I bought a watermelon I cut up half and made this soup with a slight smile on my face realizing it was just as good as from the restaurant. With bright and vibrant colors, it seemed perfectly fit for this week. Unfortunately the one thing it’s missing is white, but I’m sure it’d be welcomed at any (very fancy) 4th of July party.

Easy Chilled Watermelon Soup Serving

Be careful not to put too much watermelon in your food processor or it will overflow and you’ll have watermelon juice all over your counters. Trust me; I know from experience. Taste the soup at every step and add more herbs depending on your personal preference.

Chilled Watermelon Soup

Prep time: 20 minutes

Cook time: 0 minutes

Ingredients(Makes about 4 servings):

  • 1/2 large watermelon
  • 2 Tablespoons sugar
  • Juice from 1/2 lime(about 1 Tablespoon)
  • 1/4 teaspoon salt
  • 4-8 mint leaves, chopped finely
  • 4-8 basil leaves, chopped finely
  • Blueberries, raspberries, and herbs to garnish

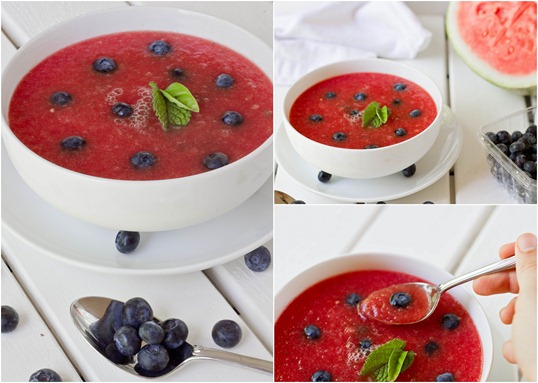
Easy Chilled Watermelon Soup Collage

Method:

  1. Cut the watermelon away from the white pith into smaller chunks between the size of a golf ball and a baseball.
  2. In small batches, blend the watermelon chunks in a food processor until smooth. Keep in mind that as the watermelon blends it turns into a liquid and so will overflow easily.
  3. Pour the watermelon puree in a large bowl. Repeat until all the watermelon has been used up.
  4. Add the sugar, lime, salt, and chopped herbs into the soup. Mix well.
  5. Let the soup chill in the refrigerator for at least 2 hours, preferably overnight.
  6. Ladle into dishes, garnish, and serve cold.

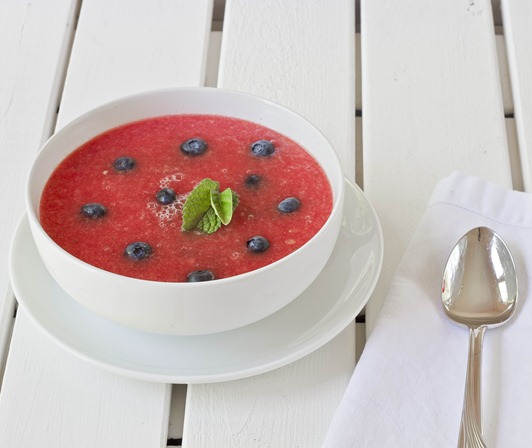
Easy Chilled Watermelon Soup Plated

Soup’s on.

Perfect Grilled Potatoes

Perfect Grilled Potatoes

I don’t like to throw around the word “perfect”, but some occasions just beg for it. If you’re looking for a grilled potato recipe, look no further. This is the best there is.

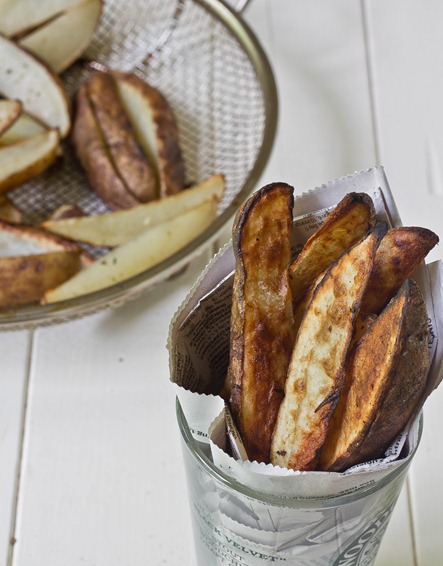
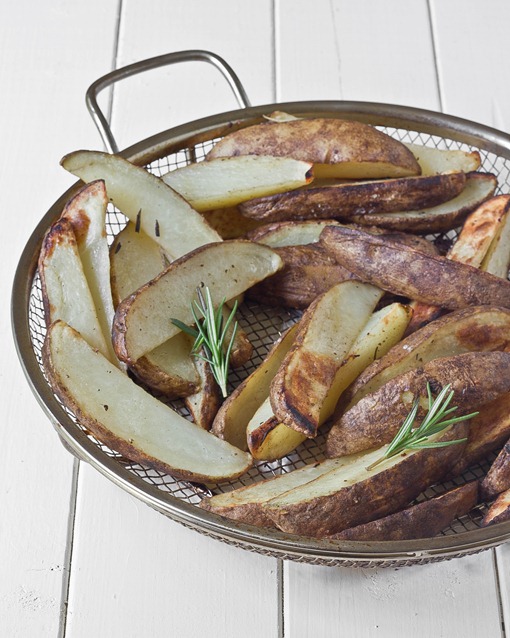
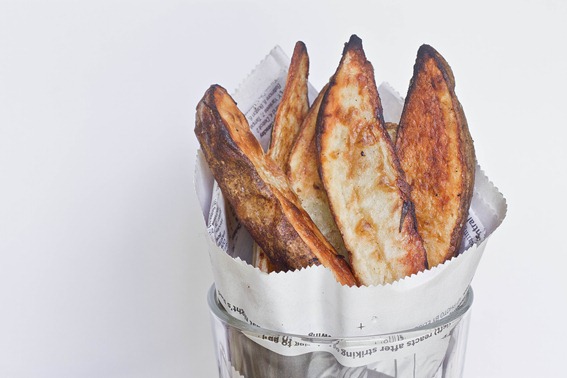
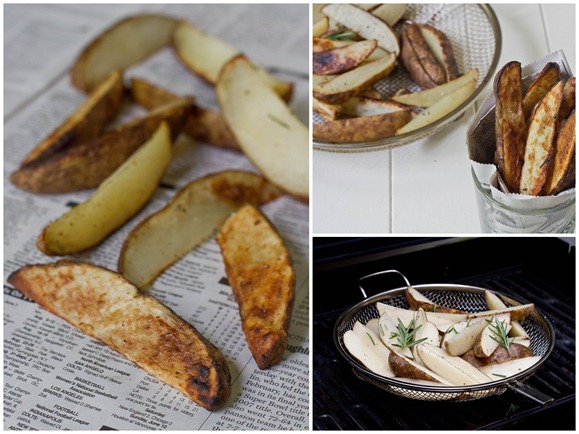
These potatoes are soft and starchy on the inside with a crunchy, crispy, slightly smoky crust. The hint of rosemary along with the salt and pepper brings out a softer flavor in the potato. The result isn’t too oily or too dry, too herby or too charred—it’s just perfect.

Perfect Grilled Potatoes Grilling Rack

The one piece of equipment you need to make these is a mesh wire vegetable grilling rack. It’s a great addition for any griller that quickly pays off. You can grill any vegetables from potatoes to peppers to asparagus with it and it keeps them all contained so you’re not reaching around the whole surface or losing any through the grills while you’re cooking them.

Perfect Grilled Potatoes Serving

Russet, red, or sweet potatoes will best stand up to the heat of grilling. Something fluffier like golden or yellow potatoes would not, so make sure you’re starting out with the right kind of potato.

Perfect Grilled Potatoes

Prep time: 10 minutes

Cook time: 45 minutes

Ingredients(Makes 4 servings):

  • 4 russet potatoes, washed
  • 2 Tablespoons olive oil
  • 1 Tablespoon white vinegar
  • 3/4 teaspoon salt
  • 1/2 teaspoon black pepper
  • 3 sprigs of rosemary

Perfect Grilled Potatoes Collage

Method:

  1. Heat your grill up to around 350 to 400 degrees.
  2. Cut the potatoes into quarters or eighths depending on how thick you want them to be.
  3. In a large bowl, toss the potatoes with the olive oil, vinegar, salt, pepper, and rosemary.
  4. Dump the potatoes into a vegetable rack and place them on the grill.
  5. Toss the rack to turn the vegetables around every 10 minutes. Cook for 40-50 minutes until the potatoes are soft and the outside is crispy.
  6. Plate and serve hot.

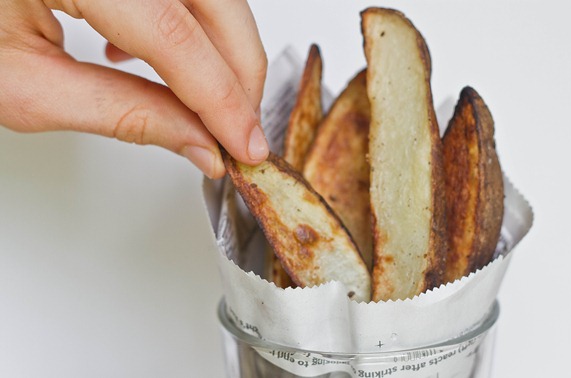
Perfect Grilled Potatoes Snatch

See? Perfect.

Thai Deviled Eggs

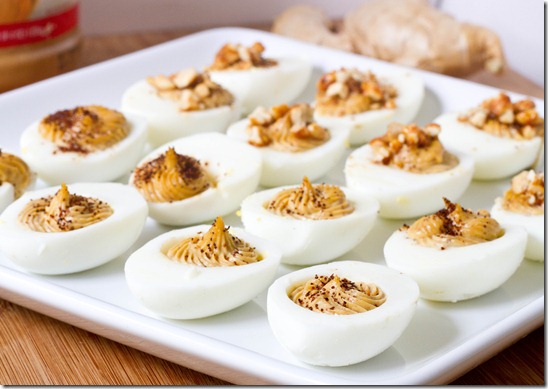
Thai-Deviled-Eggs

Happy Memorial Day! Hopefully you’re all set to relax on the beach, but if you’re in need of a quick appetizer or beach snack this might fit your bill.

I used to hate hard-boiled eggs(and by “used to” I mean about a year ago); the texture of the cooked yolks sort of freaked me out. And deviled eggs? Well, I’m a little suspicious of mayo still, so no thank you.

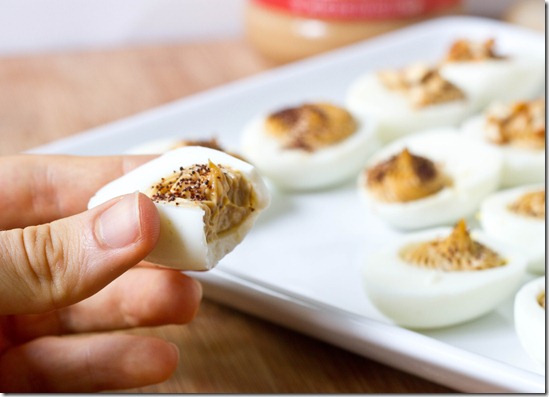
Thankfully at some point I saw the light(about hard boiled eggs—not mayonnaise. That’s still on my gross list). Instead of mayo, this recipe mixes the egg yolks with peanut butter, spices, and coconut milk for a light yet rich mousse-like filling. The peanut butter also boosts the protein in addition to being incredibly flavorful.

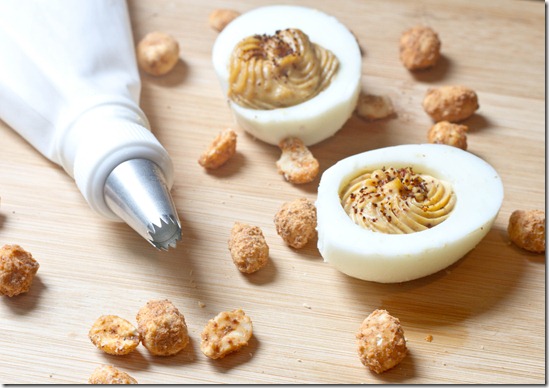
Thai-Deviled-Eggs-filling

I used a frosting piper to fill the centers, but you could use a Ziploc bag with a corner cut off to get a similar effect.

Thai Deviled Eggs

Prep time: 20 minutes

Cook time: 10 minutes

Ingredients(Makes 2 dozen):

  • 1 dozen eggs
  • 1/4 cup peanut butter
  • 3/4 teaspoon salt
  • 1 Tablespoon sugar
  • 2 teaspoons rice vinegar(or white vinegar in a pinch)
  • 1/2 teaspoon chili powder
  • 1/2 teaspoon cayenne pepper
  • 1/4 teaspoon paprika
  • 1/2 teaspoon ginger powder OR 1/4 teaspoon fresh grated ginger
  • 3-4 Tablespoons coconut milk(any kind of milk would do)
  • Crushed peanuts and extra chili powder to garnish

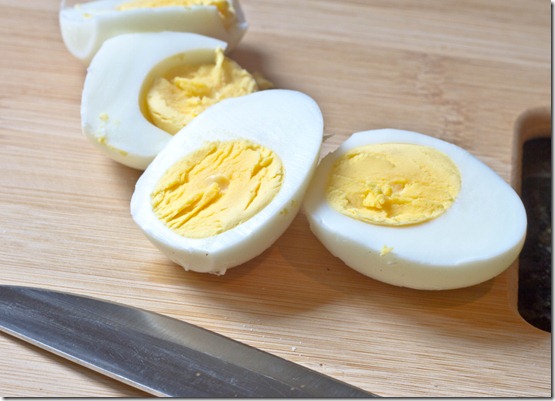
Thai-Deviled-Eggs-eggs

Method:

  1. Boil the eggs in a pot full of water for 9 minutes. Drain the eggs from the water and submerge in cold water to bring them down to room temperature.
  2. Peel the shells from all of the eggs and split them in half.
  3. Scoop out the yolks from the egg whites.
  4. Combine the yolks, peanut butter, salt, sugar, vinegar, and spices in a food processor and blend until smooth.
  5. Slowly add your liquid until the filling takes on the texture of a mousse.
  6. Either scoop the filling directly into the egg whites or use a pastry bag to squeeze them in.
  7. Garnish with peanuts and/or chili powder. Serve at room temperature. 

Thai-Deviled-Eggs-bite

Now go out there and enjoy the weather. But pack your deviled eggs first.

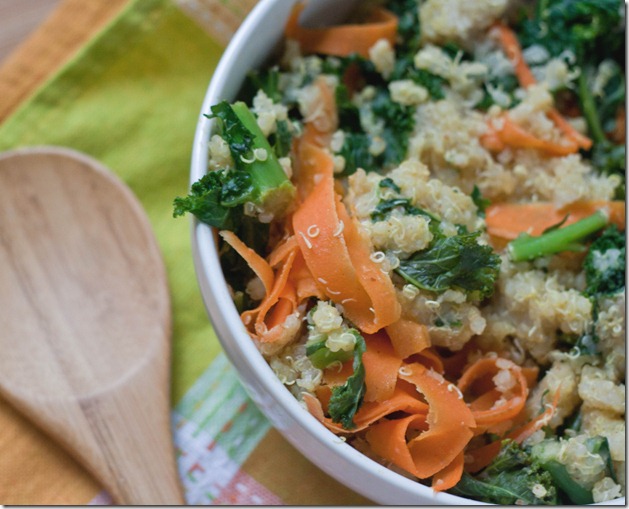
Tangy Kale and Carrot Quinoa

tangy-kale-and-carrot-quinoa

If there’s one thing I’ve learned from living off meal plan in a dorm room, it’s how to get savvy with the foods and cooking tools available. I could probably count on one hand the number of times I made a meal on an actual stove the past few months, and I can’t wait to move back to somewhere where that’s more convenient.

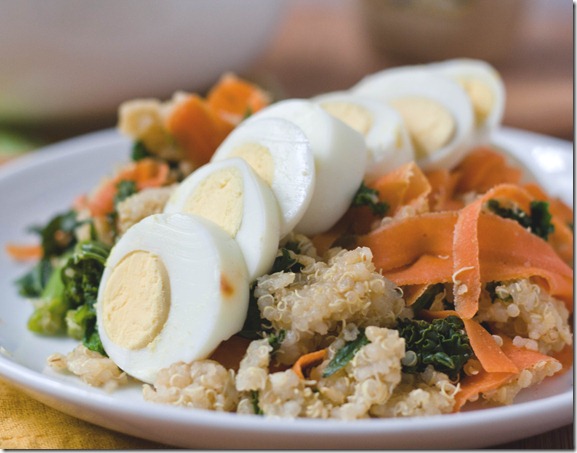
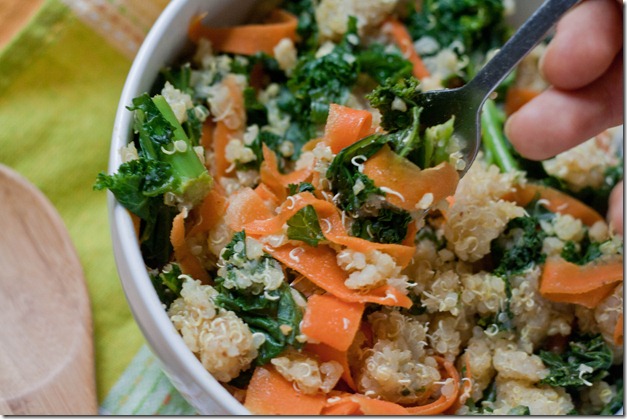
I haven’t had a chance to run to the store and the day I made this it was pouring outside, so this was truly a winging-it meal made with whatever I had lying around. Quinoa’s a great pantry staple and cooks perfectly in any rice cooker(which is what I cooked this in, although I wrote the recipe for a stove since I figured that’s more common). Add some vegetables and a source of protein and you’ve got a meal.

tangy-kale-and-carrot-quinoa-fork

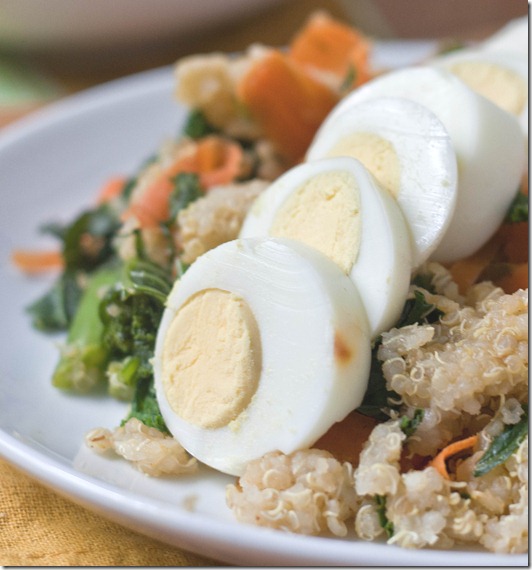
Another example of ingenuity? The eggs I ate this with were baked, not boiled! I picked that up from this post I found on Pinterest. If you ask me I’d much rather toss eggs in an oven for 30 minutes and get other stuff done than stand over a stove waiting for water to boil. You could also serve this with baked tofu, tempeh, or chicken on top and it’d be just as good. 

Tangy Kale and Carrot Quinoa

Prep time: 10 minutes

Cook time: 20 minutes

Ingredients(Makes 2 servings):

  • 3/4 cup dry quinoa
  • 1 1/2 cup water*
  • 2 cup kale
  • 2 large carrots, shaved into thin strips
  • 2 Tablespoons mustard
  • 1 Tablespoon agave
  • 1/2 teaspoon salt

*This is the ratio with water I usually cook my quinoa in. If the brand you’re using tells you to do differently, follow the box’s cooking instructions.

tangy-kale-and-carrot-quinoa-eggs

Method:

  1. Rinse the quinoa and then combine it with the water in a small pot. Cook for 15 minutes or until all the water has been absorbed and the quinoa is light and fluffy.
  2. Turn off the heat and add the kale and carrot strips into the pot. Cover with a lid for 5 minutes until the kale and carrots have steamed.
  3. Add in the agave, mustard, and salt and mix everything together. Serve while still hot.

tangy-kale-and-carrot-quinoa-bowl

The agave and mustard aren’t too strong or overpowering but give this just the right amount of flavor to be light and refreshing. Next time I might add toasted cashews and eat this all on its own.

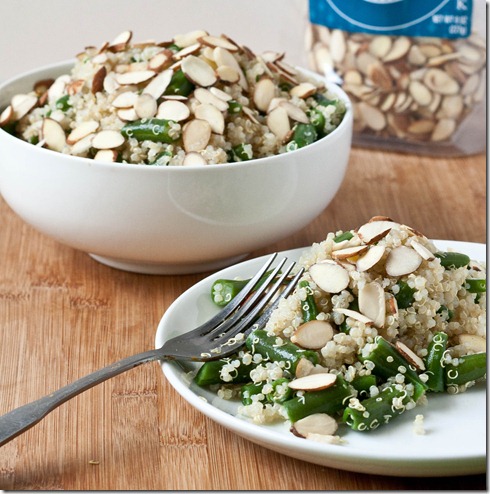
Green Bean Almondine Quinoa

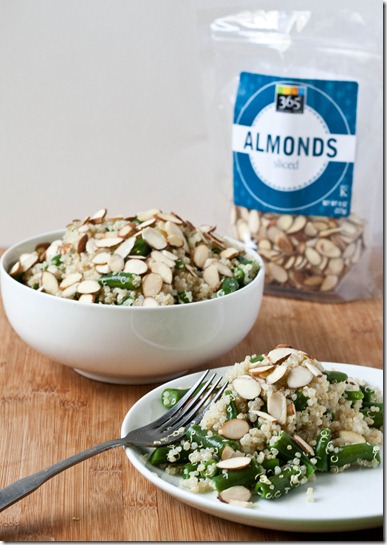
green-bean-almondine-quinoa

Green beans are definitely not the sexiest of vegetables. I think they took a hit in the 50s when green bean casseroles were all the rage and they never really recovered from that. That’s a shame because cooked just right they can be delicious!

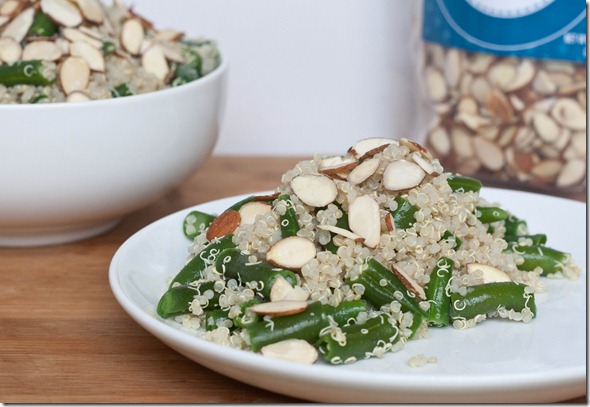
green-bean-almondine-quinoa-serving

I love the idea of pairing green beans and almonds. But that alone doesn’t sound particularly enticing since it’s been done to death. I thought I’d try mixing that in with quinoa, since it’s filling and all the rage these days. This is a much heartier side dish that’s bright and flavorless and doesn’t taste dated.

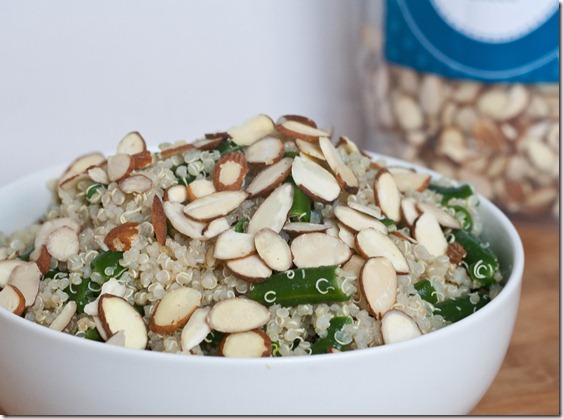
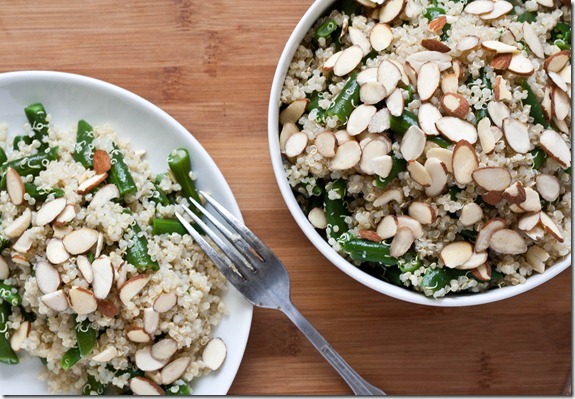
green-bean-almondine-quinoa-bowl

If fresh green beans aren’t available, look for frozen green beans, which will have a better taste and texture than canned.

Green Bean Almondine Quinoa

Prep time: 10 minutes

Cook time: 25 minutes

Ingredients(Makes 6-8 servings):

  • 2 cups dry quinoa, washed and rinsed
  • 1/2 pound green beans, trimmed and washed
  • 2 Tablespoons extra virgin olive oil
  • 1 Tablespoon lemon juice
  • 3/4 teaspoon salt
  • 1/2 cup shaved or slivered almonds

green-bean-almondine-quinoa-long

Method:

  1. Cook the quinoa according to the package directions(I usually cook mine with 2 parts water to 1 part quinoa).
  2. While the quinoa is cooking, cut the green beans into a bite-sized length. Steam the green beans until they turn a bright green color and are cooked through.
  3. When the quinoa is fully cooked, turn off the heat and stir in the beans, olive oil, lemon juice, and salt.
  4. Move the quinoa to a serving bowl and garnish with the almonds. Serve hot or at room temperature.

green-bean-almondine-quinoa-plated

Roasted Asparagus

roasted-asparagus

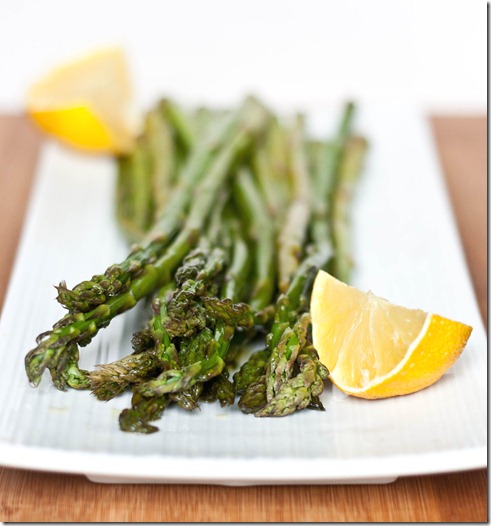
It’s exciting to have fresh produce back on grocery store shelves. I was getting tired of looking at potatoes and squash, but now asparagus, berries, and avocado are all plump and on sale and it actually makes cooking seem less like a chore now.

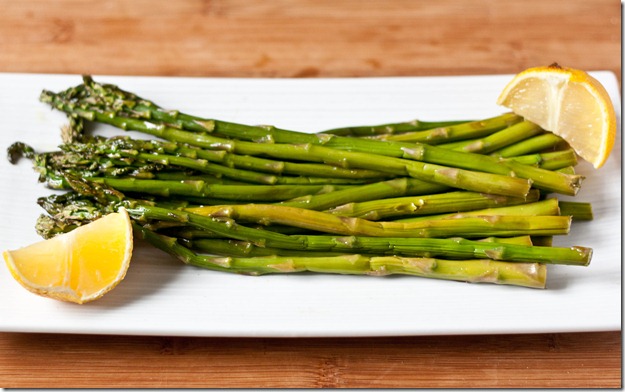
My favorite method of cooking is still to chuck things in the oven and forget about it. I mean, how easy is that?(Cue the Ina Garten voice) Roasting also adds a lot of flavor as it cooks the vegetables through in a way that steaming or boiling doesn’t. This asparagus comes out much richer and nuttier than if it were cooked any other way.

roasted-asparagus-ingredient

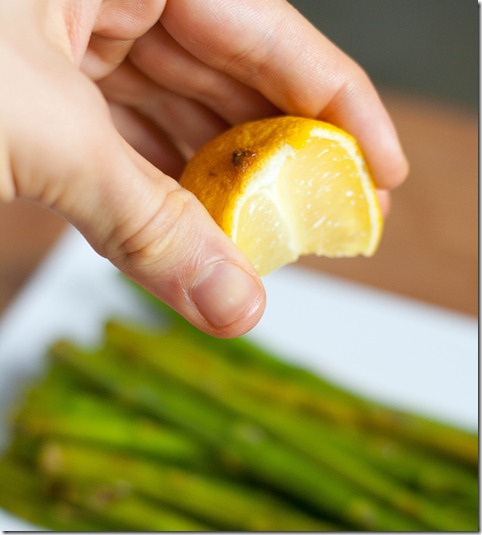
The lemon and salt at the end brighten up the flavor and brings out the sweet side of the asparagus. The garlic powder is completely optional but a nice touch to add a comforting savoriness to the dish that would go well along side red meat and potatoes.

Roasted Asparagus

Prep time: 5 minutes

Cook time: 30 minutes

Ingredients:

  • 1 bundle of asparagus, washed
  • 2 Tablespoons olive oil
  • 1/2 teaspoon garlic powder(optional)
  • 1 Tablespoon lemon juice
  • 1/2 teaspoon salt

roasted-asparagus-lemon

Method:

  1. Preheat your oven to 375 degrees
  2. Toss the asparagus in the oil and garlic powder if using.
  3. Roast for 30 minutes until the asparagus is slightly past fork tender
  4. Remove from the oven and drizzle with the lemon juice. Finish with a sprinkling of salt.
  5. Serve hot.

roasted-asparagus-plated

Alright, show of hands—who else forgot vegetables could actually taste good after the last 6 months?

Cranberry Cashew Quinoa

cranberry-cashew-quinoa

It’s been a while since I posted a quinoa recipe. Not because I haven’t been eating it, but because I haven’t been doing anything interesting with it except covering it in store-bought sauce. At some point I forgot to go grocery shopping and had to get crafty and a recipe came out of it.

When I was growing up we always had fish for Friday during Lent. Actually, we usually had pizza because I didn’t like fish, but there was definitely an offering of fish. Usually it was white fish with lemon and dill. Now I don’t eat fish and I’m not Catholic, so fish on Fridays is clearly out. But the bright side of being a vegetarian is discovering new foods, and quinoa on any day is clearly in.

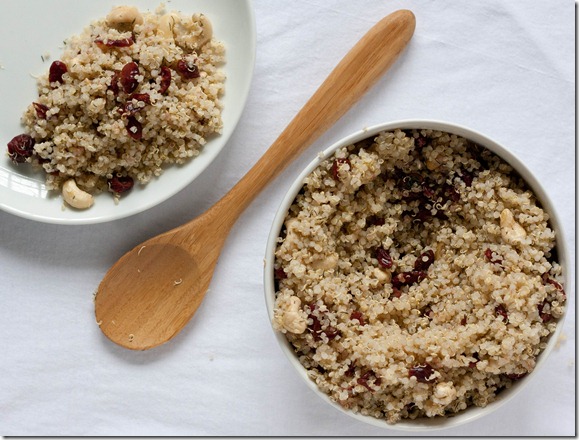
cranberry-cashew-quinoa-overhead

This quinoa recipe like most others is fairly versatile. You can eat it as a side dish with something light like fish or beans, or toss it on a salad of green vegetables and eat it as an entrée.
Cranberry Cashew Quinoa

Prep time: 10 minutes

Cook time: 15 minutes

Ingredients(Makes 4-6 servings):

  • 1 cup dry quinoa, cooked to box’s directions
  • 1/2 cup dried cranberries
  • 1/2 cup cashews, raw or roasted
  • 1 Tablespoon lemon juice
  • 2 Tablespoons dried dill or parsley
  • 3/4 teaspoon salt
  • Honey to taste(optional)

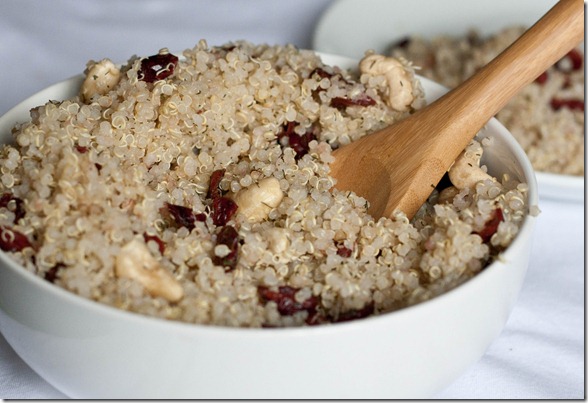
cranberry-cashew-quinoa-spoon

Method:

  1. Rinse and wash your quinoa before cooking.
  2. Cook using the manufacturer’s directions for water and time.
  3. When the quinoa has finished cooking, remove it from the heat.
  4. Add into the pot the rest of the ingredients and mix until evenly combined.
  5. Serve hot or cold as a side with fish or beans.

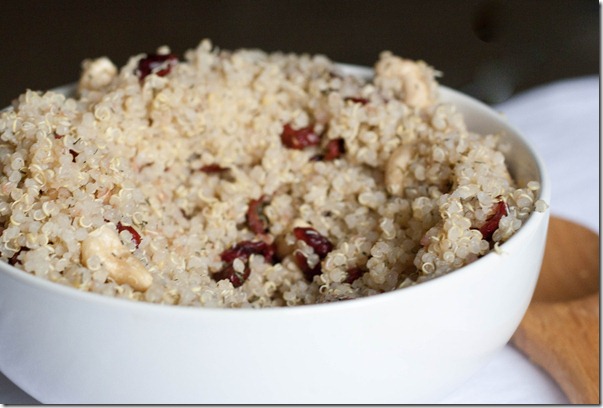
cranberry-cashew-quinoa-bowl

Thanksgiving Cranberry Sauce Recipe

Nov 26th 076

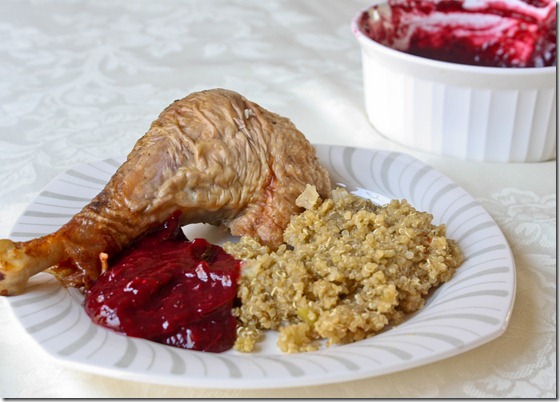
Let’s look past the fact that Thanksgiving was now 2 weeks ago. You might want to make cranberry sauce for Christmas, or just for anytime, right? Maybe? Sure.

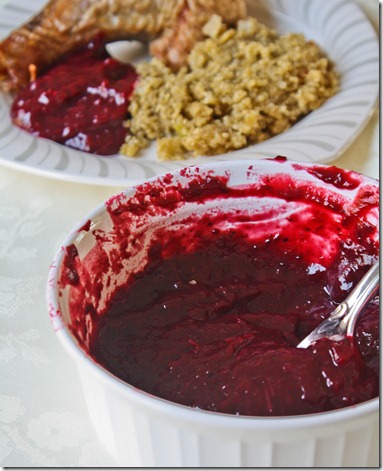
I wanted to make a sauce with a twist. Since my whole family is from northern New Hampshire, I tried adding some blueberries into the cranberry sauce. And a little ginger because who doesn’t like ginger? Orange juice replaces some of the sugar with a less refined sweetness to round out the flavor of the sauce.

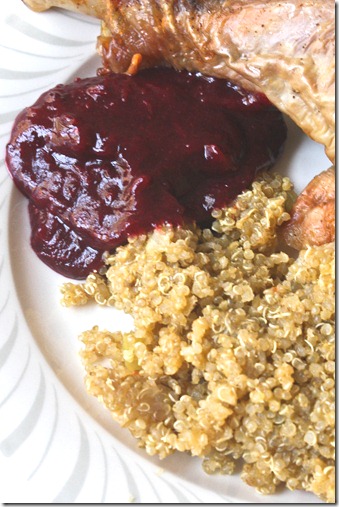
And since I figure somebody’s going to wonder or ask: No, that’s not my plate. Yes, I am still a vegetarian. But I did carve the turkey for the second year in a row because I’m damn good at it.

Thanksgiving Cranberry Sauce

Prep time: 5 minutes

Cook time: 30 minutes

Ingredients(Makes around 6 cups):

  • 24oz fresh cranberries
  • 1 cup blueberries
  • 2 cups orange juice
  • 1/4 teaspoon salt
  • 1/2-inch fresh ginger peeled and grated
  • 6 Tablespoons cane sugar

Nov 26th 093

Method:

  1. Combine the cranberries, blueberries, and orange juice together in a large pot.
  2. Cover the pot and bring the contents to a boil. Keep boiling until the juice evaporates.
  3. Once finished, pour the cranberries and blueberries into a food processor. Add in the salt, ginger, and cane sugar and puree until smooth.
  4. Move the sauce to a container and leave it out to cool. Once at room temperature, place the sauce in the refrigerator to until eating.

Nov 26th 069

Next time I make this I want to swap another cup of cranberries for blueberries to make the flavor more prevalent. Nobody noticed there was blueberries in the sauce; I didn’t even notice and I made it.

Yellow Mashed Potatoes

yellow-mashed-potatoes-bowl

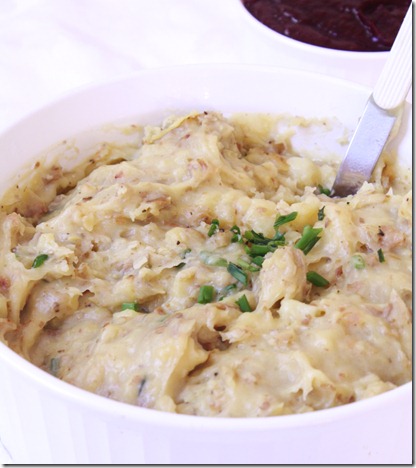
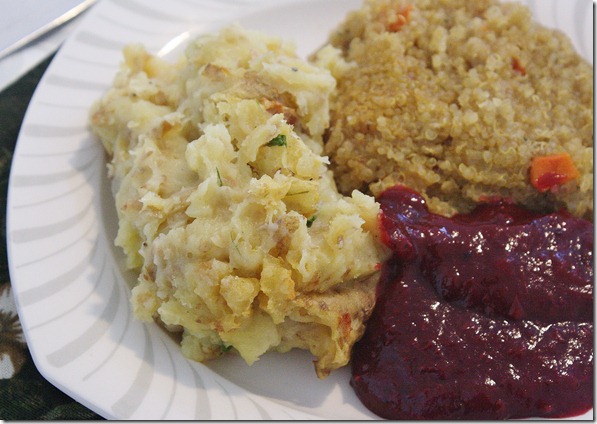
Every year for Thanksgiving we’ve had mashed Russet potatoes, and they’ve never really caught my attention. This year, since I’ve started to warm up a lot to the organic yellow potatoes I find at Whole Foods, I thought I’d try making mashed potatoes with those. They’re slightly waxier and starchier than Russet, which makes them perfect comfort food.

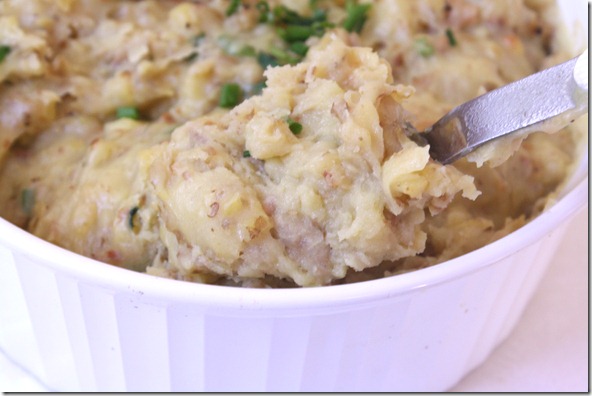
This recipe uses no cream or milk—just butter, which makes it very low in lactose and milk proteins. You could easily substitute a vegan margarine for dairy-free alternative. The chives and seasoning help to give it a subtle flavor while still highlighting the potatoes. I keep the skin on since it adds some fiber and nutrients and gives the dish texture.

Yellow Mashed Potatoes

Prep time: 15 minutes

Cook time: 80 minutes

Ingredients(Makes 10-12 servings):

  • 5lbs organic yellow potatoes
  • 1/2 cup butter
  • 1 teaspoon salt
  • 1/2 teaspoon black pepper
  • 2 Tablespoons chopped chives

yellow-mashed-potatoes

Method:

  1. Bake the potatoes skin on for an hour and 20 minutes at 350 degrees until all of them are cooked through.
  2. Let the potatoes cool enough to be handled. Dice them into quarters for easy processing.
  3. Add half of the potatoes, 1/4 cup of butter, 1/2 teaspoon of salt and 1/8 teaspoon of pepper and puree until mostly smooth. Scoop the potatoes into a serving bowl and repeat with the same ingredients.
  4. Fold the chopped chives into the potatoes. Garnish with extra chives. Serve hot.

yellow-mashed-potatoes-scoop

Maybe if I start recipe testing now I’ll master the art of gluten-free gravy by next Thanksgiving.