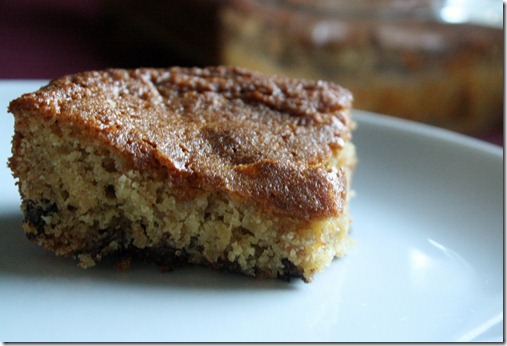
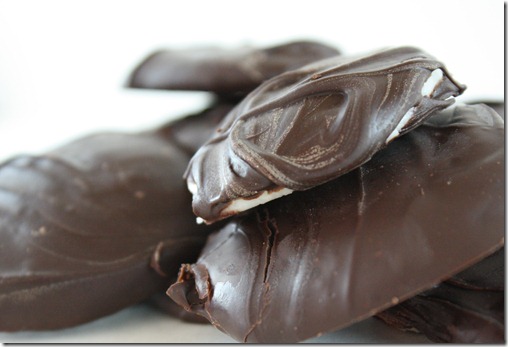
Ever since I got a Canon Rebel as my Christmas present last year, I’ve been trying and trying to take better photos. While a fancy camera is nice, it doesn’t do all the work for you. And better lenses can cost anywhere from $100 into the thousands. Being a student 9 months out of the year and having an awesome but unpaid internship over the Summer, I’m on the lookout for anything cheap that enhances photo. Since I’ve started using these(all under $20!), I’ve had a few photos accepted onto Foodgawker and Tastespotting—proof that you don’t need all the bells and whistles for your photos to get noticed.
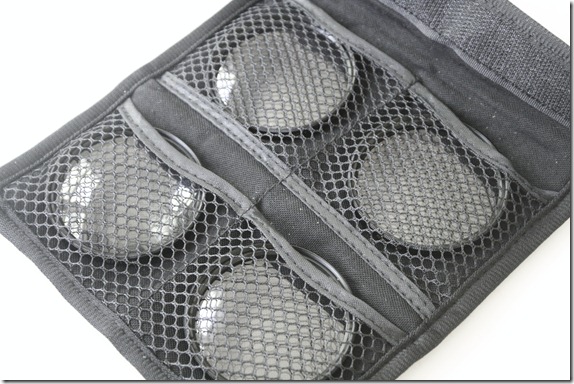
1. Close-Up Macro Filter Lenses: $10.49
These are perfect for the person who has just bought the fancy $500 camera and doesn’t want to pay anymore for specialty lenses. I first learned about these from Caroline who takes amazing food photos and hoped that buying them would help me take pictures half as good as hers.
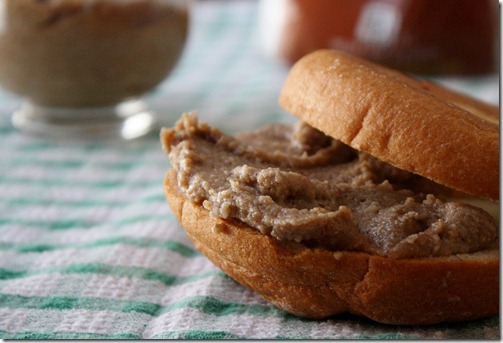
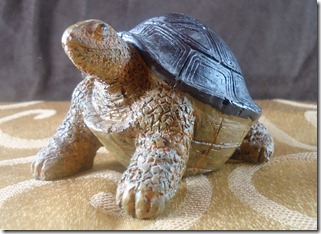
Each lens magnifies a certain amount: x1, x2, x4, and x10. They can also be stacked on one another for even more magnification, so for instance you could make a x15 by stacking the x1, x4, and x10 lenses. It can be hard to focus the camera with them on, but if you’re patient they’re good for close-up shots of food. And for the price they’re really quite a bargain.
2. Dollar Store Placemats: $1
I’ve been trying to get better about adding props to my photos and the easiest one so far to master has been the placemat. Picking a background in contrast with the food will make it stand out more. Since I didn’t want to break the bank, I went to the dollar store. I didn’t keep track of how much I spent, but I see 5 placemats, so I’m going to go out on a limb and say I paid $5. That certainly sounds like a reasonable deal to me.
3. White/Grey Posterboard: $.10-.99
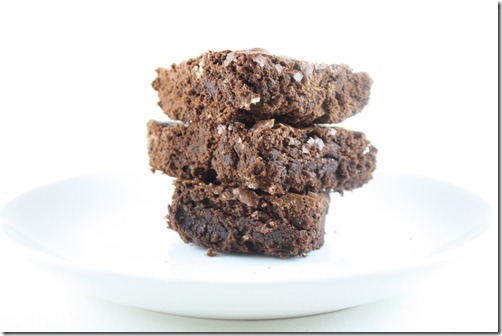
Another easy and cheap background is posterboard, which you can find at any CVS in the crafts aisle. White is a favorite color for food bloggers because it draws no attention, putting the spotlight solely on the food. You can use it as a background or, like the placemats, underneath as a surface.
Another tip the photo editor at a newspaper I take pictures for told me is to use a slightly grey-toned paper to set a camera’s white balance under natural light to get truer colors. Jessica does a great job at making colors pop with a grey background.
4. Natural Lighting: Free
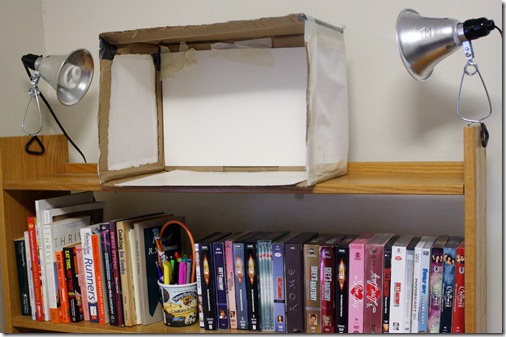
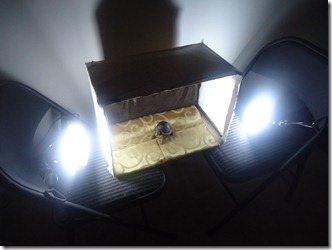
We all know lighting is important. Last December I made a light-box specifically for it. But there’s NO reason to pay a penny for it, especially during the Summer when the sun’s out until 8pm anyway. Natural lighting provides for the best food photos, which is why anything you can buy at a hardware store tries to replicate it.
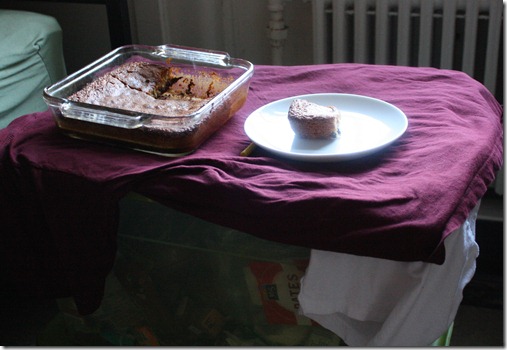
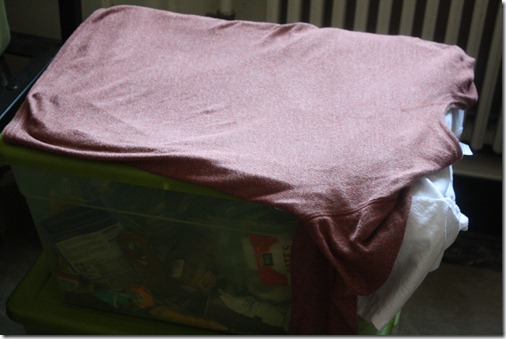
Take advantage of it whenever and wherever possible. And I truly mean “wherever”; if the best lighting in your house is in the spare bedroom, take the plate of food and camera there. You might feel silly at the time, but with a close-up no one will be able to tell the location anyway. And you can always crop the bed out of the background; I’ve done that.
What are your cheap photography tips and tricks?


