Category Archives: Entree

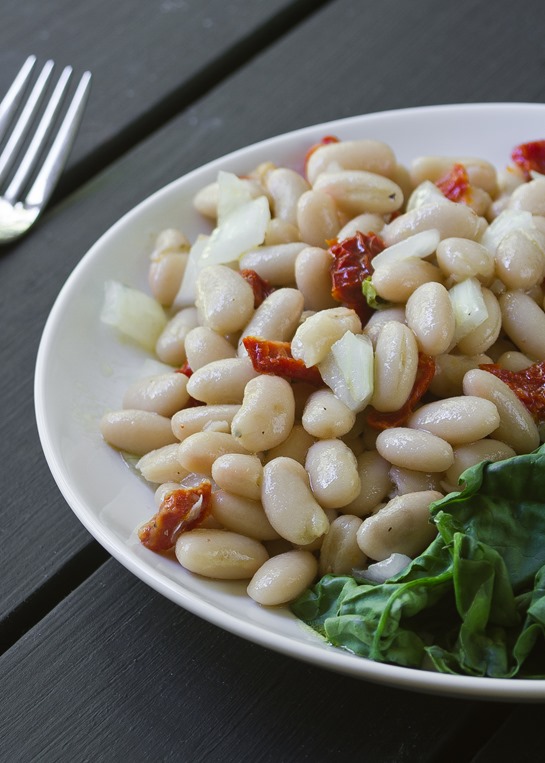
Italian White Bean Salad

Italian White Bean Salad Yield

This is one of my favorite things I’ve eaten this Summer, which is saying a lot since I love sweets and it’s a savory recipe. It’s just the prefect, refreshing thing to throw together and put on a plate and enjoy without ever turning on the oven.

The ingredients here are really simple: White beans, sundried tomatoes, onions, basil, dressing and seasoning. That’s all you need! Don’t let the raw onions scare you; soaking them in a little cold water first takes out the bite in their flavor but leaves them cool and crunchy. You might want to freshen your breath afterwards with a homemade peppermint patty.

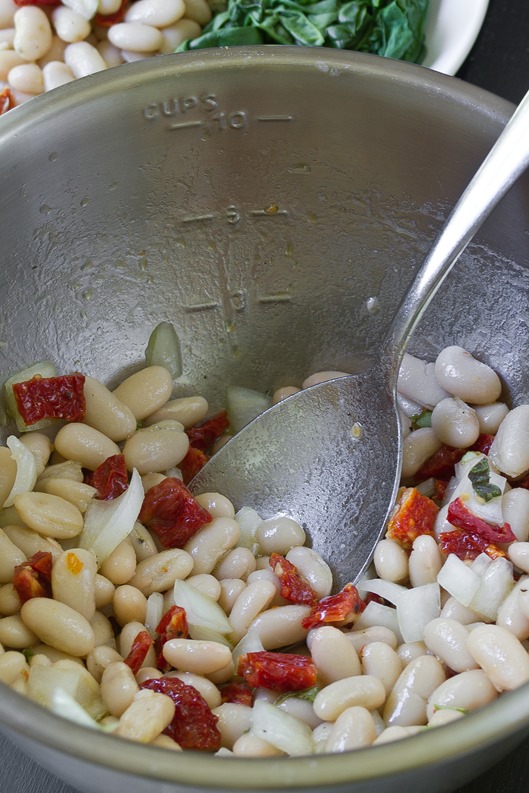
Italian White Bean Salad Ingredients

Like all recipes, make sure to season these to taste. If the beans you used were cooked in salt, make sure to use less to keep the flavor light and fresh.

Italian White Bean Salad

Prep time: 10 minutes

Cook time: 0 minutes

Ingredients(Makes 4 servings):

  • 2 cans white beans, drained
  • 1/4 cup chopped sundried tomatoes
  • 1/4 cup chopped onions
  • 3 Tablespoons extra virgin olive oil
  • 1 1/2 Tablespoons lemon juice
  • 2 Tablespoons fresh chopped basil
  • 1/2 teaspoon cracked black pepper
  • 1/4-1/2 teaspoon salt

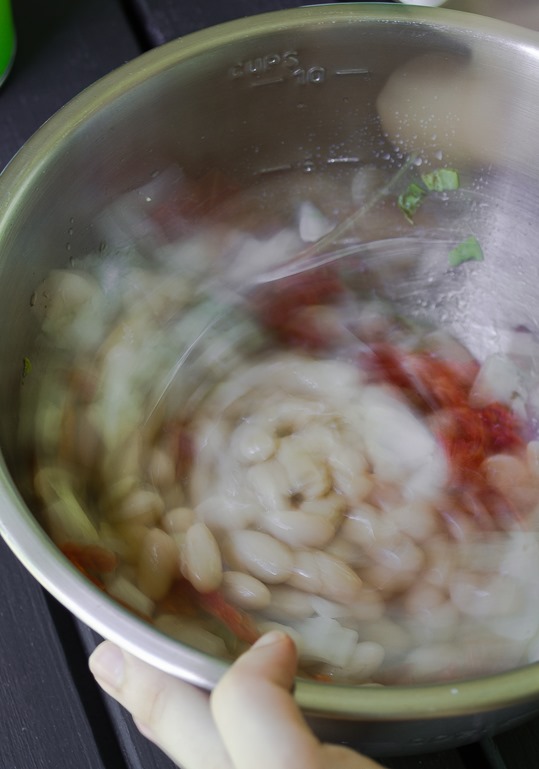
Italian White Bean Salad Mixing

Method:

  1. Let the onions soak in cold water for 5-10 minutes. Drain the water from the onions and lightly pat them dry.
  2. Toss all of the ingredients except for the salt together in a large bowl.
  3. Taste the beans and season with the salt as necessary.
  4. Serve cold or at room temperature.
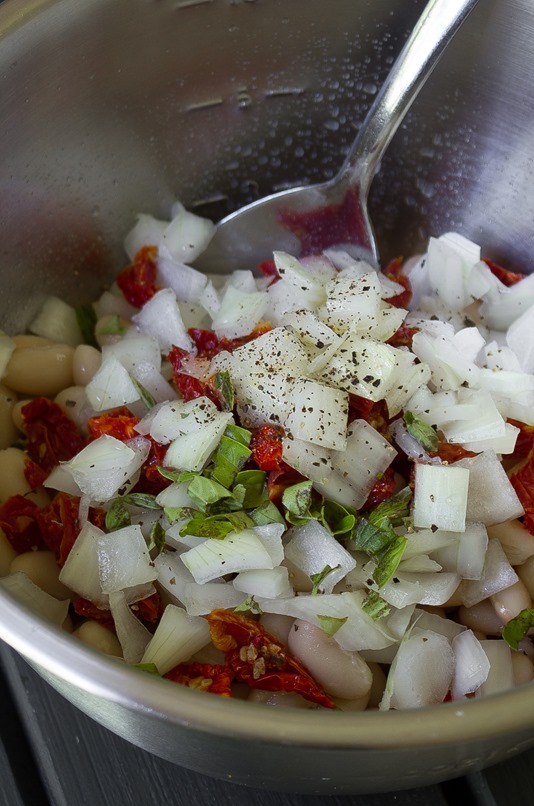
Italian White Bean Salad

Caprese Omelet

Caprese Omelet

Fresh mozzarella is something great. It’s just the right amount of creamy and chewy that melts just right. I could eat just about anything with fresh mozzarella and basil on it.

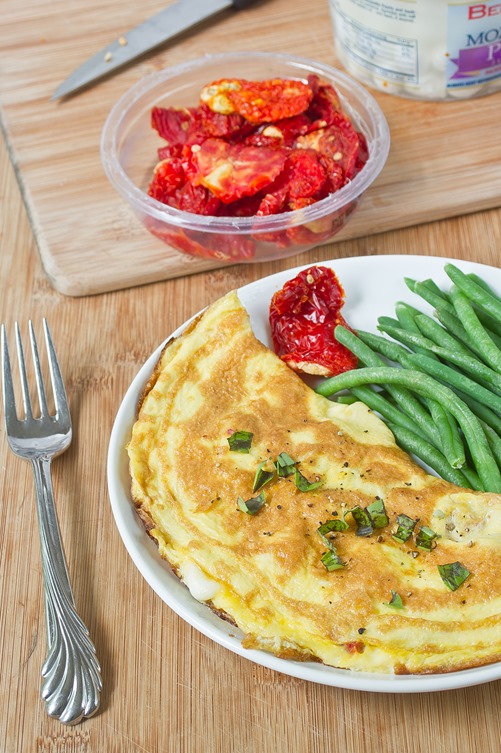
This omelet is just as flavorful as any caprese salad or margarita pizza. The eggs give a blank canvas for sweet sundried tomatoes, creamy mozzarella, a touch of salt and fresh herbs. It’s a good fix for a savory breakfast or a vegetarian dinner.

Caprese Omelet Ingredients

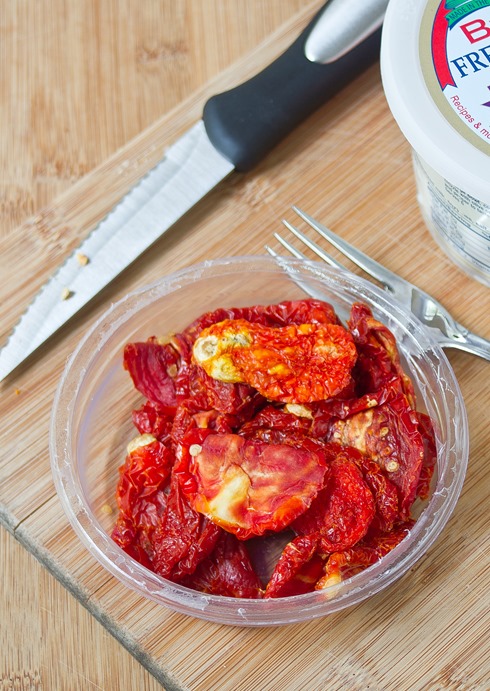
Sundried tomatoes are perfect for this recipe because they add a lot of flavor without adding any moisture. To make this lower in fat, replace 1 or 2 of the eggs with an appropriate amount of egg whites.
Caprese Omelet

Prep time: 5 minutes

Cook time: 10 minutes

Ingredients(Makes 1 serving):

  • 3 eggs
  • 2 Tablespoons chopped sundried tomatoes
  • 1/4 cup chopped or shredded fresh mozzarella
  • 1/4 teaspoon salt
  • 1/4 teaspoon black pepper
  • 1 Tablespoon freshly chopped basil
  • Oil for greasing pan

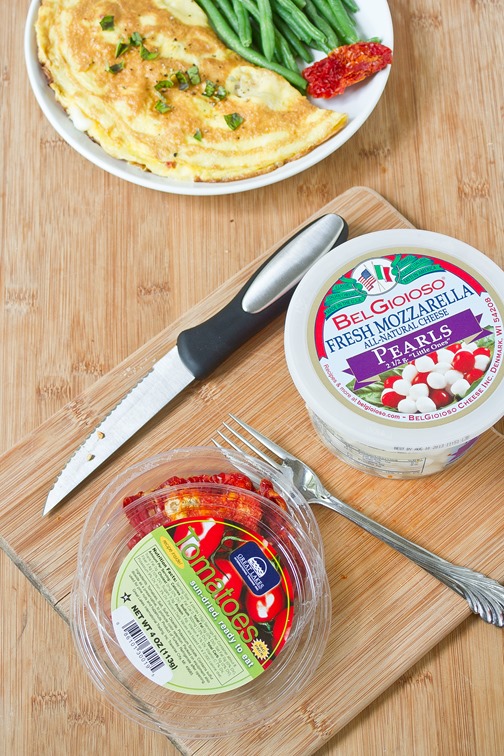
Caprese Omelet Tomatoes

Method:

  1. Lightly oil a frying pan over a burner set to medium until the pan is hot.
  2. In a bowl, gently whisk together the eggs until they’re beaten.
  3. Pour the eggs into the pan and let them cook for about 30 seconds until the bottom has set.
  4. Add the chopped tomatoes, mozzarella, salt and pepper to one half of the omelet.
  5. Carefully fold the empty side of the omelet onto the filling to make a semi-circle.
  6. Cover the pan and cook on a low-medium heat until the center is cooked. Flip the omelet to make the center cook faster.
  7. Remove from the pan and garnish with freshly chopped basil. Serve hot.

Caprese Omelet Finished 

Easy Broccoli Frittata

Easy Broccoli Frittata

On an average day I eat more eggs than anybody I know. I wish they were always this intricately flavored and delicious but more often than not they’re just scrambled. But once in a while—once in a while it’s refreshing to put time and thought into the simple egg and make something with a little more wow-factor for yourself or others.

The broccoli and herbs help to flavor the eggs and give a bit of texture, since frittatas don’t have a crust like quiches to give them a little crunch. This recipe is called easy because you can put it in the oven and forget about it until dinner. You can also make it at night and have it reheated the next morning for breakfast. It’s just easy and easy to love.

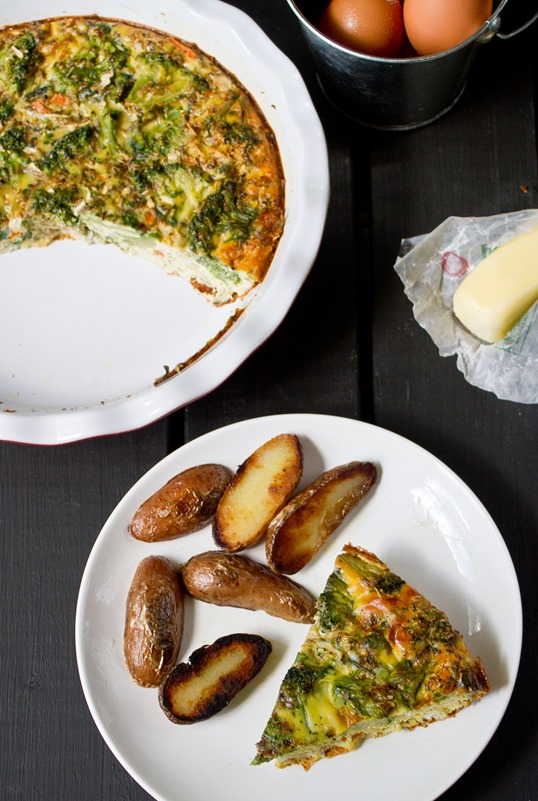
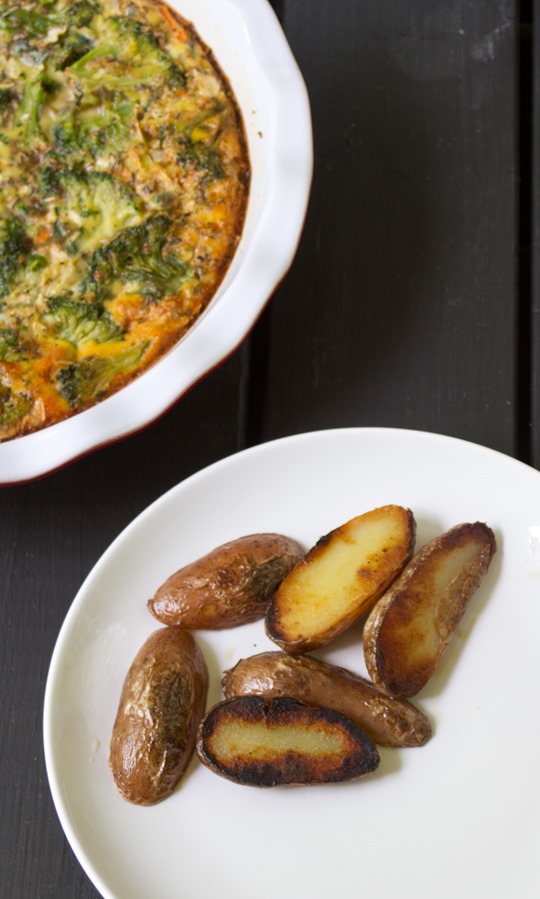
Easy Broccoli Frittata Overhead

I didn’t add any cheese to mine but it would definitely boost the flavor. If you’re thinking about it, I’d recommend 4oz of a sharp cheddar grated finely and added into the batter before baking. Otherwise if you’re making this for a crowd you can leave the cheese out and have some freshly grated cheese to serve on the side.

Easy Broccoli Frittata

Prep time: 10 minutes

Cook time: 50 minutes

Ingredients(Makes 4-6 servings):

  • 1 dozen eggs
  • 1 1/2 cups steamed broccoli
  • 1/4 cup + 1 Tablespoon milk(eyeball it)
  • 1 Tablespoon herb mix(use whichever’s your favorite)
  • 1/2 teaspoon onion powder
  • 1/2 teaspoon salt(reduce if using cheese)
  • 1/4 teaspoon garlic powder(optional)
  • 4oz sharp cheddar(optional)
  • Butter for greasing

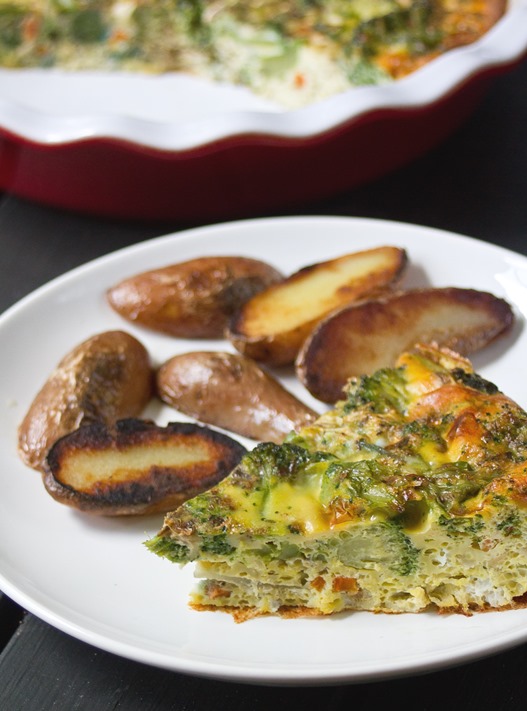
Easy Broccoli Frittata Potatoes

Method:

  1. Preheat your oven to 350 degrees.
  2. Crack all of the eggs into a large bowl making sure not to get any shells into the batter.
  3. Add in the milk, herbs, seasonings and cheese if using and whisk until the eggs are a pale yellow.
  4. Grease an 8-inch baking pan on the bottom and around the sides.
  5. Pour the egg batter into the baking pan.
  6. Add the steamed broccoli evenly around the pan and gently press it into the batter with a fork to cover the tops of the florets.
  7. Bake for 40-50 minutes until the sides turn golden brown and the center is firm. Remove from the oven and let stand at room temperature for about 10 minutes to cool before serving.

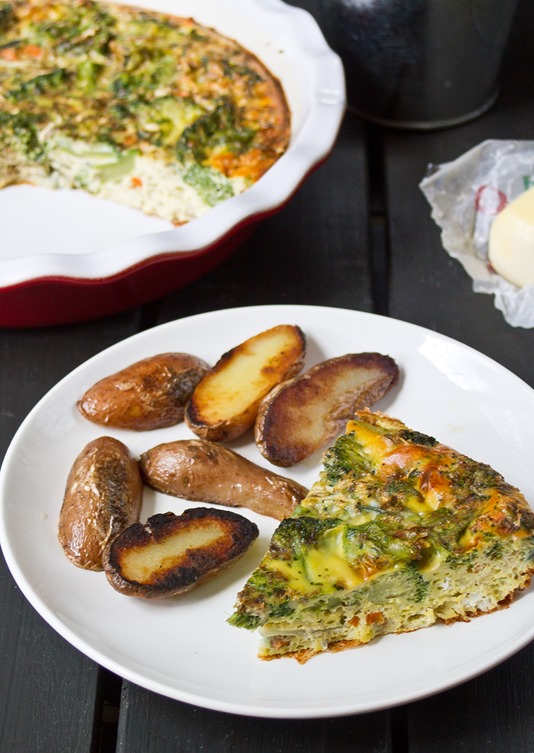
Easy Broccoli Frittata Serving

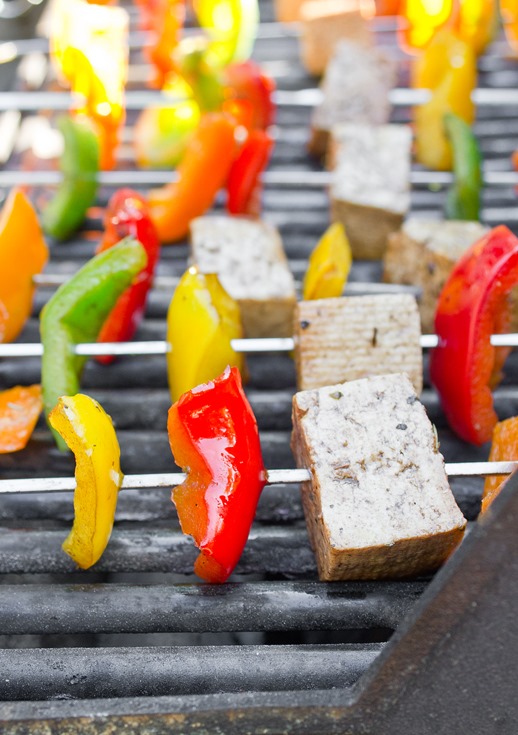
Vegetarian Grilling

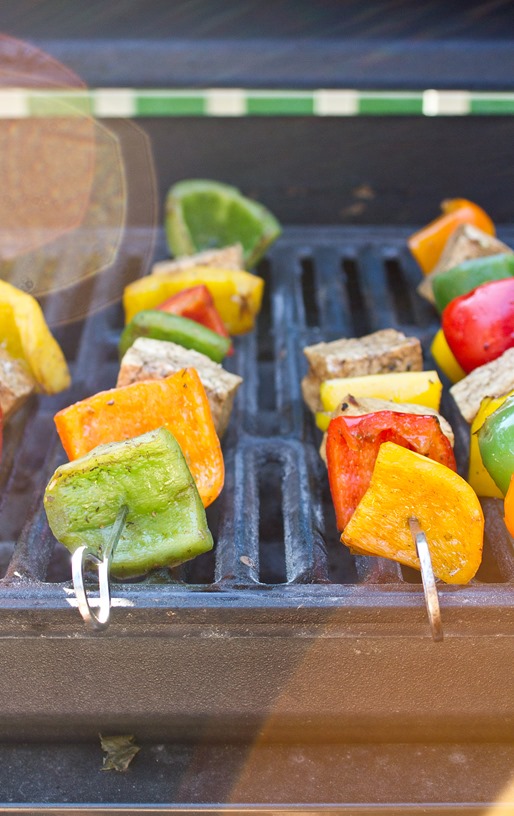
Vegetarian Grilling On Grill

Italian Tofu & Bell Pepper Skewers

Prep time: 2 hours

Cook time: 15 minutes

Ingredients(Serves 3-4):

  • 1 block extra-firm tofu, pressed
  • 4 bell peppers, seeded
  • 1/3 cup olive oil
  • 1/4 cup balsamic vinegar
  • 1 1/2 Tablespoons sugar
  • 1/2 teaspoon salt
  • 1 teaspoon Italian seasoning blend
  • Grilling skewers

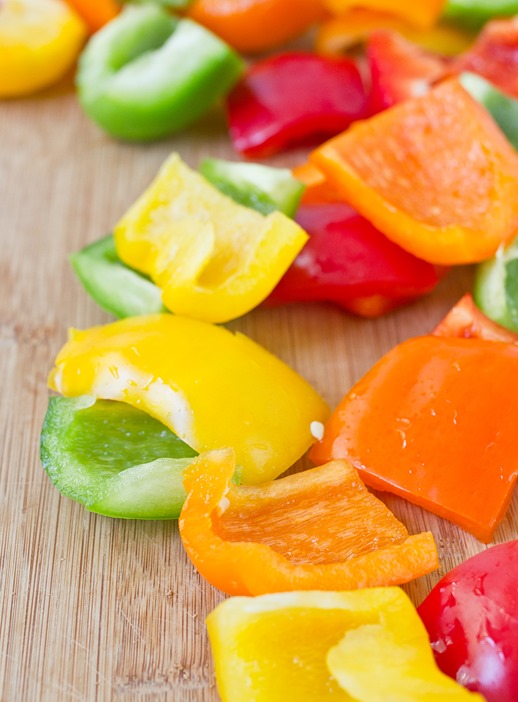
Vegetarian Grilling Peppers

Method:

  1. Dice the tofu and peppers into 1-inch squares.
  2. In a Ziploc bag, mix together the rest of the ingredients.
  3. Toss the tofu and bell peppers with the marinade in the bag and let it rest for 2-4 hours.
  4. Preheat your grill to around 400 degrees.
  5. Put the ingredients on the grilling skewers.
  6. Grill for 10-15 minutes, turning the skewer sticks every few minutes to a different side.
  7. Remove from the grill. Serve hot.

Vegetarian Grilling Skewered


Mushroom and Herb Cheese Omelette

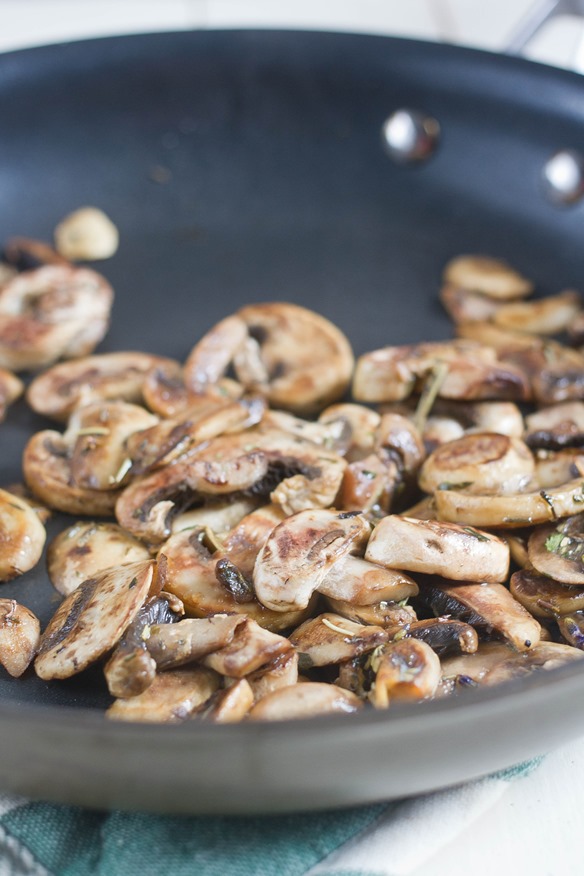
Mushroom and Herb Cheese Omelette Mushrooms

A lot of the best food just isn’t very photogenic. Eggs and melted cheese always taste good without fail, but they don’t come off as pretty on a plate. Still—how could you say no to making anything with melted cheese?

I’m not a big fan of mushrooms on their own but they add a great flavor and texture to just about anything. They also soak up all of the flavors around them so chances are if you don’t like mushrooms you just haven’t made them properly yet. Sautéing them in oil and herbs before adding them to the omelette gives them extra flavor and keeps them from tasting like rubber. 

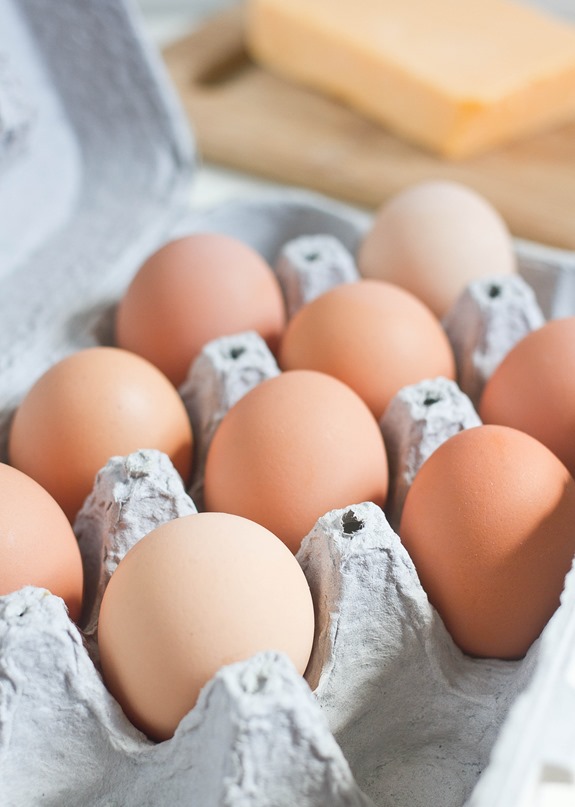
Mushroom and Herb Cheese Omelette Eggs

If you don’t have herbs or want to flavor this differently, you can sauté some garlic and onions or fresh peppers with the mushrooms for something spicy or sweet instead of savory.

Mushroom and Herb Cheese Omelette

Prep time: 5 minutes

Cook time: 10 minutes

Ingredients(For 2 servings):

  • 3/4 cup mushrooms
  • 2 Tablespoons olive oil
  • 1/2 Tablespoon dried herbes de Provence
  • 1/2 teaspoon salt
  • 5 extra large eggs
  • 1/2 cup grated sharp cheddar cheese

Mushroom and Herb Cheese Omelette Finished

Method:

  1. Heat the oil in a pan over a burner set to medium.
  2. Sauté the mushrooms for about 5 minutes until they brown on both sides. Add in the herbs halfway through your cooking.
  3. Remove the mushrooms from the heat and season them with the salt. Set them aside in a separate bowl.
  4. Crack and beat the eggs together. Return the pan to the burner with a little bit of oil on the bottom to prevent the eggs from sticking.
  5. Pour in the beaten eggs and let them cook until the bottom has set.
  6. Spread the mushrooms and half of the cheese out over half of the pan of eggs. Carefully with a spatula lift the other half to fold it over the mushroom and cheese.
  7. Cover the omelette and let it cook through until the egg has set.
  8. Lift the cover and add the remaining cheese on top. Cover again until the cheese has melted.
  9. Move to a plate and serve hot.

Smitten Kitchen’s Chana Masala

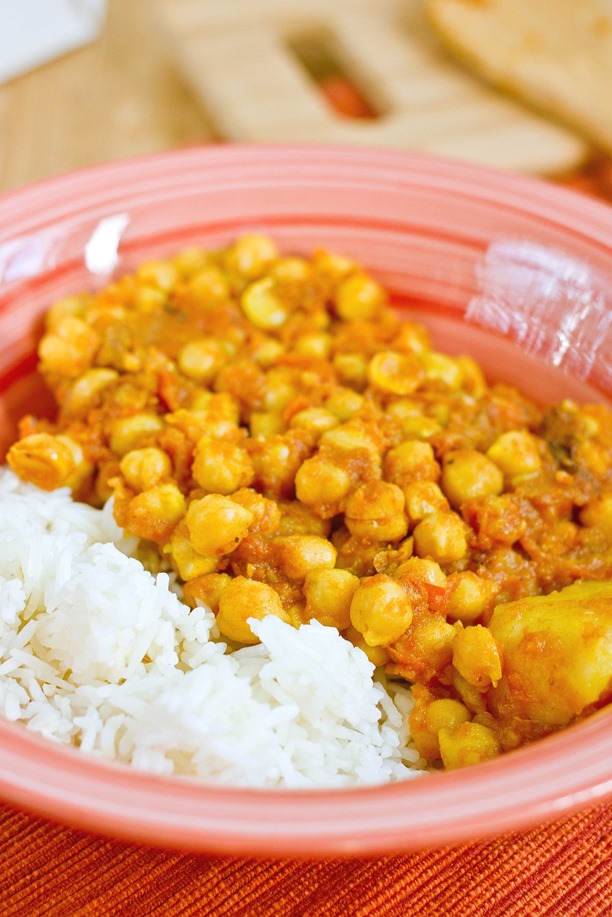
Chana Masala

I try to cook things that don’t involve chocolate; they aren’t my favorite but I do. But most of the time I just go out to eat instead. Chipotle and Indian food are favorites of mine. If I could cook as well as either of those then I’d have enough material for a whole other blog.

Since I’ve gotten tired of paying for rice and beans I’ve started to look for recipes online to teach me how to replicate my favorite over-priced takeout food. Chana masala is my go-to Indian entree and the Smitten Kitchen recipe seemed easy enough to tackle for a beginner in Indian food like me.

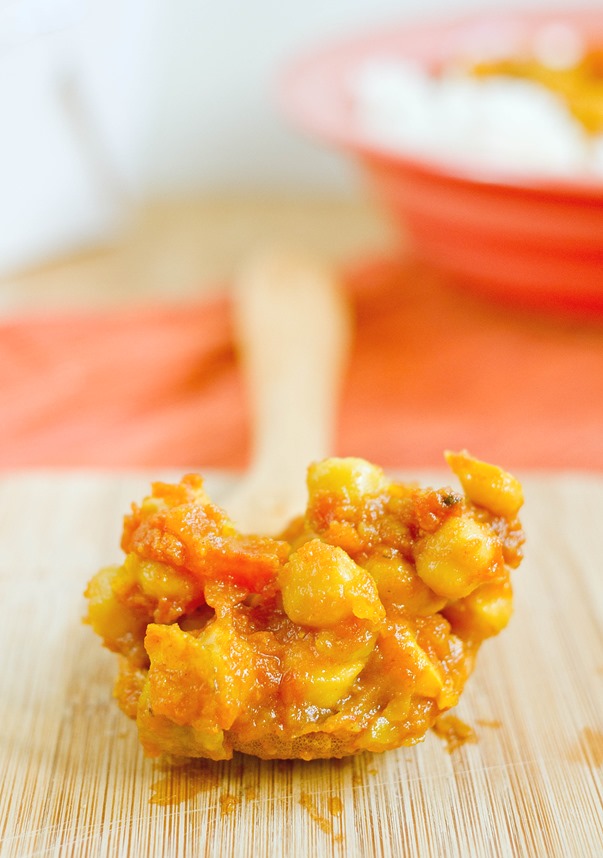
Chana Masala Spoon

In short it was delicious. Despite the fact that I cut about every corner, using ginger powder, garlic powder and onion powder instead of the fresh varieties and leaving out the few ingredients I didn’t have, somehow this was still flavorful and aromatic. There are certainly more authentic recipes for Indian food on the internet but it can always be helpful to choose something within your comfort zone when you’re trying something new. 

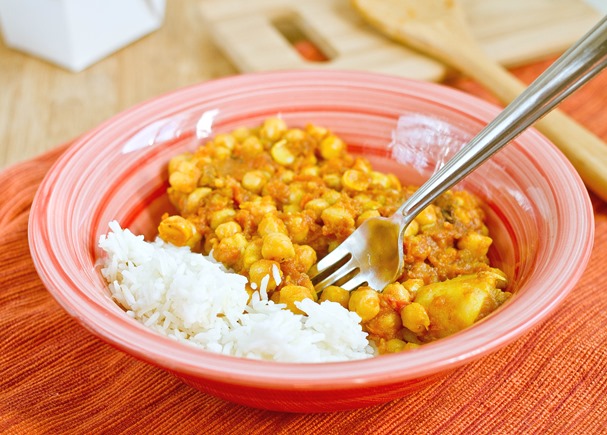
Chana Masala Serving

I added some diced and boiled potatoes to the mix and I would recommend to anyone to do the same because what’s Indian food without potatoes? I would have made more of the sauce since I had quite a few chickpeas to use up; you can always save the leftover sauce and pour it over vegetables or drink it on its own.

Do you have a favorite Indian dish?

Egg-Battered Tofu

egg-battered tofu

I have three roommates now and I’m pretty sure all of them would make a better food blogger than me. Every week one of them is making a recipe from Pinterest and the kitchen constantly smells amazing; I’m in awe and usually a little jealous on the days I eat cereal and yogurt for dinner.

One of my roommates made a Korean feast a few weeks after we moved in and served some of the best tofu I’ve ever had. I asked for the recipe and she made it sound so simple: just eggs, tofu, green onion and salt. I think she might have been keeping a secret because mine has never come out as good as hers but not for lack of trying.

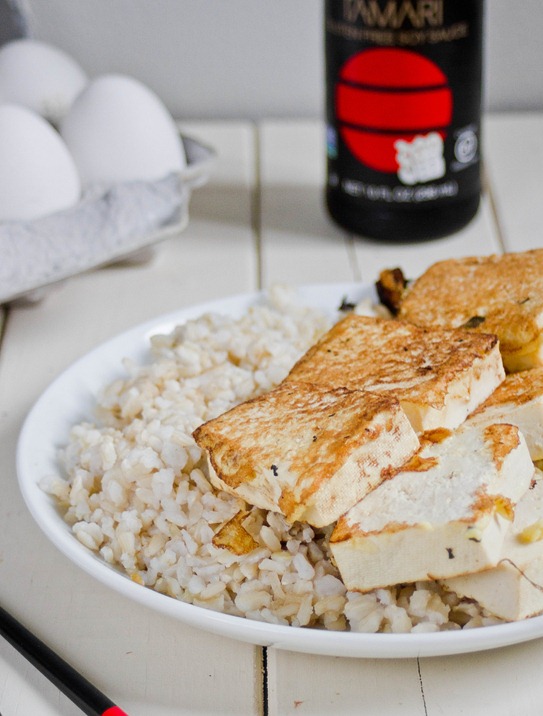
egg-battered tofu serving

I think the secret to making this taste good is to cut the tofu thin but not so thin it breaks apart. You don’t want to bite in after the eggs been cooked and taste cold tofu. Other than that, it really is a simple recipe, and definitely a staple for me now.

Egg-Battered Tofu

Prep time: 10 minutes

Cook time: 10 minutes

Ingredients(Makes 2 servings):

  • 1 block extra firm tofu
  • 3 large eggs
  • 2 Tablespoons chopped green onion
  • 1/2 teaspoon salt
  • Sesame oil
  • Soy sauce

Method:

  1. Dice the tofu into even-sized rectangles; the thinner the better.
  2. In a small bowl, beat together the eggs, salt and green onion.
  3. Heat a little sesame oil in a frying pan over medium-low heat.
  4. Dip the tofu squares into the egg batter, coating them, and then dropping them into the pan. Make sure not to overcrowd the pan by cooking too many at once.
  5. Let the egg cook for about a minute on one side and flip to cook the other side.
  6. Move the tofu to a plate to keep it warm.
  7. Repeat until all of the tofu is used, oiling the pan with sesame oil in between each batch.
  8. Serve hot with sesame oil and soy sauce for dipping.

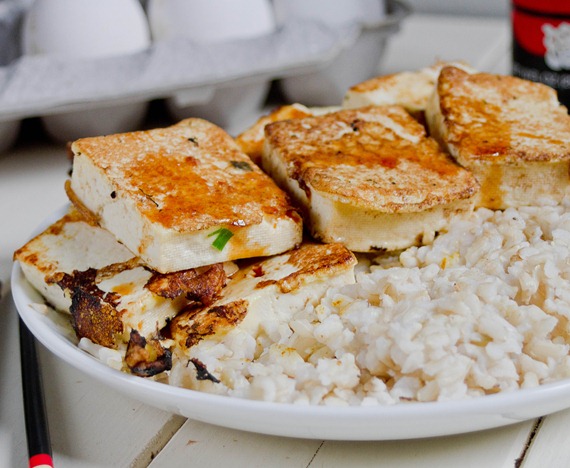
egg-battered tofu 2

It took me a few batches to get it “right”, and even still I swear the one my roommate made tasted ten times better. I might have to trade brownies for cooking lessons.

Easy Polenta And Eggs

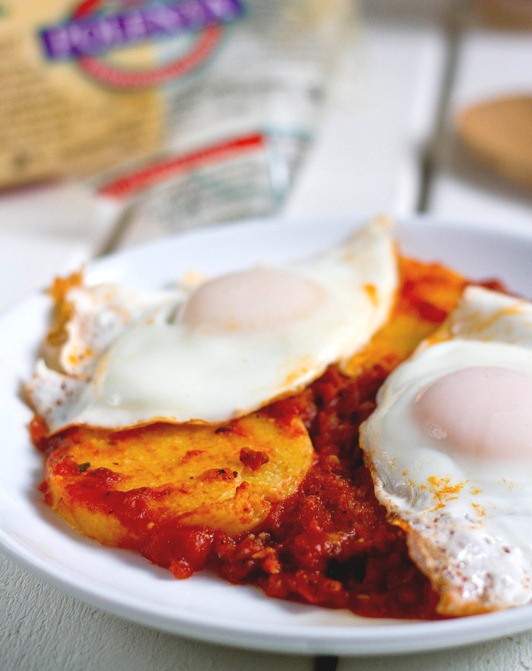
Easy Polenta and Eggs

Real Italians look away; this recipe definitely isn’t for you. Otherwise keep reading.

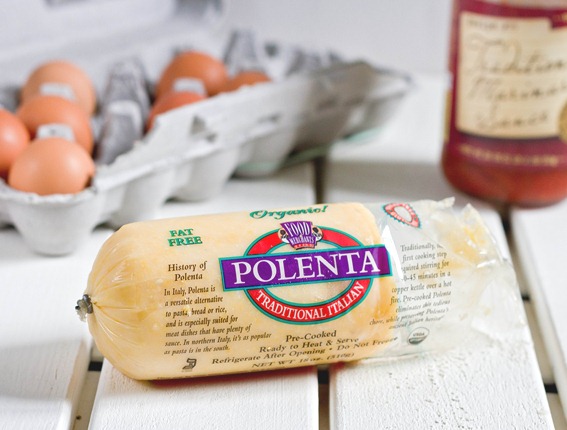
Now that it’s getting darker earlier and earlier I can’t help but be lazier when it comes to cooking meals. I’ve been looking for simpler things I can throw together in 10 minutes or so that still pack a lot of flavor. I’ve started keep a tube of pre-cooked polenta(the horror!) around to heat up in sauce whenever I need a quick Italian fix. Gourmet? Not at all. But it’s healthy, gluten-free, and much cheaper than take-out options.

Easy Polenta And Eggs Polenta

This is hardly a “recipe”; more like a list of ingredients to throw together for a quick meal. If you’re not a vegetarian, you can skip the eggs entirely and use a meat sauce instead. But I think there’s nothing better on a cold night than warm marinara sauce and runny yolks.

I’d generally say to expect 3-4 polenta slices, 3/4 cup sauce, and 2-3 eggs per person but you can customize this to perfectly fit your appetite.

Polenta And Eggs

Prep time: 5 minutes

Cook time: 10 minutes

Ingredients:

  • Pre-cooked polenta
  • Marinara sauce
  • Eggs

Easy Polenta and Eggs Pan

Method:

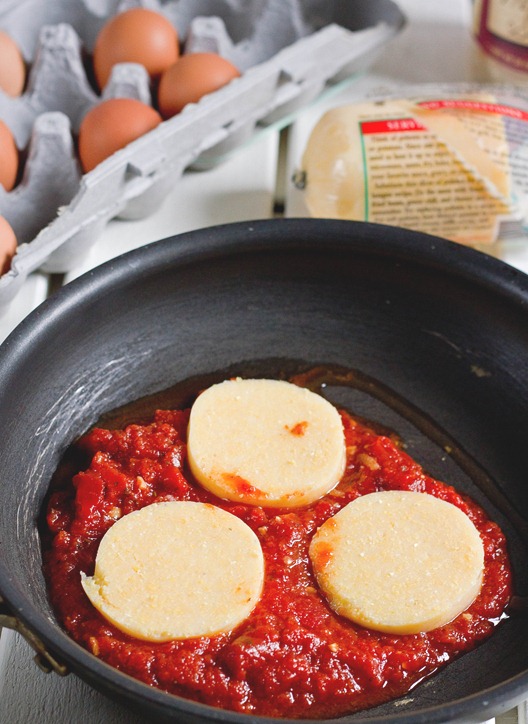
  1. Add enough marinara to fill a frying pan.
  2. Slice the polenta 1/2 an inch thick and spread it out on the sauce in a single layer.
  3. Cook for 2-3 minutes on medium in a covered pan, flip, and cook another 2-3 minutes.
  4. Move the polenta onto a dish but reserve the sauce in the pan. Add a little bit of water if it looks dry or is thinning.
  5. Poach the eggs in the tomato sauce until the tops are cooked but keeping the yolks runny.
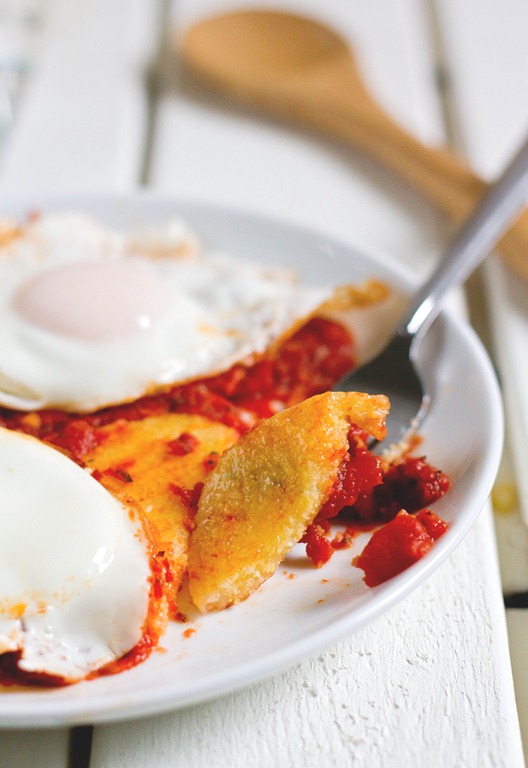
  6. Serve the poached eggs and marinara sauce over the plated polenta.

Easy Polenta And Eggs Bite

Of course if you have time you can cook your own polenta and make the marinara sauce from scratch. But then again if you have time for all of that something tells me you aren’t looking at this recipe.

Tri-Pepper Quinoa

Tri-Pepper Quinoa

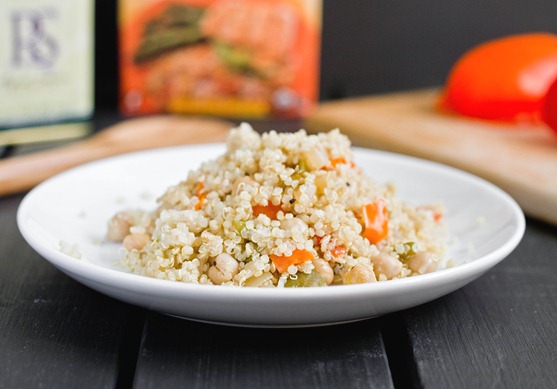
The easiest place to get inspired for recipes is the grocery store. Just going to the produce section and seeing the huge displays of vibrantly colored fruits and vegetables makes you want to eat that much more. My grocery store had a display of different colored peppers and I knew I wanted to use them for a recipe.
The colors fade from the peppers a little once you sauté them but it brings out a much sweeter flavor, too. They add the perfect touch with some seasoning to quinoa to make it a much more interesting dish.

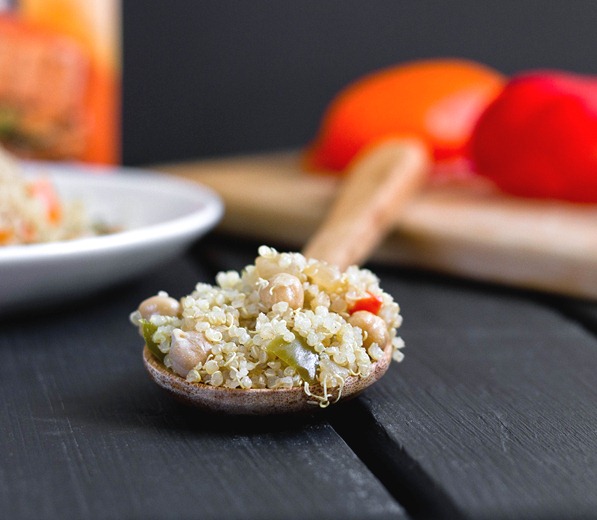
Tri-Pepper Quinoa Peppers

If you want to dress this up, you can purchase some extra peppers, roast them until they’re cooked, and serve the quinoa inside the cooked peppers.

Tri-Pepper Quinoa

Prep time: 10 minutes

Cook time: 15 minutes

Ingredients:

  • 1 1/2 cup quinoa
  • 3 Tablespoons olive oil
  • 1/2 green pepper, diced
  • 1/2 red pepper, diced
  • 1/2 yellow pepper, diced
  • 1 onion, diced
  • 3/4 salt
  • 1/4 tablespoon black pepper
  • 1 Tablespoon honey(optional)
  • 1 15oz can chickpeas

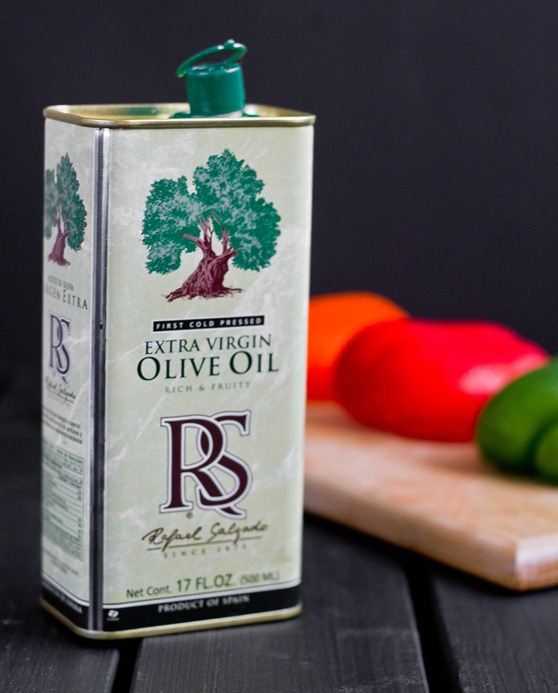
Tri-Pepper Quinoa Olive Oil

Method:

  1. Combine the quinoa with the appropriate amount of water(about 3 cups unless the brand you’re using says otherwise) in a pot over the stove. Bring to a boil, cover, and turn off the heat. Leave undisturbed for 15 minutes.
  2. While the quinoa is cooking, heat the olive oil in a large pan over a separate burner.
  3. Sauté the onion and the peppers until they start to turn color and char a little.
  4. Add the salt and pepper to the vegetables in the pan and remove from the heat.
  5. Remove the lid from the quinoa and add in the chickpeas, honey, and sautéed vegetable. Mix well with a large spoon and serve hot.

Tri-Pepper Quinoa Finished Product

Biting into the peppers and onions reminded me of a meatloaf. If you’re not a vegetarian you can always leave the chickpeas out and serve this with some ground beef and I think it’d be excellent.

Gluten-Free Baked Falafel

Gluten-Free Baked Falafel

“Are falafels gluten-free?”

It was a good question. I had no idea. To be honest, falafels were one of those foods I’ve wanted to try for a while but I’ve never gotten while out because I’ve heard conflicting answers on whether it’s gluten-free or not.

Well, sadly they probably aren’t. Most of the recipes I’ve found online use flour as a binder, and if they’re fried in oil that’s also used for chicken fingers or other breaded items that would make them contaminated. The good thing I learned is that they’re incredibly easy to make gluten-free. I was considering making them with chickpea flour for a while and when I heard that reader Carolyn has had success with that, too, I felt good enough to try it out.

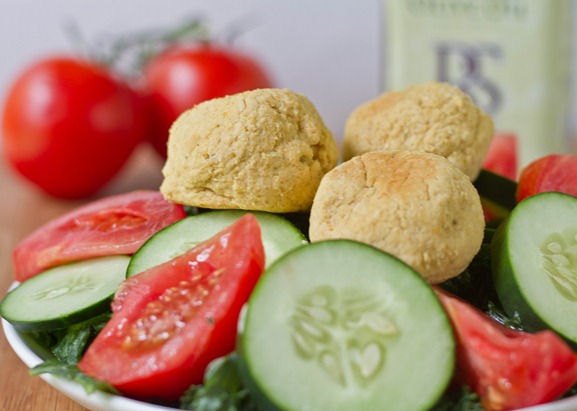
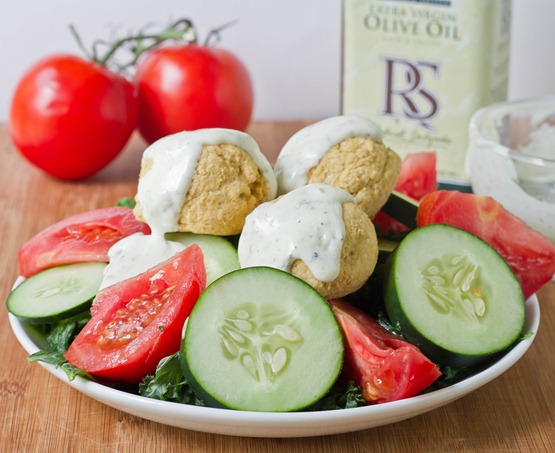
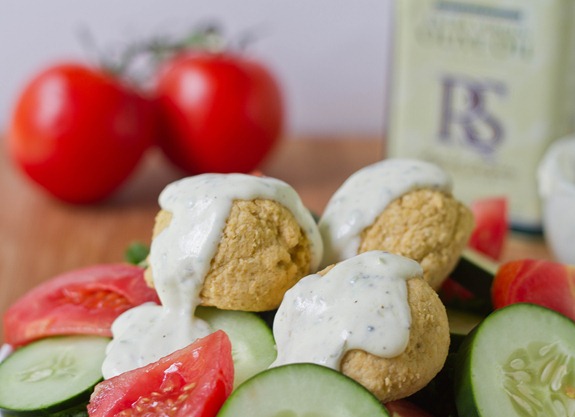
Gluten-Free Baked Falafel Serving

All you really need to make these are a food processor and an oven. I didn’t fry them mostly because that’s messy and I don’t like cleaning surfaces, you know? Also, they end up healthier this way—double plus.

I didn’t know what a falafel was supposed to taste like when I first ate a bite so I wasn’t sure how I’d know if it was a “good falafel”. Well, I don’t have anything to compare it to, but I think the fact that I went back to finish it off at 10pm when I’m usually not a savory person at all says something. I started off with this recipe and went from there. I would gladly make these again and maybe finish them off with a little oil in a pan to give them a brown crust.

Gluten-Free Baked Falafel

Prep time: 10 minutes

Cook time: 40 minutes

Ingredients(Makes about 6 falafels):

  • 1/2 onion, roughly chopped
  • 1 small clove of garlic
  • 1 Tablespoon olive oil
  • 1 15 oz can chickpeas, drained
  • 1 Tablespoon lemon juice
  • 2 Tablespoons fresh parsley, chopped
  • 2 Tablespoons oregano, chopped
  • 1/2 teaspoon salt
  • 1 teaspoon coriander
  • 3/4 teaspoon cumin
  • 2-3 Tablespoons chickpea flour

Gluten-Free Baked Falafel Sauced

Method:

  1. Preheat your oven to 350 degrees.
  2. In a food processor, blend the onion, garlic and olive oil until the garlic and onion are minced.
  3. Add in the chickpeas and lemon and blend until the chickpeas are pureed.
  4. Add in the parsley, oregano, salt, cumin, and coriander and continue blending to incorporate them in.
  5. Add the chickpea flour in a tablespoon at a time until the dough thickens enough that it can be shaped and won’t stick to your hands or a utensil.
  6. Form 6 or 7 balls of dough and place them on a lined baking tray. You can flatten them into patties if desired.
  7. Bake for 40 minutes until the outside starts to brown turning them halfway through.
  8. Remove from the oven and serve hot.

Another good question: Is falafel the singular or the plural? or both?