Category Archives: Dessert

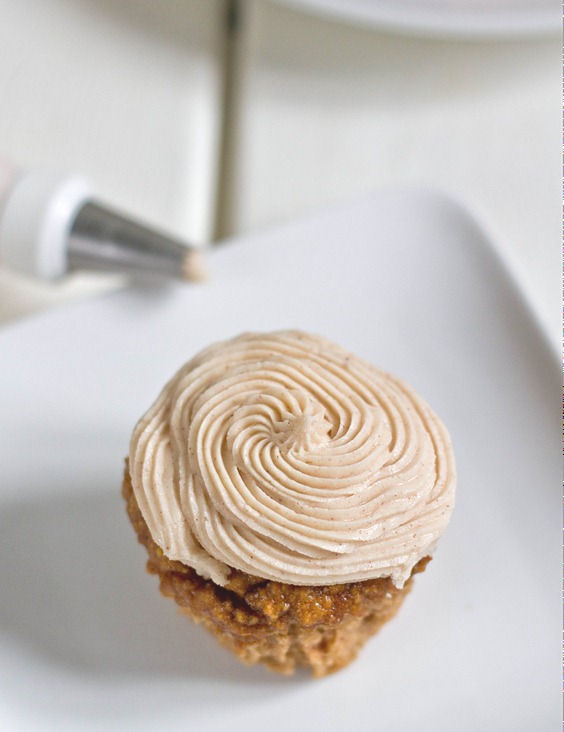
Pumpkin Spice Buttercream

Pumpkin Spice Buttercream

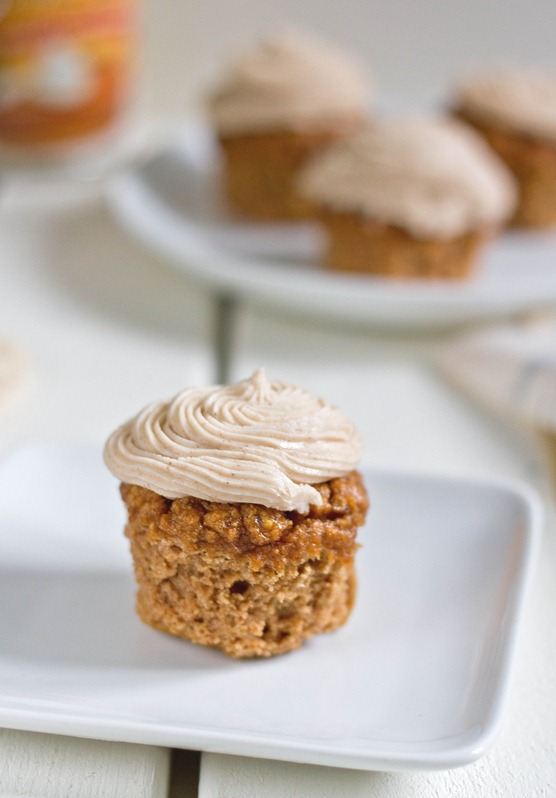
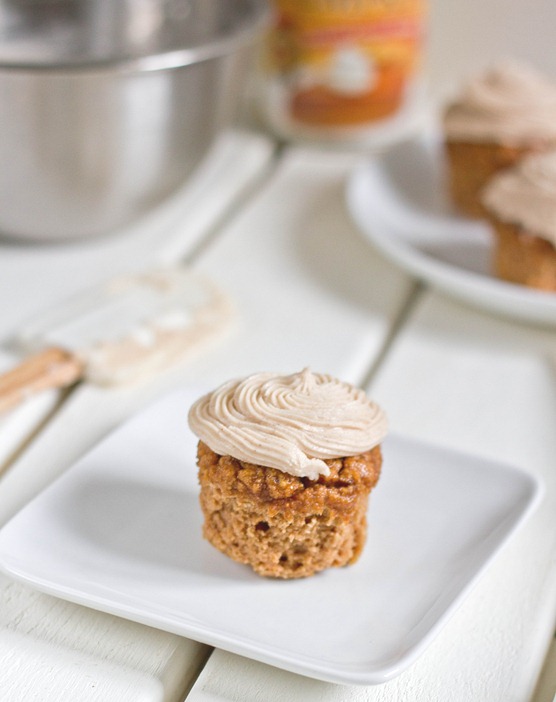
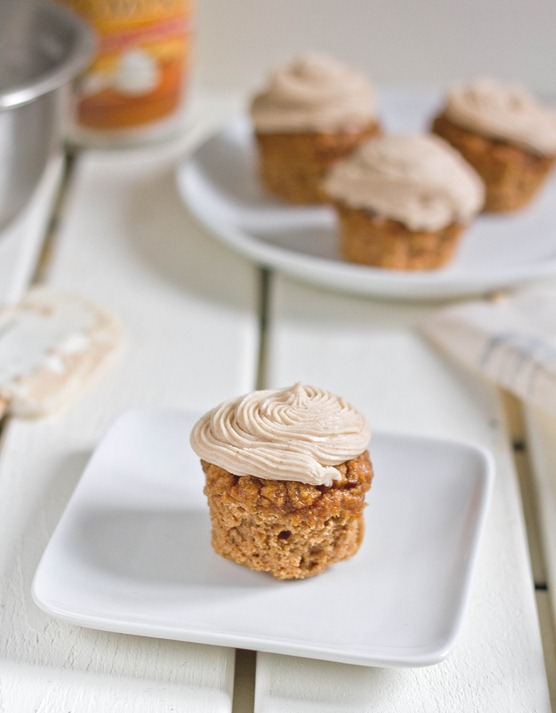
Last weekend I tried to make gluten-free pumpkin cupcakes; the result was a little disappointing and I’ll have to try again to come up with a recipe that isn’t. But what can never disappoint is frosting.

Although there texture was a little rough, the cupcakes still tasted fine so I went ahead and frosted and served them. Frosting can fix just about any cake disaster. Instead of vanilla extract or vanilla bean paste, pumpkin pie spice gives the perfect earthy flavor for Fall. You could easily pair this with a yellow or chocolate cupcake and it’d be just as good.

Pumpkin Spice Buttercream Serving

You can easily make this recipe non-dairy by using a dairy-free margarine and non-dairy milk. Don’t go too heavy-handed with the spice because the sugar really turns up the flavor.

Pumpkin Spice Buttercream

Prep time: 10 minutes

Cook time: 0 minutes

Ingredients(Makes enough for about 10 cupcakes):

  • 1 stick butter, room temperature
  • 2 cups powdered sugar
  • 1/2 teaspoon pumpkin pie spice
  • 1-3 teaspoons milk(optional)

Pumpkin Spice Buttercream Cupcake

Method:

  1. Beat together the room temperature butter, powdered sugar, and pumpkin pie spice until the frosting has an even consistency.
  2. If your frosting is on the thick side, add milk by the teaspoon until it’s at an easier consistency to work with.
  3. Make sure to use the frosting within 2-4 hours of preparing.

Pumpkin Spice Buttercream 2

Hopefully I’ll get the cupcakes right. Eventually. For now eating the frosting is just fine.

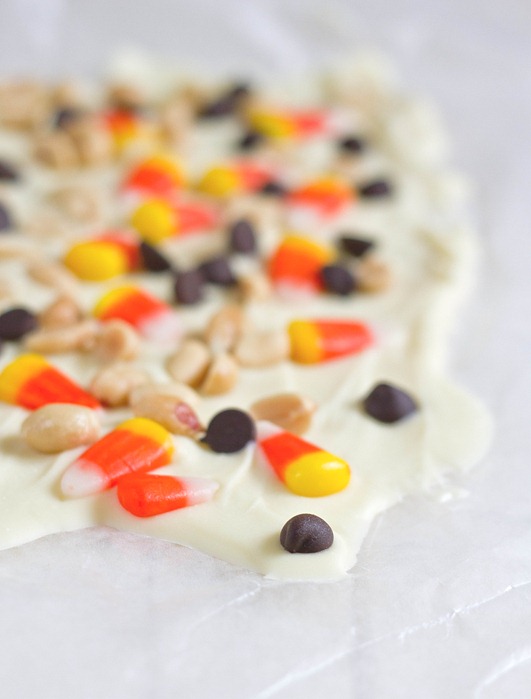
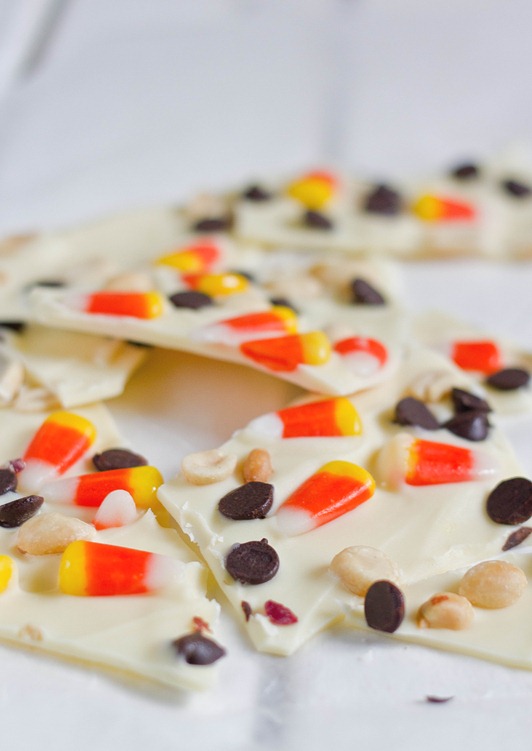
White Chocolate Candy Corn Bark

White Chocolate Candy Corn Bark

Candy corn seems to be one of those foods that divides families. People either love it or they hate it. Personally, I’m addicted to it. Sometimes it tastes good; other times it tastes like nail polish remover. But I will always eat it.

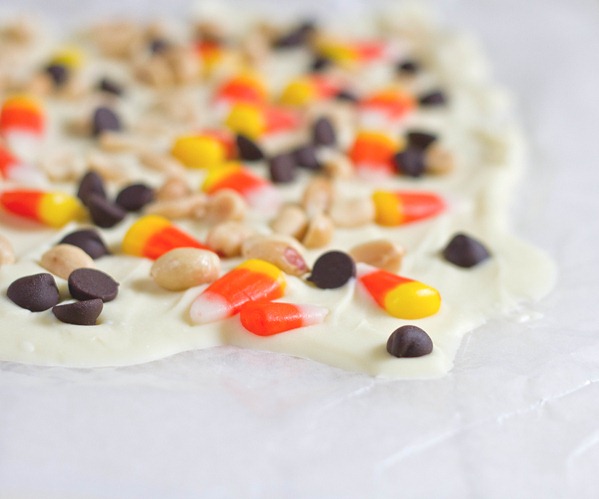
Still, candy corn on its own can be a bit much; I find it’s better with other things like Chex mix or Halloween crack corn that cut through the sweetness. White chocolate isn’t going to do much for that but peanuts and a little bit of dark chocolate definitely do. This bark is all around fun if you like candy corn and sweet treats.

White Chocolate Candy Corn Bark Broken

White Chocolate Candy Corn Bark

Prep time: 10 minutes

Cook time: 0 minutes

Ingredients(Makes about 16 pieces):

  • 8oz(1 cup) white chocolate chips
  • 1/4 cup candy corn
  • 1/4 cup roasted peanuts
  • 1/4 cup chocolate chip

Method:

  1. Melt the white chocolate chips in a microwave or over a double boiler.
  2. Pour the melted chocolate onto a non-stick surface and spread it into a layer about 3/8-inch thick.
  3. Evenly drop the candy corn, peanuts, and chocolate chips onto the bark and press them in gently.
  4. Move the chocolate to the refrigerator or freezer to harden for 15-20 minutes.
  5. Cut the bark with a sharp knife into asymmetrical pieces. Store in the refrigerator when not eating.

White Chocolate Candy Corn Bark Finished

If you serve this at a Halloween party you can make up fun stories like how the white chocolate is ectoplasm and the chocolate chips are ghost droppings. I don’t know what the candy corn and peanuts would be; any ideas?

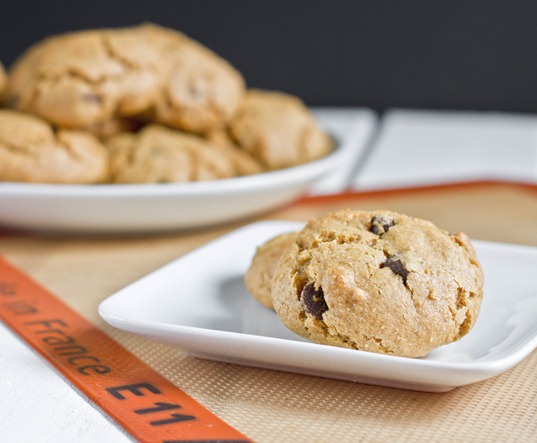
Gluten-Free Pumpkin Chocolate Chip Cookies

Gluten-Free Pumpkin Chocolate Chip Cookies

Pumpkin manages to find its way into everything this time of year. I haven’t quite figured out why it belongs in a latte; cookies make a lot more sense to me.

You really can’t go wrong with a chocolate chip cookie recipe. Pumpkin and pumpkin pie spice add a little bit of fun flavor and color and let you cut back on the butter while still making something delicious.

Gluten-Free Pumpkin Chocolate Chip Cookies Baked

These are definitely cakey cookies. I find that most pumpkin cookie recipes turn out that way. If you don’t want to make them gluten-free, use cake or all-purpose flour so that they’ll still come out light and airy.

Gluten-Free Pumpkin Chocolate Chip Cookies

Prep time: 10 minutes

Cook time: 15 minutes

Ingredients(Makes about 14 cookies):

  • 1 1/2 cup + 2 Tablespoons all-purpose gluten-free flour(I used Bob’s Red Mill)
  • 1/2 cup + 2 Tablespoons sugar
  • 1/2 Tablespoon pumpkin pie spice
  • 1/2 teaspoon baking soda
  • 1/4 teaspoon salt
  • 4 Tablespoons butter, melted
  • 6 Tablespoons pumpkin puree
  • 1 egg
  • 1/2 cup chocolate chips

Method:

  1. Preheat your oven to 350 degrees and prepare a lined baking tray.
  2. Sift together the gluten-free flour, sugar, spice, baking soda and salt.
  3. Mix in the butter and pumpkin puree well.
  4. Beat in the egg until the batter is evenly wet.
  5. Add the chocolate chips and fold them in.
  6. Taking the dough between your hands, roll it into 1 1/2-inch balls and place them on the baking tray about 2 inches apart.
  7. Bake for 10-15 minutes until the bottoms begin to brown and the top is firm. Remove from the oven and let them cool completely before moving them.

Gluten-Free Pumpkin Chocolate Chip Cookies Serving

‘Tis the season for delicious treats. These would also be excellent with walnuts mixed in, too, or made into cookie sandwiches.


Homemade Peanut Butter Pumpkins

Homemade Peanut Butter Pumpkins

The seasonal candies are always my favorite part of the holidays. I’ll usually wait until the day after each holiday to go to the store and buy it all half-off, but why wait when you can make your own? I’ve made my own peanut butter cups before and it’s never been a hassle. Pumpkins seemed like a bit more of a challenge but oh so worth it.
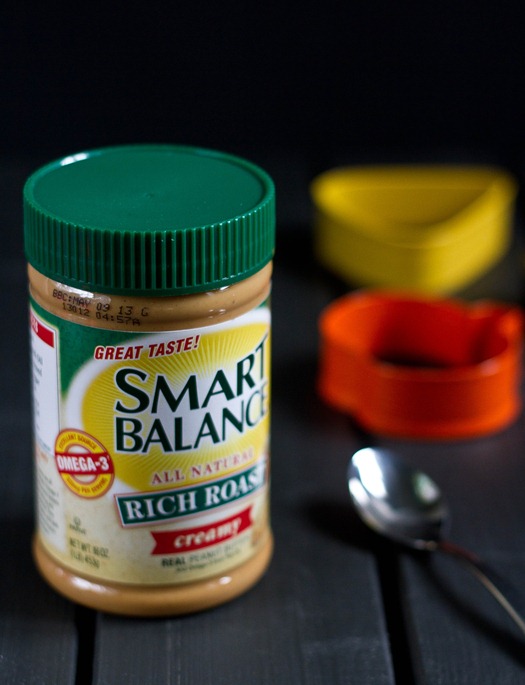
Homemade Peanut Butter Pumpkins Peanut Butter

This recipe is also my entry in a Smart Balance recipe contest that starts today. They’ve asked 20 contestants to make a recipe using one or more of their products and put them on their Facebook page for fans to vote for. I love the Smart Balance peanut butter because of its rich, amber flavor. It has added plant-based omega-3s which are always good for a vegetarian diet.

Besides peanut butter, this recipe is super simple and uses only 4 other ingredients you probably already have: buttery spread(or butter), powdered sugar, and chocolate chips. The process doesn’t take much time at all even though there are quite a few steps. Just make sure to have room in your freezer to cool these quickly so you can move from one step to the next without waiting too long.
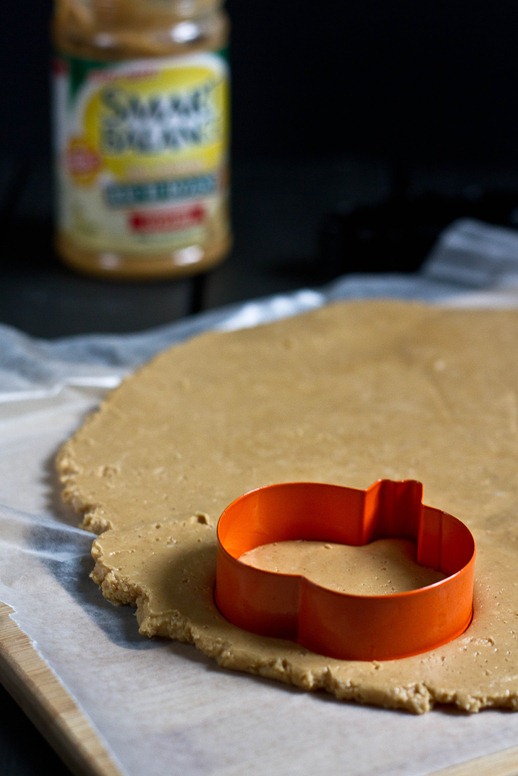
Homemade Peanut Butter Pumpkins Cookie Cutter

I found the pumpkin cookie cutter on Amazon and got it along with some other shapes; they also probably sell them in most craft stores around this time, too. You can use different cookie cutters for different holidays and keep the recipe year round. The basic steps will always be the same.

Homemade Peanut Butter Pumpkins

Prep time: 20 minutes

Cook time: 0 minutes

Ingredients(Makes about 16 pumpkins*):

*The yield will vary based on the size of your cookie cutters. I used a pretty standard 3-inch cookie cutter and got 16 pumpkins.
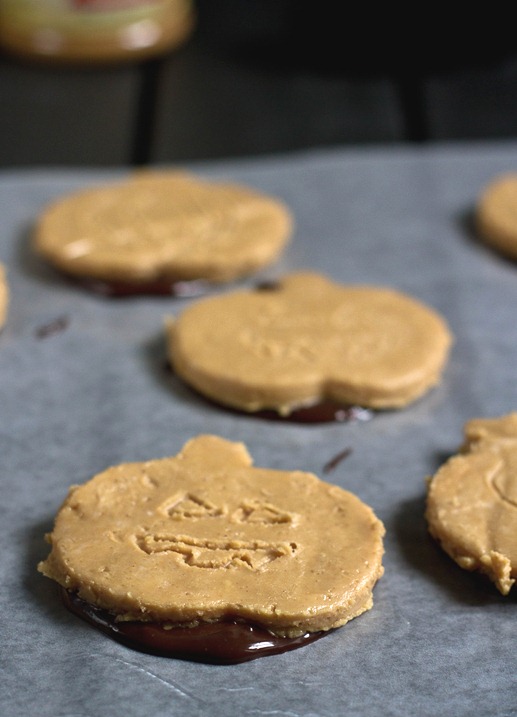
Homemade Peanut Butter Pumpkins Drying

Method:

  1. In a large bowl, combine the peanut butter and melted buttery stick until it’s homogenous.
  2. Sift in the powdered sugar stirring it in until it’s completely mixed in.
  3. Get out 2 sheets of parchment paper and place the peanut butter dough between the two. Press down until the dough is about 3/8-inch thick.
  4. Cut out as many pumpkins in the dough as you can. Put the dough into a freezer for 10-15 minutes until the dough is stiff.
  5. While the dough is in the freezer, melt the chocolate in the microwave or over a double boiler until it’s smooth.
  6. Take the dough out of the freezer and remove the pumpkins from the extra trim.
  7. On a separate piece of parchment paper, spoon tablespoons of melted chocolate about 3 inches from one another.
  8. Take each pumpkin and place them on top of the melted chocolate, pressing down and moving them around to cover the bottom. Repeat with all the pumpkins.
  9. If you desire, decorate the pumpkins by making faces or lines with a toothpick.
  10. Place the pumpkins back in the freezer until the chocolate is hardened. Take off the parchment paper and keep these in the refrigerator until ready to eat.
  11. Keep repeating this process with the extra dough and melted chocolate until it’s entirely used up.
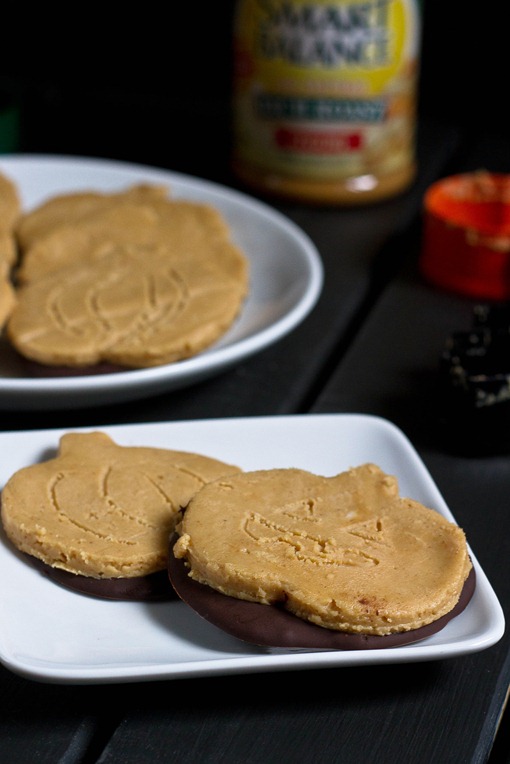


Homemade Peanut Butter Pumpkins Finished


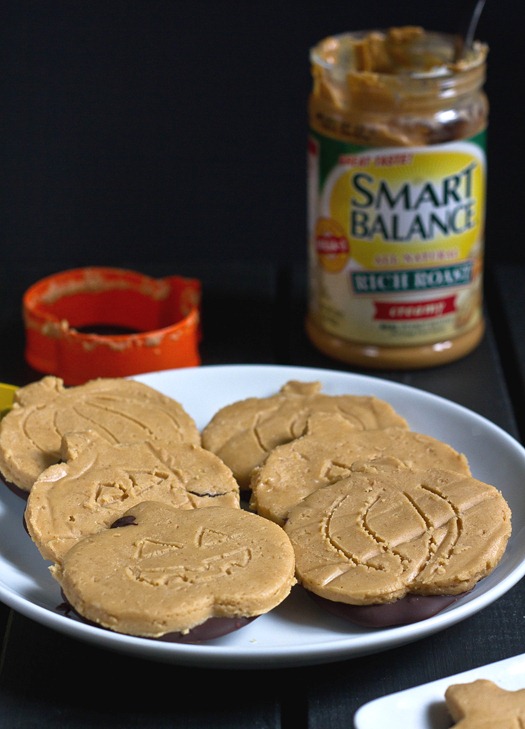
The peanut butter parts holds its shape but stays pretty soft so you can bite straight through it into the thin chocolate. I handed these out to friends last week and even though it was still September it definitely stirred some Halloween excitement. These would definitely be a hit at any party this time of year. If you like the recipe, too, don’t forget to vote!

Reese’s Mini Peanut Butter Cookies

Reese's Peanut Butter Cups Minis

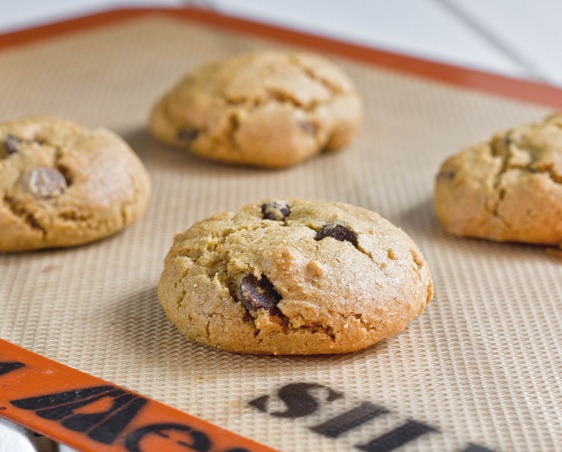
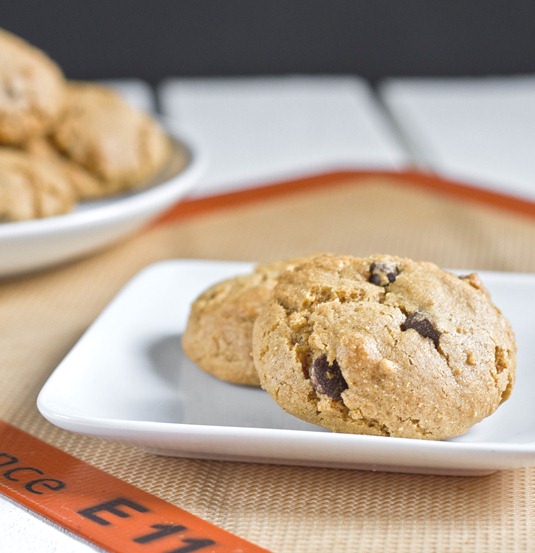
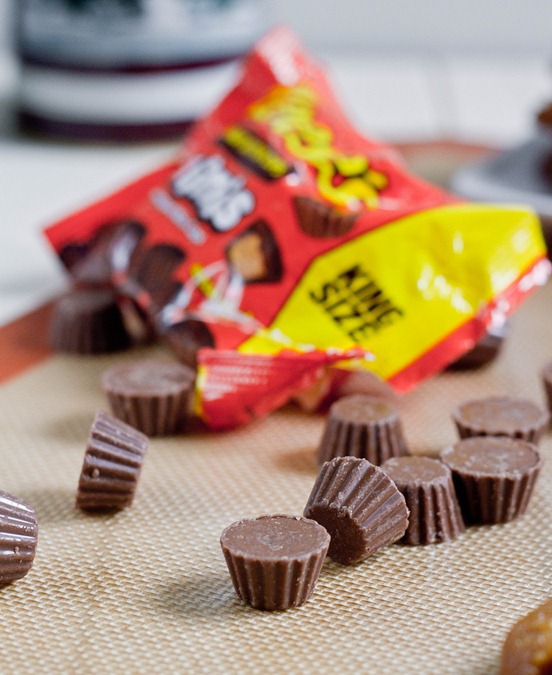
Reese’s have always been my favorite candy for as long as I can remember. They were always the hottest items on Halloween. Their new minis unrwapped peanut butter cups seemed like the perfect candies to bake with—the perfect size and no fussy wrappers.

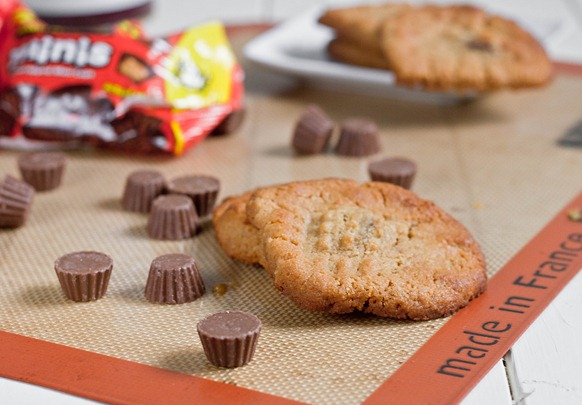
Obviously a peanut butter and chocolate candy deserves a peanut butter cookie. These cookies are my favorite simple recipe to whip together; you can memorize it and take it wherever you go. You can drizzle these with extra chocolate or making them into ice cream sandwich cookies; and of course they’re gluten-free.

Reese's Peanut Butter Cups Minis Candy

If you can’t find mini Reese’s you can always buy the regular sized candies and chop them up, or swap in a different candy altogether.

Reese’s Mini Peanut Butter Cookies

Prep time: 10 minutes

Cook time: 15 minutes

Ingredients(Makes 14 cookies):

  • 1 cup no-stir peanut butter
  • 3/4 cup sugar
  • 1 egg
  • 1 teaspoon vanilla
  • 1/2 teaspoon baking soda
  • 1 King size Reese’s peanut butter cups mini unwrapped

Reese's Peanut Butter Cup Minis Serving

Method:

  1. Preheat your oven to 350 degrees.
  2. Combine in a large bowl the peanut butter, egg, sugar, baking soda and vanilla and mix.
  3. Add and fold in the mini Reese’s.
  4. Roll the dough into balls about an inch in diameter in between your hands and place them on a non-stick baking tray.
  5. Press down lightly on the dough in a criss-cross pattern with a fork.
  6. Bake for 15 minutes or until the edges start to brown. Remove from the oven and let them cool completely before moving them or otherwise they will break apart.


White Chocolate Cherry Almond Bark

White Chocolate Cherry Almond Bark

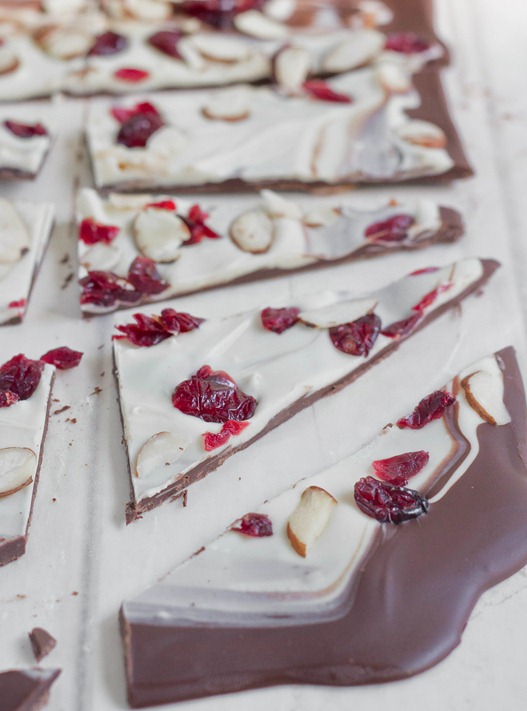
I don’t think bark should be a holiday food. It’s chocolate, nuts, and dried fruit—what’s holiday-like about that?! That sounds like anytime food to me. So feel free to make this whenever you feel like.

This is an actually an old recipe from my archives. Last time I made it I wasn’t happy with the photos so I thought I’d give it another post, not that I need much convincing when chocolate’s involved. I love white chocolate but don’t buy it very often. It’s much better at pairing with other flavors than just on its own.

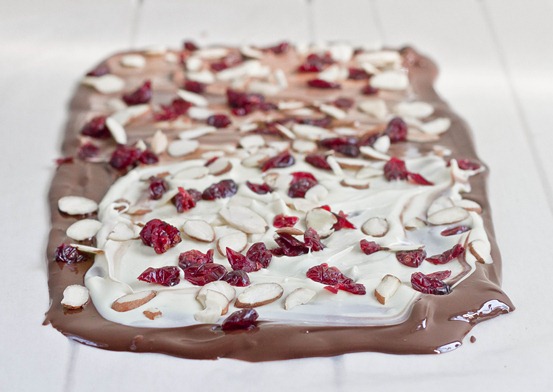
The tart cherries and unsweet almonds help to curb the sweetness of the white chocolate, and the dark chocolate on the bottom adds a bit of bitterness to the mix. Altogether it’s a winning combination.

White Chocolate Cherry Almond Bark Drying

You can use sliced, crushed, or slivered almonds—whatever you have. Also feel free to swap in cherry flavored craisins if you get to the store and realize you don’t feel like paying more for dried cherries; you’d be in good company.

White Chocolate Cherry Almond Bark

Prep time: 10 minutes

Cook time: 0 minutes

Ingredients:

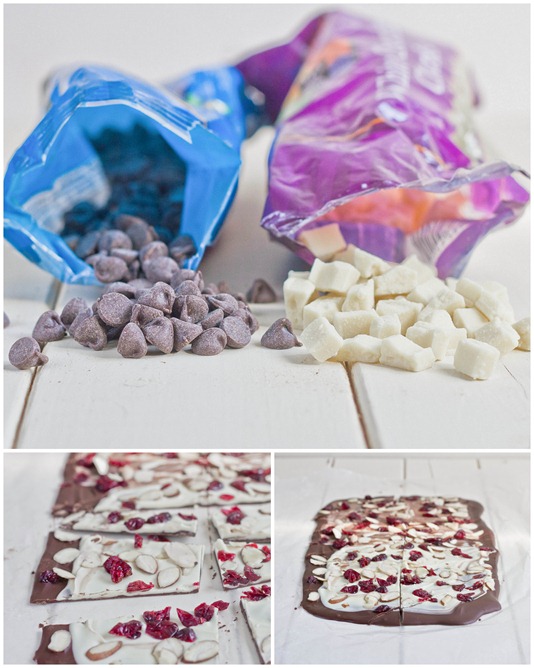
  • 1/2 pound white chocolate
  • 1/2 pound semi-sweet or bitter-sweet chocolate
  • 1/2 cup sweetened or unsweetened dried cherries
  • 1/2 cup shaved almonds

White Chocolate Cherry Almond Bark Collage

Method:

  1. Start by melting either the white or dark chocolate—whichever you want to be the base of the bark(I started with the white)—in a microwave or over a double boiler. Melt until completely smooth.
  2. Lay the chocolate out in a thin layer on a non-stick surface like wax paper.
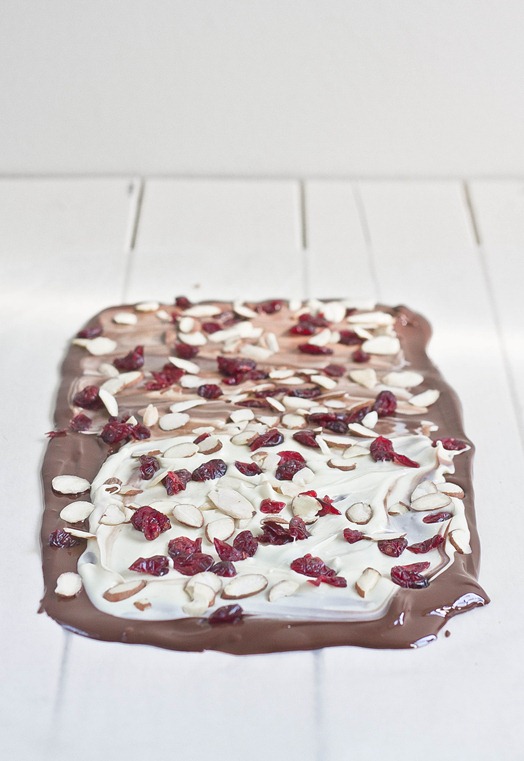
  3. Melt the other chocolate and carefully spread it on top of the first layer, gently swirling the two together with a utensil.
  4. Sprinkle on the cherries and the almonds all over the chocolate and press them in lightly with your hand.
  5. Freeze the chocolate for about 20 minutes until it has completely hardened.
  6. With a sharp knife, cut the chocolate into unequal pieces. Store for up to 2 weeks.

White Chocolate Cherry Almond Bark Yield

Easy Kahlua Truffles

Easy Kahlua Truffles

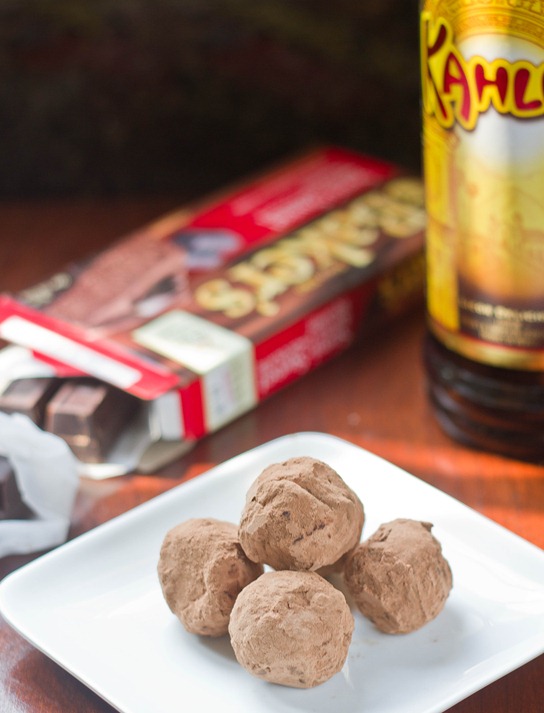
I hate to admit it but even after years of cooking long, detailed ingredient lists and steps still scare me away from a recipe. If there’s a way to do something easier, I’ll take it. These truffles are about as easy as they come; they’re JUST chocolate, butter, and Kahlua. How easy is that?(Shoot, now I probably owe Ina Garten royalties)

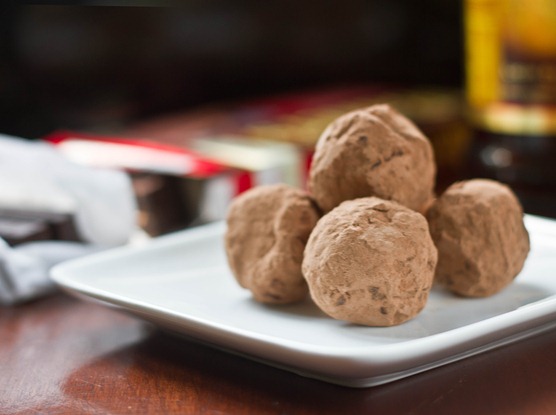
The hardest part about these is rolling them in cocoa powder, which isn’t hard at all; you just have to pay attention to the chocolate and and keep coating it until it can’t take in any more cocoa. When you’re done you get a nice, rich center and a mess-free surface.

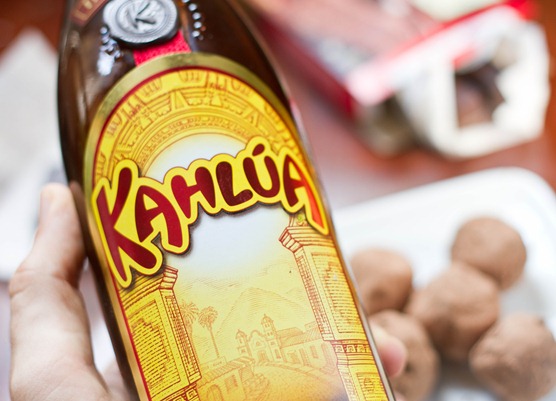
Easy Kahlua Truffles Kahlua

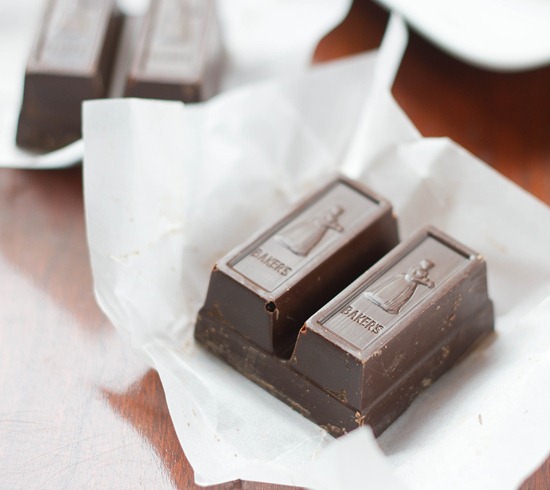
When making anything that involves melting chocolate, it’s better to use a baking chocolate rather than chocolate chips. You can get high-quality baking chocolate near the cheese section in some grocery stores or use Baker’s brand chocolate. Unlike chocolate chips, this will melt easily and smoothly.

Easy Kahlua Truffles

Prep time: 40 minutes

Cook time: 0 minutes

Ingredients(Makes 14 truffles):

  • 8oz semi-sweet or bittersweet chocolate
  • 3 Tablespoons Kahlua liquor
  • 2 Tablespoons butter
  • 1/2 cup cocoa powder

Easy Kahlua Truffles Chocolate

Method:

  1. Melt the chocolate and butter in a microwave or over a double boiler.
  2. Mix the Kahlua into the chocolate and butter and beat until smooth and silky.
  3. Let the chocolate cool in a refrigerator until it’s a semi-soft solid. It shouldn’t be as hard as a rock, but it shouldn’t stick to your hand when you handle it.
  4. Pour about 1/2 cup of cocoa powder onto a flat plate.
  5. With a melon baller, form small balls of chocolate and drop them onto the plate of cocoa powder, rolling them around. Alternatively, you can take small amounts of chocolate, roll it into a ball in between your hands and drop it into the cocoa powder.
  6. Roll the truffle around in the cocoa powder until the outside is entirely coated and place it on a separate, clean plate. Repeat with all of the chocolate.
  7. When the truffles have set and hardened, shake off any excess cocoa powder and store them in a sealed container keeping the truffles at room temperature.

Easy Kahlua Truffles Plated

Readers’ Favorite Brownies

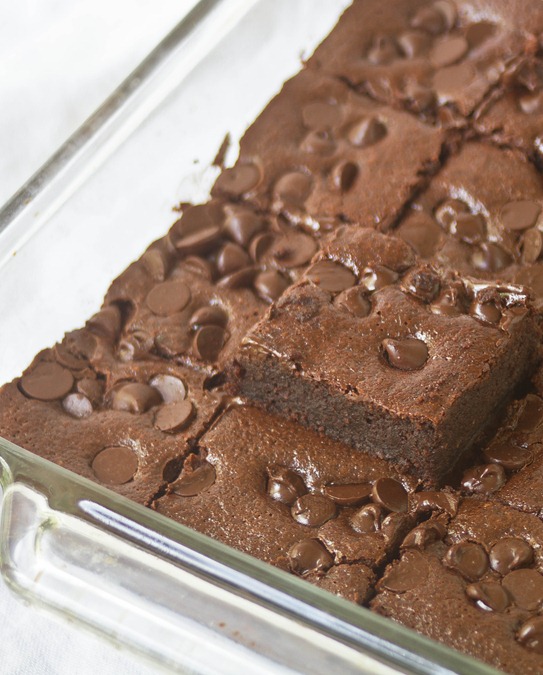
almond flour brownies pan

The best recipes on food blogs are always the ones filled with comments from readers who loved it as well. I’m lucky to say this is one of those recipes.

A lot of readers have stumbled onto my almond flour brownie recipe through google or Pinterest or word of mouth and I get excited every time another person has said they tried them and loved them. I(and most of you) think they really are that good.

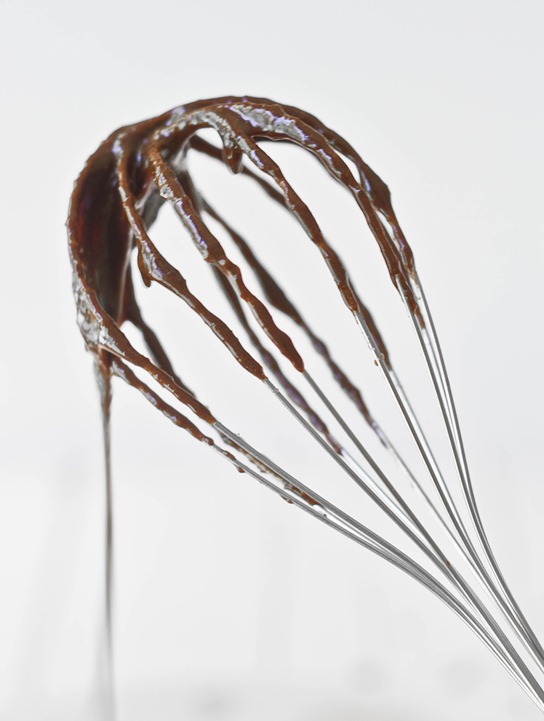
Almond flour brownies whisk

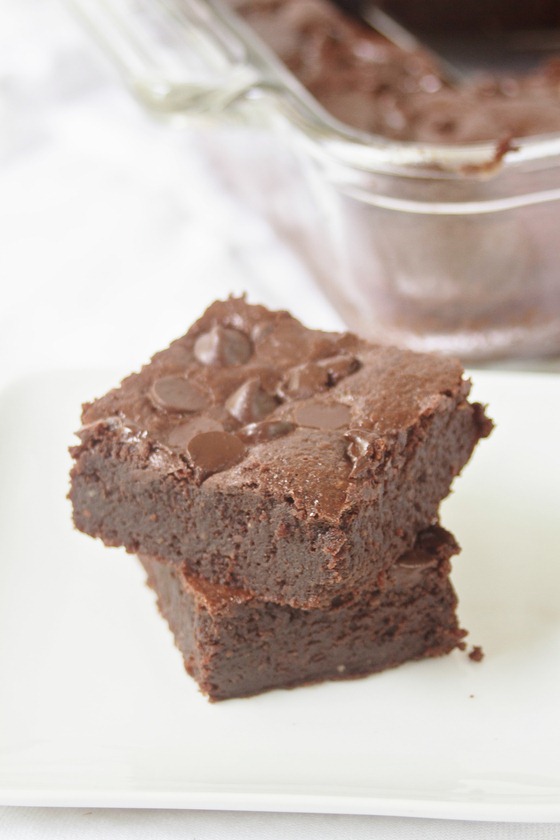
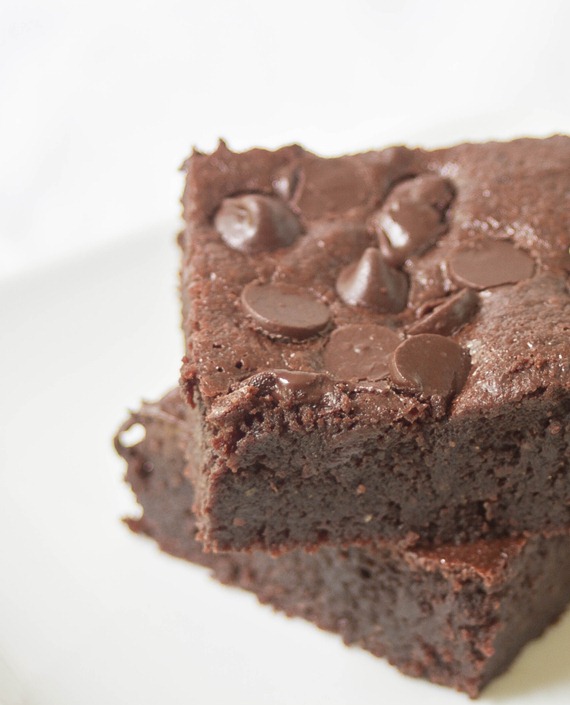
What makes this brownie recipe great is that it doesn’t taste “special”; you couldn’t eat these and tell that they’re made with almond flour or are gluten-free at all. They just taste like a really good, fudgy brownie recipe.

One of my secrets to good brownies is using melted baking chocolate instead of melted chocolate chips in the batter; it’s more reliable for even, smooth melting and has a more decadent chocolate flavor. Another is adding a little bit of coffee into batter just to perk up the flavor.

almond flour brownies stack 2

We had a party a couple weeks ago so I jumped at the chance to make these for the first time in ages, partly because I wanted to take new photos of them but partly because I was just craving brownies. There weren’t any leftovers and I was kicking myself for not making more.

Almond flour brownies

My favorite brownies? They’re actually grasshopper brownies, but I will happily “settle” for these any day. Just be sure to double the batch, especially if you’re expecting company. Oh, and bring ice cream. And caramel sauce.

Chobani Frozen Yogurt

Chobani Frozen Yogurt

You’ve probably heard of Chobani, if not from their delicious yogurt then from their recent position as sponsor of the 2012 Olympic games. I hardly managed to do anything but watch TV for those two weeks—well, watch TV and eat yogurt.

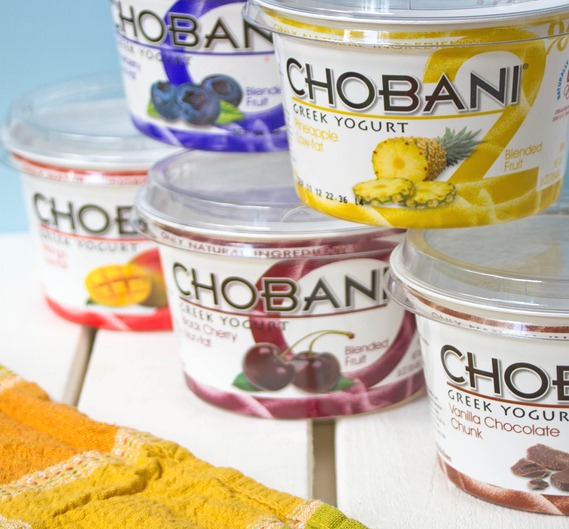
Chobani recently introduced 6 of their most popular flavors in 16oz tub container form including a 2% vanilla chocolate chip variety which easily takes the gold medal for me. Chobani has always been one of my favorite Greek yogurts because of the simple ingredients and consistently low price at my grocery store and I was happy to try them when they sent me a variety pack.

Chobani Frozen YogurtFlavors

I had to resist eating all of the flavors simply with granola and fruit and actually make something with them. I settled on frozen yogurt because few things are as tasty(and easy!) as homemade frozen yogurt. If you don’t have an ice cream maker, put it on your Christmas list; even though it only has one function it’s easily my favorite kitchen gadget I’ve bought over the past few years.

This recipe is as easy as 3 ingredients and is entirely customizable! You can use any flavor of Chobani and add any mix-ins your heart desires. Have fun with it and pretend you’re at a fancy frozen yogurt chain by adding things like chocolate chips, fruity cereal, and chopped fruit on top.
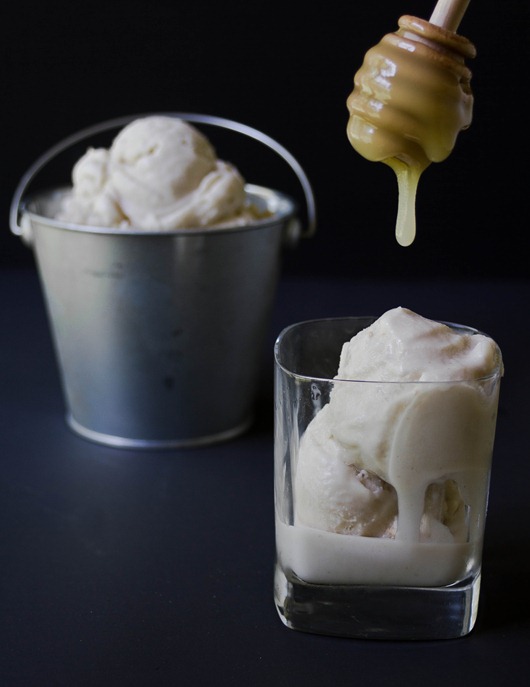
Chobani Frozen Yogurt

Prep time: 5 minutes

Freeze time: 2 hours

Ingredients(Makes about 6 servings):

  • 1 16oz Chobani yogurt container*
  • 1 cup skim or 2% milk
  • 3/4 cup powdered sugar, sifted

*I’ve only tried this with the fruit flavors. If you’re starting with Plain Chobani, you might want to adjust the sweetness by adding more powdered sugar.

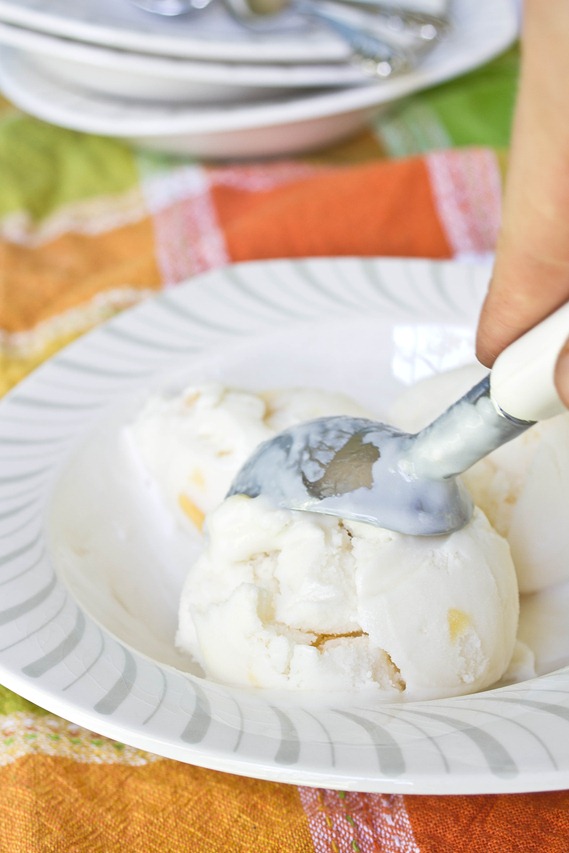
Chobani Frozen Yogurt Scoop

Method:

  1. In a large bowl whisk together all of the ingredients.
  2. Pour the base into an ice cream maker and freeze according to the manufacturer’s directions.
  3. After the ice cream has churned, scoop it into a solid container and freeze for at least two hours.
  4. Before serving, let the yogurt soften at room temperature for 5 minutes.

Chobani Frozen Yogurt Bowl

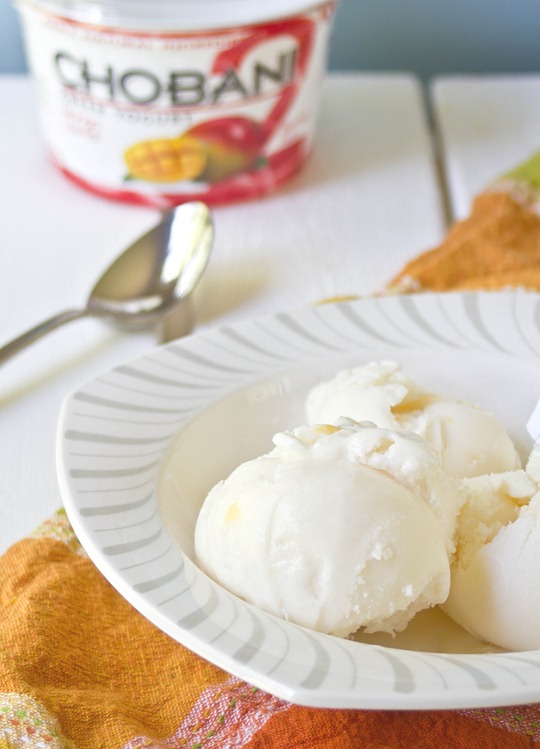
Mango admittedly is not one of my favorite flavor of yogurt. Somehow, turning it into frozen yogurt makes it much more irresistible. It reminded me of something I’d order from Pinkberry. And since this is made with low-fat ingredients and greek yogurt, it’s packed with protein, so feel good about having an extra scoop.

Honey Ginger Ice Cream

Honey Ginger Ice Cream

I can’t believe it took me almost a month and a half this Summer to break out my ice cream maker. Even though it doesn’t get as much use as most of my other kitchen appliances, it’s definitely my favorite. How can you not love anything that takes milk and spits out ice cream?

There’s a great ice cream parlor near the house I stay at in Maine that makes their own fun flavors. I made it there once this Summer before being reminded that full-fat dairy ice cream really doesn’t agree with me. Womp womp. I hear they have great ginger ice cream so I thought I’d make my own.

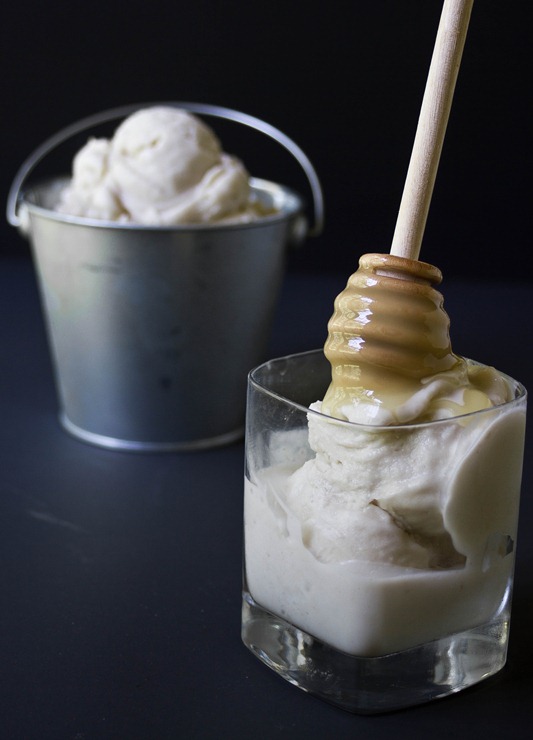
Honey Ginger Honey Drip

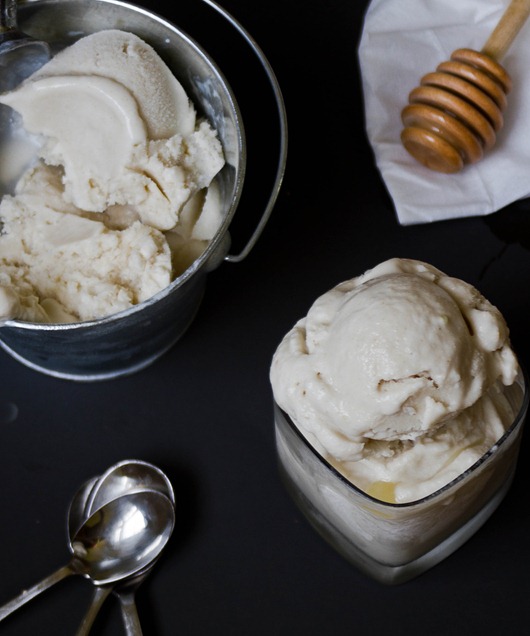
This ice cream has fresh and dried ginger for a strong punch of flavor. I always think of ginger and honey going together in recipes so it seemed like a good flavor to introduce here. If you’re vegan or don’t want to include it, you can easily swap it out for another 1/4 cup of sweetener.  

Honey Ginger Ice Cream

Prep time: 25 minutes

Cook time: 0 minutes

Ingredients(Makes 6-8 servings):

  • 1/4 cup honey
  • 3/4 cup sugar
  • 2 15oz cans of coconut milk
  • 2 Tablespoons shaved fresh ginger
  • 1 Tablespoon ginger powder

Honey Ginger Ice Cream Serving

Method:

  1. In a large bowl, whisk together all of the ingredients until the sugar has dissolved.
  2. Pour the base into an ice cream maker and freeze according to manufacturer’s directions.
  3. Move the freshly frozen ice cream into an airtight container and let it harden in the freezer for a couple of hours to chill completely.
  4. Before serving, let the ice cream sit at room temperature for about 5 minutes to soften.

Honey Ginger Ice Cream Honey

For an extra touch of flavor you can add some lemon zest into the base; I was a little worried that the three together might be overwhelming and hard to distinguish but now I’m dying to try it.