Category Archives: Dessert

Almond Butter Fudge + Giveaway

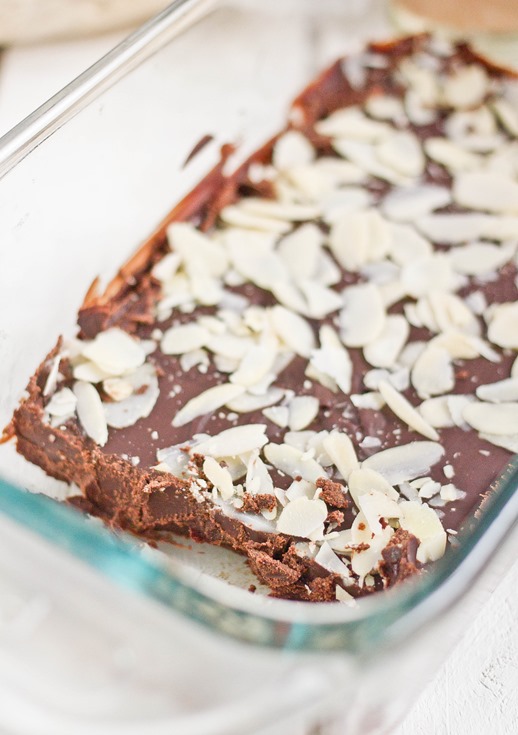
Almond Butter Fudge Yield

It’s no surprise that I’m a fan of almonds in all form on this blog, whether its almond butter, almond flour or just almonds. I’m still trying to wrap my mind around where the milk comes from though.

The Almond Board of California alerted me that tomorrow, February 16th, is National Almond Day and what better way to celebrate than with a recipe and a giveaway?

I came across this crazy delicious recipe for coconut fudge on the Whole Foods recipe blog and had to try it out with almonds. I knew if the finished result tasted anything like chocolate covered almonds it would be right up my alley.

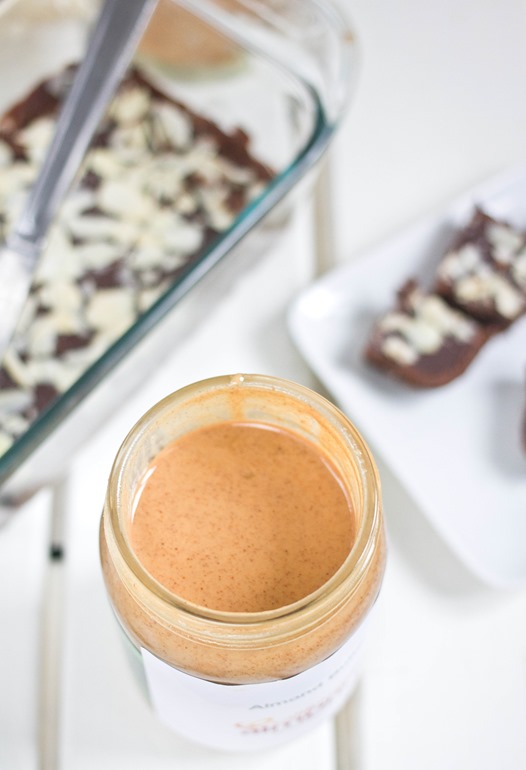
Almond Butter Fudge Almond Butter

Salt and almonds are the perfect way to dress up a simple fudge recipe. You could add a little sugar into the melted chocolate but the simple flavor and crunch of the almonds shine through without anything added.

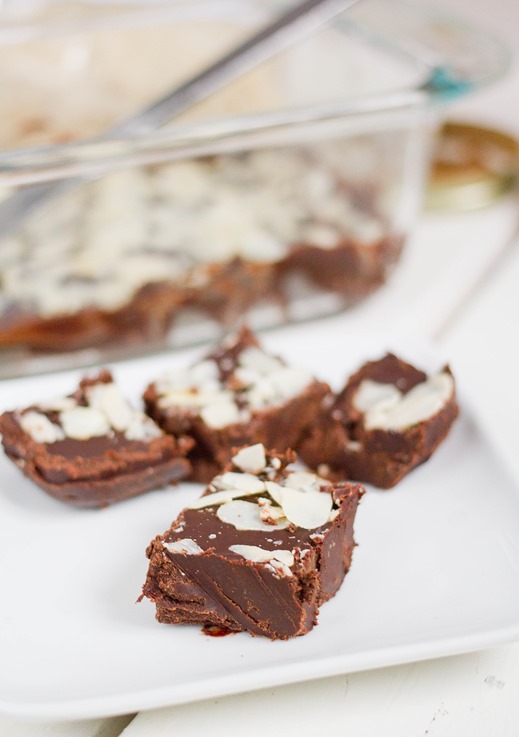
Almond Butter Fudge

Prep time: 15 minutes

Cook time: 0 minutes

Ingredients(Makes about 20 servings):

  • 1 1/4 cups chocolate chips
  • 3 Tablespoons butter
  • 2 Tablespoons natural almond butter
  • 3 Tablespoons water
  • 1 teaspoon vanilla extract
  • 1/2 teaspoon sea salt
  • 1/4 cup shaved almonds

Almond Butter Fudge

Method:

  1. In a medium-sized bowl, melt together the chocolate chips and butter until they are runny and smooth.
  2. In a separate bowl, beat the almond butter, water, vanilla extract and salt together until evenly mixed.
  3. Stir the wet mixture into the melted chocolate and mix until smooth.
  4. Grease the bottom and sides of an 8-inch loaf pan or other small Tupperware.
  5. Pour the fudge into the load pan and lightly shake until it has set in an even layer.
  6. Sprinkle the sliced almonds over the top of the fudge and press them in gently.
  7. Refrigerate for 30 minutes until the fudge has set before cutting into 1-inch squares.

Almond Day Giveaway

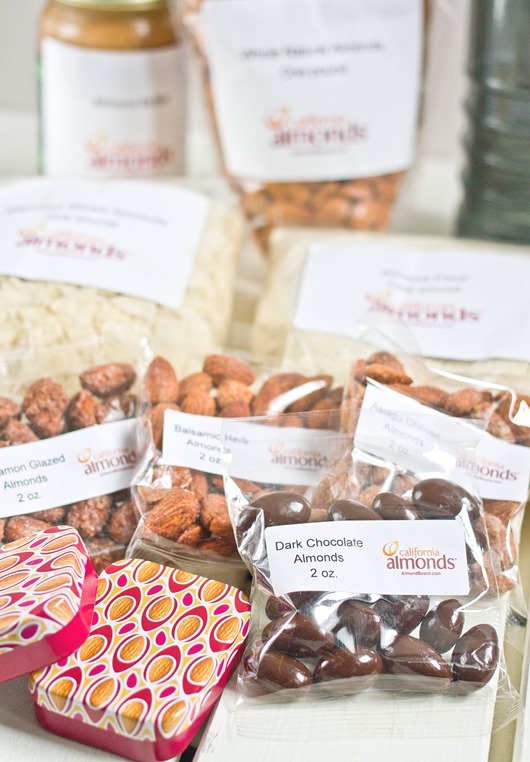
Now for the exciting part. The Almond Board of California is giving away an almond prize pack to one random US reader. You’ll get the same package I received including almond butter, almonds, slivered almonds, almond flour, and flavored almonds. To enter, leave a comment for each entry below.

The giveaway is open until Wednesday, February 20th. Good luck!

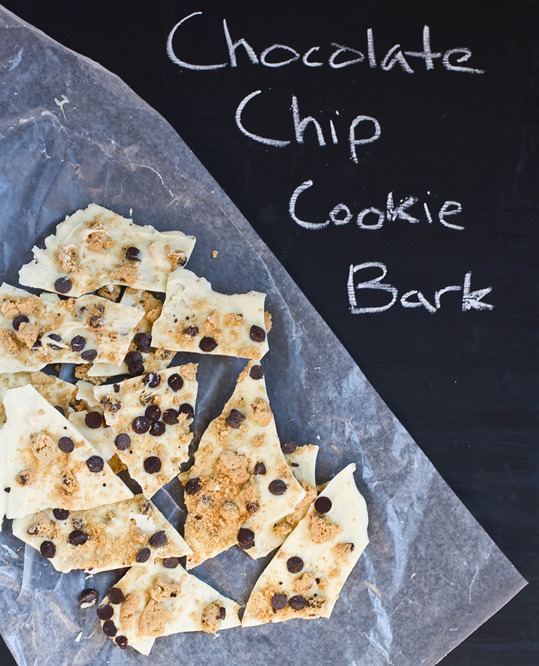
Chocolate Chip Cookie Bark

Chocolate Chip Cookie Bark

Whoever decided Cookies N’ Cream would get so much attention? There are Cookies N’ Cream ice creams, milk shakes, chocolate bars, granola bars—everything–Cookies N’ Cream.

I’m a bigger fan of the classic chocolate chip cookie; there’s nothing that you shouldn’t be able to do with a chocolate chip cookie. With chocolate, brown sugar, butter, and vanilla, there aren’t any other flavors you could ask for.

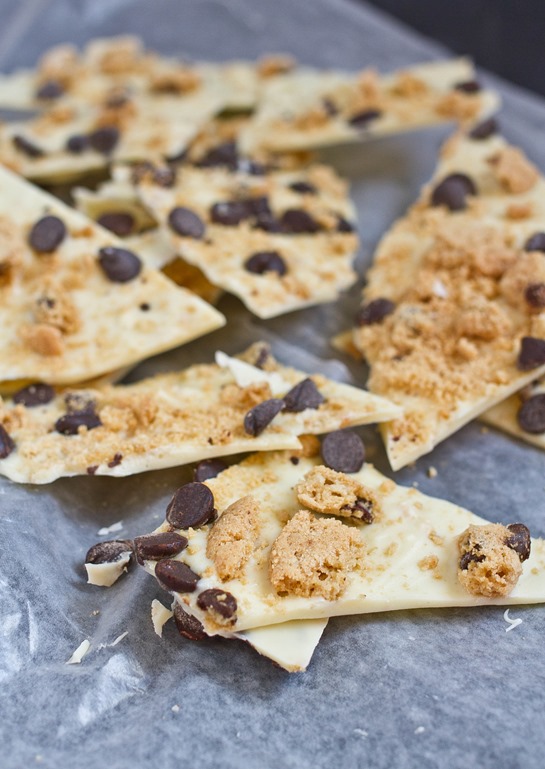
This bark, like most others, is simple to make but always a huge hit. Anyone who likes the taste of a chocolate chip cookie won’t be able to pass it up.

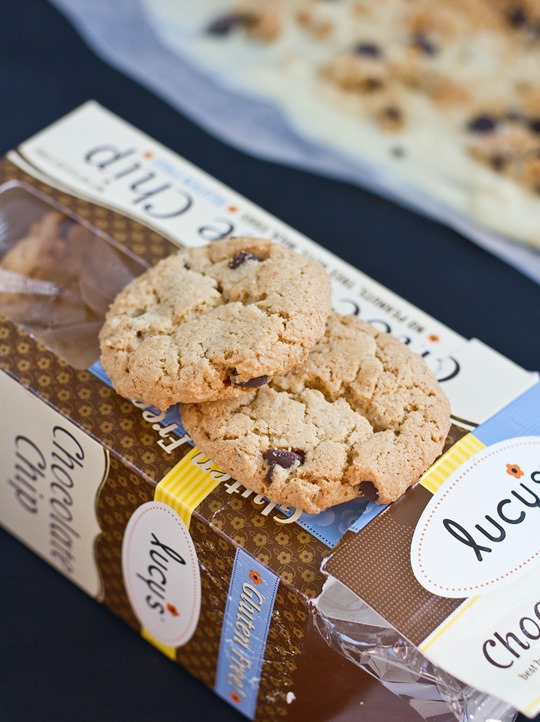
Chocolate Chip Cookie Bark Cookies

For this recipe you don’t want to use your grandmother’s fresh-out-of-the-oven chocolate chip cookies but instead something from the store shelf like Chips Ahoy! or Lucy’s that’s crunchy and won’t get stale in the bark.
Chocolate Chip Cookie Bark

Prep time: 15 minutes

Cook time: 0 minutes

Ingredients(Makes 16-20 servings):

  • 8.5 ounces white chocolate OR 1 cup white chocolate chips
  • 1/4 cup chocolate chips
  • 5 chocolate chip cookies, broken into pieces

Chocolate Chip Cookie Bark Yield

Method:

  1. Melt the white chocolate chips in a microwave or over a double boiler.
  2. Spread the melted chocolate out onto non-stick wax paper in a thin layer.
  3. Spread the broken chocolate chip cookie pieces out on top and then the chocolate chips so that they evenly cover the bark.
  4. Lightly press the toppings into the bark.
  5. Refrigerate or freeze the bark for 20-30 minutes until it has solidified. Break the bark into equal-sized pieces to serve.
  6. Keep refrigerated when not eating.

Coconut Pistachio Bark

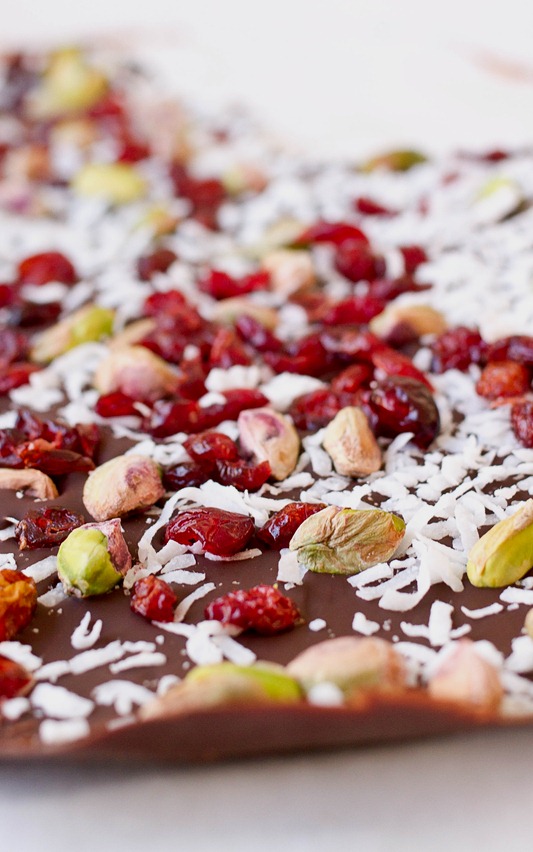
Coconut Pistachio Bark Pieces

I know Christmas was almost a month ago but bear with me for one more Christmas recipe. It’s easy to find delicious red food but green? Not so much. Unless you want to sneak spinach, kale, or peppers into a dessert, it’s hard to get the red and green theme naturally.

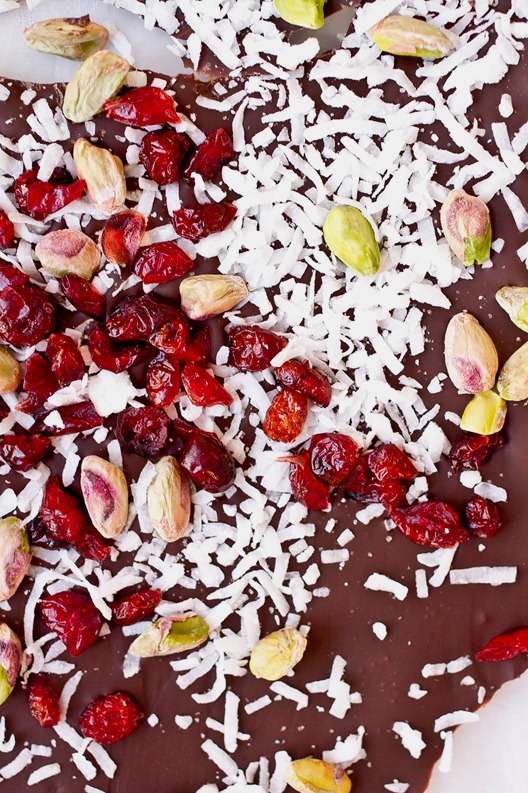
This bark looks like Christmas. The coconut seems like snow on the ground while the green and red toppings make it fun and festive. And it’s as fun to eat as it is to look at. The meaty pistachios and coconut match up against the tart craisins and bitter chocolate.

Coconut Pistachio Bark Overhead

This bark shouldn’t last long, but if you happen to have leftovers make sure to keep them in the refrigerator to keep the chocolate solid.

Coconut Pistachio Bark

Prep time: 15 minutes

Cook time: 10 minutes

Ingredients(Makes about 16 servings):

  • 8.5oz dark chocolate OR 1 cup chocolate chips
  • 1/4 cup sweetened shredded coconut
  • 3 Tablespoons dried cranberries
  • 3 Tablespoons pistachios

Coconut Pistachio Bark Unbroken

Method:

  1. Melt the chocolate in a microwave or over a double boiler.
  2. Spread the melted chocolate out on a sheet of wax paper or other non-stick surface.
  3. Sprinkle the coconut, cranberries and pistachios out along the surface of the chocolate.
  4. Gently press the toppings into the bark to make sure they stick to the chocolate.
  5. Refrigerate the chocolate for 20-30 minutes until it has set.
  6. Remove the bark from the wax paper and break it apart into 16-20 uneven pieces.

Chocolate-Coffee Meringue Sandwiches

Chocolate-Coffee Meringue Sandwiches

Even though I stopped drinking coffee years ago, I still love coffee flavored things. Occasionally I’ll have a cup of decaf coffee, but more likely I’ll look for coffee ice cream or chocolate covered espresso beans. Coffee and chocolate are a wonderful things.

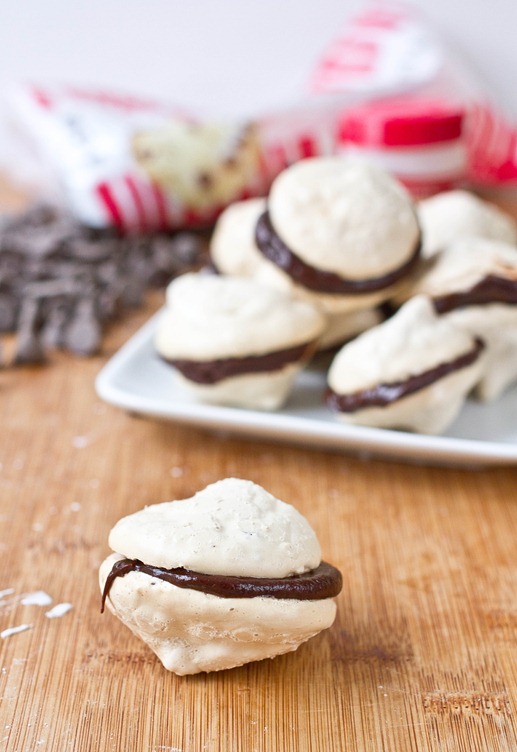
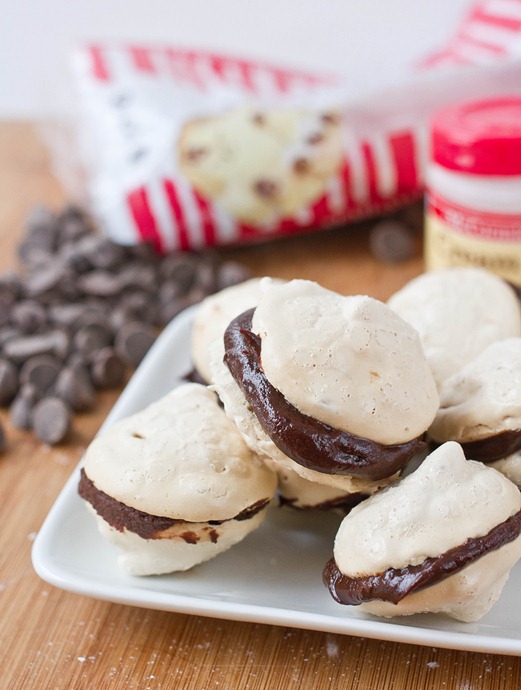
These aren’t technically macarons because there isn’t any almond paste in the recipe but the taste and texture are similar: Crunchy, soft coffee meringues held together with a rich chocolate ganache. The best touch is the added Irish cream in the ganache; it’s much better than a morning cup of coffee. 

Chocolate-Coffee Meringue Sandwiches Ganache

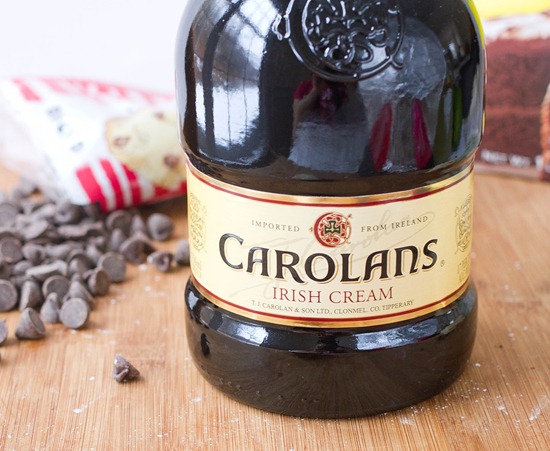
You can use regular cream in place of the Irish cream for the ganache or even a coffee liqueur like Kahlua.

Chocolate-Coffee Meringue Sandwiches

Prep time: 20 minutes

Cook time: 2 hours

Ingredients(Makes about 15 sandwiches):

  • 4 egg whites
  • 1 cup powdered sugar
  • 1/2 teaspoon cream of tartar
  • 1 teaspoon instant coffee granules
  • 1/2 cup chocolate chips
  • 2 Tablespoons butter
  • 3 Tablespoons Irish cream

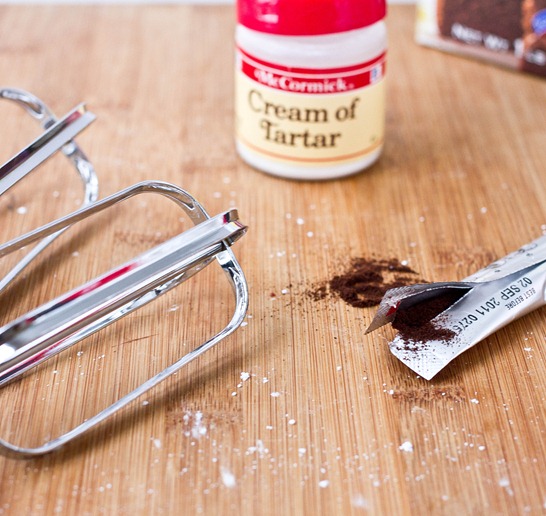
Chocolate-Coffee Meringue Sandwiches Ingredients

Method:

  1. Preheat your oven to 225 degrees.
  2. In a glass bowl, beat the egg whites until they form soft peaks.
  3. Sift the powdered sugar, cream of tartar, and instant coffee together and then slowly beat them into the egg whites.
  4. Continue beating until all of the sugar is incorporated and the whites form stiff peaks.
  5. Scoop the meringue into a pastry bag or Ziploc bag with a corner cut out.
  6. Squeeze the batter into discs on non-stick baking trays.
  7. Bake for 90 minutes until the meringues are hard. Remove from the oven and let them cool.
  8. Melt the chocolate and butter together. Mix in the Irish cream until it makes a smooth ganache.
  9. Scoop about a Tablespoon of ganache on the bottom of one meringue and sandwich it with another.
  10. Let the sandwiches sit for about 15 minutes until the ganache hardens.
  11. Serve at room temperature.

Chocolate-Coffee Meringue Sandwiches Yield

Lemon Cornmeal Cake

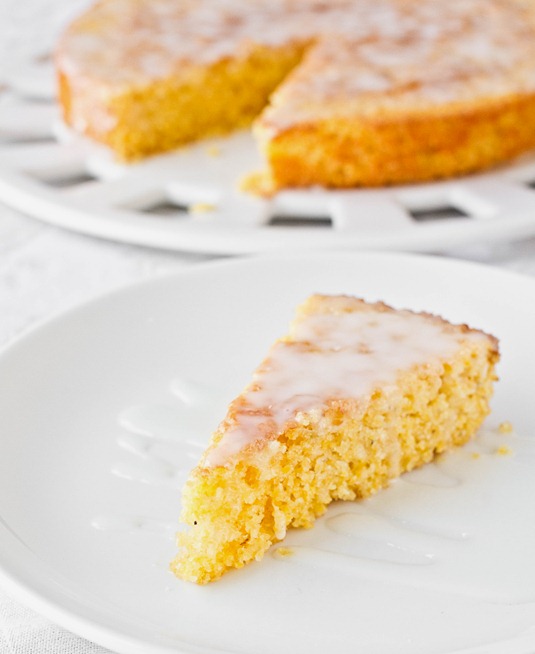
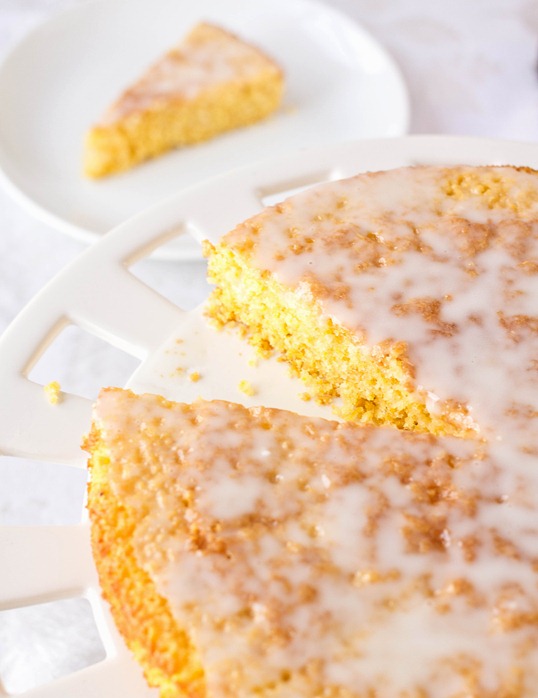
Lemon Cornmeal Cake Serving

When it comes to dessert, I love lemon just as much as any chocolate torte or cake. Even though it’s typically a Summer flavor, I think it’s great to end a heavy Winter meal on a light and refreshing note.

Cornmeal is one of my favorite underrated gluten-free flours. It’s made to use polenta and corn tortillas all the time but hardly ever makes it into desserts. The texture is certainly more coarse than your typical flour but it has a charming rusticness to it.

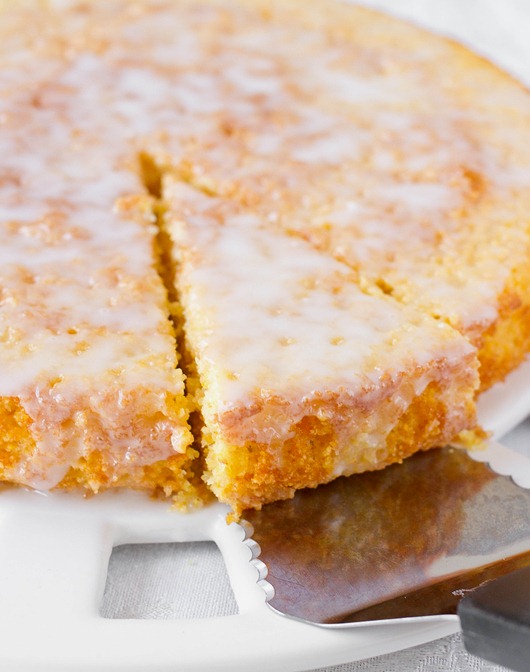
Lemon Cornmeal Cake Sliced

Make sure to find a finely ground cornmeal rather than a coarse one. The cake will bake either way but the coarse cornmeal will have a tougher texture to it once baked.

Lemon Cornmeal Cake

Prep time: 10 minutes

Cook time: 30 minutes

Ingredients:

  • 1 1/2 cups finely ground cornmeal
  • 3/4 cup sugar
  • 1 teaspoon baking soda
  • 3 Tablespoons cornstarch
  • 3 eggs
  • 1/4 cup vegetable oil
  • 1/2 cup milk, divided
  • 1/2 Tablespoon + 1 teaspoon lemon extract, divided
  • 1/2 Tablespoon lemon zest
  • 1 cup powdered sugar

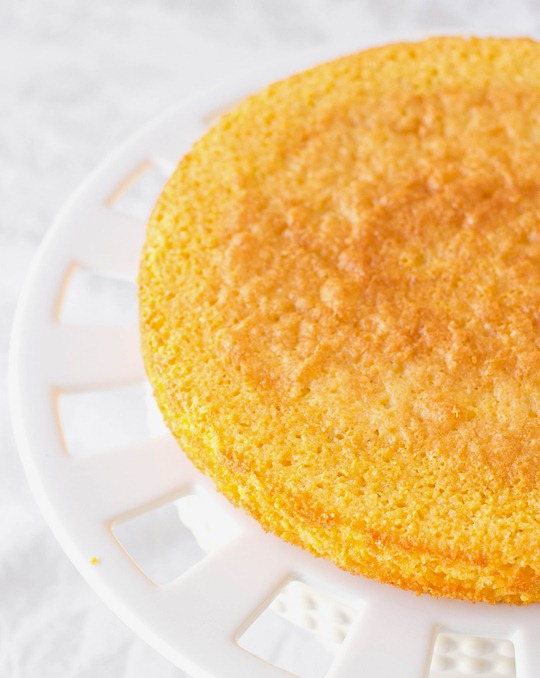
Lemon Cornmeal Cake Bare

Method:

  1. Preheat your oven to 350 degrees.
  2. In a large bowl, whisk together the cornmeal, sugar, cornstarch and baking soda until mixed.
  3. In a separate bowl, whisk together the eggs, oil, 6 1/2 Tablespoons of milk, 1/2 Tablespoon of lemon extract and the lemon zest.
  4. Mix the dry and wet ingredients and whisk well.
  5. Grease an 8-inch cake pan on all sides.
  6. Pour the batter into the cake pan. Place in the oven and bake for 25-30 minutes until the top is browning and the center is cooked.
  7. Remove from the oven and let the cake cool.
  8. After the cake is cooled, make the icing by mixing the powdered sugar with the extra milk and lemon extract until it’s smooth and runny. If you need to, add 1/2 – 1 extra Tablespoon of milk to get it to the right consistency.
  9. Drizzle the icing on top of the cake before slicing and serve.

Lemon Cornmeal Cake

An icing is an easy and light way to frost this but you could also make a lemon or vanilla buttercream for something richer.


Loaded Coconut Cake Squares

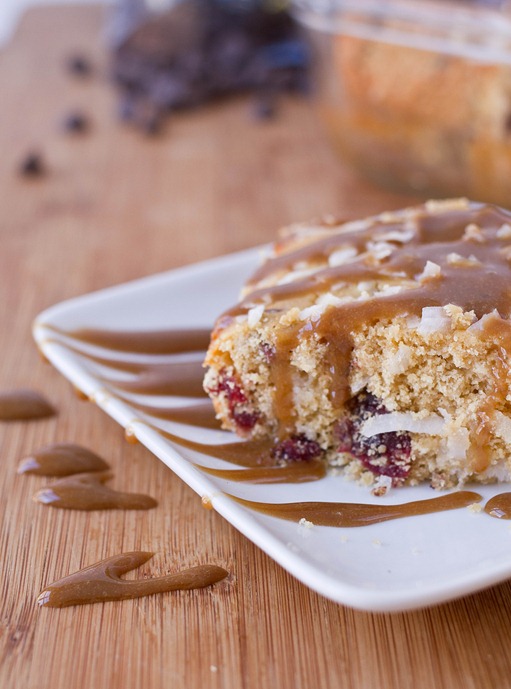
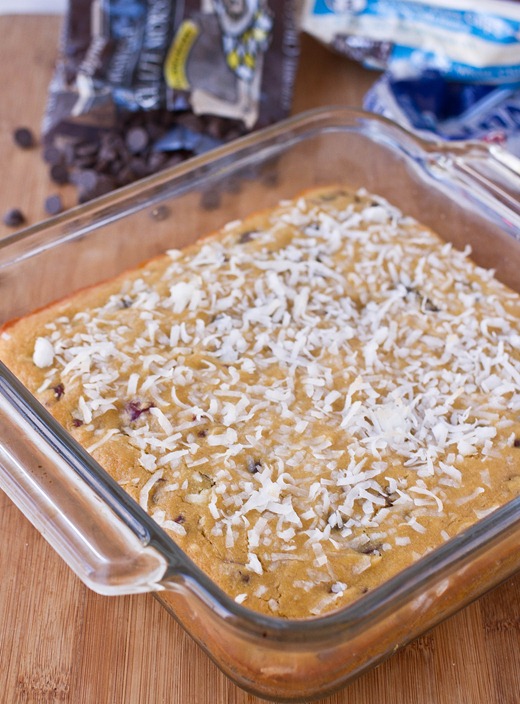
Loaded Coconut Cake Squares

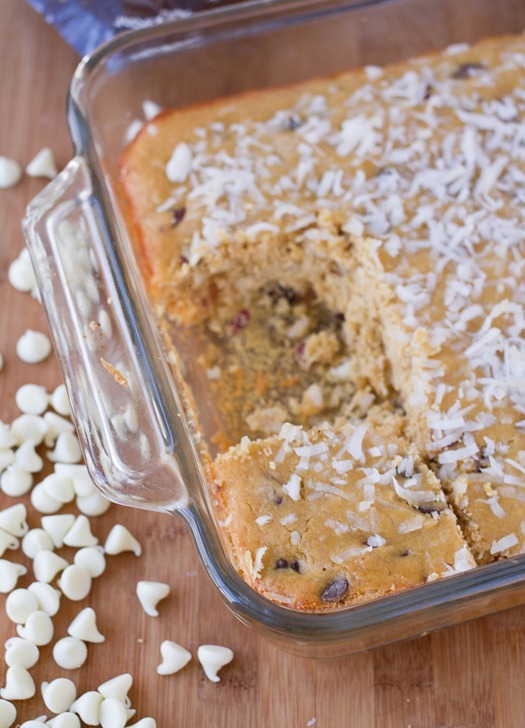
As I’ve been eating my way through yogurt that Chobani sent me, I’ve been trying to get creative on new ways to cook with it. Everyone knows yogurt is a great low-fat alternative for baking so I took that as my starting point and took off from there.

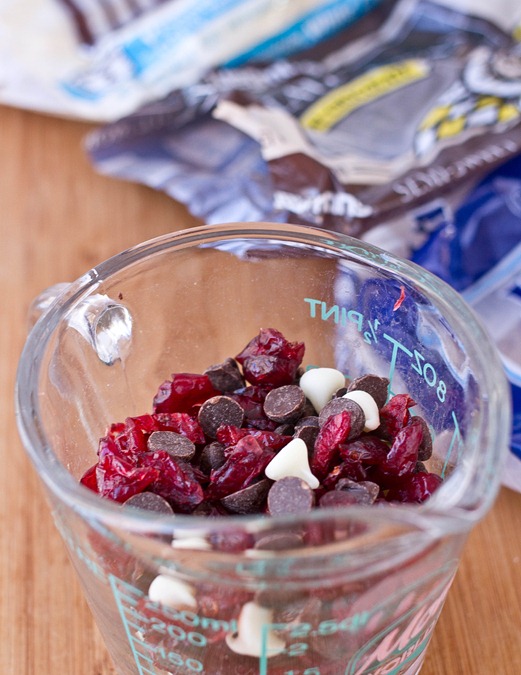
While a good base recipe is essential, a lot of the fun of cakes and brownies is what you put inside or on top of them. Chocolate chips and coconut are among my favorites. These might not seem healthy but with Greek yogurt in place of oil and butter and craisins and coconut filling it up(in addition to some chocolate chips, of course) these won’t do you wrong or steer you off your New Year resolutions.

Loaded Coconut Cake Squares Yield

If you want to make this more of a healthy snack, swap in 1/2 cup of crushed walnuts or slivered almonds in for the chocolate chips. Either way it’ll taste great.

Loaded Coconut Cake Squares

Prep time: 15 minutes

Cook time: 30 minutes

Ingredients(Makes 1 8 x 8 pan):

  • 1 1/2 cups gluten-free all-purpose flour
  • 1/2 Tablespoon baking powder
  • 1/2 cup dried cranberries
  • 1/2 cup sweetened shredded coconut
  • 1/4 cup white chocolate chips
  • 1/4 cup chocolate chips
  • 1/2 cup dark brown sugar
  • 2 eggs

Loaded Coconut Cake Squares Mix-Ins

Method:

  1. Preheat your oven to 350 degrees.
  2. In a large bowl sift together the gluten-free flour and baking powder.
  3. Add in the craisins, 1/4 cup shredded coconut, white and dark chocolate chips and mix.
  4. In a separate bowl, mix together the yogurt, brown sugar, and eggs until homogenous.
  5. Mix the wet ingredients in with the dry until the batter is well mixed.
  6. Lightly grease an 8 x 8 baking pan.
  7. Pour the batter into the pan and press down evenly.
  8. Sprinkle the remaining 1/4 cup coconut on top of the batter and press in lightly.
  9. Bake for 25-30 minutes until the center of the cake has set and the coconut on top begins to toast.
  10. Remove from the oven and let cool before cutting into squares.

Loaded Coconut Cake Squares Final

Don’t forget to add caramel or fudge sauce just in case this doesn’t have enough flavors going on for you.

Low-Fat Cake Balls

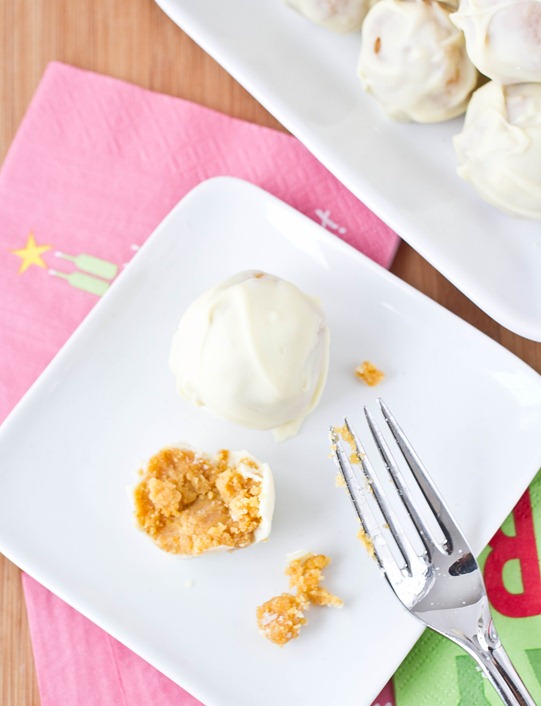
Low-Fat Cake Balls Serving

Cake pops are one of my favorite recent food trends, not because I think they taste all that much better than regular old cake, but because once and a while we all make that cake that doesn’t rise or come out just how we planned and won’t serve to people but can’t bear to throw away.

That’s the beauty of cake pops: They’re very forgiving. You can start out with dry or crumbly cake and still come out with something delicious.

Low-Fat Cake Balls Chobani

Chobani sent me a few of their 32oz yogurt containers for their Just Add Good cooking campaign. They’ve added a new Kitchen page to their website full of yogurt recipes and beautiful photos to get your gears turning.

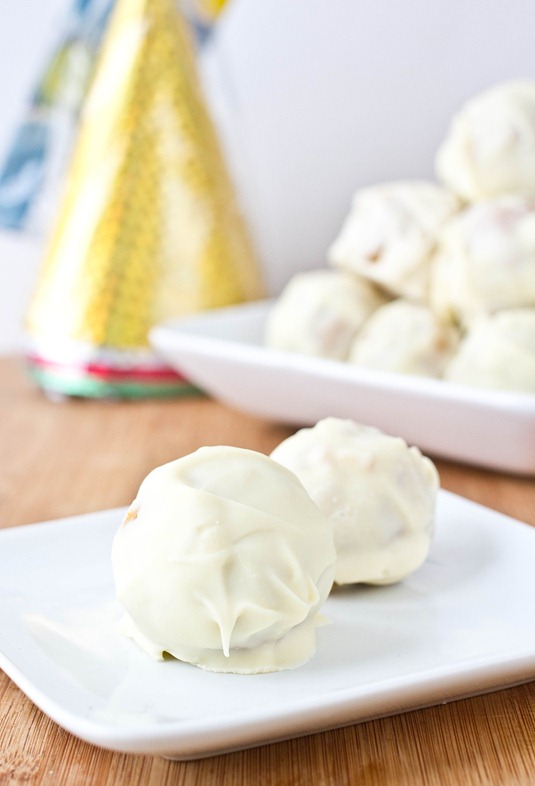
When I made these cake balls, I swapped out the oil in the cake recipe for an equal amount vanilla Greek yogurt. For the frosting I mixed the cake with, I swapped out the butter for 1/2 the amount called for of plain 2% greek yogurt. The result was just as moist and delicious as any cake ball I’ve made before.

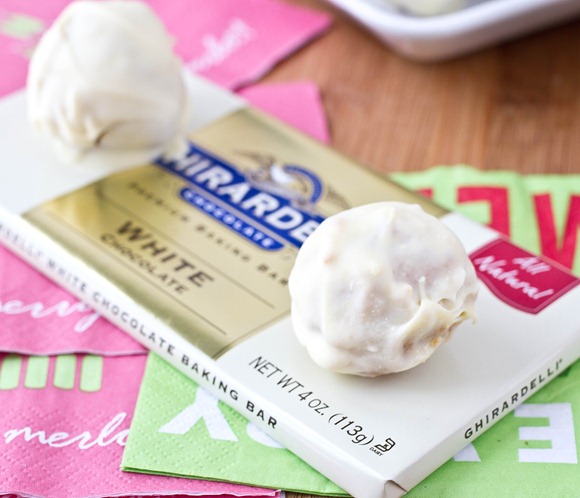
Low-Fat Cake Balls White Chocolate

Since you lose richness when you cut the fat out of a recipe, this works better with bitter or spicy cake flavors like chocolate, pumpkin, or carrot cake. I used a gluten-free pumpkin spice cake with a white chocolate coating. 

Low-Fat Cake Balls

Don’t forget when melting chocolate to look for baking chocolate instead of chocolate chips. Baking chocolate melts smoother and makes a better coating for the cake pops.

Iced Vanilla-Almond Butter Cookies

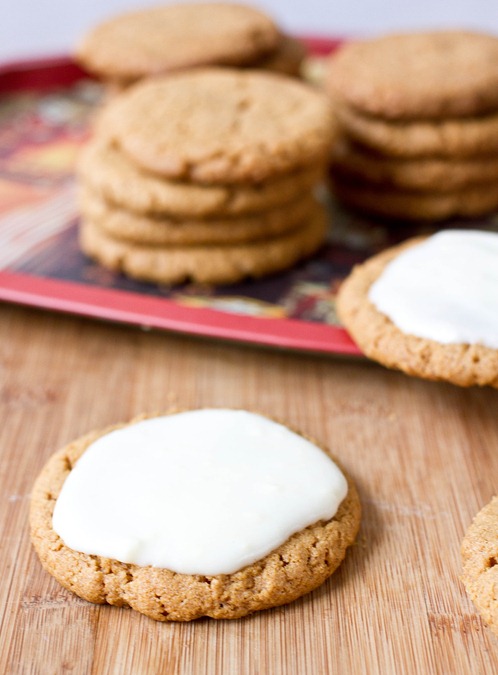
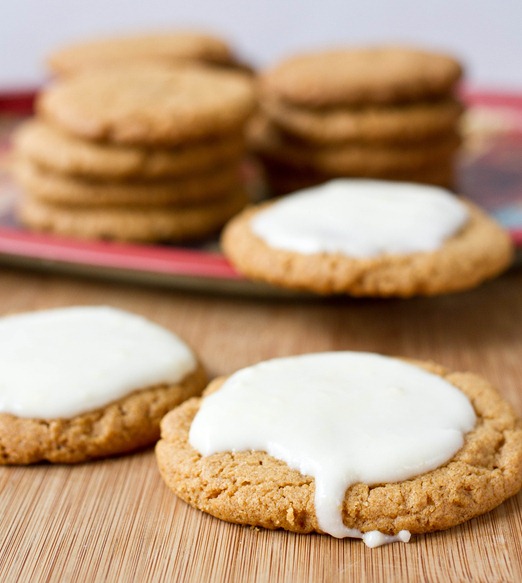
Vanilla-Almond Butter Cookies

I never understood why Christmas cookies are a thing, why cookies take priority over cake or mousse or any other number of desserts. But in reality who ever has time to sit down for desserts around Christmastime? Between cooking, opening presents, and talking everyone is usually standing or in the other room, and cookies are the perfect grab-and-go dessert for that.

When I think of iced cookies, I usually think of the stale ones from the grocery store with neon pink frosting that taste like pure sugar. I would always eat the frosting(because who doesn’t love pure sugar?) but the cookie usually got left behind. These are far from those iced cookies. There’s nothing quite like a fresh cookie with a smooth and soft icing on top to step up the game for the rest of the desserts.

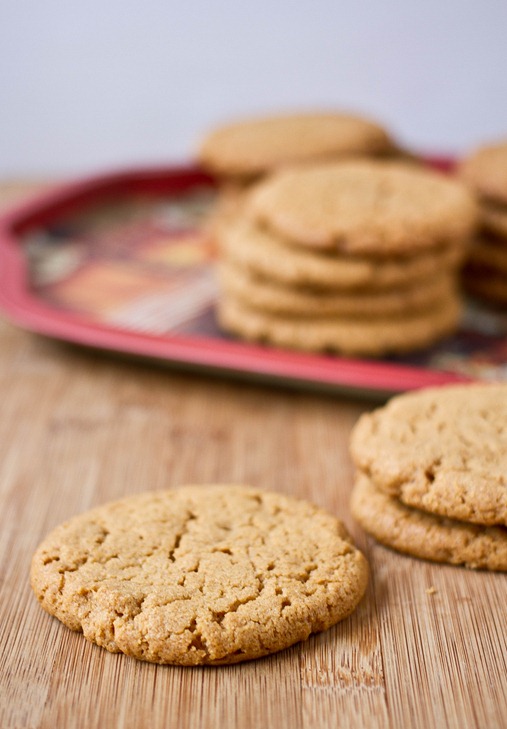
Vanilla-Almond Butter Cookies Naked

The almond extract is the special ingredient that makes these cookies irresistible. If you don’t have any it’s worth running out to the store to find. Making an icing that’s part butter adds a touch of richness to the balance out the sweet.

Iced Vanilla-Almond Butter Cookies

Prep time: 15 minutes

Cook time: 15 minutes

Ingredients(Makes about 18 cookies):

  • 1 cup almond butter
  • 3/4 cup + 2 Tablespoons sugar
  • 1 egg
  • 1/2 teaspoon vanilla extract
  • 1/2 teaspoon baking powder
  • 1/4 teaspoon salt

For the icing:

  • 1/4 cup butter, softened
  • 2 1/2 Tablespoons milk
  • 2 cups powdered sugar
  • 1/4 teaspoon vanilla extract
  • 1/4 teaspoon almond extract

Vanilla-Almond Butter Cookies Icing

Method:

  1. Preheat your oven to 350 degrees.
  2. In a large bowl, mix together the almond butter, sugar, eggs, vanilla extract, baking powder, and salt.
  3. Roll the dough into 1-inch balls and put them on a non-stick baking tray. Press down on the balls lightly to flatten them to about 1/2-inch.
  4. Bake for 12-15 minutes until the edges of the cookies begin to brown.
  5. Remove the cookies from the oven and let them cool.
  6. Combine the butter and milk in a medium-sized bowl.
  7. Sift the powdered sugar into the bowl.
  8. Beat together the sugar, butter, and milk until smooth. Add in the vanilla and almond extract and continue mixing until smooth.
  9. Spread a Tablespoon of frosting on top of each cookie. Let the cookies sit at room temperature uncovered until the frosting sets.

Vanilla-Almond Butter Cookies Yield

You can decorate these with green and red or white sprinkles to make them a little more festive.


Chocolate Cranberry Pavlova

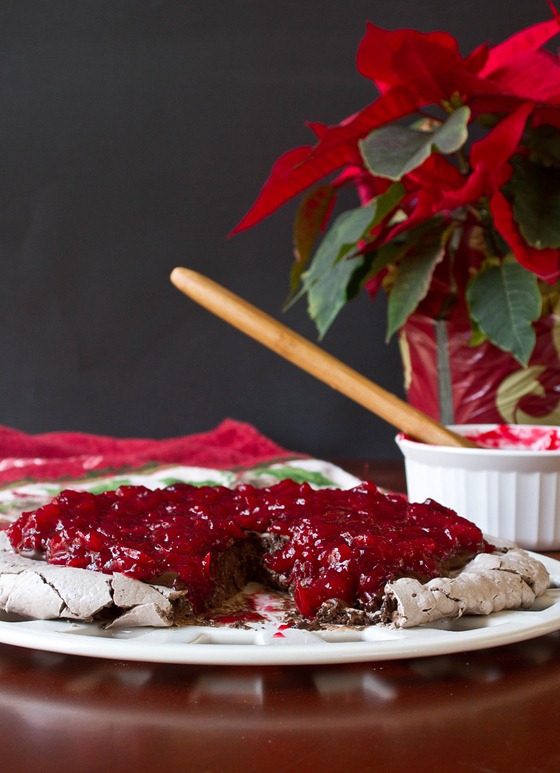
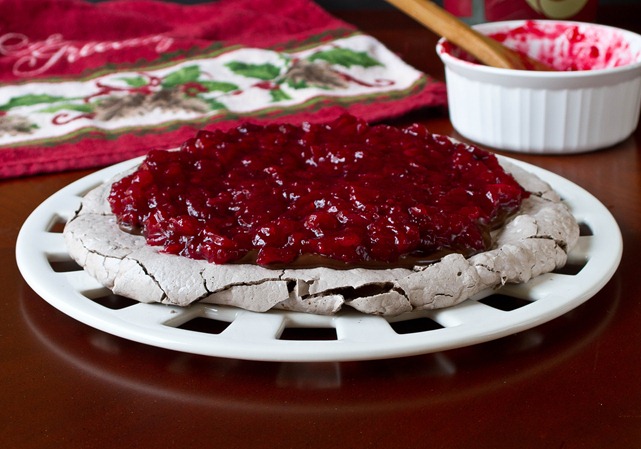
Chocolate Cranberry Pavlova

Merry Christmas and happy holidays! Lately it’s felt like Christmas is a week and not just a day. This is a dessert I made a couple of days for friends. It was so good I thought about making it again for Christmas Day.

Pavlovas are a light and simple gluten-free dessert. You just need to have enough foresight to make them the night before so that the meringue can set overnight. On their own they don’t have much flavor, but add anything on top and they become much more exciting.

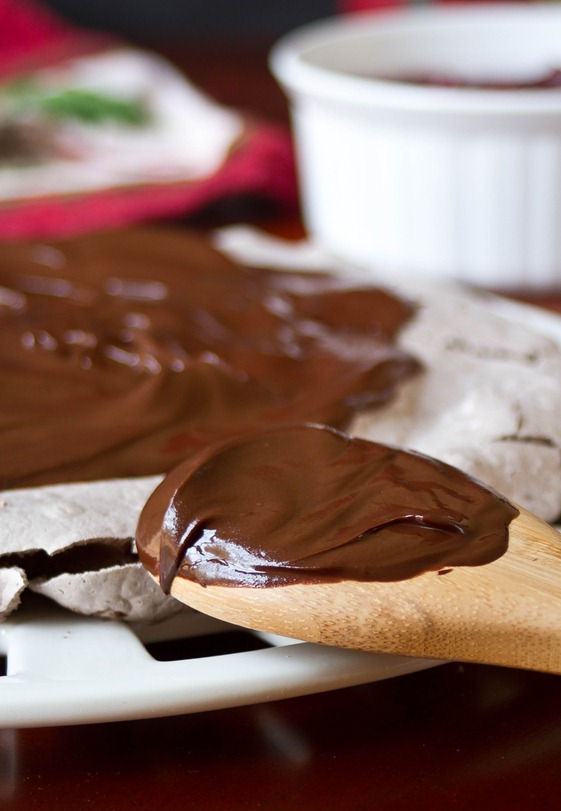
Chocolate Cranberry Pavlova Chocolate

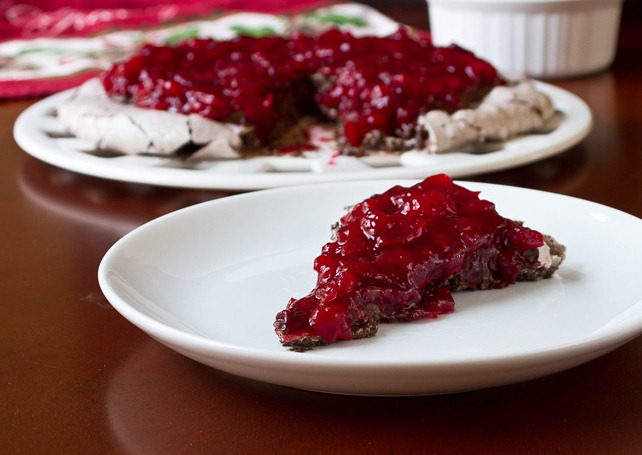
This dessert has a lot of flavors and textures going on in it. The meringue is crunchy on the outside and gooey on the inside. The chocolate is velvety and bitter and the cranberry sauce is slightly chunky and tart. There’s a little something for everyone.

Chocolate Cranberry Pavlova

Prep time: 25 minutes

Cook time: 8 hours

Ingredients(Makes about 8 servings)

  • 4 egg whites
  • 2 cups powdered sugar
  • 1/4 cup cocoa powder
  • 1/4 teaspoon cream of tarter
  • 2 cups fresh cranberries
  • 1/2 cup sugar
  • 1/4 teaspoon salt
  • 1 Tablespoon corn starch
  • 6 Tablespoons chocolate chips
  • 3 Tablespoons butter

Chocolate Cranberry Pavlova Cranberry Sauce

Method:

  1. Preheat your oven to 350 degrees.
  2. Beat the egg whites in a large glass bowl until they’re frothy.
  3. In a separate bowl, sift together the powdered sugar, cocoa powder, and cream of tartar.
  4. While beating the egg whites, slowly add in the sugar and cocoa powder mixture until it’s fully incorporated. Continue beating until soft peaks form.
  5. Spread the meringue out on a non-stick baking tray. Place the tray in the oven, turn it off and leave the oven door shut overnight or for 8 hours until the meringue has set.
  6. Combine the cranberries and about 2 cups of water in a medium pot over the stove and boil for 10 minutes with a lid on the pot.
  7. After 10 minutes, drain most of the water leaving just a thin layer to cover the bottom.
  8. Add in the sugar and salt and stir. Continue boiling for 2-3 minutes until the sugar is dissolved.
  9. Mix the corn starch with 2 Tablespoons of warm water until it’s dissolved and add it to the cranberry sauce.
  10. Remove the cranberry sauce from the heat and mix it well until it thickens. Set aside to cool.
  11. Melt the chocolate and butter in a small bowl and mix together until smooth.
  12. To assemble the pavlova, spread the chocolate out in an even layer on top of the meringue.
  13. Add the cranberry sauce on top of the chocolate and spread it out to cover the top.
  14. Serve at room temperature.

Chocolate Cranberry Pavlova Slice

Peanut Butter Buckeyes

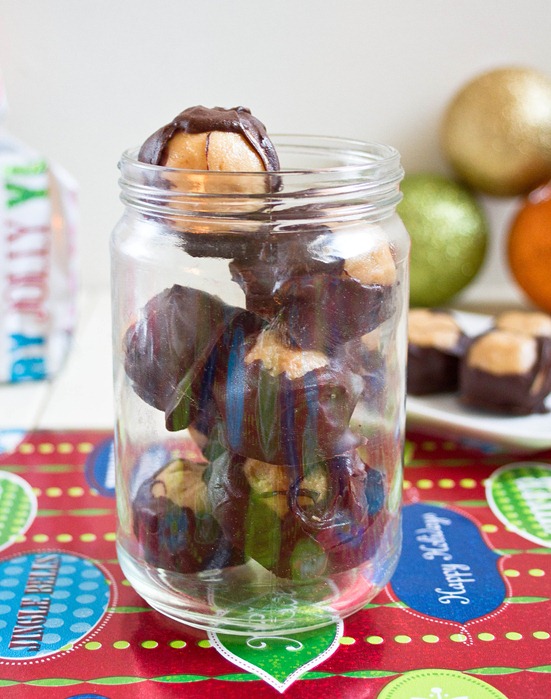
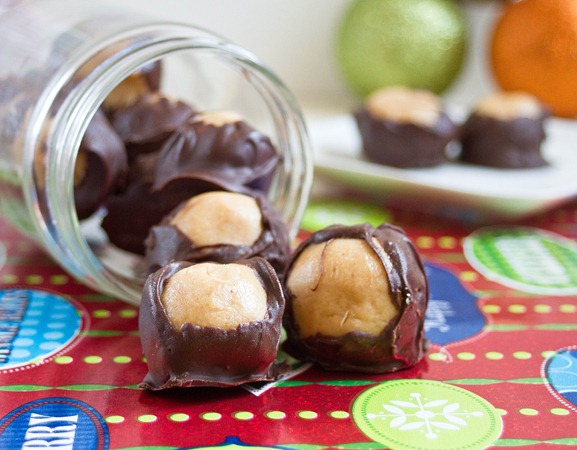
Peanut Butter Buckeyes

Between Christmas shopping, studying, writing papers and taking exams I haven’t had much time to cook or make new recipes lately. The nice thing about having a living room full of Christmas lights, stockings and a tree is it makes it easy to fall back into the holiday spirit after a stressful day.

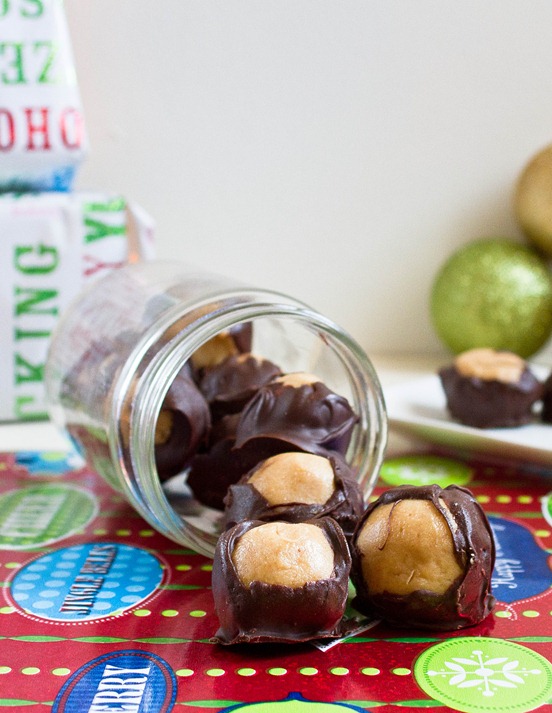
I made these buckeyes last night for myself and my roommates because who doesn’t love a chocolate and peanut butter nightcap? I have to admit that I’ve made recipes like this often enough that I’ve stopped measuring things as I go along. Really you can make this in any proportion as long as the dough comes out the right consistency. They aren’t the prettiest buckeyes but they’re taste makes up for their appearance.

Peanut Butter Buckeyes Yield

If you want to change the flavor slightly add a touch of vanilla or cinnamon.

Peanut Butter Buckeyes

Prep time: 20 minutes

Cook time: 0 minutes

Ingredients(Makes about 20 buckeyes):

  • 1 cup creamy peanut butter*
  • 6 Tablespoons butter, melted
  • 1 1/2 cups powdered sugar, sifted
  • 1 1/4 cups bittersweet chocolate chips OR 10oz bittersweet chocolate, chopped

*If you’re using no-stir peanut butter, melt it in the microwave briefly before mixing it with the other ingredients

Peanut Butter Buckeyes Naked

Method:

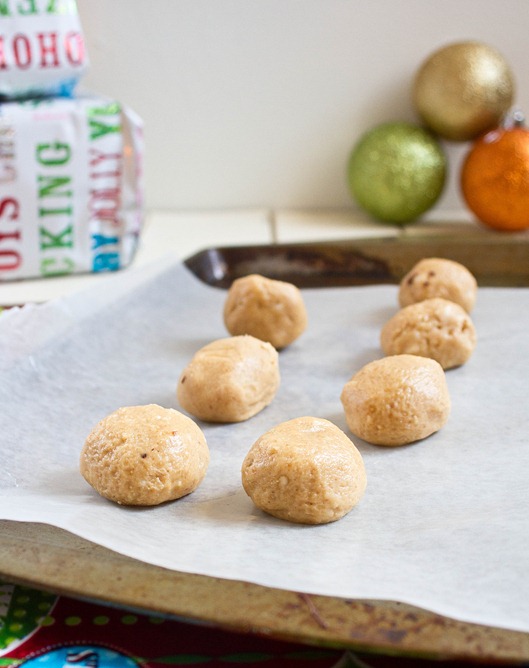
  1. In a large bowl mix together the peanut butter, butter and powdered sugar until it forms a dough that sticks to itself. If for some reason your dough is too thin, slowly add more powdered sugar until it’s workable.
  2. Roll the dough into 1-inch balls and place them on a non-stick surface.
  3. Put the peanut butter balls in the freezer to set.
  4. While the peanut butter balls are hardening, melt the chocolate in a microwave or over a double boiler.
  5. One by one dip the peanut butter balls into the melted chocolate to coat their outside and put them back on the non-stick surface.
  6. Refrigerate the peanut butter balls until the chocolate has set. Keep cold until ready to serve.

Peanut Butter Buckeyes Serving