Category Archives: Dessert

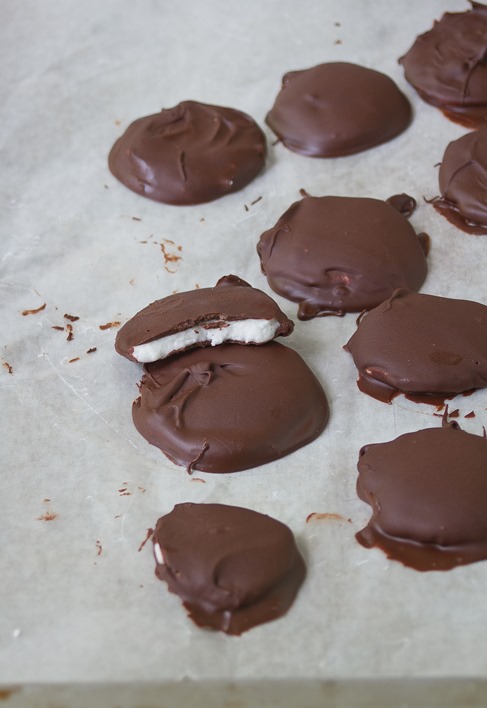
Homemade Peppermint Patties

Homemade Peppermint Patties

I’m a candy addict. I like having a little after every meal; it just leaves a better taste in your mouth than pasta sauce or vegetables ever could. That’s probably why I’ve blogged this recipe 2 or 3 times in the past couple of years. But it’s so good I have to post it again.

I’ll admit I love the store-bought, corn syrup laden candy you get at grocery stores and movie theaters. Now and again though it’s fun to make your own. And it can be a great way to impress your family and friends.

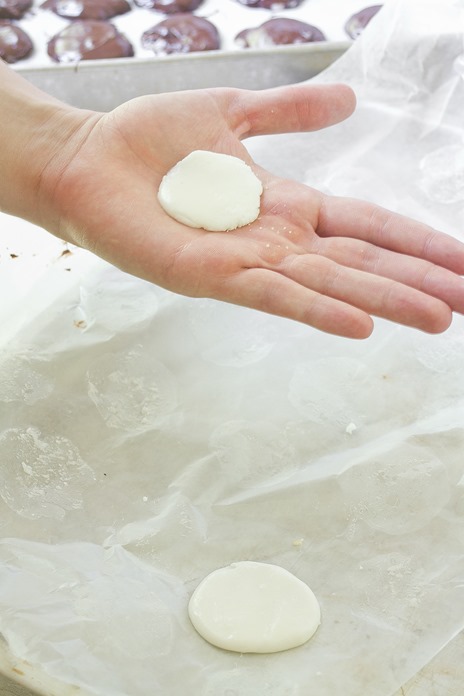
Homemade Peppermint Patties Filling

I’d recommend looking for dark chocolate chips for this recipe; the bitterness of the chocolate is a nice contrast to the minty sweet filling. You can use butter in place of the coconut oil if that’s what you have on hand.

Homemade Peppermint Patties

Prep time: 30 minutes

Cook time: 0 minutes

Ingredients(Makes 24 patties):

  • 2 1/4 cup powdered sugar, sifted
  • 1 1/2 Tablespoons agave nectar(or any liquid sweetener)
  • 1 1/2 Tablespoons water
  • 1 Tablespoon coconut oil, softened or melted
  • 1 teaspoon peppermint extract
  • 1 bag(12oz) bittersweet or semisweet chocolate chips

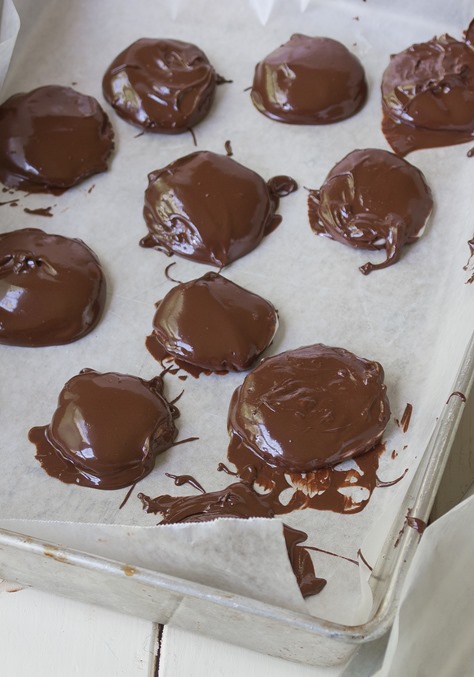
Homemade Peppermint Patties Done

Method:

  1. In a large bowl, mix the powdered sugar, agave nectar, coconut oil, peppermint extract, and water. Continue mixing with your hands until it comes together and forms a dough ball.
  2. Take off chunks of filling from the dough ball and roll them into 3/4-inch balls. Press the balls down in between your hands and form patties.
  3. Lay the patties out on a baking tray on a non-stick surface and refrigerate or freeze for 20 minutes until firm
  4. Melt the chocolate in a microwave or over a double-boiler. Line a baking tray with parchment paper.
  5. Dip the frozen filling into the melted chocolate with a fork until the top and bottom are covered. Wipe off any excess chocolate from the bottom and lay it on the lined baking tray.
  6. Refrigerate the patties for 10 minutes before removing them from the paper. Keep refrigerated when not eating.

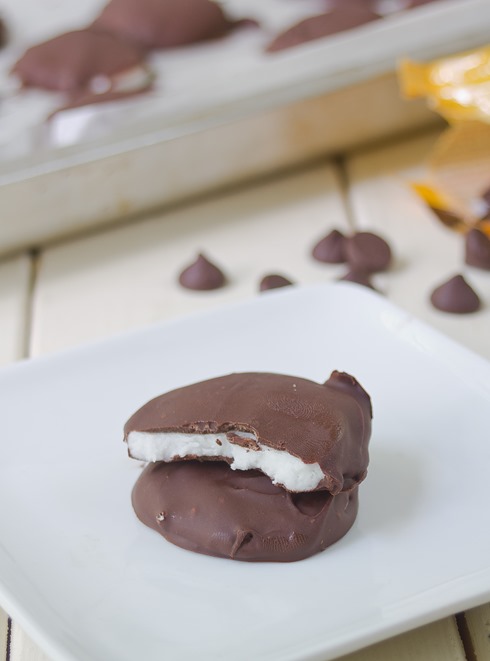
Homemade Peppermint Patties Serving

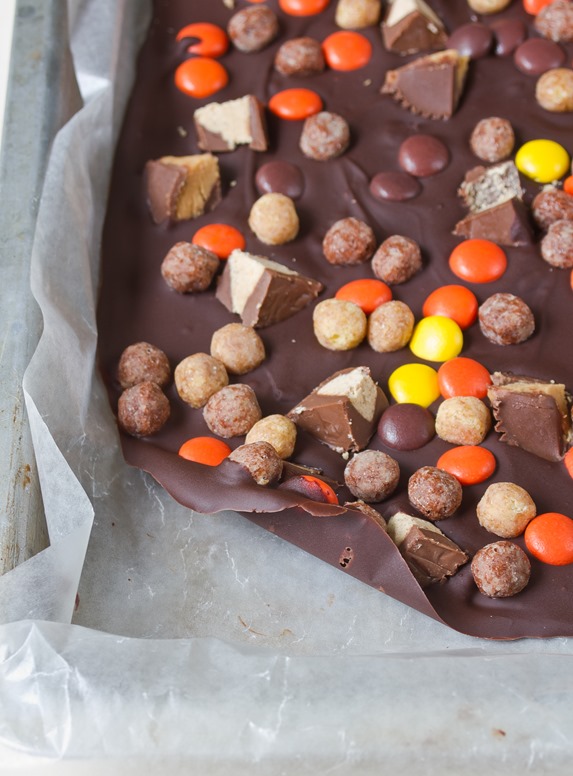
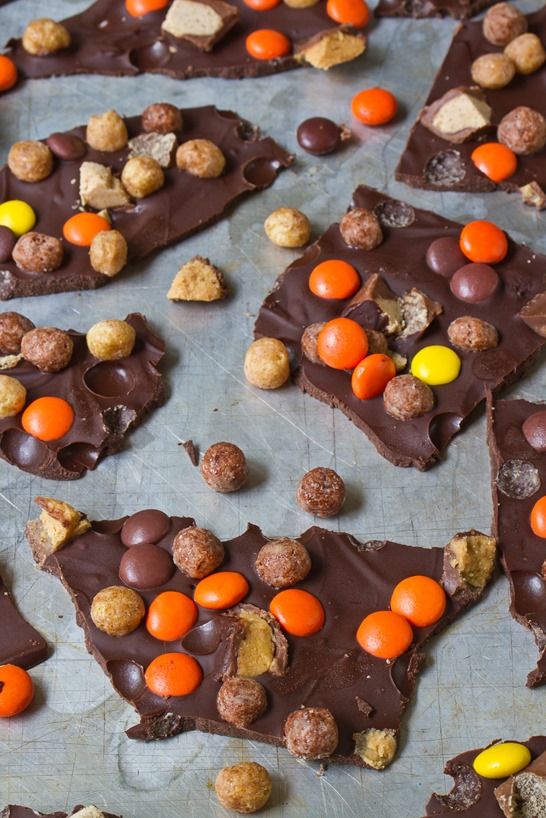
Reese’s Lover’s Bark

Reese’s Lover’s Bark Whole

This is it.

If I stopped blogging tomorrow and this was the last recipe I ever posted, I’d be more than happy with that.

It’s no secret I’m a Reese’s lover. This bark was bound to happen. And it’s one of my favorites—Scratch that. It is my favorite.

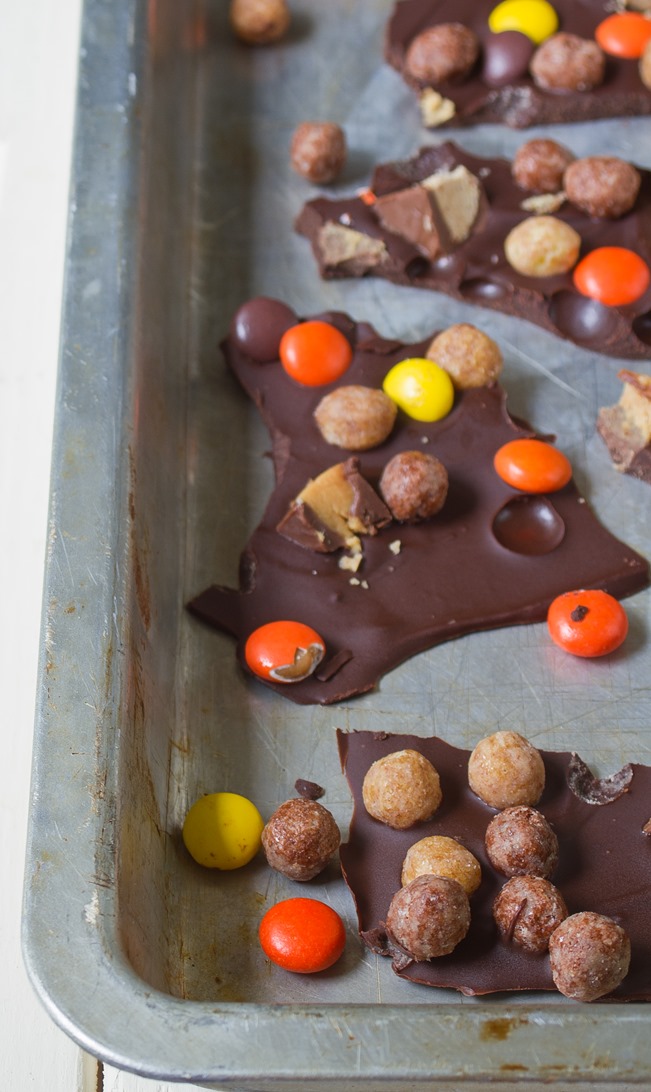
The sweet Reese’s pieces, dark chocolate, and smooth peanut butter cups go perfectly with a little crunch from the Reese’s puffs. You’d be hard-pressed to be disappointed with a bite of this bark.

Reese’s Lover’s Bark

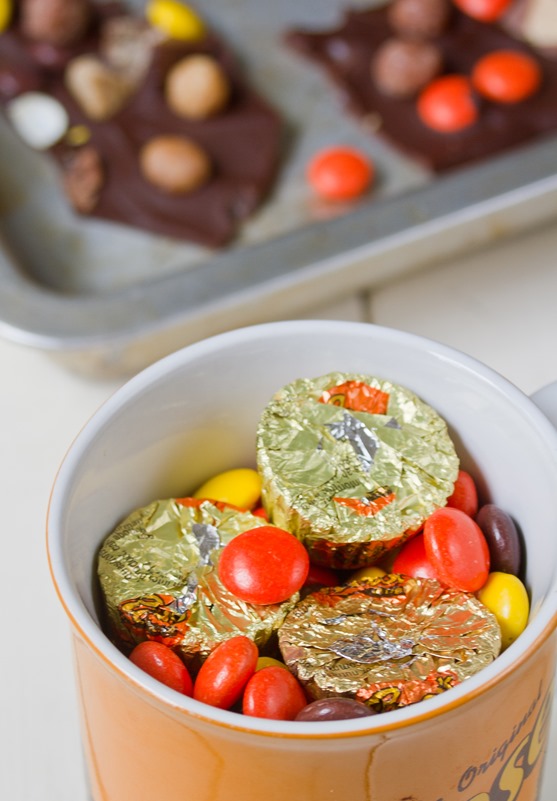
You can use regular-sized Reese’s cups, Reese’s fun-sized candies, or even Reese’s miniatures for the peanut butter cups—whichever you have on hand.

Reese’s is in no way affiliated with this blog post; I’m just a lover.

Reese’s Lover’s Bark

Prep time: 10 minutes

Cook time: 0 minutes

Ingredients(Makes 16-20 servings):

Reese’s Lover’s Bark Ingredients

Method:

  1. In a microwave safe bowl, melt the chocolate chips until they are smooth and liquid.
  2. Spread the chocolate out into a thin layer on a non-stick surface such as wax paper.
  3. One at a time or all together, sprinkle the Reese’s toppings evenly over the melted chocolate.
  4. Gently press the toppings into the chocolate to make sure as many as possible stick into the bark.
  5. Refrigerate for 20-30 minutes until the chocolate is cold and set.
  6. Break the bark into pieces with a knife or your hands while still cold. Keep refrigerated until ready to eat.

Reese’s Lover’s Bark Serving

Easy Reese’s Fudge

Easy Reese's Fudge Serving

On a trip to New York a couple weeks ago, I had an hour to kill in Times Square. It’s probably no surprise I made a beeline for the M&M store and then quickly followed over to the Hershey’s store. Anywhere that sells that much chocolate should be a tourist destination in itself.

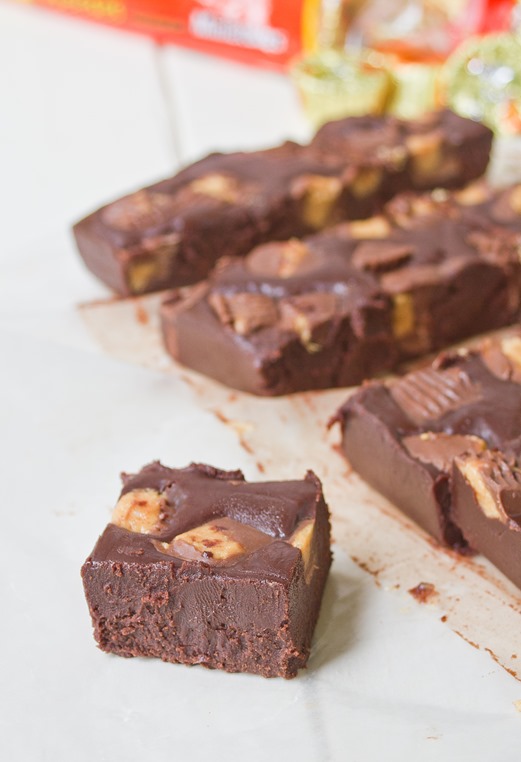
I still had chocolate on the brain after getting home from that trip and had to make this fudge. Surprisingly I hadn’t made microwave fudge in about a year so this was long overdue. Adding a little bit of Reese’s peanut butter cups was the perfect touch to these; if anything deserves a pairing with chocolate it’s peanut butter.

Easy Reese's Fudge Candies

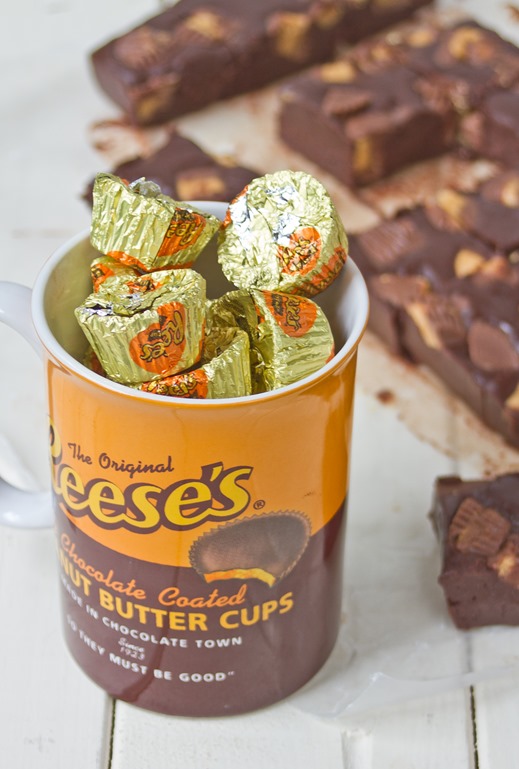
I used dark chocolate chips which made the fudge a little less sweet but gave a good contrast to the peanut butter cups. Instead of the fun-sized Reese’s cups you could use full-sized ones cut into more pieces or the new unwrapped miniatures.

Easy Reese’s Fudge

Prep time: 15 minutes

Cook time: 0 minutes

Ingredients(Makes about 20 servings):

  • 1 10oz bag chocolate chips
  • 1 4oz stick unsalted butter
  • 1/2 cup powdered sugar
  • 1/4 cup milk
  • 10 fun-sized Reese’s, chopped into fourths

Easy Reese's Fudge Yield

Method:

  1. Melt together the chocolate chips and butter in a bowl.
  2. In a separate bowl, mix together the milk and powdered sugar until the sugar dissolves.
  3. Mix the milk in with the melted chocolate and butter and beat until smooth.
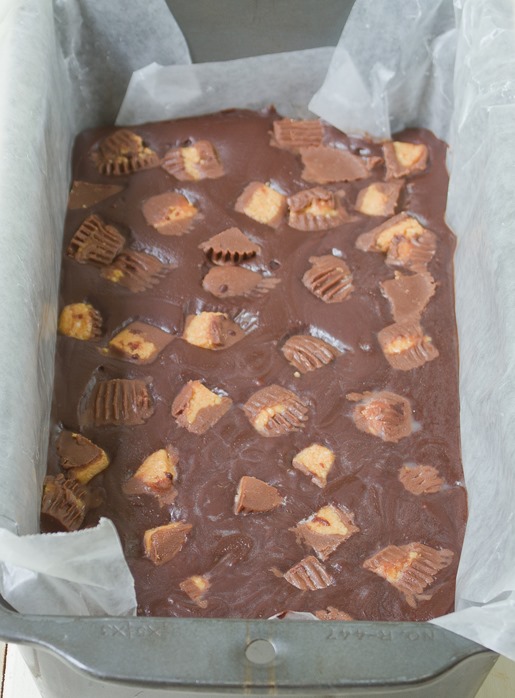
  4. Pour the hot fudge into a greased 8-inch loaf pan. You can add wax paper as a liner to make the removal and clean up easier.
  5. Sprinkle the chopped up Reese’s on top of the fudge and press it in gently with your hand.
  6. Refrigerate the fudge until it hardens, about 2 hours.
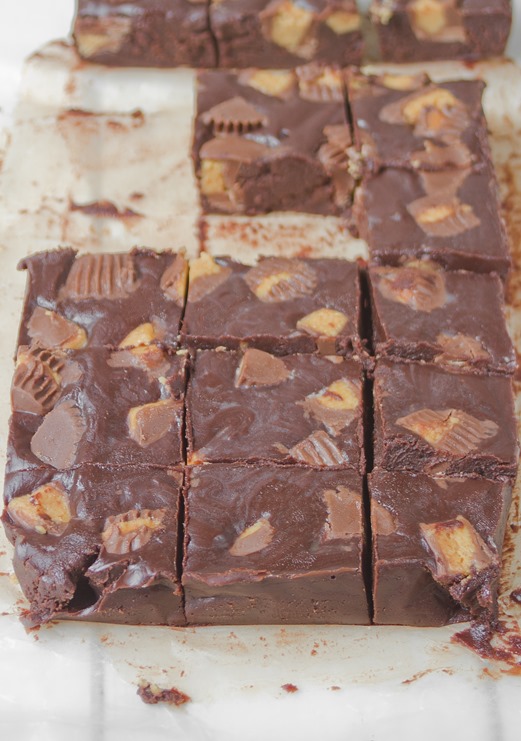
  7. With a sharp knife, slice the fudge into 1-inch squares. Keep it in the refrigerator when not enjoying.
Easy Reese's Fudge2

Gluten-Free Pineapple Rum Bread

Gluten-Free Pineapple Rum Bread

I’ve been on a sweetbread kick lately. They’re a lot more appetizing in the morning than a bowl of hot oatmeal, especially with some cool Greek yogurt on the side. At first I had the idea to make a pineapple loaf but quickly realized it needed a little something extra. And what goes better in the Summer with pineapple juice than rum?

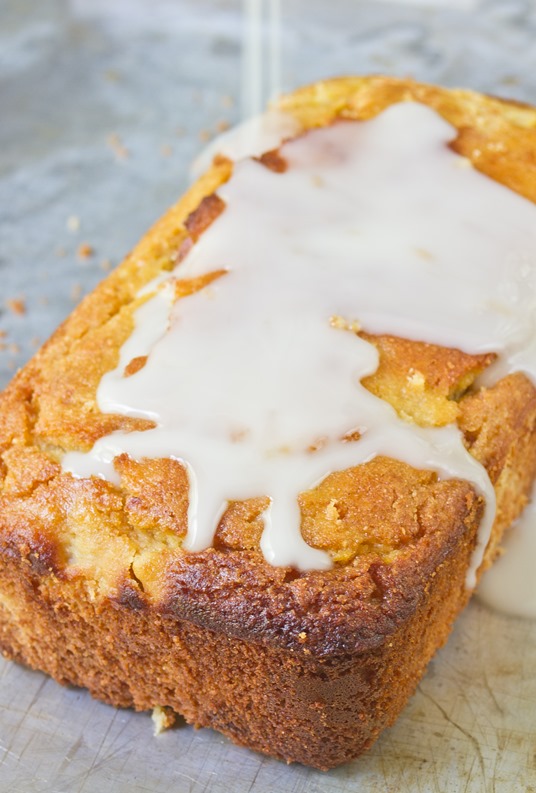
Gluten-Free Pineapple Rum Bread Glazing

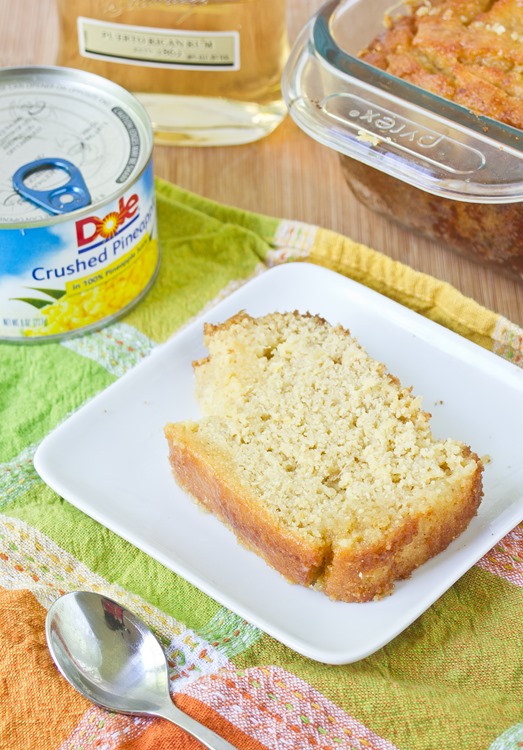
Make sure you buy crushed pineapple and not diced or rings. You can buy canned pineapple that’s exactly 1 cup; just reserve 1 Tablespoon of juice for the glaze. It’s better to add the glaze while it’s still in the loaf pan so that all of it gets absorbed.

Gluten-Free Pineapple Rum Bread

Prep time: 15 minutes

Cook time: 50 minutes

Ingredients(Makes 1 loaf):

  • 1 1/2 cups chickpea flour
  • 6 Tablespoons coconut flour
  • 3/4 teaspoon baking soda
  • 1/4 cup sugar
  • 1/4 cup brown sugar
  • 3 eggs
  • 1/4 cup vegetable oil
  • 1 cup pineapple chunks with juice, 1 Tablespoon of juice reserved
  • 1/4 cup + 1 Tablespoon rum
  • 1/2 cup powdered sugar

Gluten-Free Pineapple Rum Bread Ingredients

Method:

  1. Preheat your oven to 350 degrees.
  2. In a large bowl, mix together the chickpea flour, coconut flour, baking soda, sugar, and brown sugar.
  3. Beat in the eggs, vegetable oil, pineapple chunks, and 1/4 cup of rum until the batter comes together.
  4. Grease an 8-inch loaf pan. Pour the batter in and gently shake it to level out.
  5. Bake for 50 minutes or until the center has set.
  6. Remove the loaf from the oven and let it rest.
  7. In a small bowl, beat together the powdered sugar, 1 Tablespoon of rum and 1 Tablespoon of pineapple juice until the sugar dissolves.
  8. Poke the top of the loaf multiple times with a toothpick and pour the glaze on top. Let the loaf set for another 2 hours until the glaze has been absorbed.
  9. Slice and serve at room temperature. Keep refrigerated when not enjoying.
Gluten-Free Pineapple Rum Bread Serving

Strawberry Cheesecake Frozen Yogurt + Giveaway

Strawberry Cheesecake Frozen Yogurt

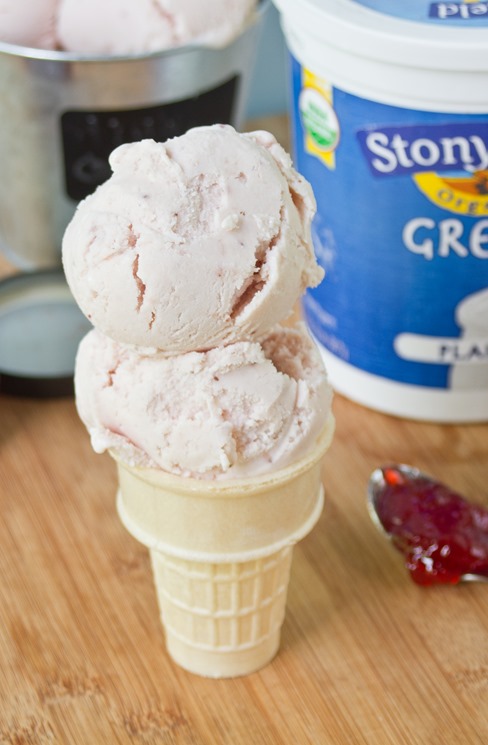
There are some foods that just taste better in the Summer: Trifles, anything with fresh berries, and—of course—ice cream. Stonyfield recently asked their Clean Plate Club bloggers to come up with recipes to kick off Summer. What’s a better way to kick off Summer with Greek yogurt than to make frozen yogurt?

This quickly became one of my favorite frozen yogurts I’ve had. It’s smooth, creamy, and refreshing. I’m sure the block of cream cheese took away some of the health benefits of frozen yogurt, but there’s still a good cup of protein-packed Greek yogurt in there to encourage you to have another scoop.
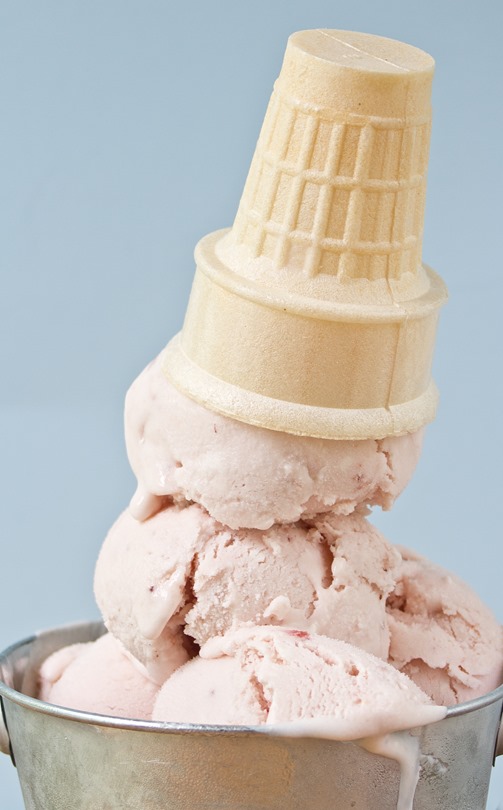
Strawberry Cheesecake Frozen Yogurt Stack

The ice cream maker I use is a 1 1/2-quart Cuisinart. I got it a few years ago and have used it every Summer, so I highly recommend adding one to your kitchen collection. Make sure to read the manual for whatever ice cream maker you have and follow their instructions for freezing it correctly.

Strawberry Cheesecake Frozen Yogurt

Prep time: 15 minutes

Freeze time: 2 1/2 hours

Ingredients:

  • 1 cup Stonyfield plain Greek yogurt*
  • 1 8oz block Neufchatel cream cheese*
  • 3/4 cup strawberry jam*
  • 1 1/2 cup 0% or 1% milk
  • 1/2 cup + 2 Tablespoons sugar
  • 3/4 teaspoon vanilla extract
  • 1/4 teaspoon cinnamon

*These ingredients will be easiest to mix if they’re at room temperature.

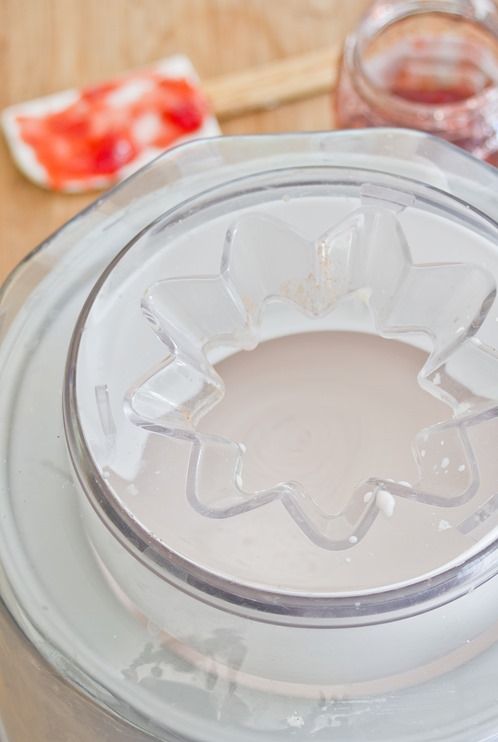
Strawberry Cheesecake Frozen Yogurt Churning

Method:

  1. In a large bowl, beat together the yogurt, cream cheese, and jam until there are no clumps in the mix.
  2. Add in the milk, sugar, vanilla, and cinnamon and beat until fully mixed.
  3. Pour the base into an ice cream maker and freeze using the manufacturer’s directions.
  4. Let the frozen ice cream sit out for 5 minutes before scooping and serving to soften.

Strawberry Cheesecake Frozen Yogurt Serving

Giveaway

Stonyfield wants to give away coupons equal to a free case of Stonyfield Greek and a Stonyfield cookbook to help kick off the Summer for a reader. There are 5 ways to enter the giveaway; I’ll keep it open through next Thursday, June 27th.

  1. Leave a comment with your favorite frozen yogurt flavor.
  2. Follow @Stonyfield on Twitter and comment saying that you did.
  3. Follow @WannabeChefEvan on Twitter and comment saying that you did.
  4. Like Stonyfield Organic on Facebook and comment saying that you did.
  5. Like The Wannabe Chef on Facebook and comment saying that you did.

Good luck!

Gluten-Free Lemon Crinkle Cookies

Gluten-Free Lemon Crinkle Cookies

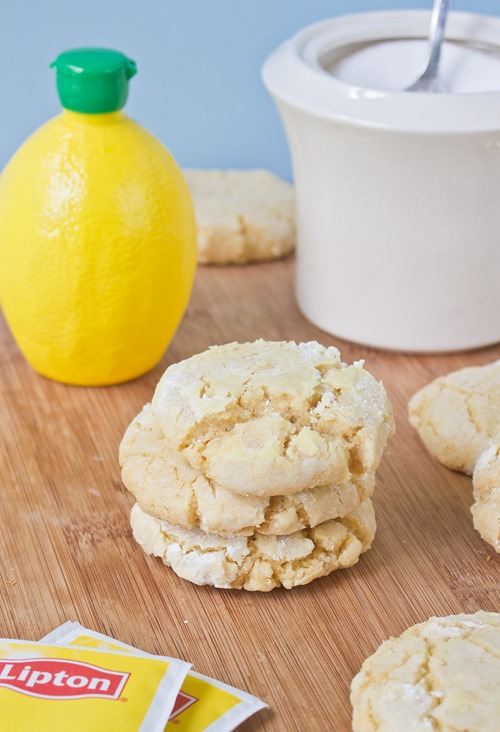
While cookies aren’t my favorite dessert, there are a few that I have a soft spot for. Soft, delicate lemon cookies covered in a powdered sugar glaze are definitely one of those few.

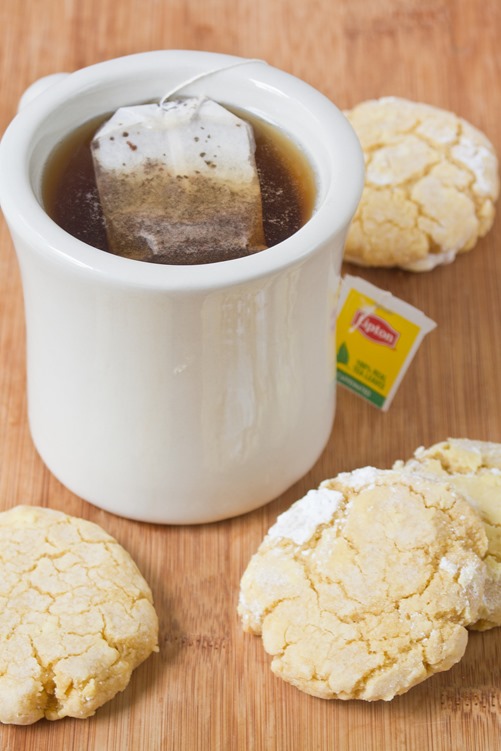
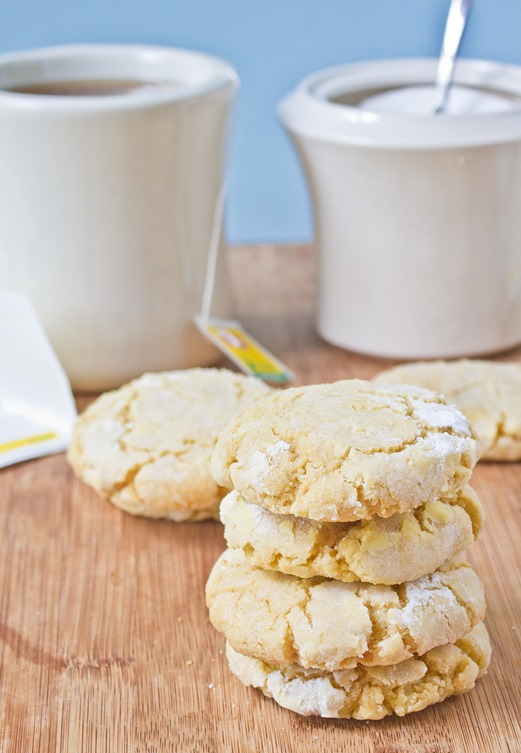
Even though there’s no chocolate in these, I find them just as addicting as if there were. The outside is sweet and glazed while the inside is chewy and slightly tart from the lemon. They’re perfect in the morning or after dinner with a cup of tea. And while fresh lemon juice surely would make these cookies taste amazing, using the plastic lemon juice is just as good, too.

Gluten-Free Lemon Crinkle Cookies Tea

The hardest part of making these cookies(which aren’t really hard at all) is getting the consistency of the dough right to shape them. When they’re too dry, the dough crumbles; adding a little bit of lemon juice to get them to the texture of Play-Doh makes them just right for shaping into cookies.

Gluten-Free Lemon Crinkle Cookies

Prep time: 15 minutes

Cook time: 18 minutes

Ingredients(Makes about 16 cookies):

  • 1 1/2 cups all-purpose gluten-free flour
  • 3/4 cup sugar
  • 1/2 teaspoon baking powder
  • 1/4 cup vegetable oil
  • 1 egg
  • 1/2 teaspoon vanilla extract
  • 1 teaspoon lemon extract
  • 1 Tablespoon lemon juice + extra
  • 1/2 cup powdered sugar

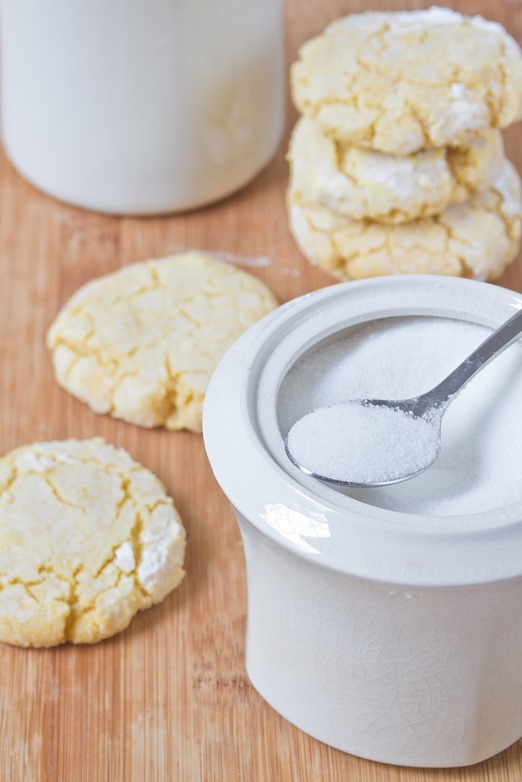
Gluten-Free Lemon Crinkle Cookies Sugar

Method:

  1. Preheat your oven to 350 degrees.
  2. In a large bowl, stir together the flour, sugar, and baking powder until evenly mixed.
  3. Add in the oil, egg, extracts and lemon juice and mix the dough together by hand.
  4. Mold the dough into 1-inch balls and then flatten them gently into a cookie shape in your hands. If the dough is too dry and crumbles, add a little more lemon juice to wet it and bring it to the right consistency.
  5. With clean hands, pour the powdered sugar into a shallow bowl or dish.
  6. Drop the cookies on both sides onto the powdered sugar to coat the outside.
  7. Put the sugar-covered cookies onto a non-stick baking tray and repeat until all of the dough is used up.
  8. Bake for 18 minutes.
  9. Remove from the oven and let the cookies cool completely before moving them.
  10. Store in an air-tight container at room temperature when not enjoying.

Gluten-Free Lemon Crinkle Cookies Stack

Oatmeal Peanut Butter Cookies

Peanut Butter Oatmeal Cookies

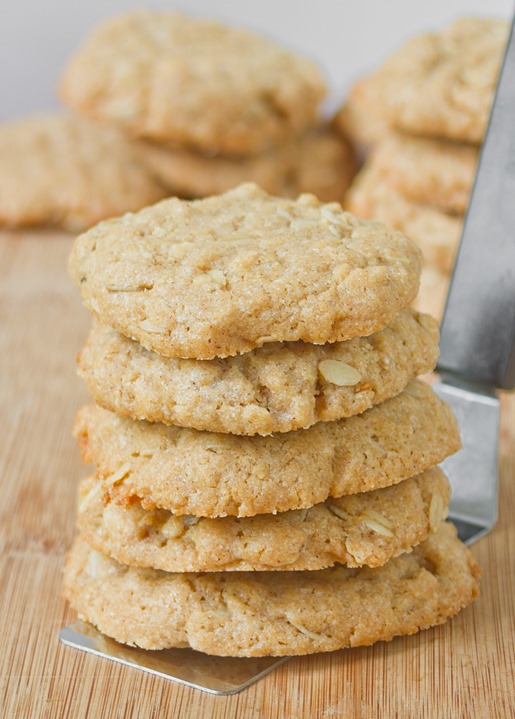
Peanut butter cookies are one of my favorite desserts to keep around the house. That’s probably because I don’t just eat them for dessert; they’re also great as an afternoon snack, crumbled on top of yogurt, right before dinner when you’re feeling snackish—whenever. They’re just the right amount of sweet and nutty to satisfy.

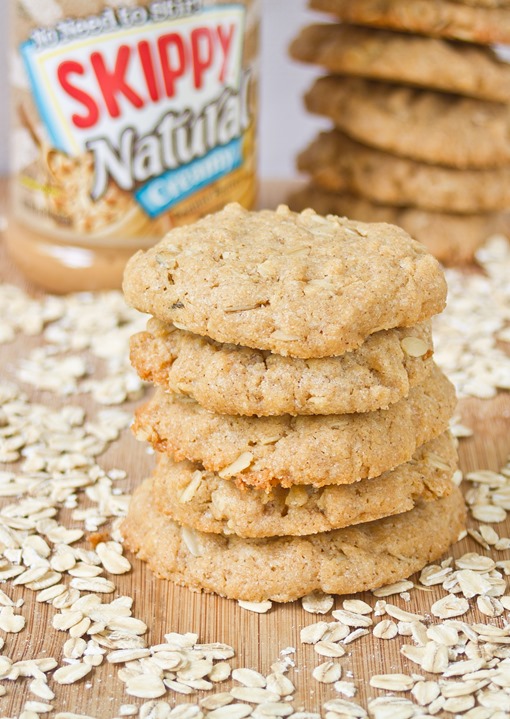
I’m always trying different peanut butter cookies recipes to see how the texture and flavor compares. These are one of my new favorites. Once these cookies cool, they’re the thick and chewy kind. They’re perfect for filling with ice cream and making a cookie sandwich, covering in melted chocolate or filling with a little raspberry jam.

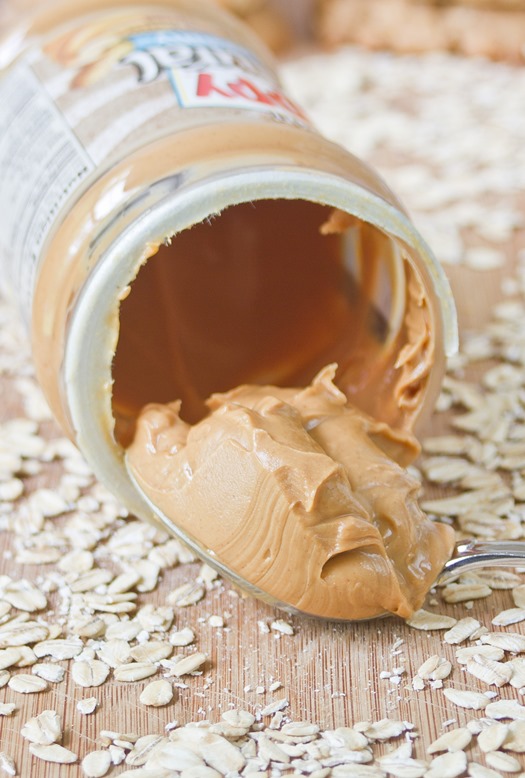
Peanut Butter Oatmeal Cookies Ingredients

I used gluten-free all-purpose flour for these cookies and they came out perfectly. If you use a gluten-free flour I’d recommend a pre-mixed blend for the best consistency. Your cookies should be rollable when all the ingredients are mixed but if the batter is still too thick you can add milk by the Tablespoon until it softens up.

Oatmeal Peanut Butter Cookies

Prep time: 10 minutes

Cook time: 20 minutes

Ingredients(Makes about 18 cookies):

  • 1 cup rolled oats
  • 1 cup all-purpose flour OR 1 cup all-purpose gluten-free flour
  • 3/4 cup cane sugar
  • 3/4 teaspoon baking soda
  • 1/2 teaspoon salt
  • 1/2 teaspoon cinnamon
  • 1/2 cup peanut butter
  • 1/4 cup vegetable oil
  • 1/4 cup milk
  • 1 egg
  • 1 teaspoon vanilla extract

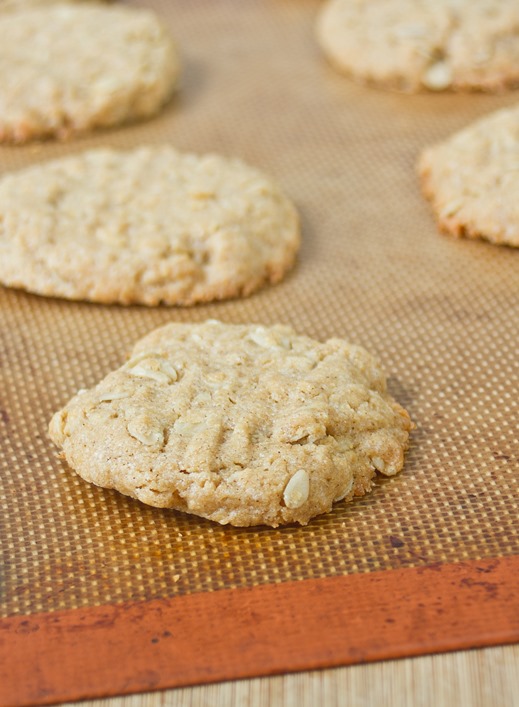
Peanut Butter Oatmeal Cookies Baked

Method:

  1. Preheat your oven to 350 degrees.
  2. In a large bowl, mix together the oats, flour, sugar, baking soda, salt, and cinnamon well.
  3. In a separate bowl, beat the remaining ingredients until they make a homogenous liquid.
  4. Mix the wet ingredients in with the dry until it forms a uniform dough.
  5. Roll the dough into 1-inch balls and place them on a lined baking tray.
  6. Press down on each ball lightly with the tongs of a fork in a criss-cross pattern on top.
  7. Bake for 18 minutes until the center of the cookies are firm and the outsides are golden.
  8. Remove from the oven and let them cool completely before moving.
  9. Store in a sealed container at room temperature.

Peanut Butter Oatmeal Cookies Stacked

Red, White and Blue Stuffed Strawberries

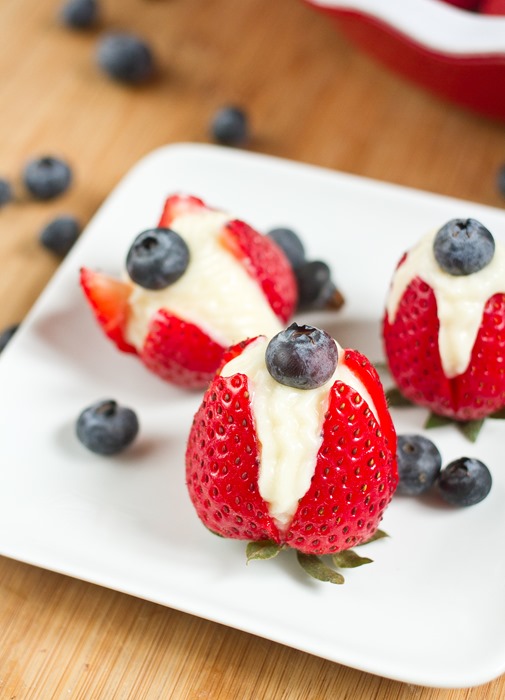
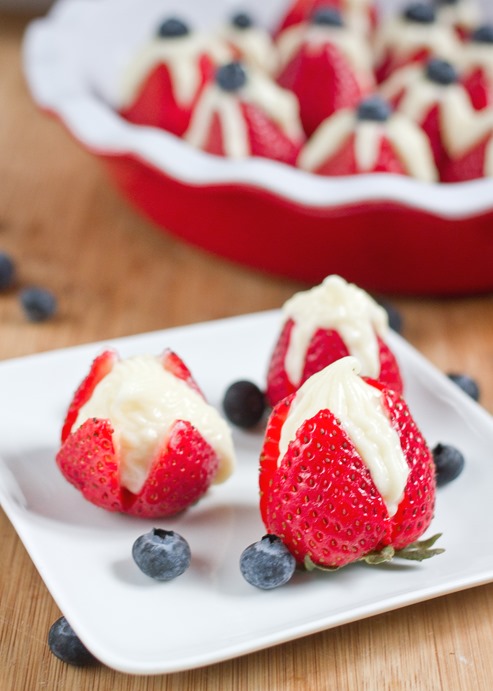
Red, White and Blue Stuffed Strawberries

When you’re a food blogger, you constantly have to choose between making and blogging a holiday recipe a week in advanced and looking crazy celebrating all by yourself or making a recipe for the actual holiday and posting it a few days later late to the game. Usually I choose the latter but this time I happen to be early to the party; here’s a red, white, and blue recipe a month and a half before July 4th for you.

The Nutella cheesecake strawberries I made last month were a huge hit with my friends. I got asked to make them again but I always like trying something new. Instead of Nutella, these strawberries are filled with white chocolate cream cheese. At times I think I like white chocolate more than dark, and this is one of those times. It goes perfectly with the sweet berries.

Red, White and Blue Stuffed Strawberries Ingredients

Every time I make these stuffed strawberries, the first half come out looking sloppy and the second half look fine. You just have to get into a rhythm and figure out how to do it best. Getting the filling to the right consistency will also make it easier.

Red, White and Blue Stuffed Strawberries

Prep time: 20 minutes

Cook time: 0 minutes

Ingredients:

  • 1lb fresh strawberries
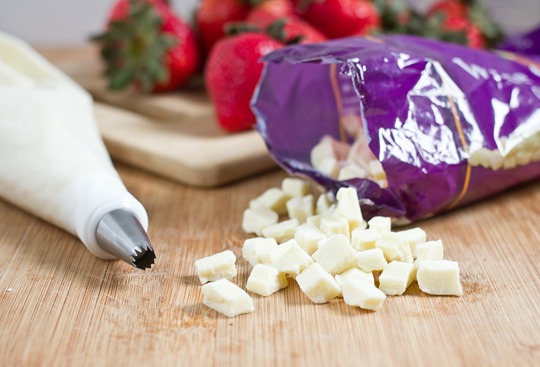
  • 3/4 cup(6oz) white chocolate chips
  • 5 Tablespoons cream cheese, room temperature
  • 2 Tablespoons milk, room temperature
  • 3/4 cup powdered sugar
  • 1/4 cup blueberries

Red, White and Blue Stuffed Strawberries White Chocolate

Method:

  1. In a microwave-safe bowl, melt the white chocolate.
  2. Beat together the melted white chocolate, milk, and cream cheese until smooth.
  3. Beat in the powdered sugar until it’s fully incorporated.
  4. Move the cream cheese mixture into a pastry bag or Ziploc bag with a corner cut off. If the mixture is still runny, put it in the refrigerator for 5-10 minutes to thicken.
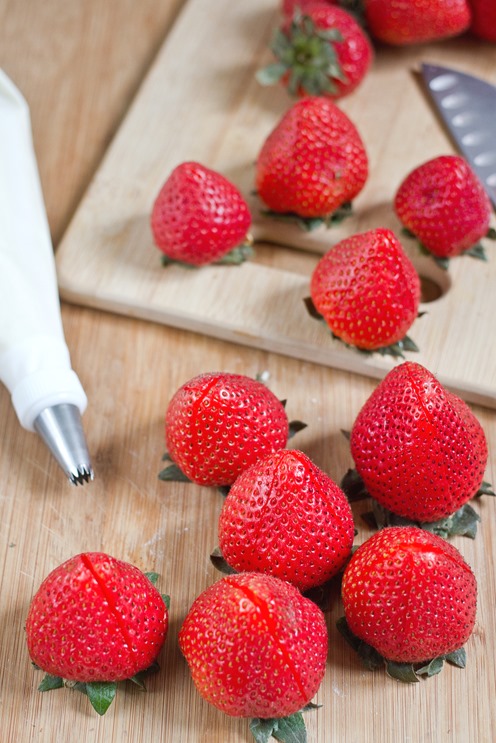
  5. Cut the strawberries twice perpendicularly almost all the way through.
  6. Squeeze the filling into the strawberries starting from the bottom and moving the tip up.
  7. Garnish with a blueberry on top.
  8. Keep refrigerated until ready to serve. These won’t last long even in a refrigerator so eat relatively quickly. 

Red, White and Blue Stuffed Strawberries Serving  

Oat Flour Brownies

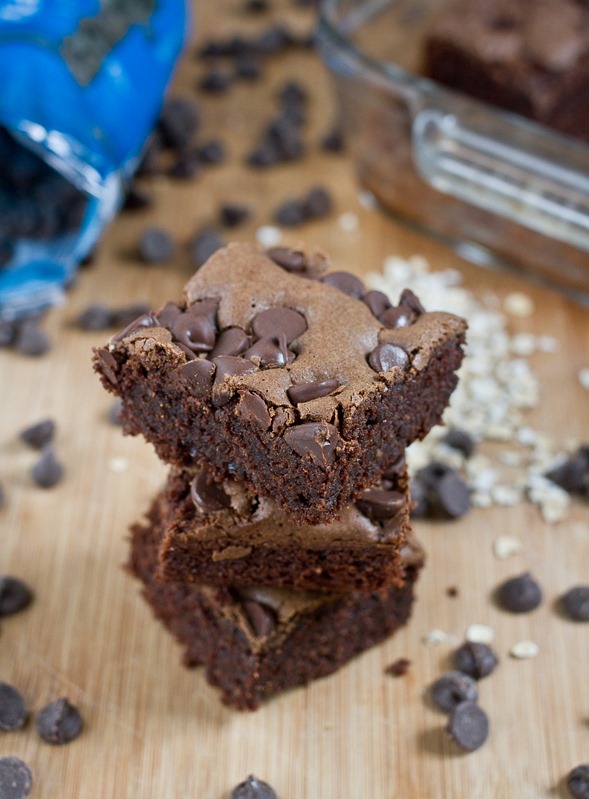
Oat Flour Brownies

If there’s one thing I could make with my eyes closed, it’s brownies. I think my 6th sense is knowing when brownies are done in the oven without a timer. I can tell this is another brownie recipe I’ll come back to time and time again.

One commenter mentioned that she uses oat flour in recipes that call for almond flour regularly and I wanted to try that for myself with my almond flour brownies recipe. Almond flour is a great gluten and grain-free baking flour but I don’t always keep it handy.

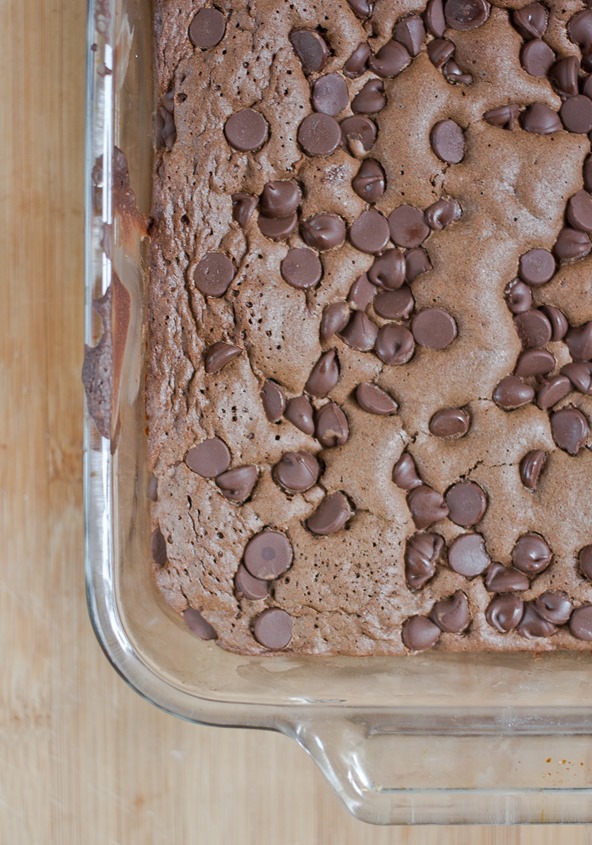
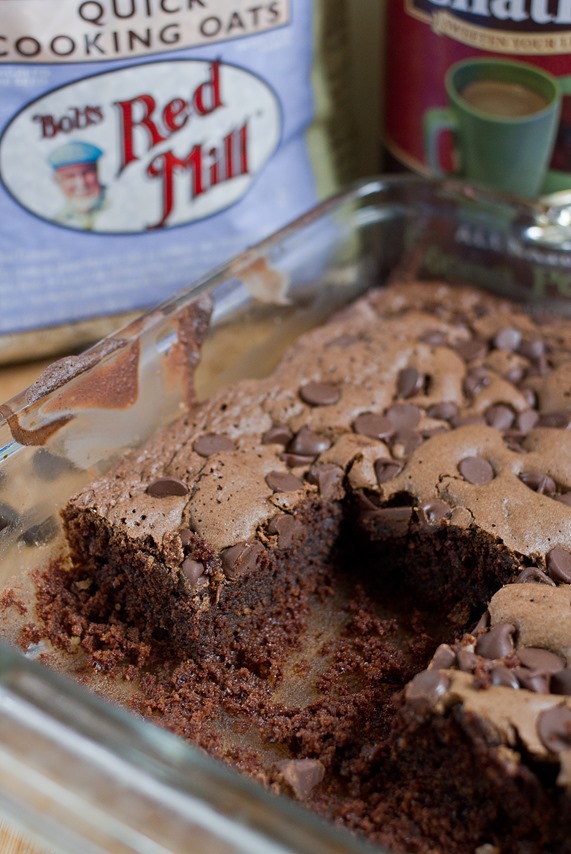
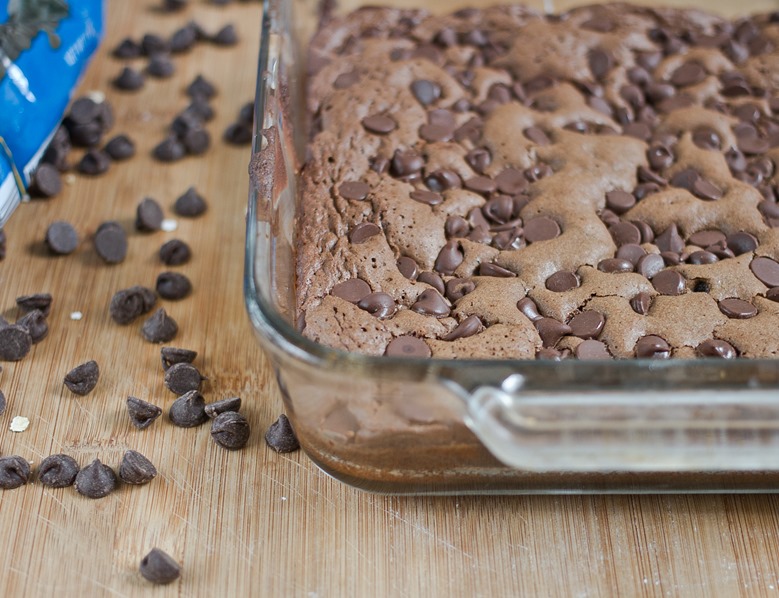
This recipe is basically the same as for almond flour brownies except with a little bit of water added to account for the grains. The brownies came out perfectly moist and chewy. I think the grains made them taste a little bit more like regular brownies than their almond counterpart. They were also slightly cakier than the almond flour brownies but still completely enjoyable for fudgy brownie lovers. Overall these were definitely a winner.

Oat Flour Brownies Overhead

You don’t need to go out and buy a bag of oat flour for this recipe; you can make 3/4 cup oat flour by grinding 1 cup of rolled oats in a food processor or high-speed blender until it’s finely ground. If it’s big enough, you can even use the processor as a mixing bowl and blend the ingredients right in there instead of dirtying more dishes.

Oat Flour Brownies

Prep time: 15 minutes

Cook time: 30 minutes

Ingredients(Makes 1 8 x 8 pan):

  • 3/4 cup oat flour
  • 1/4 teaspoon salt
  • 2 tablespoons unsweetened cocoa powder
  • 1/2 teaspoon baking powder
  • 3/4 cup sugar
  • 3 large eggs
  • 1 teaspoon vanilla
  • 1 teaspoon instant coffee granules(optional)
  • 1/2 cup butter
  • 7oz semisweet or bittersweet baking chocolate, divided OR 3/4 cup chocolate chips
  • 1/4 cup water

Oat Flour Brownies Yield

Method:

  1. Preheat your oven to 350 degrees.
  2. Mix together the oat flour, salt, cocoa powder, and baking powder and set aside.
  3. In a separate bowl, melt together 4 ounces of chocolate or a scant 1/2 cup chocolate chips with the butter.
  4. While the chocolate is melting, beat together the eggs, sugar, vanilla, water, and coffee granules if using.
  5. Slowly pour the melted chocolate and butter into the egg/sugar mixture while whisking until fully incorporated. Don’t go too fast so that the raw eggs don’t cook upon contact.
  6. Add the chocolate mixture in with the dry ingredients and mix completely.
  7. Pour the batter in a greased 8 x 8 pan.
  8. Sprinkle the top with the remaining chocolate and gently press it into the batter.
  9. Bake for 30 minutes or until a toothpick poked into the center comes out clean. Let these cool completely before cutting in.

Oat Flour Brownies Pan

Chocolate Peanut Butter Bars

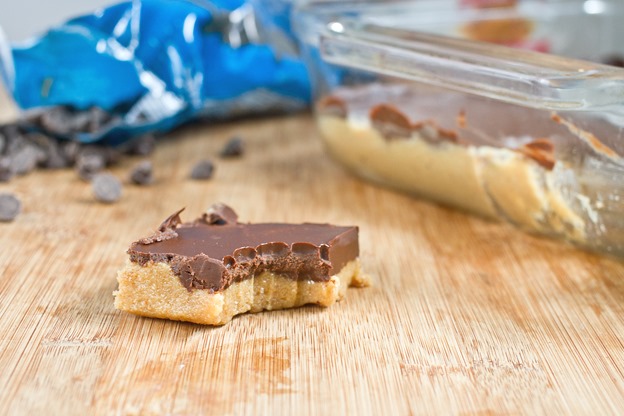
Chocolate Peanut Butter Bars

It’s been a busy month. This blog(and cooking anything without a microwave in general) have taken a bit of a back seat. Hopefully someday soon I’ll have a more regular schedule and school off my shoulders but right now sporadic will have to do.

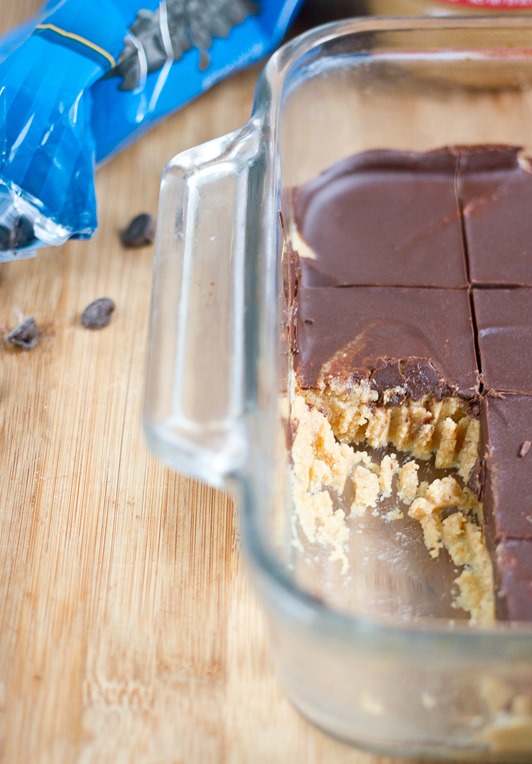
Thankfully you can make some pretty great things with a microwave and 5 minutes. I forgot about this recipe for almost a year and just thought of it again when I made a run to a mini-mart to stock up on chocolate and Reese’s cups. They’re probably much cheaper and more delicious than Reese’s cups. So far they’ve made a great study snack and given me something to stress eat at 2am.

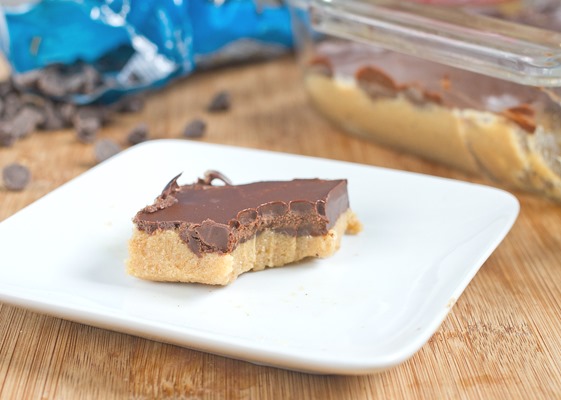
Chocolate Peanut Butter Bars Serving

This recipe is the same as the original post. I tried making it with cane sugar instead of powdered sugar because that’s what I had and—while still delicious—I think the powdered sugar has a much better texture to it. I would also try adding chopped salted peanuts on top of the chocolate if you like a little crunch.

Chocolate Peanut Butter Bars(adapted from Oh Baby Bars)

Prep time: 15 minutes

Cook time: 0 minutes

Ingredients(Makes about 24 servings):

  • 3/4 cup peanut butter, runny or no-stir
  • 7 Tablespoons butter, divided
  • 1 1/2 cups powdered sugar
  • 10oz semi-sweet chocolate chips

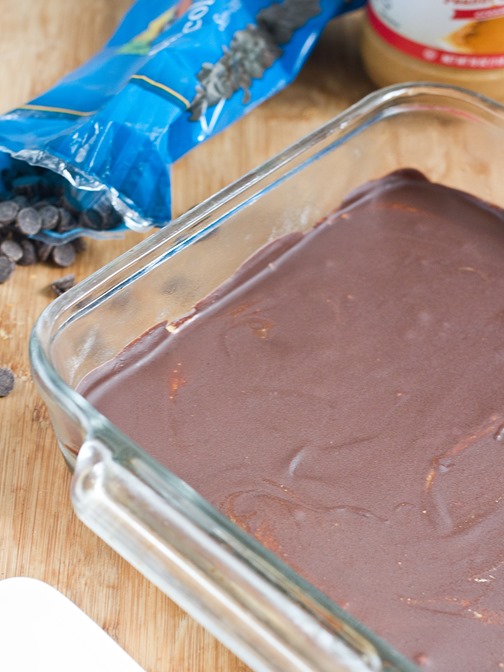
Chocolate Peanut Butter Bars Finished

Method:

  1. In a large bowl, melt 6 tablespoons of butter along with the peanut butter until completely liquid.
  2. Add the powdered sugar into the peanut butter and butter mixture and beat until completely incorporated. Press the peanut butter mixture into a loaf pan or a 9 x 9 pan for smaller portions.
  3. Melt the chocolate chips and remaining tablespoon of butter together and mix. Pour this over the peanut butter layer.
  4. Refrigerate until the chocolate has set. Cut at room temperature into 1 x 1 square servings.

Chocolate Peanut Butter Bars Bite