Category Archives: Dessert

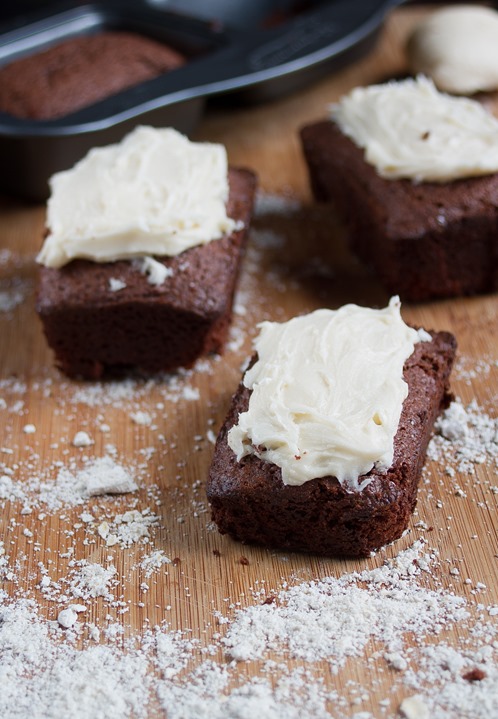
Bailey’s Frosted Brownies

Bailey's Frosted Brownies

Some weekends I don’t want to cook a thing.

I want to go out to eat for every meal, forget I have a blog, and never pick my camera up.

Maybe it’s guilt, or maybe it’s sensibility. Maybe it’s something in between. I’ll inevitably find something to make, for myself or a friend, and at the end I’ll be happy I have something delicious that’s homemade, that I can call my own, and that cost a quarter as much as if I got it somewhere else.

I baked these brownies reluctantly, took photos of them frantically, and shared them happily. Sometimes the best push to cook something comes not from doing it for yourself, but from doing it for others. Do yourself a favor and bake some brownies for someone else.

Bailey's Frosted Brownies

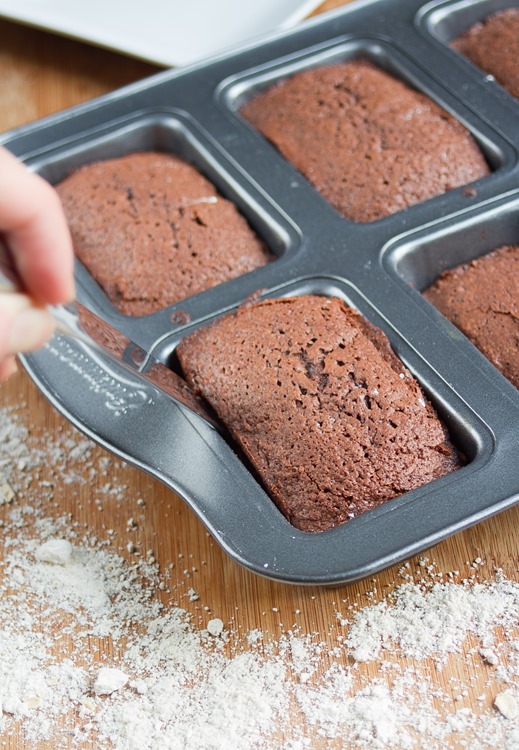
Oat flour is more crumbly than regular flour and even other gluten-free flours. When baking with it, make sure to grease your pans liberally and add a dusting of powdered sugar on top before frosting to keep the top intact.

Bailey’s Frosted Brownies

Prep time: 15 minutes

Cook time: 30 minutes

Ingredients(Makes 1 8 x 8 pan):

For the brownies:

  • 3/4 cup oat flour
  • 1/4 cup cocoa powder
  • 1/4 teaspoon salt
  • 1/2 teaspoon baking powder
  • 1/2 cup + 2 Tablespoons cup sugar
  • 3 large eggs
  • 1 teaspoon vanilla
  • 1/2 cup butter
  • 4oz bittersweet baking chocolate
  • 1/3 cup Irish cream

For the frosting:

  • 6 Tablespoons butter, room temperature
  • 1 1/4 cup powdered sugar
  • 1 1/2 Tablespoons Irish cream

Bailey's Frosted Brownies

Method:

  1. Preheat your oven to 350 degrees.
  2. Mix together the oat flour, salt, cocoa powder, and baking powder and set aside.
  3. In a separate bowl, melt together the chocolate and butter.
  4. While the chocolate is melting, beat together the eggs, sugar, vanilla, and Irish cream.
  5. Slowly pour the melted chocolate and butter into the egg/sugar mixture while whisking until fully incorporated. Don’t go too fast so that the raw eggs don’t cook upon contact.
  6. Add the chocolate mixture in with the dry ingredients and mix completely.
  7. Pour the batter in a greased 8 x 8 pan.
  8. Bake for 30 minutes or until a toothpick poked into the center comes out clean. Let these cool completely before frosting.
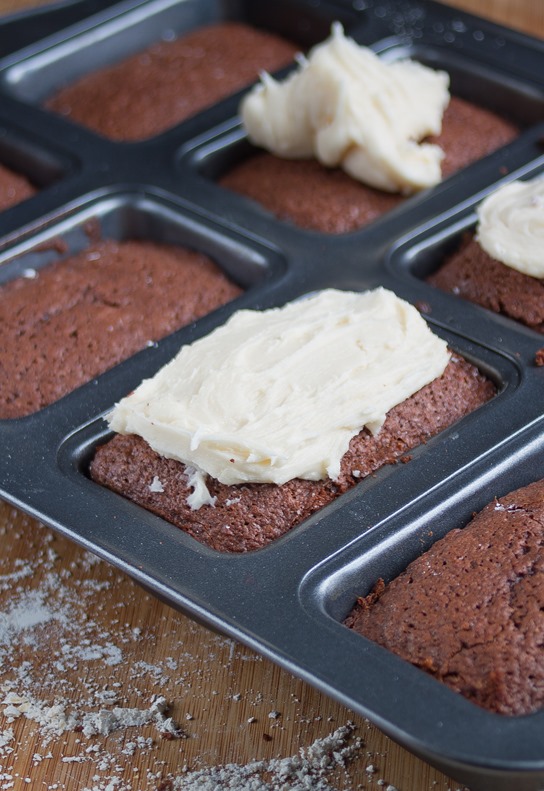
  9. To make the buttercream, beat the powdered sugar, butter, and Irish cream heavily until it’s entirely mixed. Add a touch more buttercream if it’s too dry at first.

4 Healthy New Year’s Recipes

New Year’s resolutions are hard. It’s easy to shoot to high and make resolutions impossible to keep up with; the best kind are little changes you can work into your everyday routine and maintain without even thinking about it.

I didn’t make a food or fitness resolution this year. Mine is to get whiter teeth, so I bought special toothpaste and mouthwash. We’ll see how that goes with the horde of coffee and chocolate I eat.

If you did make a resolution to eat healthier, here are 4 simple recipes you can work into your every week to hit that goal. All of them have common, simple ingredients and are probably foods you already eat, so working them into your diet should be a breeze.

Breakfast:

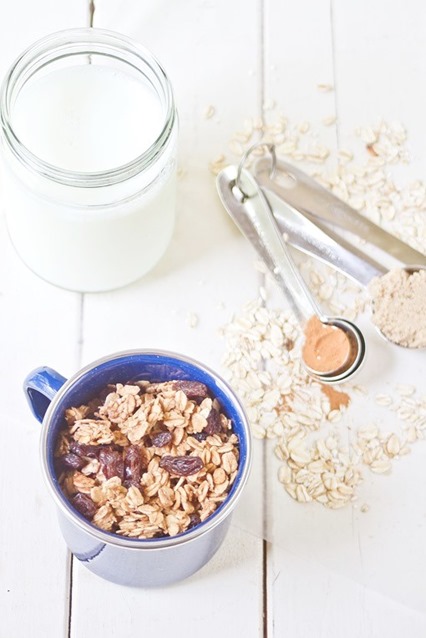
LowFatCinnamonBrownSugarGranola_thumb

Low-Fat Cinnamon Raisin Granola is a great quick and filling alternative to heftier breakfasts like bagels and cream cheese or a donut. You can make a big batch on the weekend and portion out servings for the weekday mornings to grab and go.

Snack:

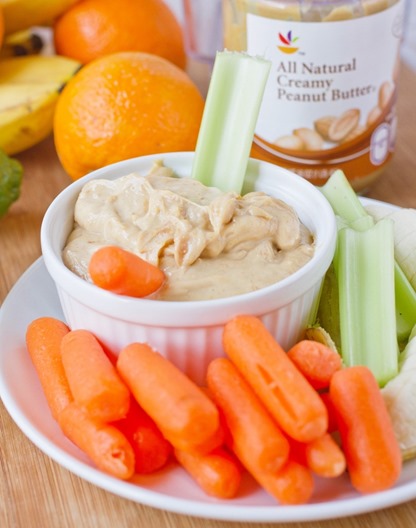
Fruity-Peanut-Butter-Yogurt-Dip-Yield-807x1024

Fruity Peanut Butter Yogurt Dip will satisfy your sweet tooth in the afternoon and still be tasty enough to enjoy. It’s a simple mix of yogurt, peanut butter, and sweetener that’s good for kids or grown-ups.

Entree:

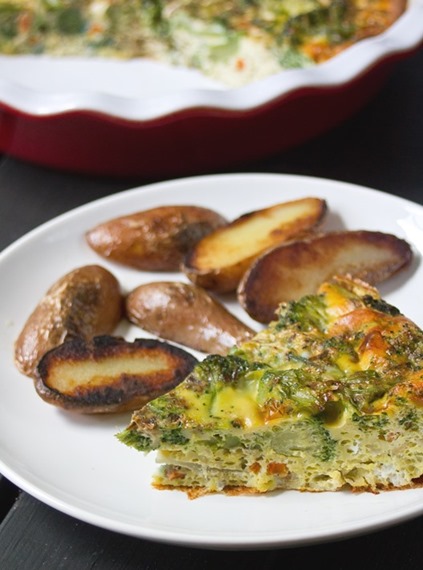
EasyBroccoliFrittata_thumb

Easy Broccoli Frittata is another recipe you can make in bulk over the weekend and reheat throughout the week whenever you’re less than motivated to make a meal. The eggs and cheese are full of protein while the broccoli adds a boost of healthy nutrients, too. Add a simple side and you’ve got a whole dinner.

Dessert:

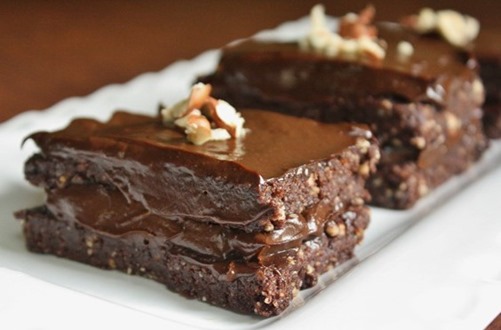
hazelnut-chocolate-cake_thumb

Raw Vegan Chocolate Hazelnut Cake proves that you can still have dessert even when you’re eating healthy. The bulk of this “cake” is dates and hazelnuts, making for a delicious and nutritious end to a meal.

Did you make a New Year’s resolution? What was it?

Chocolate Caramel Chex Mix + T-Shirt Giftaway

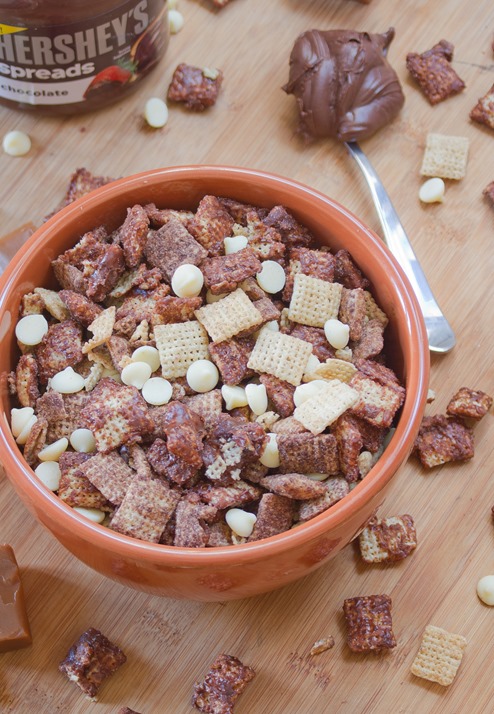
Chocolate Caramel Chex Mix

Since 2014 started, I’ve been to the gym 3 times, the grocery store once, and the kitchen to grab another handful of this Chex mix about 17 times.

Before the holidays General Mills had sent me a box of inspiring ingredients and blogger recipes including Julie’s, Caitlin’s, and my own. For a while they stumped me, but chocolate Chex and caramel candies couldn’t be passed up.

This mix has rich chocolate coated Chex, sweet powdered Chex, and white chocolate chips for a delicious trio that’s hard to beat. It’s more of a dessert but if you want to sneak a few handfuls before dinner, I won’t say a word.

Chocolate Caramel Chex Mix

Chocolate Caramel Chex Mix

Prep time: 10 minutes

Cooking time: 5 minutes

Ingredients(Makes about 10 cups):

  • 10 .5oz caramels(or an equal equivalent)
  • 1/3 cup chocolate spread*
  • 1 1/2 Tablespoons milk
  • 4 cups Chex cereal
  • 4 cups chocolate Chex cereal
  • 3/4 cup white chocolate chips

*I used Hershey’s chocolate spread. A spread like Nutella would work as well.

Method:

  1. In a small sauce pan, melt the caramels and chocolate spread.
  2. Once the ingredients are almost melted, add in the milk and stir until it makes a smooth and shiny sauce.
  3. In a large bowl, mix together 4 cups Chex cereal and the chocolate caramel sauce until the cereal is evenly coated.
  4. Lay the Chex out in a single layer on a non-stick surface for about 20 minutes to cool.
  5. Once cooled, gently break apart the large chunks of cereal to smaller bite-sized pieces.
  6. Toss the chocolate caramel Chex with the chocolate Chex cereal and white chocolate chips until evenly mixed.
  7. Store in a sealed container at room temperature when not enjoying.

SWAGSTORE_BANNER2

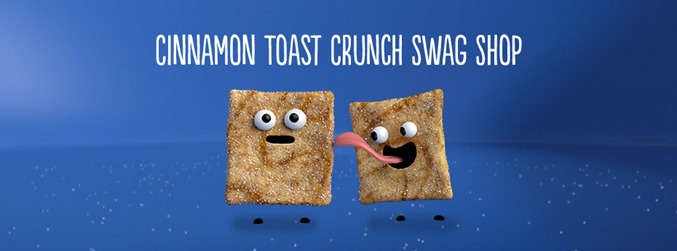
General Mills, the company that makes Chex, recently opened up the “Cinnamon Toast Crunch Swag Shop” with funny merchandise and gave me 2 coupon codes for me and a reader to get a t-shirt. If you want a free Cinnamon Toast Crunch tee for yourself or a friend, comment with your favorite cereal and I’ll randomly pick a winner Friday.

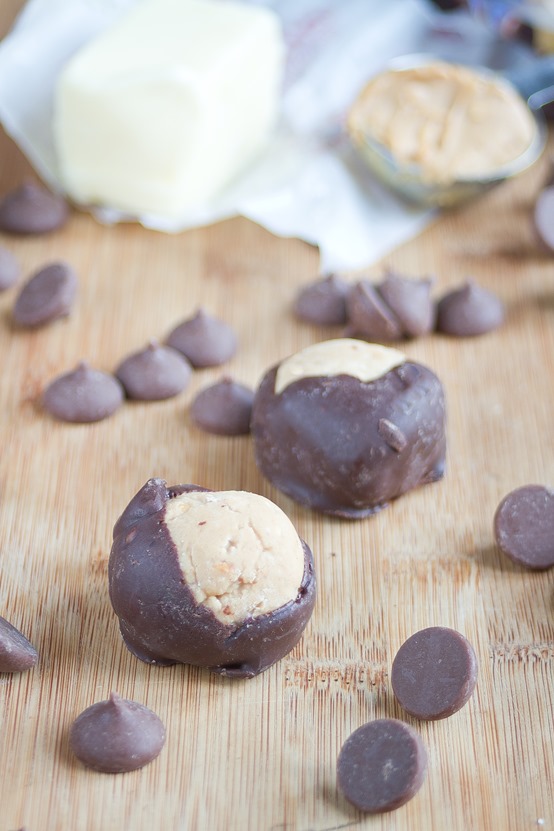
Homemade Buckeyes Recipe

Homemade Buckeyes Recipe Portion

As fun as it is to try new recipes and explore new flavors, some recipes you inevitably come back to season after season, year after year.

Last week I made these buckeyes for a holiday party, only to realize I did the same exact thing last year. Desserts like this are just too easy not to choose and always please a crowd. They’re also naturally gluten-free and can be made vegan by using margarine instead of butter.

These didn’t come out nearly as pretty as store-bought candies, but I always like it when you can tell something’s homemade.

Homemade Buckeyes Recipe

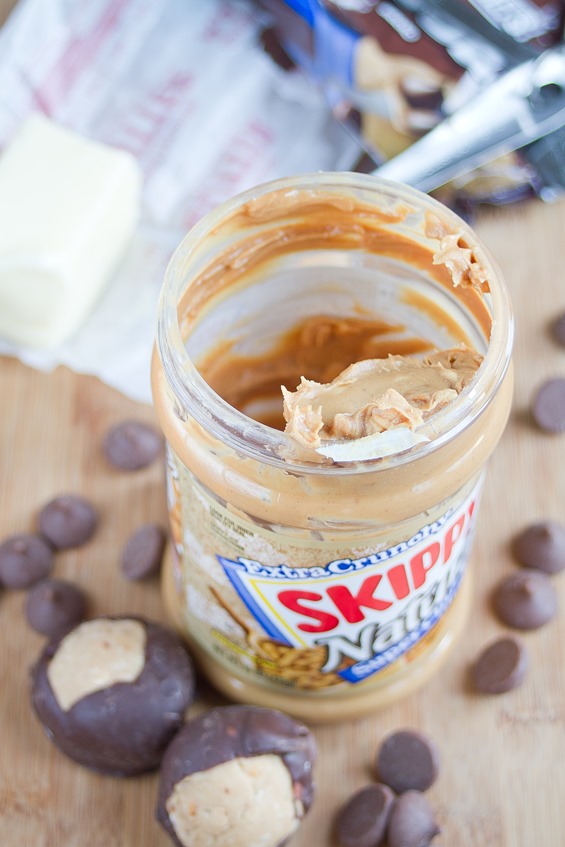
A recipe like this may not seem too versatile, but you can use any kind of peanut butter or other nut butter to make it unique. Chocolate peanut butter would be a perfect substitution for any chocolate lover.

Peanut Butter Buckeyes

Prep time: 20 minutes

Cook time: 0 minutes

Ingredients(Makes about 20 buckeyes):

  • 1 cup creamy peanut butter, softened
  • 6 Tablespoons butter, melted
  • 1 1/2 cups powdered sugar, sifted
  • 1 teaspoon vanilla extract
  • Pinch of salt
  • 1 1/4 cups bittersweet chocolate chips OR 10oz bittersweet chocolate, chopped

Method:

  1. In a large bowl mix together the peanut butter, butter, powdered sugar, vanilla extract and salt until it forms a dough that sticks to itself. If for some reason your dough is too thin, slowly add more powdered sugar until it’s workable.
  2. Roll the dough into 1-inch balls and place them on a non-stick surface.
  3. Put the peanut butter balls in the freezer to set.
  4. While the peanut butter balls are hardening, melt the chocolate in a microwave or over a double boiler.
  5. One by one dip the peanut butter balls into the melted chocolate to coat their outside and put them back on the non-stick surface.
  6. Refrigerate the peanut butter balls until the chocolate has set. Keep cold until ready to serve.

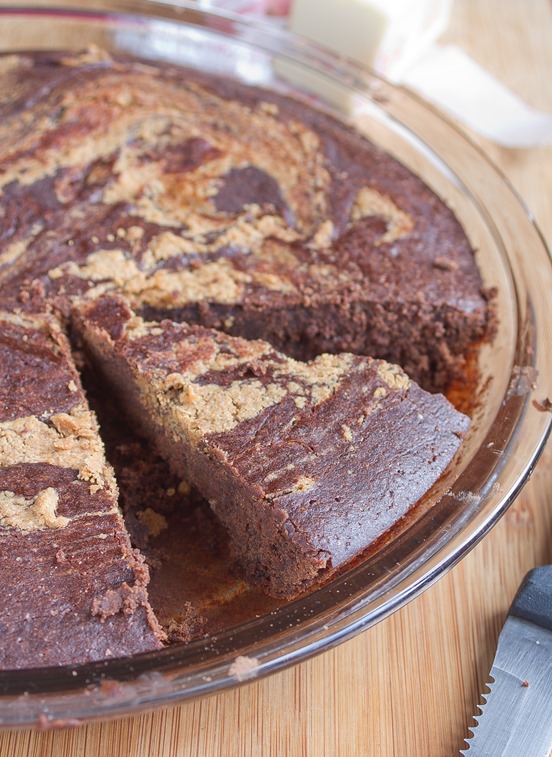
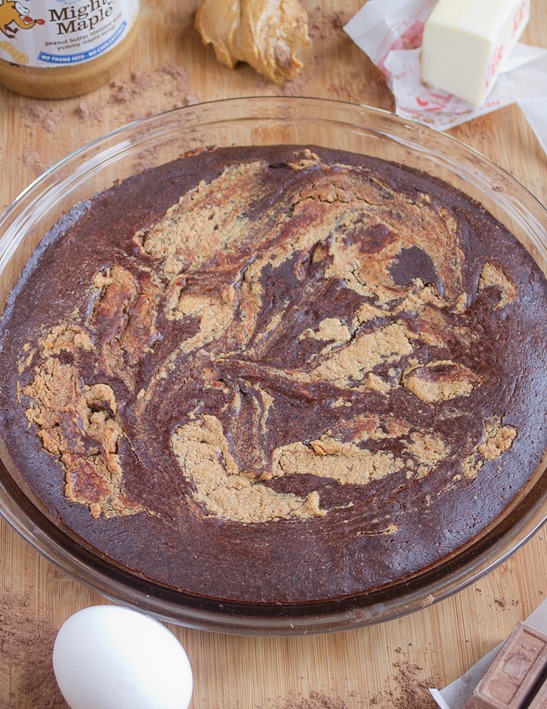
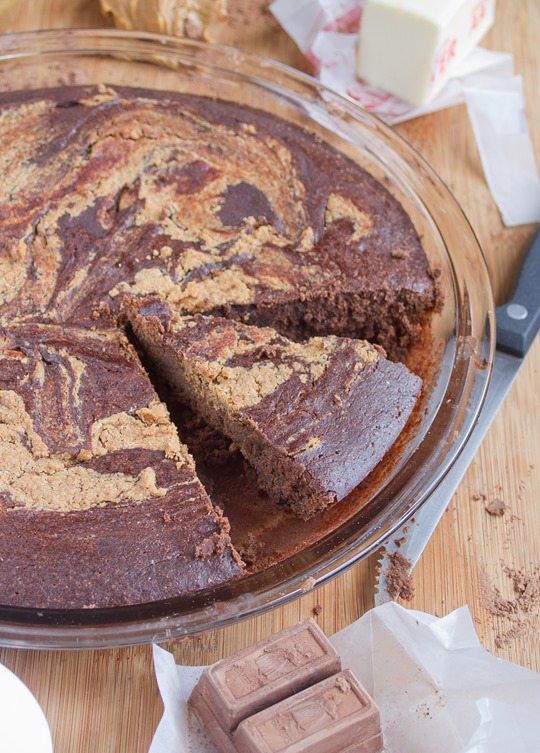
Peanut Butter Swirl Brownies


Peanut Butter Swirl Brownies

Everyone says it’s better to give than to receive. And I think that’s true; but getting gifts feels pretty awesome, too, right?

I saw a couple coworkers earlier this month enjoying Peanut Butter & Co peanut butter, so I tweeted them since they’re a company I love and have blogged for in the past. Not only did they tweet back but they were nice enough to give the office a bunch of jars to sample.

Since then, my coworkers have all been trying new flavors by the spoonful and finding new favorites that none of us want to share. I took a jar of Mighty Maple from our stash but plan on giving back by bringing these brownies into the office to share with everyone.

Peanut Butter Swirl Brownies Pan

I made these with Mighty Maple peanut butter. You can make it using any flavor or brand of peanut butter(though Dark Chocolate Dreams certainly wouldn’t be a bad choice).

Peanut Butter Swirl Brownies

Prep time: 10 minutes

Cook time: 20-25 minutes

Ingredients(Makes about 16 servings):

For the brownies:

  • 4oz unsweetened baking chocolate
  • 1/4 cup butter
  • 1/2 cup peanut butter
  • 1/2 cup whole milk
  • 3/4 cup sugar
  • 1/4 cup cocoa powder
  • 1/2 cup all-purpose flour OR all-purpose gluten-free flour
  • 2 eggs

For the swirl:

  • 1/3 cup peanut butter
  • 2 Tablespoons milk or cream

Peanut Butter Swirl Brownies Serving

Method:

  1. Preheat your oven to 350 degrees. In the microwave or over the stove, melt the chocolate, butter, peanut butter, and milk together into a smooth sauce.
  2. Gently add in the sugar, flour, and cocoa powder and begin beating.
  3. While beating, add in the eggs and beat well until the batter is smooth and silky.
  4. Pour the batter into a 9-inch cake pan or similarly sized baking pan.
  5. In a small bowl, melt the peanut butter and butter.
  6. Beat the butter and peanut butter until smooth.
  7. Pour the peanut butter sauce across the top of the brownies and swirl in using a fork or knife.
  8. Bake for 20-25 minutes until the batter has set.
  9. Remove from the oven and let cool before cutting.


And if you’re also a peanut butter fanatic, There’s still time to vote on the National Peanut Board’s app and be entered to win a peanut butter prize pack.

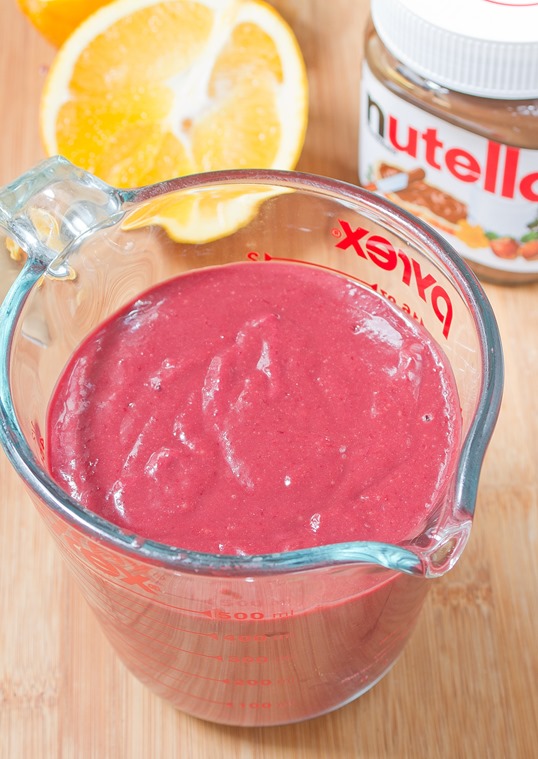
Nutella Cranberry Sauce

IMG_5866

Cranberry sauce has always had an awkward place at the Thanksgiving table. Whether it’s homemade or canned, smooth or chunky, organic or not, no one ever quite knows whether to have it with dinner or dessert.

This cranberry sauce is unabashedly for your dessert menu. It’s tart, sweet, spicy, nutty, and a little citrusy—all the Thanksgiving flavors put into one. It might not sit well next to turkey and stuffing but serve it over some vanilla ice cream or chocolate pecan pie and everyone will love it.

IMG_5842

Nutella Cranberry Sauce

Prep time: 5 minutes

Cook time: 10 minutes

Ingredients(Makes 2 cups):

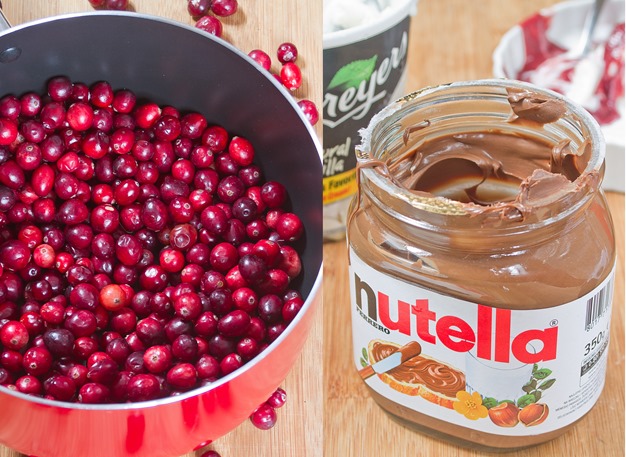
  • 1 12oz bag fresh cranberries
  • 2 cups orange juice
  • 1 cinnamon stick(optional)
  • 1/2 cup + 2 Tablespoons Nutella
  • 1/4-1/2 cup sugar

Method:

  1. Combine the cranberries, orange juice, and cinnamon stick if using in a sauce pan. Add water just until the top cranberries begin to float.
  2. Boil the cranberries covered for 10 minutes until they’ve popped. Drain most of the liquid from the pot leaving about 1/4 cup with the cranberries.
  3. Pour the cranberries and remaining liquid into a food processor.
  4. Add in the Nutella and 1/4 cup of sugar and begin blending.
  5. Taste the sauce. Add more sugar for a sweeter Nutella flavor or keep as is for a more tart flavor.
  6. Serve hot or cold with ice cream, pies, cobblers, and tortes.

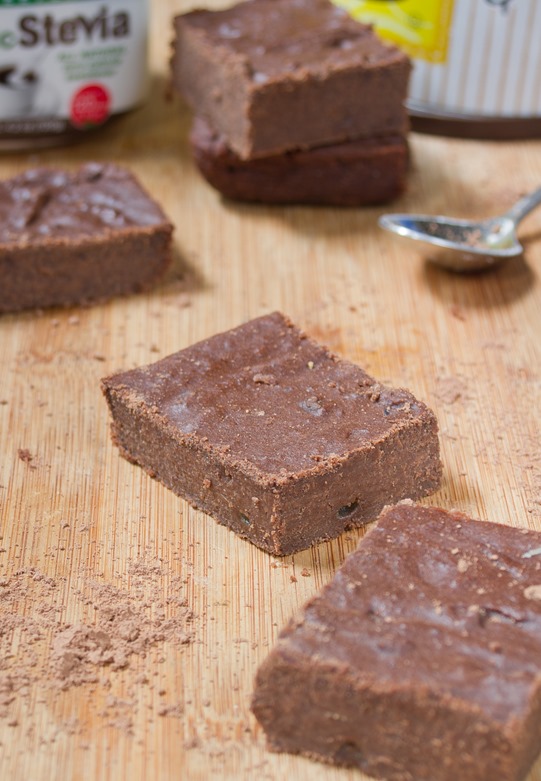
Gluten-Free Sugar-Free Brownies

Gluten-Free Sugar-Free Brownies

A better title for this recipe might be “My Boss’ Brownies”

Recently my boss, Dave Kerpen, has been on a healthy eating kick. He asked me if I knew any good gluten-free, sugar-free dessert recipes made with stevia. While gluten-free is nothing new for me, I haven’t done much sugar-free baking before, but since I love making food for other people this seemed like a fun challenge to me.

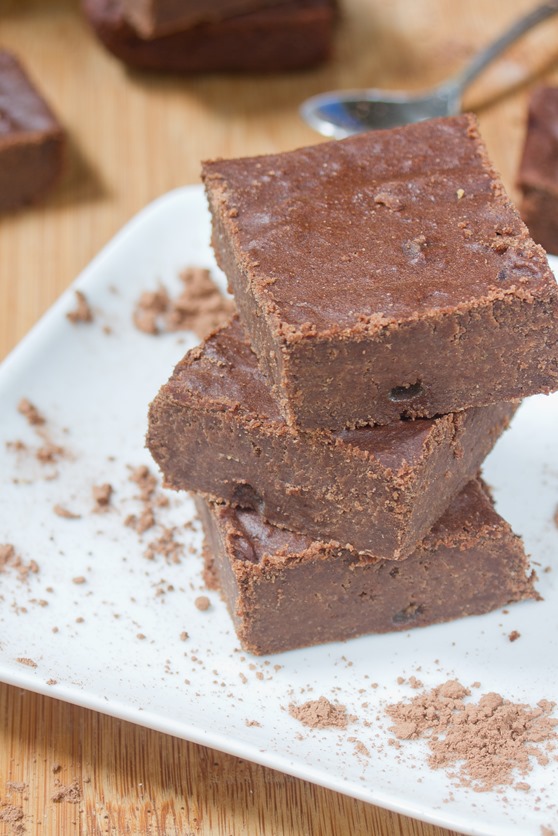
My first attempt at making sugar-free cookies came out edible but hardly servable; those are sitting in my freezer now for when I need a dessert and have nothing else. My second attempt—these brownies—were amazingly a winner. They aren’t my favorite brownies(those would be almond flour brownies), but they taste incredibly fudgy for something that’s low-fat and without added sugars.

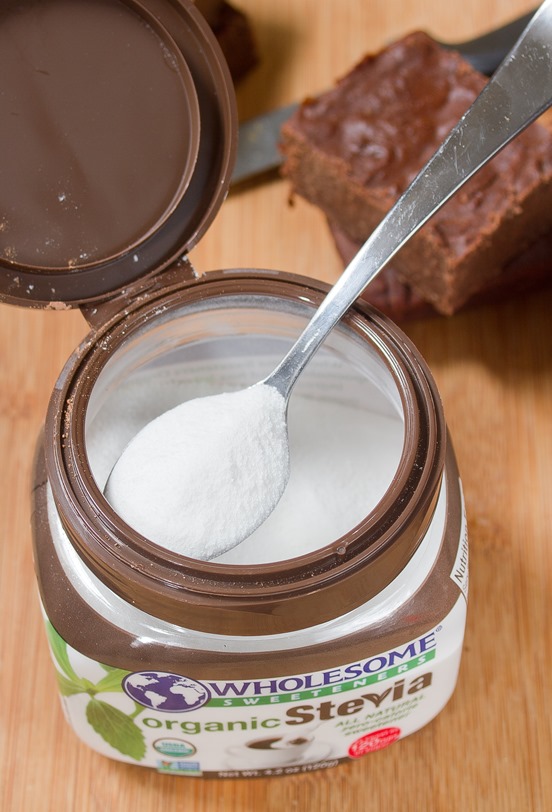
Gluten-Free Sugar-Free Brownies Stevia

These are sweetened with a combination of date paste and stevia which I find balance out the aftertaste stevia has. There’s also a little added cinnamon to mask the flavors of those. You can buy date paste at some stores or make your own by soaking dates overnight and pureeing them with a food processor and a little water.

Gluten-Free Sugar-Free Brownies

Prep time: 10 minutes

Cook time: 25 minutes

Ingredients(Makes 8 brownies):

  • 1/2 cup + 2 Tablespoons gluten-free all purpose flour
  • 1/2 cup date paste
  • 1 1/2 Tablespoons stevia powder
  • 6 Tablespoons butter, softened
  • 1/4 cup cocoa powder
  • 1 egg
  • 1/2 teaspoon cinnamon
  • 1/2 teaspoon baking soda
  • 1/4 teaspoon salt

Gluten-Free Sugar-Free Brownies Stack

Method:

  1. Preheat your oven to 350 degrees.
  2. Combine all of the ingredients in a medium-sized bowl and mix well until they form a batter.
  3. Grease a small loaf pan and scoop the batter in. Spread it out into an even layer.
  4. Bake for 25 minutes until the brownies are cooked and set.
  5. Remove from the oven and let them cool slightly before slicing.

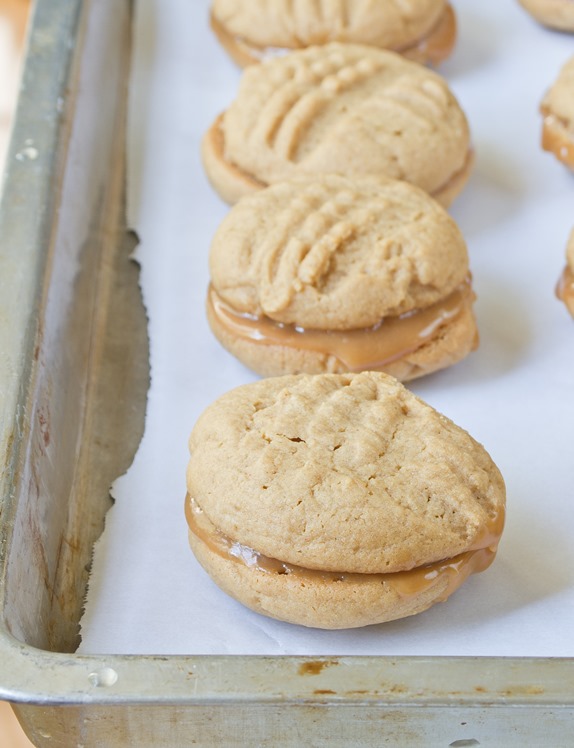
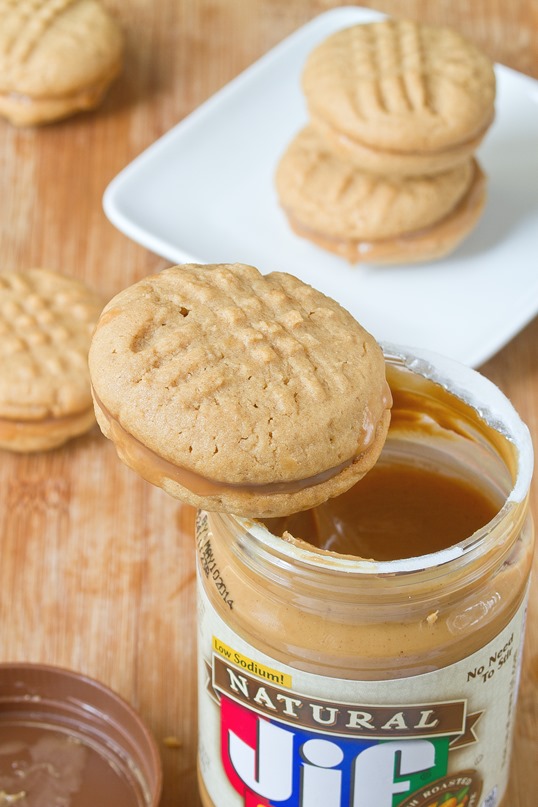
Peanut Butter Caramel Cookie Sandwiches

Peanut Butter Caramel Cookie Sandwiches

Turns out peanut butter and caramel comes a close second to coconut and caramel.

Since I was moving and needed to use up all that caramel sauce, I needed something portable that it’d be good in. Well, sandwiches are portable. Cookie sandwiches? Even better.

Peanut butter cookies usually fall into two categories: Chewy and flavorful or soft with just a hint of peanut flavor. Using caramel sauce in place of sugar and butter bridges the gap and makes a cookie that’s very peanut butter(is that even a word?) but also soft at the same time—the kind of cookie that’s perfect for filling.

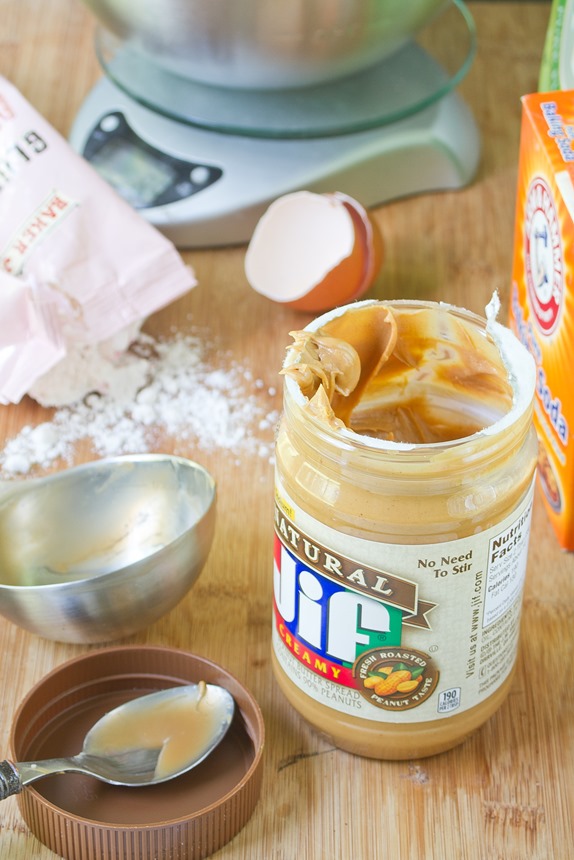
Peanut Butter Caramel Cookie Sandwiches Prep

The ones I filled with straight caramel sauce were a little too loose so the peanut butter acts as a great binder. I’d definitely recommend filling these sandwiches with salted caramel buttercream if you happen to have a recipe for that handy or even vanilla ice cream and an extra drizzle of caramel sauce.

Peanut Butter Caramel Cookie Sandwiches

Prep time: 10 minutes

Cook time: 15 minutes

Ingredients(Makes about 12 sandwiches):

  • 1/2 cup + 1 Tablespoon peanut butter, divided
  • 1/2 cup + 1/3 cup caramel sauce, divided
  • 1/4 cup sugar
  • 1 egg
  • 1 cup + 2 Tablespoons flour
  • 1/2 teaspoon baking soda

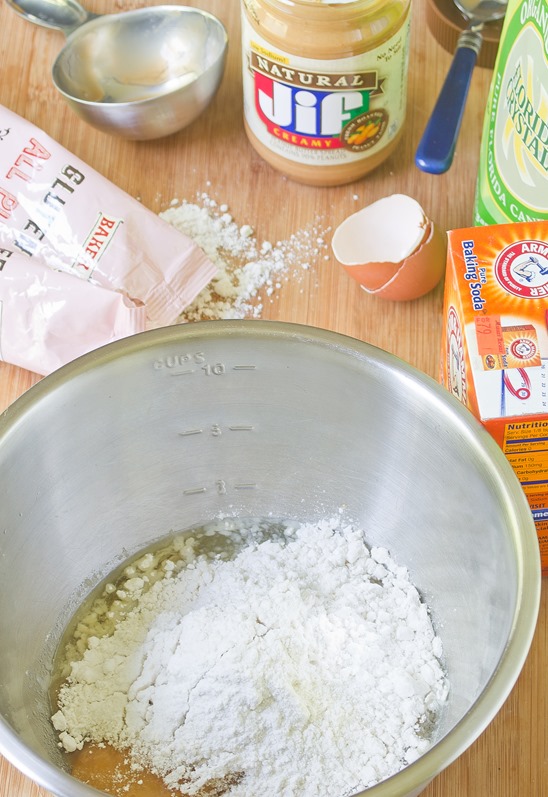
Peanut Butter Caramel Cookie Sandwiches Ingredients

Method:

  1. Preheat your oven to 350 degrees.
  2. In a large bowl, beat together 1/2 cup peanut butter, 1/2 cup of caramel sauce, sugar, flour, egg, and baking soda until it forms a dough. If the dough’s a little loose add flour by the tablespoon until it won’t stick to your hands.
  3. Roll the dough into balls about 1-inch in diameter and place them on a non-stick baking tray.
  4. Using a fork, make a criss-cross pattern on the top of each dough ball.
  5. Bake for 15 minutes until the cookies have risen and spread.
  6. Remove from the oven and let the cookies cool completely.
  7. In a small bowl, beat together the remaining peanut butter and caramel sauce.
  8. Scoop about 2 teaspoons of the peanut caramel sauce onto the bottom of one cookie and sandwich it with the bottom of an equally-sized cookie.
  9. Refrigerate the cookies until the filling has set and it’s time to serve.

Peanut Butter Caramel Cookie Sandwiches (2)

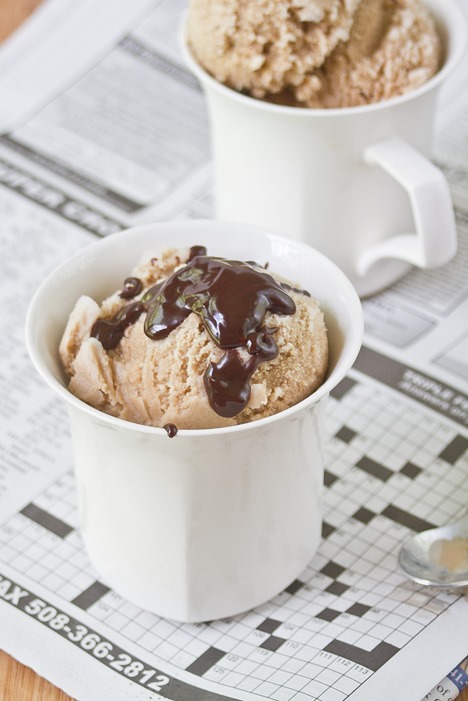
Dairy-Free Coffee Ice Cream

Dairy-Free Coffee Ice Cream

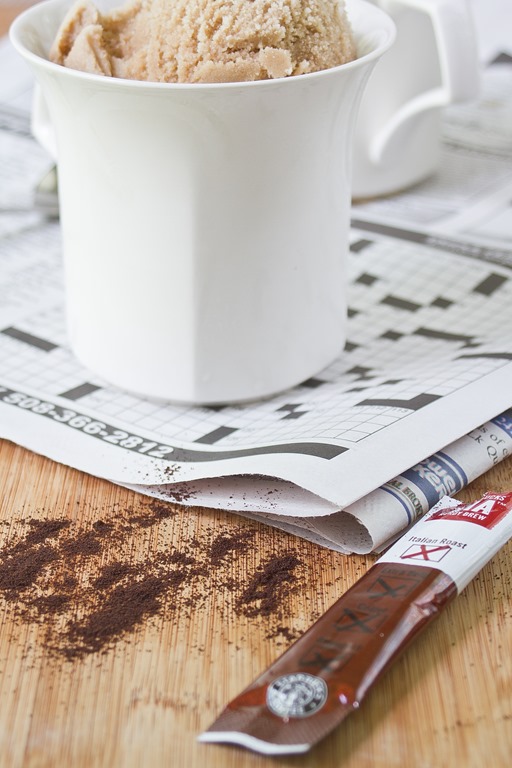
When you go to Starbucks there are almost too many decision. First you have to choose a drink, then a size, then a milk, then any other number of questions—what happened to plain old coffee? I’m just kidding; of course you should go with a tall caramel frappuccino with whipped cream.

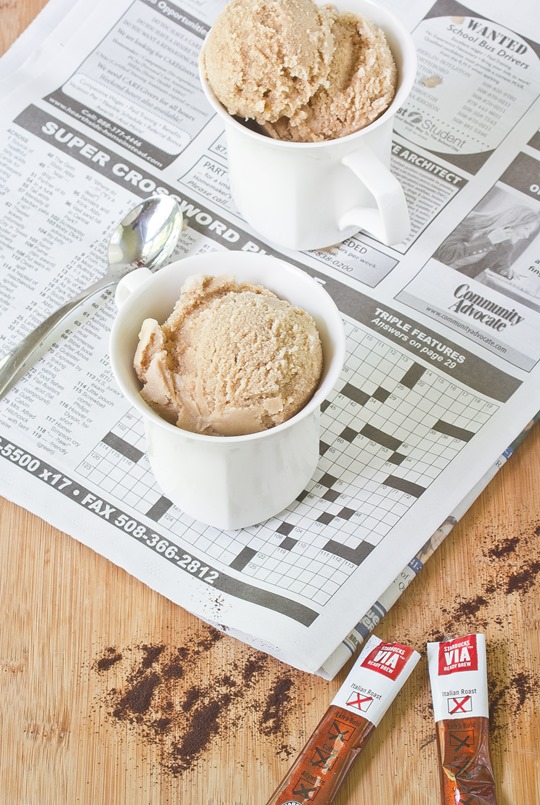
I tried making this recipe because a friend told me vanilla soy milk makes the coffee taste better. If I didn’t buy the ingredients and make it myself I probably wouldn’t know this was dairy-free at all. The flavor is rich and dark and sweet.

Dairy-Free Coffee Ice Cream Ingredients

I suggest anywhere from 1/4 cup to 3/4 cup of sugar for this recipe because it depends on the other ingredients you use. If you use a flavored creamer and milk, use less sugar than you would if you use unsweetened varieties. At any point you can grab a spoon and taste how sweet the mix is, but keep in mind that the colder it is the less sweet it will taste.

Dairy-Free Coffee Ice Cream

Prep time: 40 minutes

Cook time: 0 minutes

Ingredients(Makes about 8 servings):

  • 2 cups soy milk creamer
  • 2 cups soy milk
  • 3 6oz instant coffee packets
  • 1/4-3/4 cup sugar
  • 1/2 teaspoon vanilla

Dairy-Free Coffee Ice Cream Serving

Method:

  1. Pour 1 cup of soy milk creamer into a large bowl.
  2. Add the contents of the instant coffee packets and whisk until they’ve completely dissolved.
  3. Add in the rest of the ingredients and continue whisking until the sugar has dissolved.
  4. Freeze in an ice cream maker according to the manufacturer’s directions.
  5. Move the ice cream to a safe container and freeze for an additional 2 hours until the ice cream has frozen.
  6. Let the ice cream sit at room temperature for 5 minutes to soften before scooping.

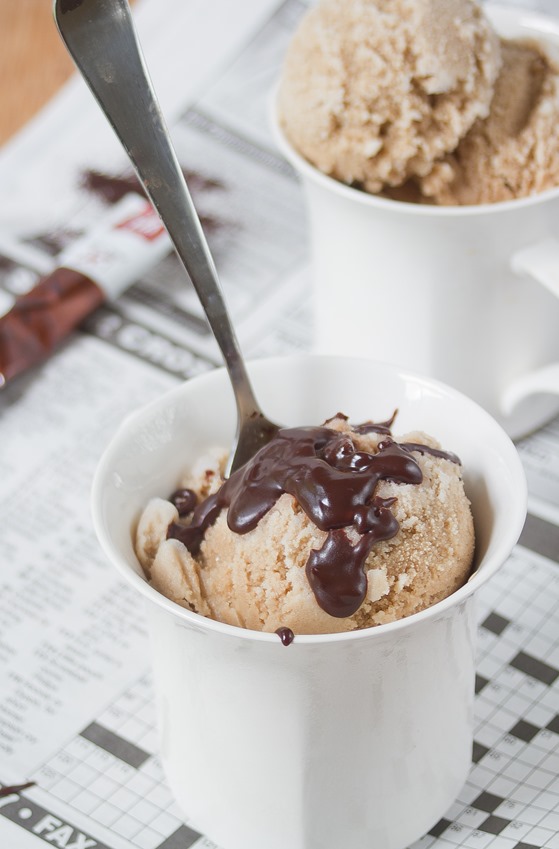
Dairy-Free Coffee Ice Cream Chocolate

Oatmeal Energy Bars

Oatmeal Energy Bars

These bars were something of a fail, but definitely one worth sharing.

I love granola bars, prepackaged snack—basically anything from the grocery store that calls itself healthy and has too much sugar in it. They’re always delicious and the right portion but usually overpriced. Why not make your own?

Well, these taste much fresher than your typical grocery store splurge and that’s their only flaw. They’re somewhere between a chewy brownie and a granola bar which is a texture that takes some getting used to. Besides that the ingredients are simple and wholesome and full of fiber.

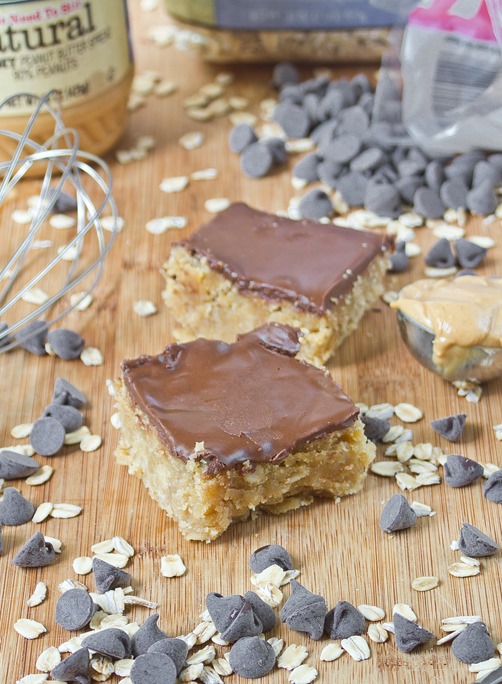
Oatmeal Energy Bars Done

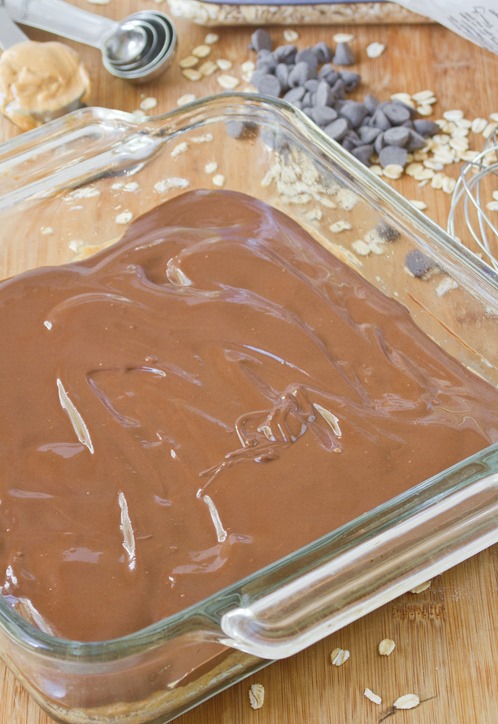
While the chocolate definitely makes this look like a dessert, it’s not that sweet and the texture is more chewy than cakey. It’s a great power snack or something to pack in a lunchbox that’s a little healthier than other desserts.

Oatmeal Energy Bars

Prep time: 10 minutes

Cook time: 30 minutes

Ingredients(Makes 16 squares):

  • 1 1/2 cups all-purpose flour(whole grain or gluten-free are good substitutes)
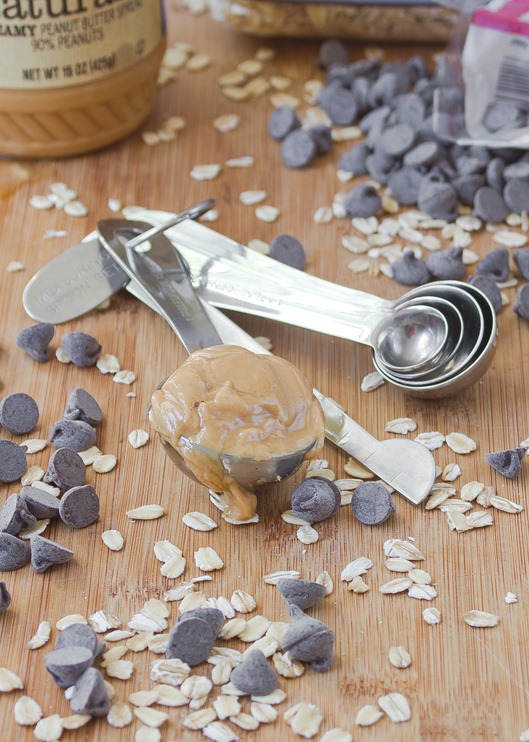
  • 1 cup rolled oats
  • 3/4 cup peanut butter, separated
  • 1/4 cup oil
  • 1/2 cup brown sugar
  • 1 egg
  • 1 teaspoon vanilla extract
  • 1/4 teaspoon salt
  • 1/2 cup water
  • 1/2 cup chocolate chips

Oatmeal Energy Bars Ingredients

Method:

  1. Preheat your oven to 350 degrees.
  2. In a large bowl mix together the flour and the oats.
  3. In a separate bowl, beat together 1/2 of cup peanut butter, oil, brown sugar, vanilla, salt, egg, and water until smooth.
  4. Mix together the dry and wet ingredients until they form a batter.
  5. Lightly oil an 8 x 8 pan and pour the batter in in an even level.
  6. Bake for 30 minutes or until the center has set.
  7. Melt the chocolate chips and remaining 1/4 cup of peanut butter together and mix until they make a ganache.
  8. Pour the chocolate on top of the baked good and spread it out evenly.
  9. Refrigerate for 30 minutes to an hour until the chocolate has set.
  10. Slice into squares before serving.

Oatmeal Energy Bars Ganache