Category Archives: Dessert

Gluten-Free Cookie Dough Truffles

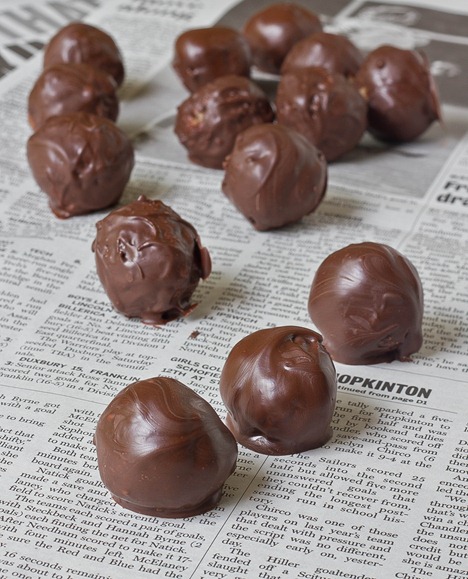
Gluten Free Cookie Dough Truffles newspaper

I tried to hold out on the cookie dough truffle craze. I really did. But all the cookie dough recipes floating around blogs these days and now a whole cookie dough cookbook wore me down.

Anyone who’s tried gluten-free baking knows that—while the baked result may be delicious—gluten-free flours make the raw dough taste horrible. That’s a problem for truffles where the whole point is to be eating raw dough. Thankfully, almond flour has virtually no flavor and works perfectly in this recipe.

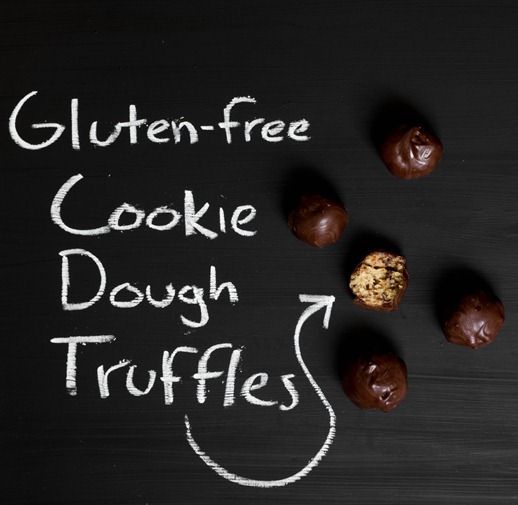
Gluten Free Cookie Dough Truffles Chalkboard

You can use almond flour or almond meal interchangeably in this recipe. You could even get away with 1 cup of almond butter in a pinch if it’s not too oily.

Gluten-Free Cookie Dough Truffles

Prep time: 15 minutes

Cook time: 0 minutes

Ingredients(Makes about 24 truffles):

For the dough:

  • 1/2 cup butter
  • 1/2 cup brown sugar
  • 1/2 cup powdered sugar
  • 1 teaspoon vanilla extract
  • 1/4 teaspoon salt
  • 2 cups almond flour or almond meal
  • 1/2 cup mini chocolate chips or chocolate shavings

For the coating:

  • 1 cup semi-sweet or bittersweet chocolate chips
  • 2 Tablespoons coconut oil(butter or shortening would work, too)

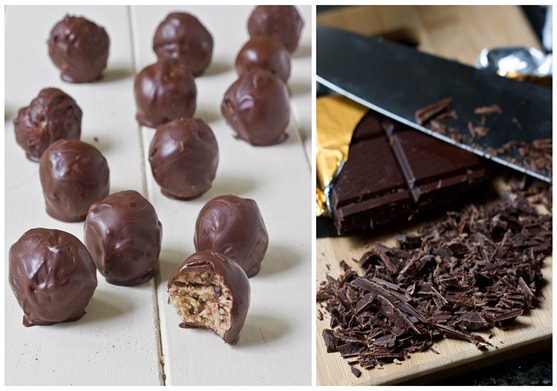
Gluten Free Cookie Dough Truffles Collage

Method:

  1. Cream together the butter, brown and powdered sugars.
  2. Mix in the vanilla, salt, and almond flour.
  3. Fold the chocolate chips into the batter.
  4. Roll ounces of dough into 1-inch balls and put them into the refrigerator or freezer to chill.
  5. Melt the chocolate chips for the coating in your microwave or over a burner.
  6. Add in the coconut oil and stir until smooth and runny.
  7. One by one, dip the chilled dough balls into the melted chocolate and turn them to coat.
  8. Place the truffles onto a non-stick surface to cool.
  9. Store in the refrigerator for up to 2 weeks. Serve at room temperature.

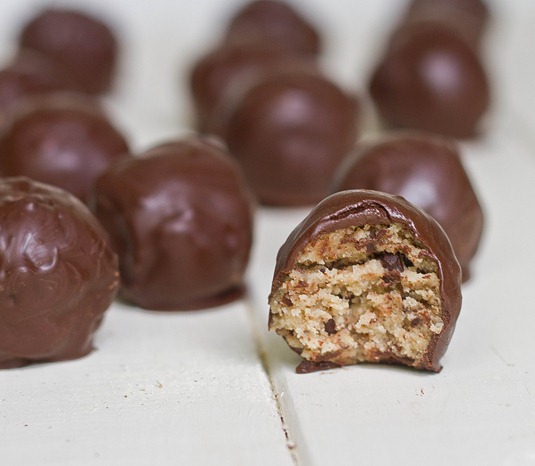
Gluten Free Cookie Dough Truffles

Now I get what all the fuss is about.

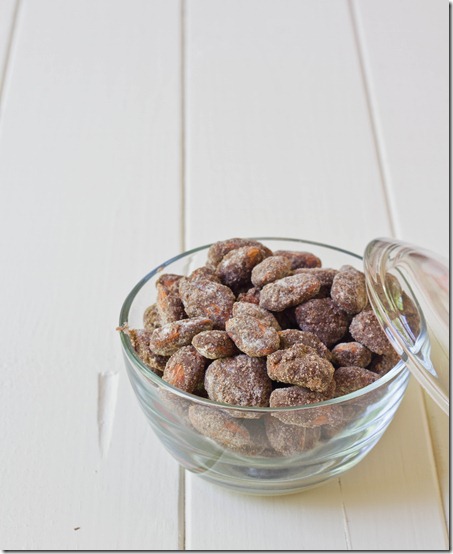
Almond Puppy Chow

Almond-Puppy-Chow

One of my favorite Trader Joe’s products is their chocolate covered almonds; once I start eating those, it’s hard to stop. Chocolate and almonds just go so well together. Just as good are their chocolate covered almonds with sea salt and tubinado sugar. Again, there’s no way you can have just one handful.

I’ve tried to make chocolate covered almonds before and they never come out as good as the ones from Trader Joe’s. But then I figured if you could make peanut puppy chow, who says you can’t do the same with almonds?!

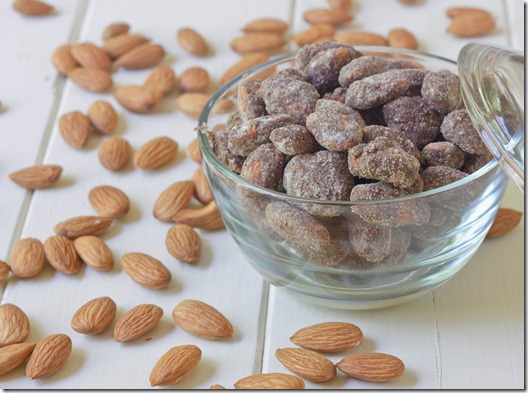
Almond-Puppy-Chow-almonds

A touch of salt really makes the flavor of these. If(but really “when”) I make these again, I plan on using a higher quality baking chocolate rather than Trader Joe’s chocolate chips since it really makes a difference in the flavor.

Almond Puppy Chow

Prep time: 15 minutes

Cook time: 0 minutes

Ingredients:

  • 4 cups roasted almonds
  • 1/2 cup chocolate chips
  • 1/4 cup almond butter
  • 3/4 cup powdered sugar
  • 1/2-1/4 teaspoon sea salt(depending on how salty you want these)
  • 2 Tablespoons brown sugar(optional)

Method:

    1. Melt the chocolate chips in a microwave or over a double boiler.
    2. Stir the almond butter into the melted chocolate to make a smooth and uniform coating.
    3. Pour in the almonds. Move them around to coat them completely in the peanut butter and chocolate.
    4. Scoop the almonds into a large sealable bag. Add in the powdered sugar and shake the bag until the almonds are completely covered.
    5. Add in the salt/brown sugar if using and shake again for 10 seconds
    6. Store in an airtight container at room temperature for up to 2 weeks.


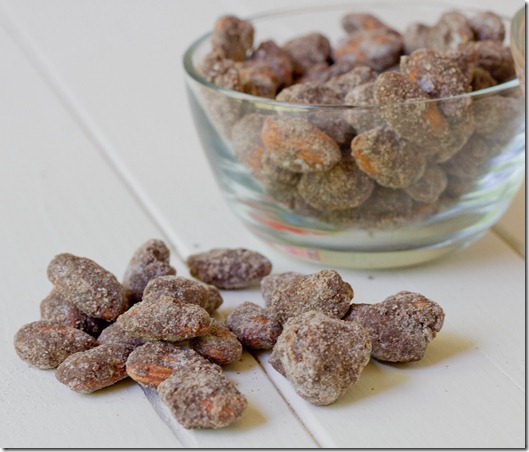
Almond-Puppy-Chow-sample

If you like this recipe, you might like puppy chow peanuts, too. When I made these I made another batch of those and gave the recipe page a much needed face lift.

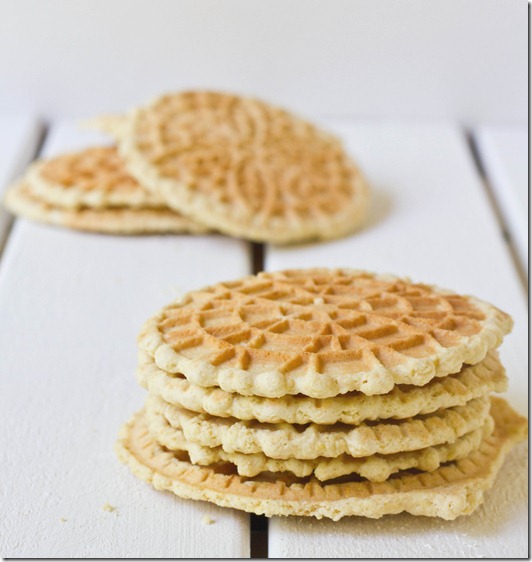
Gluten-Free Pizzelles

gluten-free-pizzelles

Over the weekend I made Christmas cookies. In May. But really, who’s complaining when there’s cookies involved?

This recipe was actually one of the very last ones I made before I got my first DSLR cameras. Since then I’ve been meaning to make them and take pictures again. I somehow never got around to making them last Christmas so now I’m fixing that mistake.

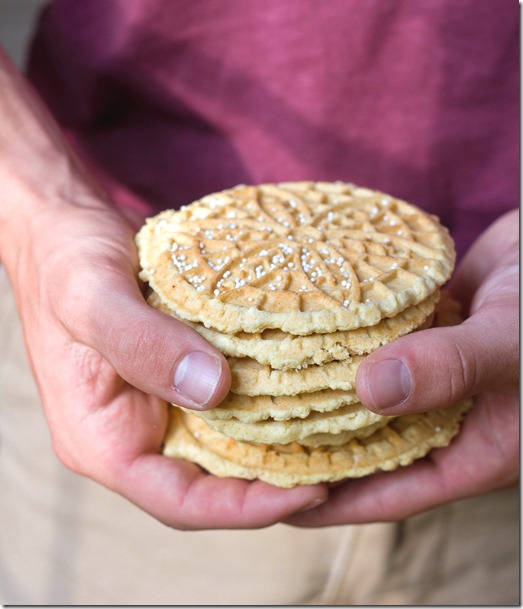
gluten-free-pizzelles-hands

I had a friend help me make these and take some home afterwards. Clearly one of the best things about Christmas cookies is making many many dozens and giving them away to friends and family(but also keeping a stash for yourself because—hell—you baked them and deserve some cookies, too).

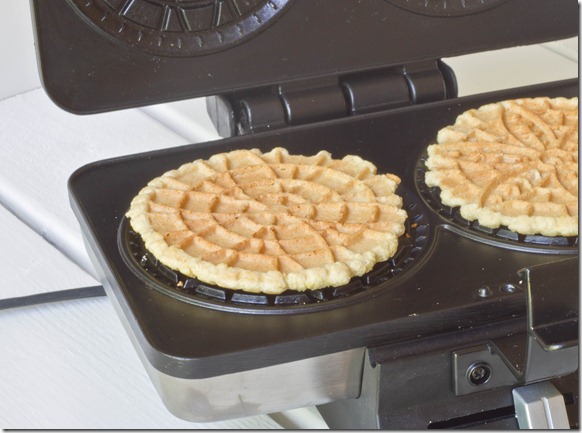
The one special piece of equipment you need to make pizzelles is a pizzelle press. The one I used is made by Cuisinart. You can easily use this recipe to make non-gluten-free pizzelles by substituting regular all purpose flour in for the gluten-free mix in a 1:1 ratio.

Gluten-Free Pizzelles

Prep time: 5 minutes

Cook time: 15 minutes

Ingredients(Makes about 20 pizzelles):

  • 3 eggs
  • 1/4 cup neutral flavored oil
  • 2 teaspoons anise extract
  • 3/4 cup sugar
  • 2 1/2 cups all-purpose gluten-free flour mix

gluten-free-pizzelles-pizzelle-maker (2)

Method:

  • Beat all of the ingredients together in a large bowl until smooth.
  • Heat an electric pizzelle maker according to manufacturer’s instructions until it’s ready to cook.
  • Take about an ounce of dough and roll it into a smooth ball in between your hands. Place the ball on the center of the pizzelle press, doing the same for both sides if your machine is double sided, and press the cover down.
  • Cook for about 45 seconds to a minute or until your pizzelle maker says that the cookies are done.
  • Lift the lid and carefully move the cookies to a separate plate to cool using a fork or other tool.
  • Repeat until all of the dough is used.
  • Store at room temperature in an airtight container for up to a few days.

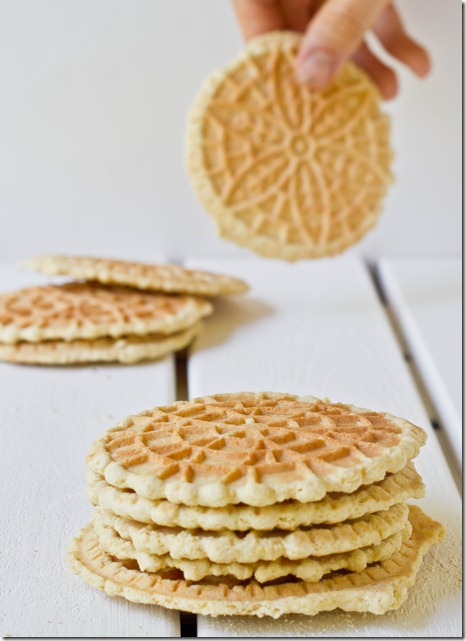
gluten-free-pizzelles-hand2

These are definitely too good to save just for Christmastime. My family’s favorite way of eating them is with a cup of coffee or tea and cream and dipping the edge in to soften right before each bite.

Chocolate Covered Strawberries

Chocolate-Covered-Strawberries

Happy Memorial Day weekend!

I’m really horrible at remembering these federal holidays. I had no idea Monday was a holiday until a friend told me it was last weekend. Back in February I told another friend to have a good Martin Luther King day on Presidents’ Day… while he was in another country that celebrates neither of those. I really need to start looking at a calendar more.

Chocolate-Covered-Strawberries-Hands

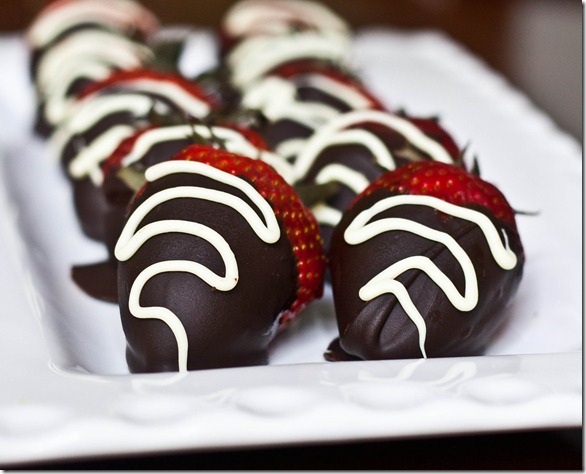
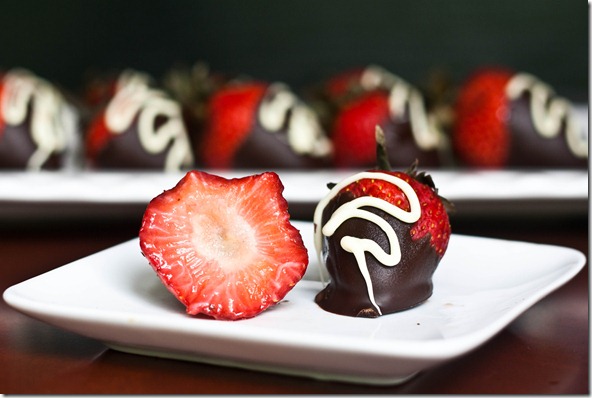
Back to the food—Chocolate covered strawberries are one of those classics that get done again and again but they never get old. They’re so simple you don’t even need a recipe(but you’re getting one). You can make them last minute and they’re near impossible to screw up, so if you’re in a pinch for dessert this Memorial Day then these could be the perfect solution.

Chocolate Covered Strawberries

Prep time: 10 minutes

Cook time: 0 minutes

Ingredients(Makes 2 dozen):

  • 2 dozen large strawberries
  • 10oz semi-sweet chocolate
  • 3oz White chocolate(optional)

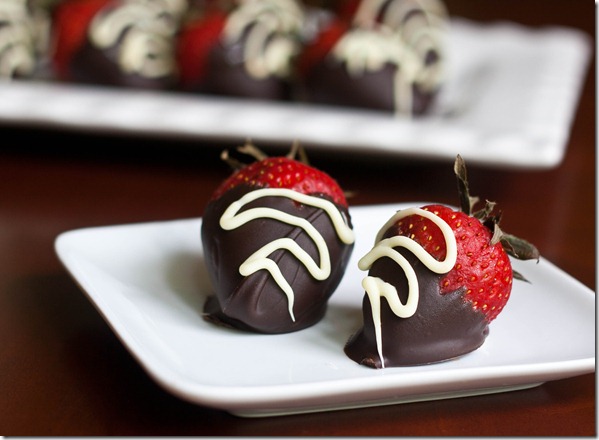
Chocolate-Covered-Strawberries-Plated

Method:

  1. Gently melt the chocolate in a small bowl until it’s smooth.
  2. Dip each strawberry into the chocolate and swirl around to cover completely.
  3. Lift the strawberries out of the chocolate and let the excess fall back into the bowl. Place them individually on a non-stick surface.
  4. If using the white chocolate, melt it carefully and put it in a pastry bag or Ziploc with a tiny whole cut out one edge.
  5. Drizzle the white chocolate across each strawberry from side to side.
  6. Refrigerate the strawberries until the chocolate has hardened. Plate and serve still slightly cold.

Chocolate-Covered-Strawberries-Bite

When life gives you lemons, make lemonade. And when life gives you strawberries, cover them in chocolate before eating them.

Almond Joy Fudge

Akmond-Joy-Fudge

There are few things better than fudge or candy, except maybe fudge that tastes like candy.

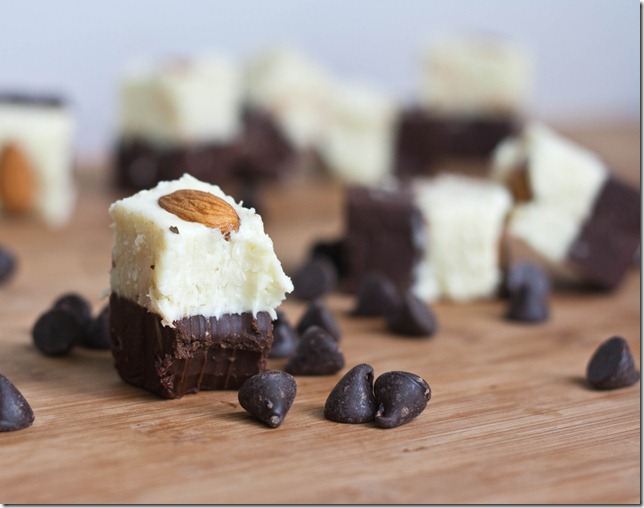
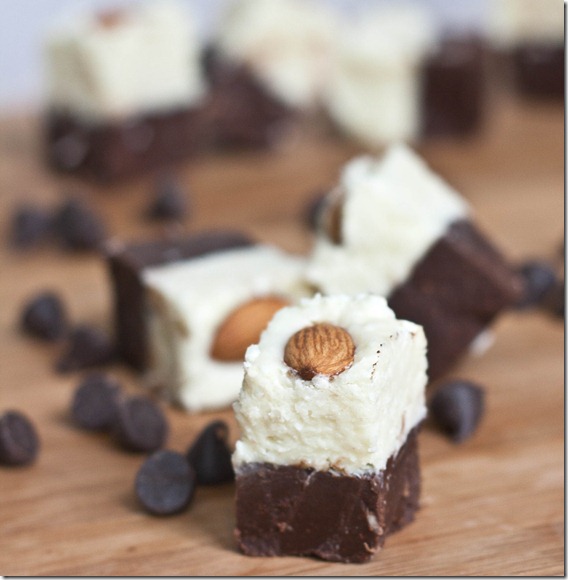
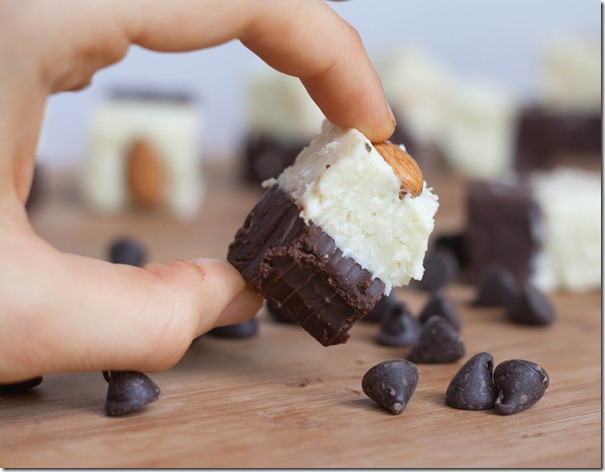
Coconut tends to be one of those touchy flavors; people either love it or hate it. Alone I think it’s pretty good—nothing special. Combine it with chocolate and sugar, though, and you’ve got a clear winner. This fudge has a standard chocolate base but with a layer of coconut-white chocolate fudge on top, topped with an almond. If you omit the almonds it’ll taste just like a Mounds bar.

The best part about this dessert? It can all be made in the microwave so you can enjoy it any time. OK, maybe that’s not such great news…

Almond Joy Fudge

Prep time: 15 minutes

Cook time: 0 minutes

Ingredients(Makes 16 servings):

  • 1/2 cup + 2 Tablespoons semi-sweet or bitter-sweet chocolate chips
  • 1/4 cup unsalted butter
  • 1/4 cup + 2 Tablespoons coconut milk
  • 1/2 cup powdered sugar
  • 1/2 cup white chocolate chips
  • 1/3 cup shredded coconut, sweetened or unsweetened
  • 16 almonds

Almond-Joy-Fudge-2

Method:

  1. Melt the chocolate chips in a microwave or over the stove.
  2. Mix into the melted chocolate 2 Tablespoons of butter, 3 Tablespoons of coconut milk, and 1/4 cup of sifted powdered sugar until the chocolate is smooth.
  3. Pour the fudge into the bottom of a non-stick 6×6 pan. Put the pan in a refrigerator temporarily to cool the chocolate.
  4. Melt the white chocolate using the same method, keeping an eye on it making sure that it doesn’t burn.
  5. Mix in the remaining butter, coconut milk, powdered sugar, and coconut until smooth.
  6. Take the pan out of the refrigerator and spread the coconut layer on evenly(It won’t be runny but shouldn’t be too solid to spread either).
  7. Place each almond about an inch apart in a 4×4 square pattern.
  8. Refrigerate the fudge for 20-30 minutes until it’s solid. Cut into 16 squares with an almond at the center of every square and serve cold.

Almond-Joy-Fudge-Hand

By itself the top layer tastes too much of white chocolate(I wasn’t aware that was even possible) to be like the coconut center of a Mounds Bar. But eaten together the chocolate and coconut fudge taste eerily similar to the candy joy. You might want to use an even larger pan such as 8×8 for flat rectangular pieces of fudge.

homemade-mounds-bars

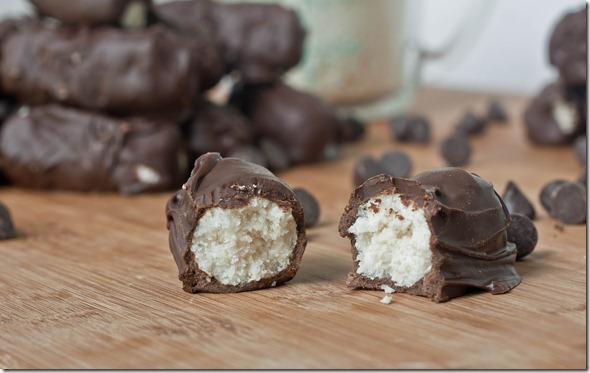
And as long as we’re on the topic of coconut and chocolate, recently I updated the recipe page for Homemade Mounds Bars with better pictures and easier to read steps. It’s one of the most pinned dessert recipes I have so I can’t be the only one who thinks they’re amazing.

Lime In The Coconut Cupcakes

lime-in-the-coconut-cupcakes-2

I apologize this recipe is coming on nueve de Mayo and not last week when it might have been more fitting. If it’s any consolation, I made these on cinco de Mayo and ate a few on seis de Mayo and they were still delicious, so I’m sure whenever you make these they’d be a hit.

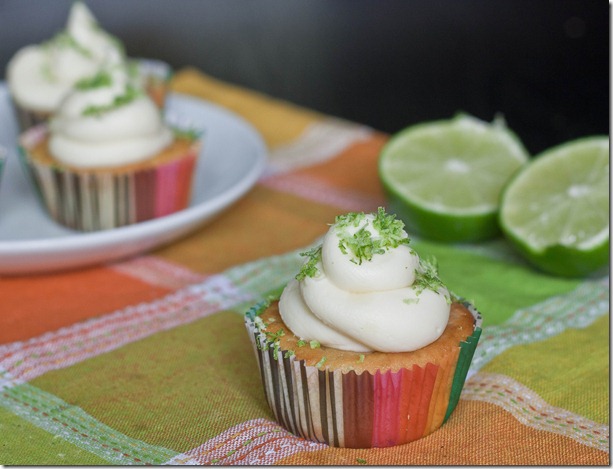
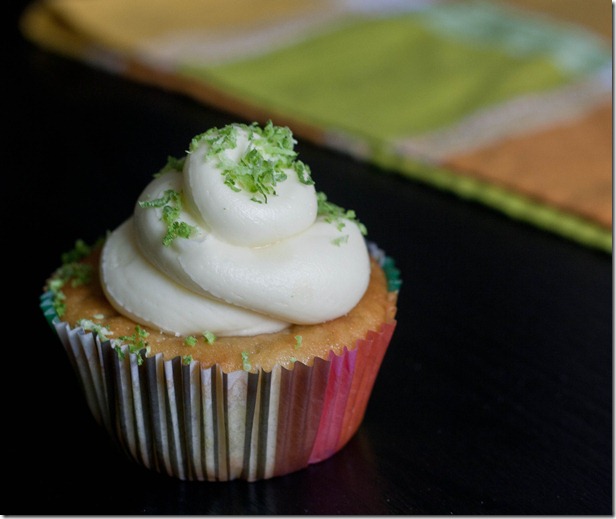
Lime and coconut go perfectly together. Since I always make my cupcakes with coconut flour, adding lime was a no-brainer. These are just the right amount of sweet and citrusy to be light and refreshing.

Lightroom Photos3

I kept the coconut flavor downplayed but if you want to liven them up you can add shredded sweetened coconut flakes to the batter of frosting for an extra layer of flavor. I also think fresh mint would work really well in the buttercream with the lime if you happen to make these at a time of year when that’s available.

Lime In The Coconut Cupcakes

Prep time: 10 minutes

Cook time: 35 minutes

Ingredients(Makes 12 cupcakes):

  • 1/2 cup plus 2 Tablespoons coconut flour
  • 4 eggs
  • 2 egg whites
  • 1/2 cup cane sugar
  • 1 cup coconut milk
  • 2 Tablespoons lime juice(or 1/2 Tablespoon lime extract if you can find it)
  • 1 Tablespoon lime zest
  • 1/2 teaspoon baking soda

lime-in-the-coconut-cupcakes-close-up

Method:

  1. Preheat your oven to 350 degrees and line a dozen cupcake holders.
  2. Combine all of the ingredients together in a large bowl and mix until it forms an even batter.
  3. Scoop equal amounts of the batter into each cupcake well.
  4. Bake for 30-35 minutes or until the tops are firm to the touch.
  5. Remove from the oven. Let the cupcakes cool completely before frosting them.

lime-in-the-coconut-cupcakes-serving

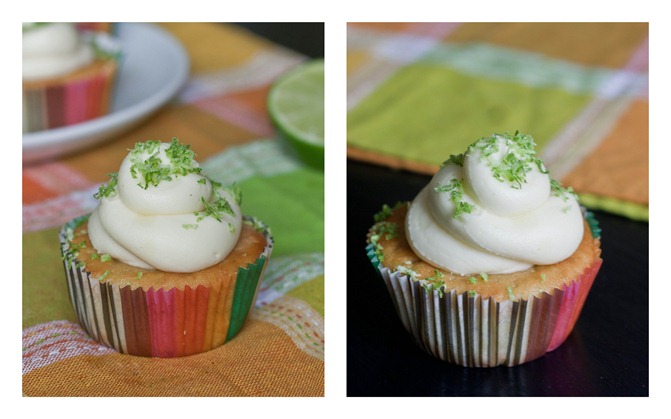
For the frosting, I used roughly 1/2 cup of softened butter, 2 1/2 cups powdered sugar, 1 1/2 Tablespoons of coconut milk, and plenty of lime zest. I say roughly because I did it mostly by eye. I’ve stopped putting effort into making just the right frosting until I get a fancy set of tips like these since they always look blah no matter what I do. 

Quadruple Peanut Cookies

quadruple-peanut-cookies-side

You know what’s a sign of a good cookie recipe?

When you consider not baking them at all and just eating the batter.

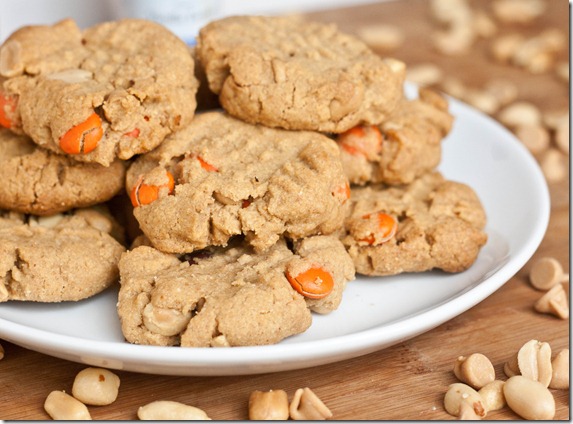
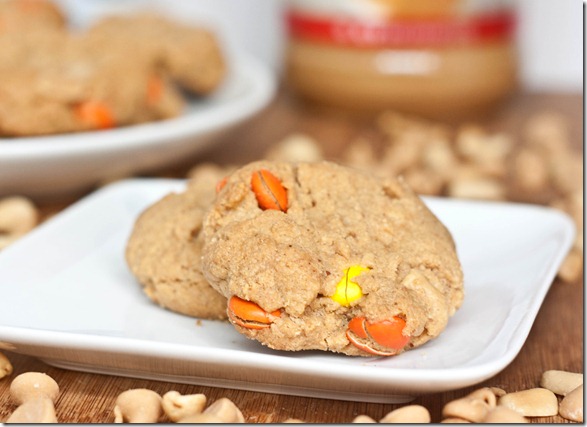
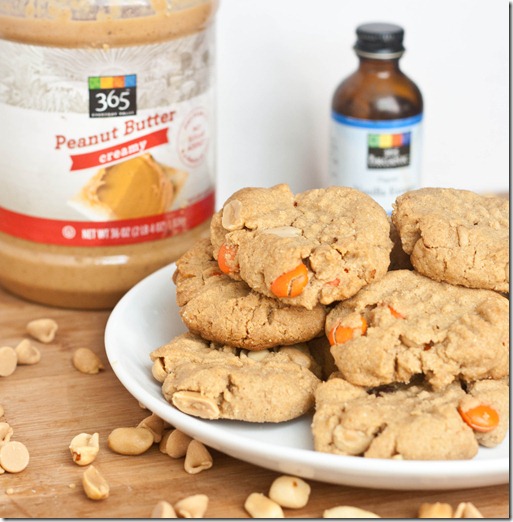
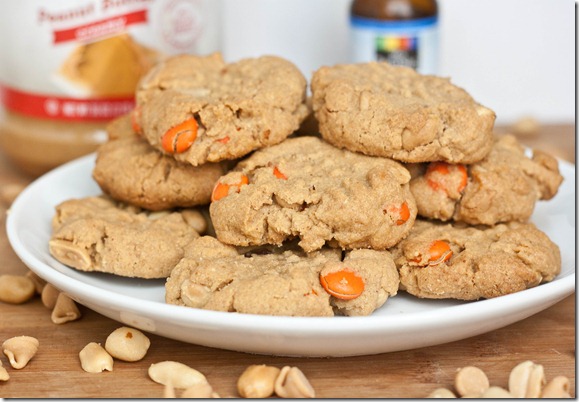
I couldn’t resist trying out this recipe when I saw it online. I mean—peanut butter, peanuts, peanut butter chips, and peanut butter candies? Where can you go wrong? The next time I was at the store I made sure to pick up all the mix-ins; I’m down for any excuse to keep peanut butter chips in the pantry. Always.

quadruple-peanut-cookies

To make them gluten-free, I used my favorite and easiest peanut butter cookie batter; there’s no wheat(or even butter!) necessary for these rich, melt-in-your-mouth cookies. I’d recommend if you’re using a non-stir peanut butter to melt it slightly in the microwave before mixing it with the other ingredients.

Quadruple Peanut Cookies(adapted from this recipe)

Prep time: 10 minutes

Cook time: 18 minutes

Ingredients(Makes about 20 cookies)

  • 1 cup peanut butter
  • 3/4 cup cane sugar
  • 1 egg
  • 1 teaspoon vanilla extract
  • 1/2 teaspoon baking soda
  • 1/4 cup Reese’s Pieces
  • 1/4 cup peanut butter chips
  • 1/4 cup salted peanuts

quadruple-peanut-cookies-ingredients

Method:

  1. Preheat your oven to 350 degrees
  2. Combine all of the ingredients together evenly into a thick batter.
  3. Roll 1 ounce of dough into a ball in your hand and place it on a lined or greased baking tray. Press down on the dough in a criss-cross pattern with a fork gently
  4. Bake for 15-18 minutes until the sides are browning.
  5. Remove from the oven and let the cookies cool completely before taking them off the baking tray.

quadruple-peanut-cookies-batch

These cookies don’t disappoint at all. They’re definitely a must-make for any peanut butter lovers. If you don’t have peanut butter chips, I’m sure chocolate chips would be a great substitution as would chopped Reese’s peanut butter cups for the Reese’s Pieces.

Peanut Butter Banana Chocolate Chip Cookies {Gluten-Free/Vegan}

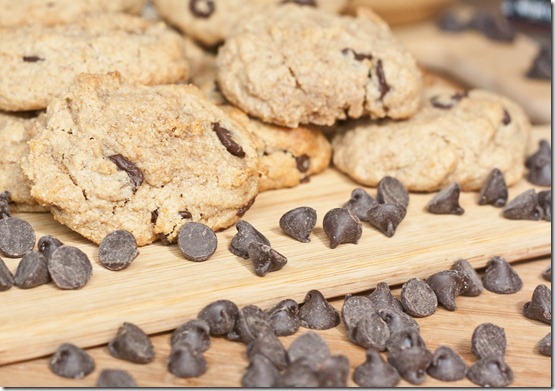
peanut-butter-banana-chocolate-chip-cookies-gluten-free-vegan-chocolate-chips

I love Jessica’s blog. It was one of my favorites since I started reading food blogs and it’s never disappointed—the recipes and pictures are always great.

When Jessica posted peanut butter banana chocolate chip cookies, I couldn’t resist trying them out. There are too many flavors there that I love. 
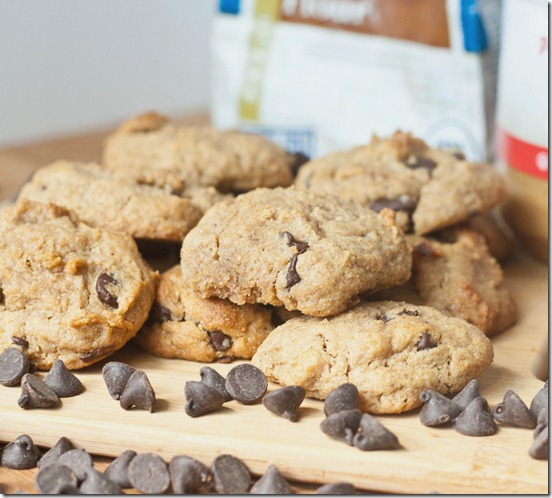
peanut-butter-banana-chocolate-chip-cookies-gluten-free-vegan

I changed Jessica’s recipe around to make these gluten-free and vegan. I hope that’s not heresy for someone who loves butter and flour; but if it is it’s delicious heresy.

I chose brown rice for this recipe because it is soft and buttery when baked making a tasty, airy cookie. You can find brown rice flour in most grocery stores in the gluten-free section.

Peanut Butter Banana Chocolate Chip Cookies(adapted from this recipe)

Prep time: 10 minutes

Cook time: 18 minutes

Ingredients(Makes about 1 dozen cookies):

  • 1/2 cup banana puree
  • 1/2 cup runny peanut butter
  • 1 cup brown rice flour
  • 1/2 cup sugar*
  • 2 Tablespoons maple syrup*
  • 1/3 cup chocolate chips
  • 1 teaspoon vanilla extract
  • 1/2 teaspoon baking soda
  • 1/2 teaspoon cinnamon
  • 1/2 teaspoon salt**

*I used this to replicate the flavor of brown sugar. If you don’t have maple syrup, you can substitute 1/2 cup + 2 Tablespoons brown sugar and a Tablespoon of water.

**Omit if the peanut butter you’re using is salted

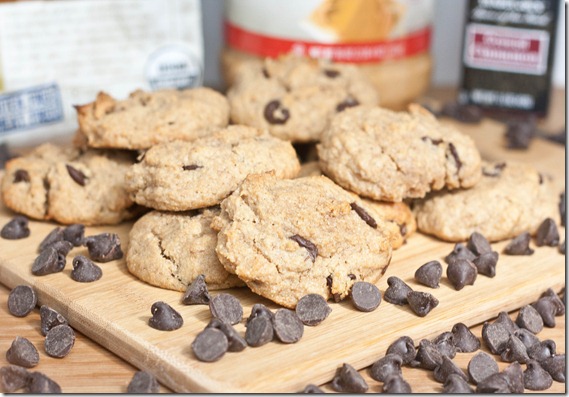
peanut-butter-banana-chocolate-chip-cookies-gluten-free-vegan-batch

Method:

  1. Preheat your oven to 350 degrees
  2. Combine all of the ingredients together evenly into a thick batter.
  3. Roll 1 ounce of dough into a ball in your hand and place it on a lined or greased baking tray.
  4. Bake for 15-18 minutes until the sides are browning and the center has puffed up.
  5. Remove from the oven and let the cookies cool completely before taking them off the baking tray.

peanut-butter-banana-chocolate-chip-cookies-gluten-free-vegan-milk-and-cookies

These are seriously some of the best cookies I’ve tasted. Make this recipe. Or make Jessica’s recipe. Just make some recipe.

Mint Carob Cupcakes

mint-carob-cupcakes-serving

Whenever I get an urge to make cupcakes, I don’t even question what flour I’ll use. Coconut flour by far makes the best and lightest gluten-free cupcakes around.

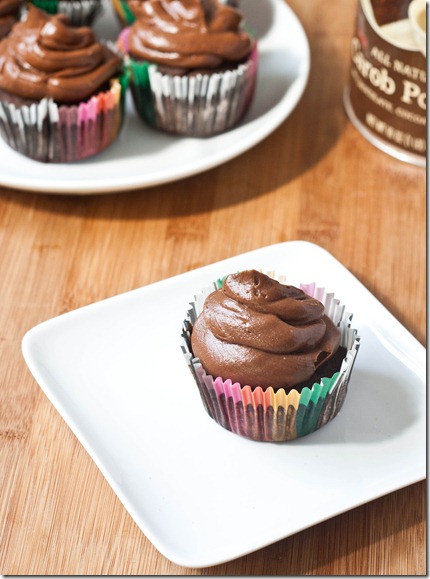
I’d like to say I chose carob because it’s exotic and unique but honestly I picked up carob powder by mistake one day and never figured out what to do with it before now. Since I’m not the biggest fan of carob, I wanted to add mint to distract the flavor a bit. I think the two balanced well to make a tasty cupcake. Of course you could always sub in cocoa powder for the carob powder and these’d be just as good.
mint-carob-cupcakes-batch

The frosting I used was a mint chocolate buttercream. It wasn’t perfect but not a failure, either. Definitely not paleo like the cupcakes. For a first go at chocolate buttercream, I’d say it was a success, even though my frosting talent has a long way to go.

Mint Carob Cupcakes

Prep time: 10 minutes

Cook time: 35 minutes

Ingredients(Makes a dozen cupcakes):

  • 3/4 cup cup coconut flour
  • 4 eggs
  • 2 egg whites
  • 6 Tablespoons carob powder
  • 1/2 cup honey
  • 1 cup almond milk(or any other milk)
  • 2 teaspoons mint extract

mint-carob-cupcakes

Method:

  1. Preheat your oven to 350 degrees and line 12 cupcake holders with paper liners.
  2. Mix together the coconut flour, eggs, egg whites, carob powder, honey, almond milk, and mint extract in a large bowl.
  3. Scoop the batter evenly into the cupcake liners. Hit the pan against the counter a few times to even the batter and knock out any air bubbles.
  4. Bake for 30-35 minutes until the tops are firm to the touch.

mint-carob-cupcakes-peeled

They’re really too good to know they’re gluten-free.

White Chocolate Popcorn

white-chocolate-popcorn

I’m not a popcorn-at-the-movies kind of person. Buttery popcorn just doesn’t do it for me; I’d rather have the sour patch kids or peanut M&Ms. But when it’s chocolate on popcorn—that’s another story.

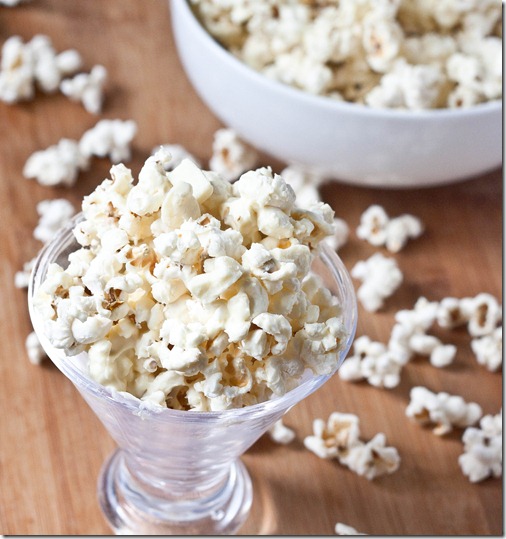
I’ve been obsessed with white chocolate lately and this is just another way to eat it up. It’s a crunchy, creamy, salty dessert that’s unexpectedly incredible. And it has whole grains so it’s not entirely unhealthy, right?

white-chocolate-popcorn-serving

If you’re worried about this being a messy treat, the chocolate doesn’t actually stick to your hand once it’s cooled down to room temperature. It’ll make your hands about as greasy as any buttered popcorn, though, so have a napkin nearby.

White Chocolate Popcorn

Prep time: 15 minutes

Cook time: 0 minutes

Ingredients(Makes 8 servings):

  • 8 cups plain popcorn
  • 6oz white chocolate
  • 1 1/2 Tablespoons butter
  • 3/4 teaspoons salt

white-chocolate-popcorn-hand

Method:

  1. In a microwave or over a double boiler, melt the white chocolate and butter together until smooth.
  2. Stir the salt into the white chocolate evenly.
  3. In a large bowl, poor the melted white chocolate over the popcorn. Fold the popcorn into the white chocolate until it’s all coated.
  4. Let the popcorn sit at room temperature and the chocolate solidify slightly. Scoop into bowls and serve.

white-chocolate-popcorn-long

This is definitely not as good as leftovers since it keeps so poorly, so I would suggest making it and eating it on the same day. I don’t think it’ll be too hard once you take a taste to finish the batch.