Author Archives:

Beef Stir-Fry With Brown Sugar Glaze

November 11th 045

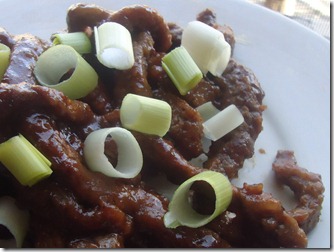
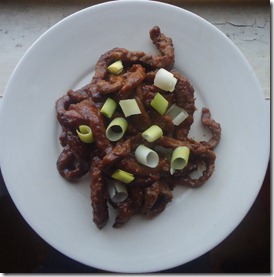
Let me tell you about my Veteran’s Day: I woke up at 7 to run; I went to Whole Foods before lunch which, if you think would be less crowded, you would be very very wrong; I was shocked at least twice with what’s been going on on Days Of Our Lives in my absence; and I cooked a lot. 2 out of 4 of the recipes I tried actually came out. I’m going to be happy because, if this were professional baseball, that’d be a good batting average. This was my lunch and my dinner. Why mess with a good thing? And this was really really good.
November 11th 006

Beef Stir-Fry With Brown Sugar Glaze

Ingredients(Makes 2 servings):

  • 1/2lb stir fry beef strips
  • 2 tablespoons sesame oil + more to drizzle
  • 3-4 tablespoons flour(or cornstarch)
  • 2 tablespoons brown sugar
  • 2 tablespoons soy sauce
  • 1/4 cup water
  • 1/2 tablespoon rice vinegar
  • 1/4 teaspoon salt
  • 1 teaspoon chili powder
  • 1/2 teaspoon garlic powder
  • Leeks for garnish

November 11th 011

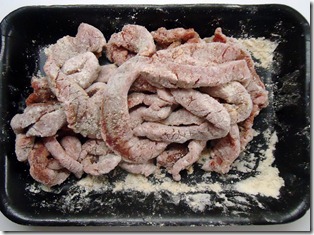
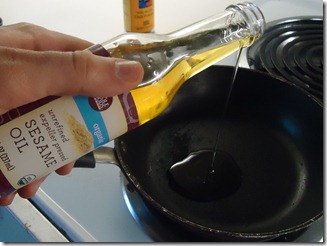
Heat the sesame oil over a medium-high burner until it comes up to temperature. In the meantime, add the flour or cornstarch sparingly to the beef until coated. Set aside.

November 11th 020

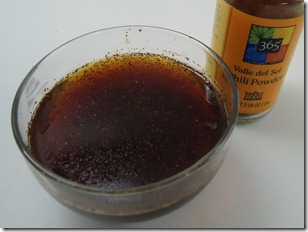
In a small bowl, add the brown sugar, soy sauce, vinegar, salt, chili powder, garlic powder, and water. Mix to dissolve the sugars.

November 11th 017

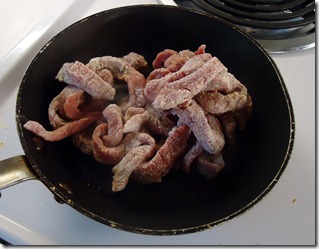
Next, add the beef to the pan to cook. Keep stirring and tossing until all of the beef has browned.

November 11th 025

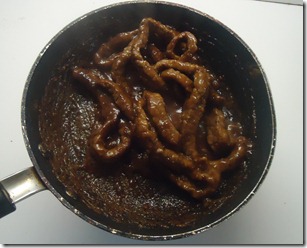
Once the beef has browned on all sides, slowly pour in the cooking liquid. Continue to cook as the water evaporates off. Cook until the liquid forms a thick glaze that coats the beef.

November 11th 040

Once the glaze has formed, remove the beef from the heat. Add a drizzle of sesame oil and toss to finish. Add leeks on top for an oniony flavor.

November 11th 043

This was spicy and delicious. I needed this kitchen-win in my life to make me feel good, especially since dessert was 2(or maybe 3) very very flat cookies. Who would have thought the day would come where I could cook better than I bake? Oh well.

November 11th 051

No complaining here.
Quick & “Pumpkiny” Lunches

Nov 10th 011

It amazed me that Rachael Ray has made an empire with 30 Minute Meals, mostly because 30 minute meals are all I eat and they don’t seem so special. My little secret is—save roasting a chicken or potatoes where all you have to do is put them in the oven and wait—I cook a total of 5 meals that take longer than 30 minutes(we’re excluding brownies and all other desserts from this; some things are worth waiting for).

Nov 6th 001

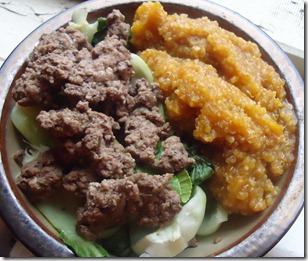
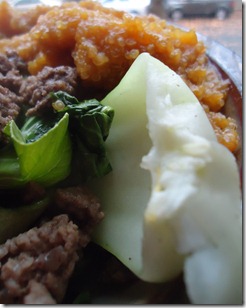
Especially during the week, I don’t have time for elaborate meals; I want something delicious and want it fast. I’ve been eating my weight recently in pumpkin quinoa. It’s really easy to throw quinoa in the rice cooker and forget about it for 15 minutes while it cooks. Here I use that time to sauté some beef and bok choy; on other days I’ve added leftover chicken right into the rice cooker and made my whole meal in there.

Nov 6th 010

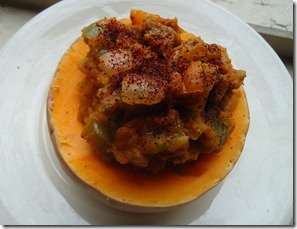
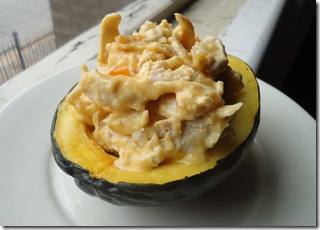
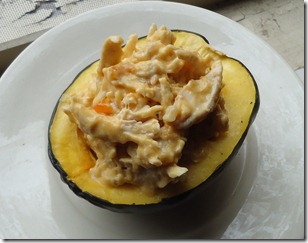
The other pumpkin dish I can’t get enough of is autumn stuffed acorn squash.

Nov 10th 012

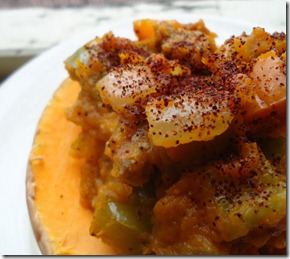
This one even got a “That smells good” from whomever happened to be around the kitchen while I was cooking. I must admit—anything with sautéed onions and peppers does smell amazing. And it was fast to whip up, too! You can vary the spices and seasonings to change the flavor so it doesn’t feel like eating the same dish(I used chili powder and cumin instead of maple syrup and rosemary this time around).

So no, I definitely don’t think balanced and flavorful meals have to be long and elaborate. In fact, the less equipment I have to dirty to make it, the better. And one of these days I might even eat something without pumpkin in it(but don’t hold your breath). 

How To Pan Fry Hamburgers

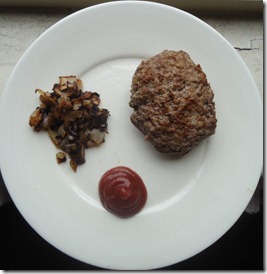
Nov 7th 028

We all know the grill makes the best burgers, right? Or does it? Regardless, no one wants to grill when it’s 30 degrees and snowing. And most people living in cities or apartments don’t even have a grill. But that doesn’t mean you have to sacrifice a well-seasoned hamburger.

These are easy to make and only take about 10 minutes. And with just 4 common ingredients, they’re just as flavorful as ever. All you’ll need is a stove and a frying pan—that’s it!

Seasoned Pan Fried Hamburgers

Prep time: 10 minutes

Cook time: 10 minutes

Ingredients(Makes 4 servings):

  • 1lb ground beef(either 90/10 or 85/15 are good)
  • 1/2 teaspoon salt
  • 1/4 teaspoon black pepper
  • 1 medium onion, diced

Nov 7th 003

Method:

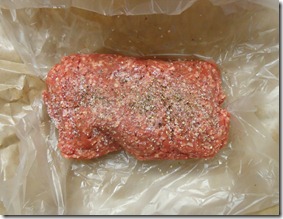
  1. Add the salt and pepper onto the meat and massage the seasoning in. Do not apply too much pressure ever as this can make for tough and tight hamburgers.
  2. Split the beef into 4 quarter-pound patties and flatten between the palms of your hands. Make a slight indent in the center for when the air in the center expands.
  3. Meanwhile, heat a pan over medium heat and add the diced onion to sweat. When the pan has come to temperature, add the burgers on top of the bed of onions.
  4. Cook for 4 minutes on both sides for rare, or until the liquid coming out starts running clear. For medium well, add about 2 minutes on both sides. Note that how many you can cook at a time depends on how large your pan is. I wouldn’t cook more than two at once as crowding will slow down the cooking.

Nov 7th 018

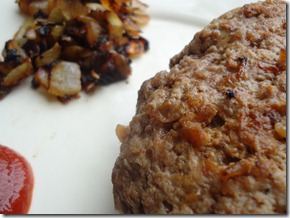
Like any meat, let the burgers sit for 5 minutes off of heat for them to retain their juices. Serve with any condiments you could desire. What I love about these is that they don’t taste salty, or peppery, or “onion”y; they just taste like a perfectly seasoned burger.

You can either discard the onions or serve them alongside. They will most likely be slightly burnt and cooked heavily in beef fat; that just sounds perfect to me, but if you’re not a fan of onions feel free to dump them.

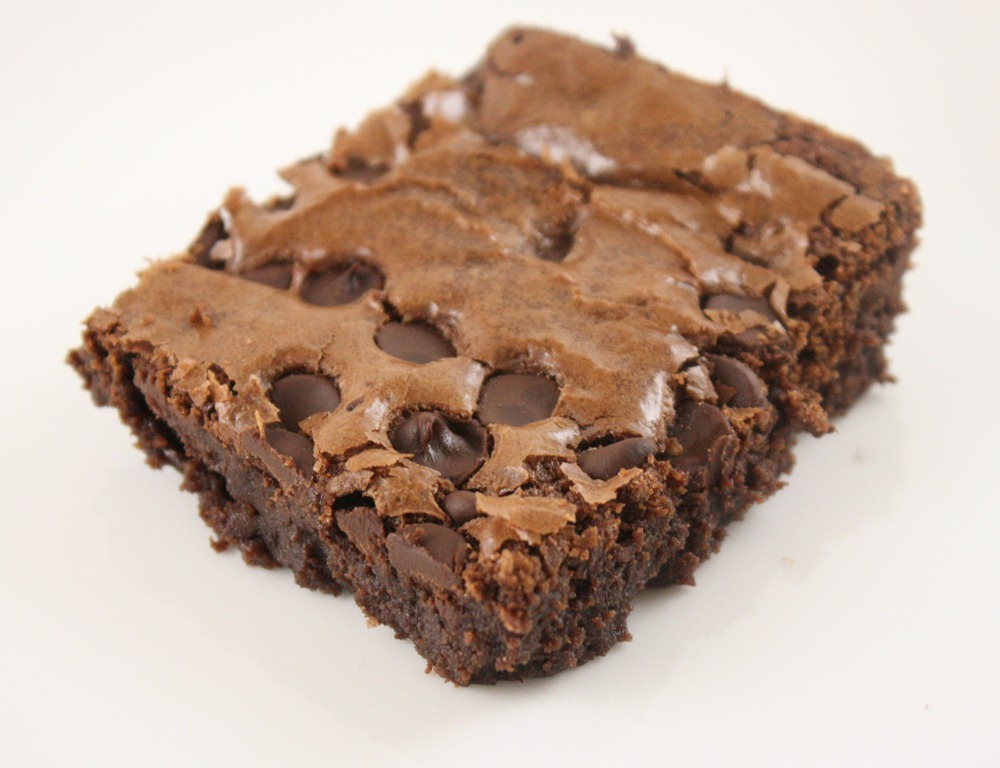
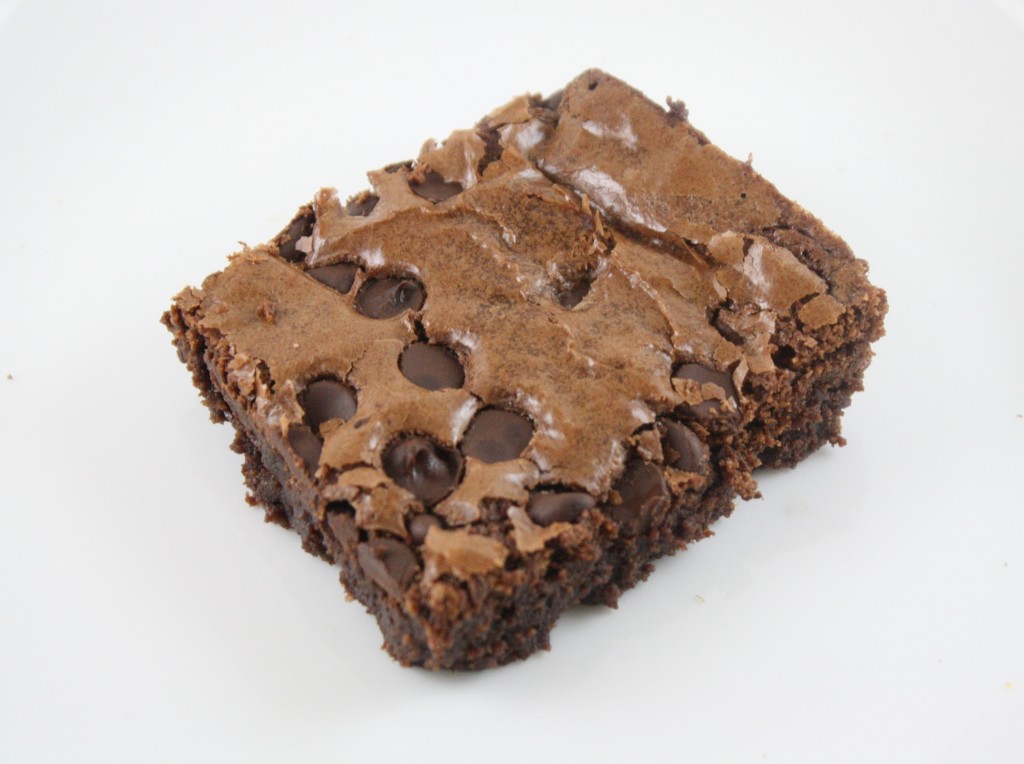
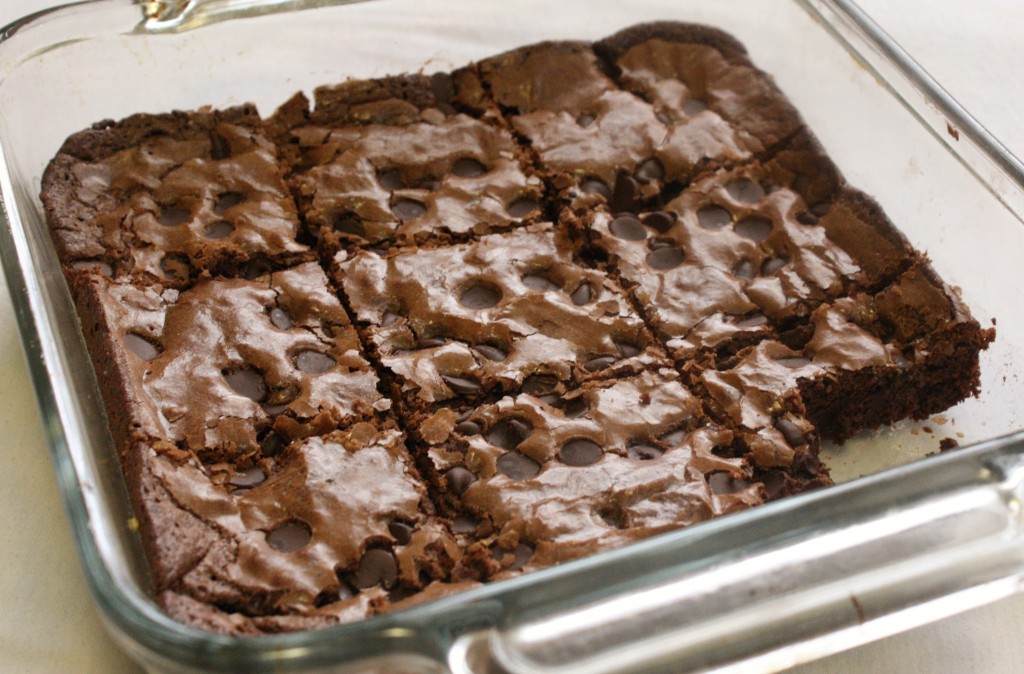
Outrageous Triple Chocolate Brownies

I love brownie recipes, in case that’s not clear. There’s so much you can do with this simple dessert just by varying the ingredients and proportions. One recipe in particular stuck out to me; I’ve always made brownies with flour being the main ingredient but these use chocolate as the center of attention. Chocolate?! What’s not to love there?

Of course, there’s also plenty of butter and sugar, too. But these brownies are truly unique in their composition and that comes out with a richer flavor and a very fudgy feel. Ina knew what she was doing in calling these “Outrageous”.

Outrageous Triple Chocolate Brownies(adapted from Ina Garten)

Ingredients:

  • 6 tablespoons flour(or gluten-free alternative)
  • 1/4 teaspoon salt
  • 2 tablespoons cocoa powder
  • 1/2 teaspoon baking powder
  • 3/4 cup sugar
  • 2 large eggs*
  • 1 teaspoon vanilla
  • 1 teaspoon instant coffee granules(optional)
  • 1/2 cup butter(or Earth Balance)
  • 7oz baking chocolate, divided(about 3/4 cup chocolate chips if you want to use those)

*Note: A flax egg WILL NOT work here. I’m still unsure of certain other egg replacements, however, and will be trying those in future batches.
Preheat your oven to 350 degrees. Mix together the flour, salt, cocoa powder, and baking powder in a large bowl. Set this aside.

In a separate bowl, melt together 4 ounces of chocolate with 1/2 a cup of butter. In another bowl, beat together the eggs, sugar, vanilla and coffee granules if using. Slowly pour the hot chocolate and butter in while whisking little by little until it’s entirely incorporated. Make sure not to go too fast as this could cook the eggs if not tempered properly.

Pour the chocolate mixture into the large bowl with flour and mix completely.

Grease an 8×8 baking pan and pour the batter in, spreading out to ensure evenness. Sprinkle the top with the leftover chocolate chips and gently press them into the batter. Bake for 30 minutes. Let these cool completely before cutting in(Ina recommends refrigerating them. I didn’t do this, and a few of them crumbled when I tried to lift them from the pan, so it couldn’t hurt).

Wow. You really taste the different layers of chocolate in this. I would have thought the melted chocolate in the batter would make the chocolate chips lest forceful, but that’s not the case at all. The whole brownie tastes moist and rich. And I just love how it forms a smooth, crackly layer on top, just like the best brownies from a box.

Macaron Monday: Trying Is Something

Nov 1st 042

3 attempts at Macaron Monday later and I have no recipe to report.

But I refuse to say I failed , because I tried, and that was the whole point of Macaron Monday: To try something new. And I definitely tried. Each attempt was a learning experience in why I wasn’t doing something right.

Attempt #1

Oct 28th 021

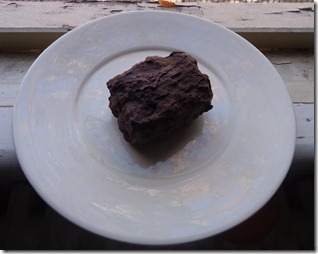
The lesson here was pretty simple: Coconut flour cannot be used in place of almond flour to make macarons. It’s too fibrous and doesn’t spread during baking. What these did make was something close to donut hole, so I covered them in chocolate and all was well.

Attempt 2

Nov 1st 028

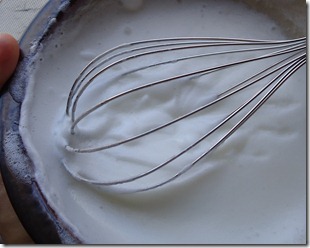
This was probably the closest I got to making macarons(also the picture at the top of this post comes from this try). What I did right was whipping my egg whites by hand, rather than a food processor. As I went to pour the egg whites into the other ingredients, however, I noticed a pool of unwhipped egg whites at the bottom. Also, I used wax paper instead of parchment paper, which the macarons stuck to and so I was only able to scrape two cookies off before throwing the rest out.

Attempt 3

Nov 7th 033

These were the tastiest by far, but they never rose and were clearly not cooked evenly. I was going to make a white chocolate-raspberry ganache for the filling, but it just seemed like a waste of ingredients since these were clearly not the macarons I wanted to make.

Nov 7th 030

I can make ice cream, brownies, even mound bars. So why didn’t these turn out OK? I hate to make excuses, and I hate to say I “can’t” do something. But truthfully I was not working with the right equipment to make these. Every time my egg whites weren’t whipped properly, either after 20 minutes of hand whipping or a minute in a food processor. Ideally I think you should use an automatic mixer but I don’t keep one around because those are so cumbersome and I usually make vegan baked goods. And I have no clue what the oven here is calibrated at but I doubt that’s correct either.

Will I try to make these again some day? Maybe. But not anytime soon and not in a dorm room. I need to learn my limitations and clean the batter off my bedspread in the meantime.

Sunday Confessional 2

Nov 1st 054

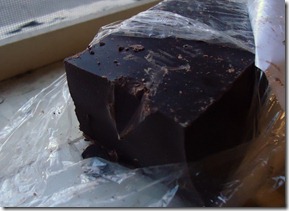
I go through more chocolate a week than anyone I know. But I’m guessing you could have figured that out by now.

I don’t believe in food dye–not in the same way that I don’t believe in the Tooth Fairy; kind of like how I don’t believe in Keanu Reeves as an actor.

Recipe: Vegan Pumpkin Ice Cream

(Pictured: Vegan Pumpkin Ice Cream)

The average American has about 20 gallons of ice cream a year. I’ve only had ice cream on 2 different occasions over the past 2 months. I’m ashamed.

I wrote 7 different recipes in one of my classes on Monday. Oh, I also took notes, too. I think…

After covering 3 different foods in chocolate, I looked at an eggplant and wondered how that would taste in chocolate. That was the point I realized I  had a problem. I’ll be attending my first chocoholics anonymous meetings on Tuesday.

Past Sunday Confessionals:

Sunday Confessional 1

Chocolate Covered Brownies

Nov 1st 053

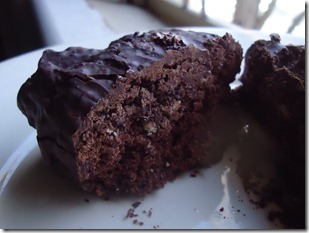
What’s more chocolaty than a brownie? A chocolate-covered brownie.

This is more of a “How-to” than a recipe, but I thought I’d share it, anyway. I had some extra chocolate after my last chocolate-covering experience and way too much time on my hands.

Chocolate Covered Brownies

Ingredients:

  • 1 8×8 pan of brownies, cooled and cut*
  • 12oz bittersweet chocolate chips, melted

*I recommend a really fudgy brownie recipe for this like my Best Vegan Brownie rather than a cakey one. The more dense and moist they are, the better.

Nov 1st 047

Cut the brownies into 9 equal squares. Put them on a platter not touching and freeze for 10-20 minutes to make sure they’re extra cold.

In the meantime, melt the chocolate in a microwave or over the stove. When the brownies are ready, dip them one by one in the chocolate and place them on a wire rack to dry. Depending on how runny the chocolate is, you might have to give them a second coat after the first has dried(I did).

If you have a chocolate lover in your life, you need to make these for them. I mean, really, you’d have to hate Christmas and rainbows to hate chocolate covered brownies.

Sweet & Tangy Autumn Chicken Salad

Nov 3rd 023

In preschool, I was the fussy eater. Our lunches were always prepared food and whenever it was tuna fish salad or bologna with mayo on white bread, I made them scrape off the mayonnaise and the tuna, so I wasn’t left with much…

Fast-forward several years and I’m a much more adventurous eater than I once was. There are so many flavors and taste sensations out there to experience! This was my first time using mayonnaise in a recipe, so I had to taste at every step to make sure I was “doing it right”, but at the end I was more than happy with lunch.

Sweet & Tangy Autumn Chicken Salad

Ingredients(Makes 4 servings):

  • 1lb pulled chicken or turkey
  • 1/4 cup mayonnaise*
  • 2 Tablespoons apricot jam
  • 1/3 cup diced dried apricot(optional)
  • 1 Tablespoon apple cider vinegar
  • 2 teaspoons mustard

*You can make this recipe fat-free by using a fat-free Greek yogurt like Chobani, or make it vegan/cholesterol-free by using Nayonaise and a soy protein

Nov 3rd 007

In a small bowl, whisk together the mayonnaise, pumpkin, apricot jam, vinegar, and mustard until emulsified. Toss in the diced apricots if using and fold them in.

Make sure your chicken or turkey or other protein is in bite-sized pieces. In a large bowl, fold together the protein with the salad mixture. Serve between 2 slices of bread or however else you wish.
Nov 3rd 020

I’m happy to say my first taste of mayonnaise after such a long time was a good one. I foresee this recipe getting used a lot with Thanksgiving leftovers.
Homemade Mounds Bar

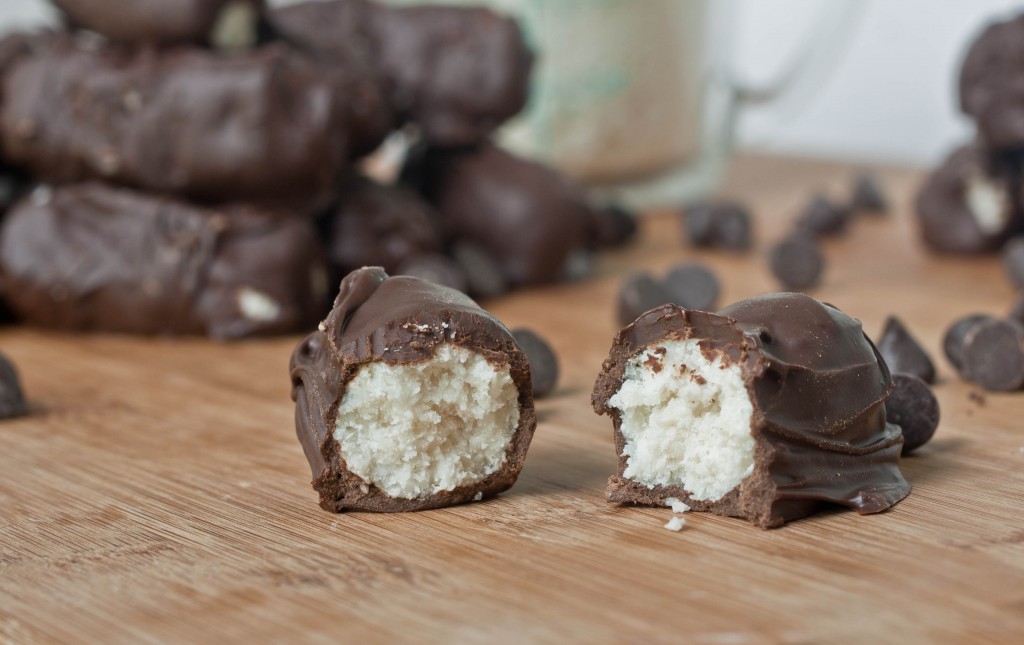
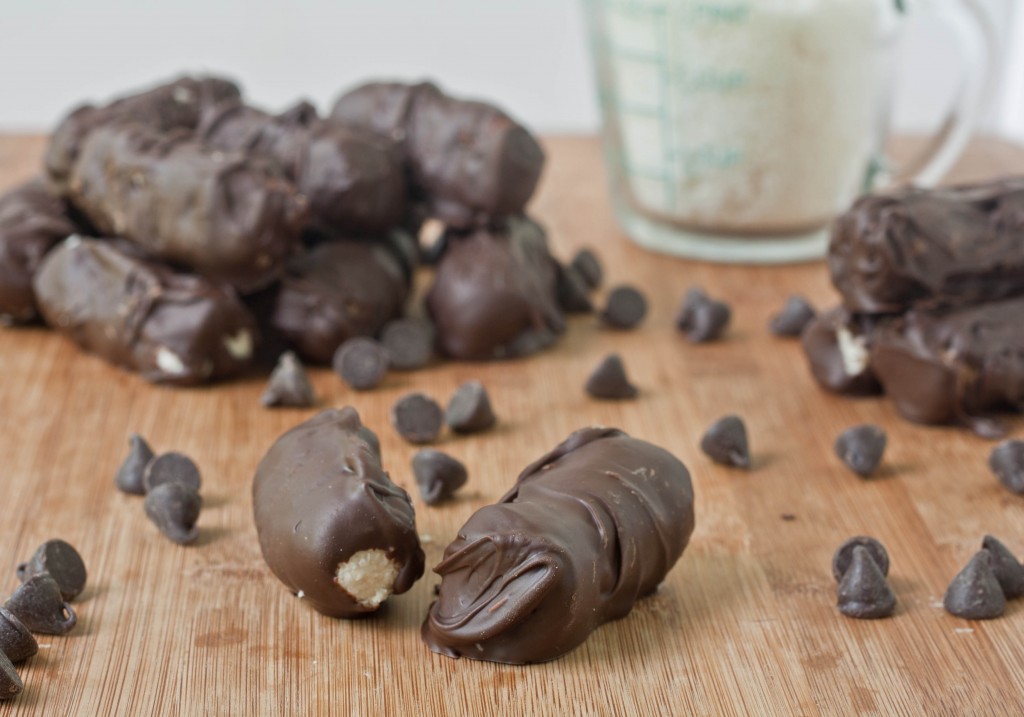
I love candy. A lot. So when I spotted a recipe for chocolate-covered coconut bars(AKA Mounds Bars) in the last Rachael Ray magazine, it was only a matter of time before they’d end up on my counter.

I made these the day before Halloween, which made them perfect for gobbling up the next day. Honestly, these aren’t too sweet, which is exactly what I like about them. I don’t love a candy that’s pure sugar because it’s so unsatisfying and I’m bouncing up a wall for the next hour; instead, these get their flavor from rich dark chocolate and nutty coconut.

Homemade Mounds Bars

Prep time: 20 minutes

Cook time: 0 minutes

Ingredients(makes about 16 bars):

  • 2 cups(160g) unsweetened coconut flakes
  • 1/3 cup liquid sweetener(agave, maple syrup, corn syrup, etc.)
  • 1/4 cup powdered sugar
  • 2 tablespoons coconut oil(could substitute butter, shortening, or coconut butter)
  • 1/4 teaspoon salt
  • 7.5oz bittersweet chocolate, melted(a little under 1 cup if using baking chips)

Method:

  1. Mix together the unsweetened coconut, liquid sweetener, and salt. Toss until it’s entirely and evenly coated.
  2. Add in the powdered sugar and mix again.
  3. Melt the coconut oil or butter if it’s not already in a soft state and add that in and mix.
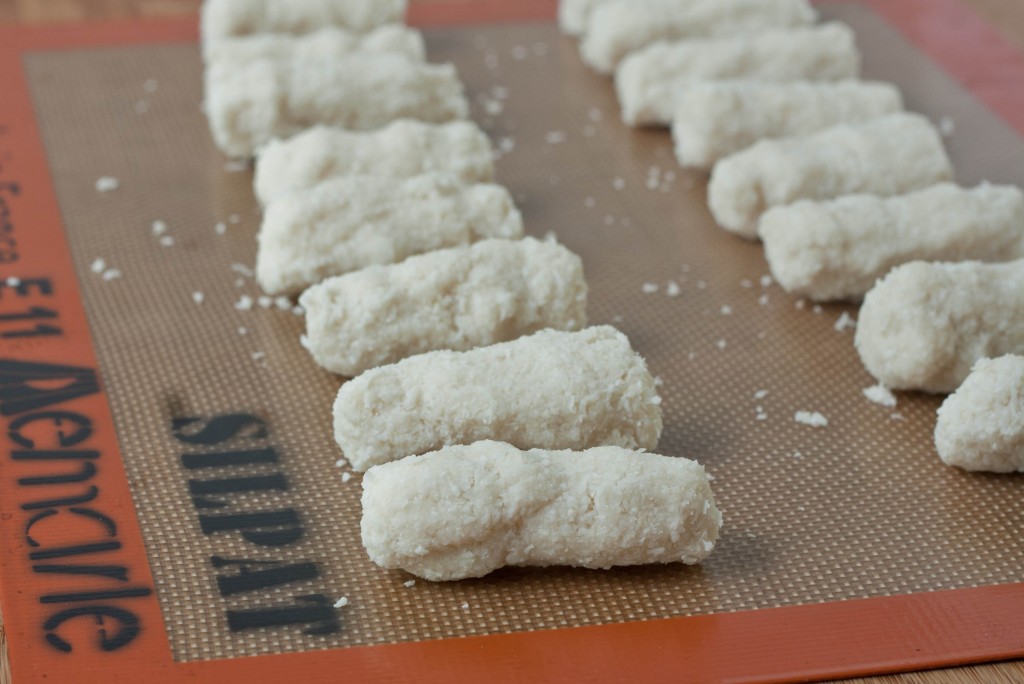
  4. Using the area between your 4 fingers and palm, mold the coconut mixture into a cylinder about 2 inches long and 1 inch thick.
  5. Put these onto a lined baking tray and freeze for 10 minutes or so until they harden.
  6. While the middles are freezing, melt the chocolate over a double boiler or in the microwave to a soft and smooth consistency.
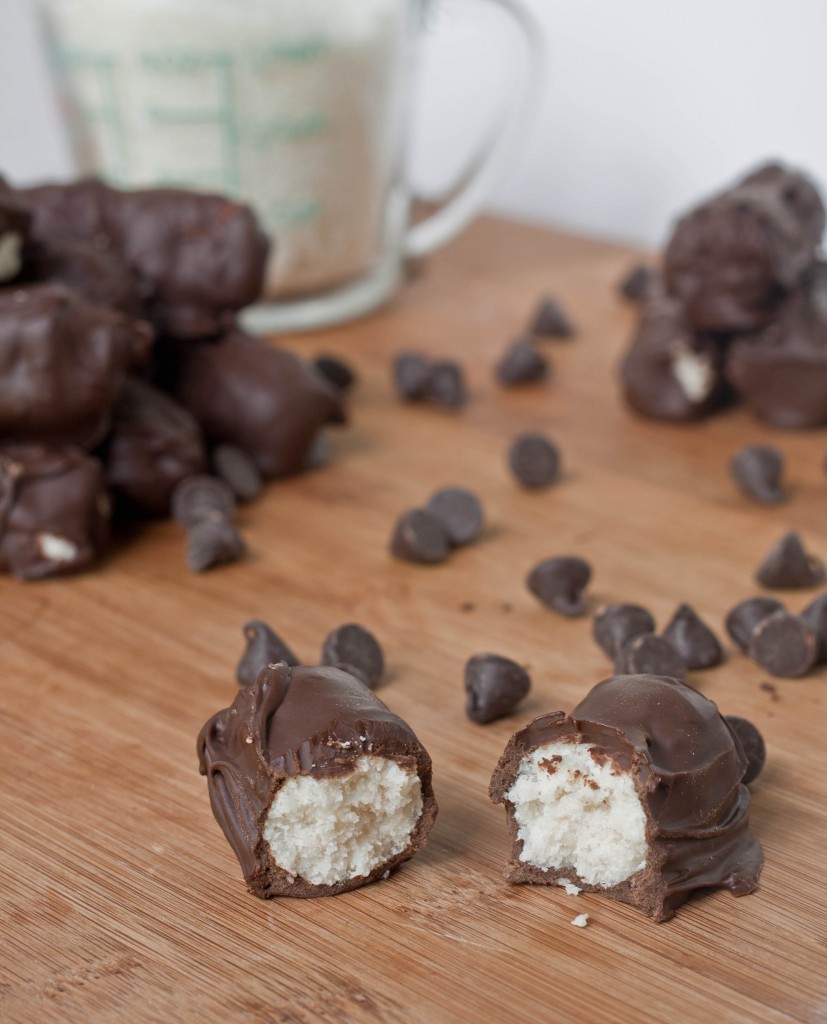
  7. One at a time, roll the coconut fillings in the chocolate until they’re completely covered and put them on a wire rack to dry. Repeat for all of the coconut centers.
  8. Store in a container in the refrigerator for up to 2 weeks.

These really were just like the real thing once they’ve dried, only better; they tasted freshly made and not at all stale. The real question is whether anything wouldn’t taste good covered in chocolate…

Rich Pumpkin Soup With Sautéed Curried Apples

Oct 28th 101

I swore to myself I wasn’t going to make a soup this season. I just don’t love soup, and it gets too complicated too fast for my liking. But then things changed: I got an idea for flavors in my mind and it wasn’t long before I caved. I love how simple the actual “soup” is to make, and the rest is just the cherry on top—a savory, buttery cherry.

Rich Pumpkin Soup With Sautéed Curried Apples

Ingredients(for 2 servings):

  • 1 1/3 cups pumpkin puree
  • 1/2 cup heavy cream(or coconut milk)
  • 1/2 tablespoon white vinegar
  • 3/4 teaspoon salt
  • 1 teaspoon onion powder
  • 1/2 teaspoon pepper
  • 1 tablespoon butter(or Earth Balance)
  • 1 apple, diced
  • 1 teaspoon curry powder
  • Roasted pumpkin seeds for garnish(optional)

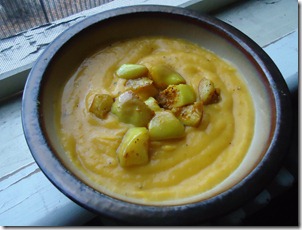
To make the body of the soup, simply combine the first six ingredients in a sauce pan and heat over medium until hot.

Oct 28th 077

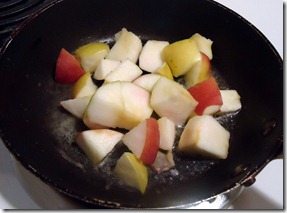
In a separate pan, melt the tablespoon of butter and add in the diced apple.

Oct 28th 080

Sauté the apple for about 5 minutes until it’s heated through but still has a slight crunch. Flip the pan occasionally for even heating. After 5 minutes, turn off the burner and sprinkle in the curry powder, tossing to distribute it evenly. Serve the hot soup into 2 dishes and spoon on half of the apple mixture on each.

Oct 28th 095

I swore I wasn’t going to make a soup; I’m glad I broke that promise. This was warm and comforting on a cold Autumn night. It even heated up well, too! The next time I talk myself out of something, I just might have to change my mind.