Author Archives:

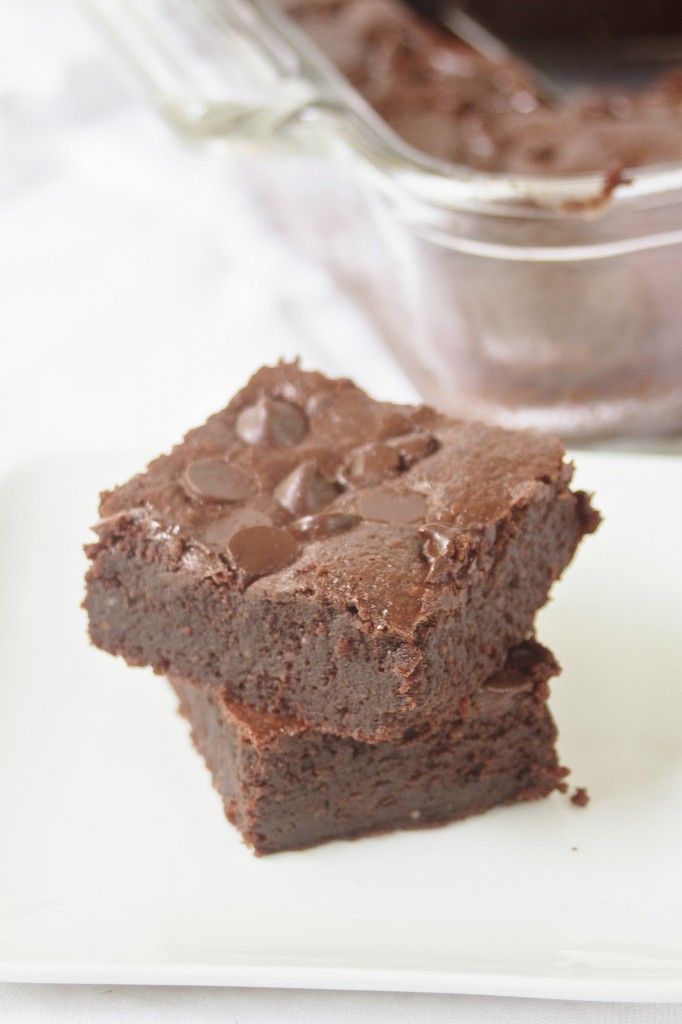
Almond Flour Brownies

This week I made brownies for the first time in months. MONTHS. Who am I? The thing is these aren’t even for me; I’m still trying to get in better shape for marathon training. The last thing I need on my plate(literally) is brownies.

I’m not saying I didn’t steal a taste, but as soon as these were cooled, cut, and photographed I sealed them up to bring to the Healthy Living Summit to share with friends and this girl for hosting me for a night. If you’re going, too, please find me and say hi. I’ll be the one trying to buy friends with brownies.

 I made these by modifying my outrageous triple chocolate brownies recipe and—dare I say?—I like these better. Cooked they taste the same but the raw batter is much more delicious since it doesn’t have that funky gluten-free flavor to it. And it requires no special flour/starch blend, just plain old almond flour. Since I always keep these ingredients on hand, I can tell this will be my new go-to brownie recipe. 

Almond Flour Brownies

Prep time: 15 minutes

Cook time: 30 minutes

Ingredients(Makes 1 8 x 8 pan):

  • 3/4 cup almond flour
  • 1/4 teaspoon salt
  • 2 tablespoons unsweetened cocoa powder
  • 1/2 teaspoon baking powder
  • 3/4 cup sugar*
  • 3 large eggs
  • 1 teaspoon vanilla
  • 1 teaspoon instant coffee granules(optional)
  • 1/2 cup butter
  • 7oz semisweet or bittersweet baking chocolate, divided OR 3/4 cup chocolate chips

*You can replace the cane sugar in this recipe with 1/2 cup + 2 Tablespoons of liquid sweetener like maple syrup, honey, agave, or corn syrup. 

Method:

  1. Preheat your oven to 350 degrees.
  2. Mix together the almond flour, salt, cocoa powder, and baking powder and set aside.
  3. In a separate bowl, melt together 4 ounces of chocolate or a scant 1/2 cup chocolate chips with the butter.
  4. While the chocolate is melting, beat together the eggs, sugar, vanilla and coffee granules if using.
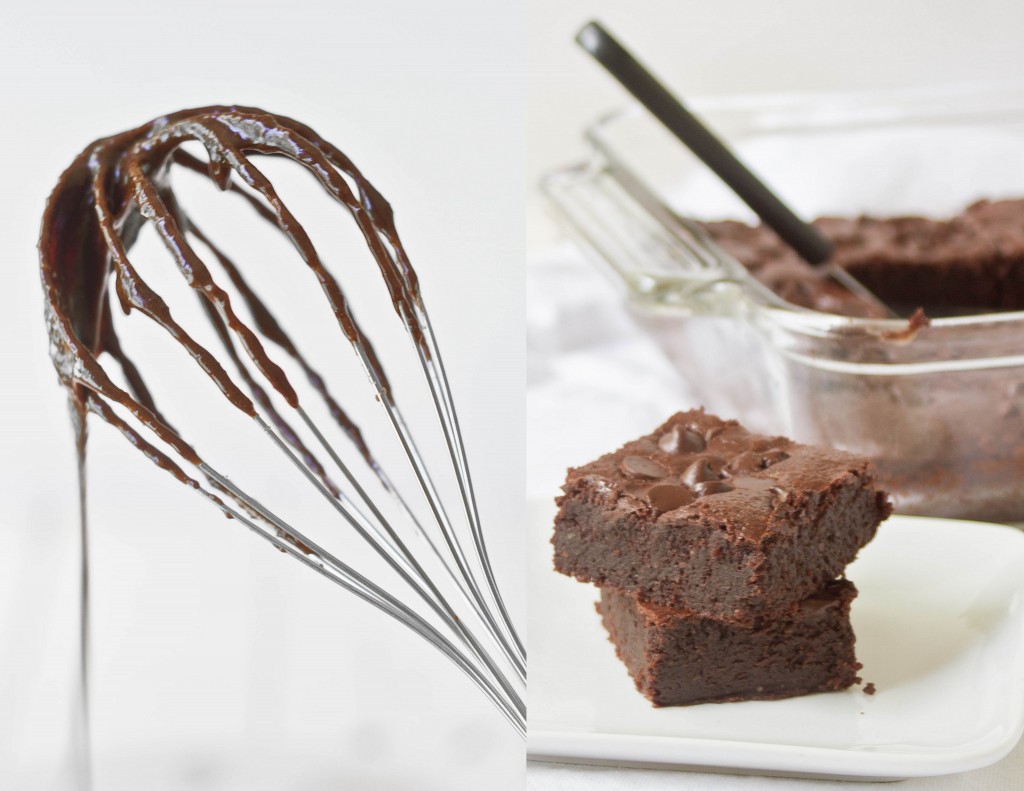
  5. Slowly pour the melted chocolate and butter into the egg/sugar mixture while whisking until fully incorporated. Don’t go too fast so that the raw eggs don’t cook upon contact.
  6. Add the chocolate mixture in with the dry ingredients and mix completely.
  7. Pour the batter in an 8 x 8 pan.
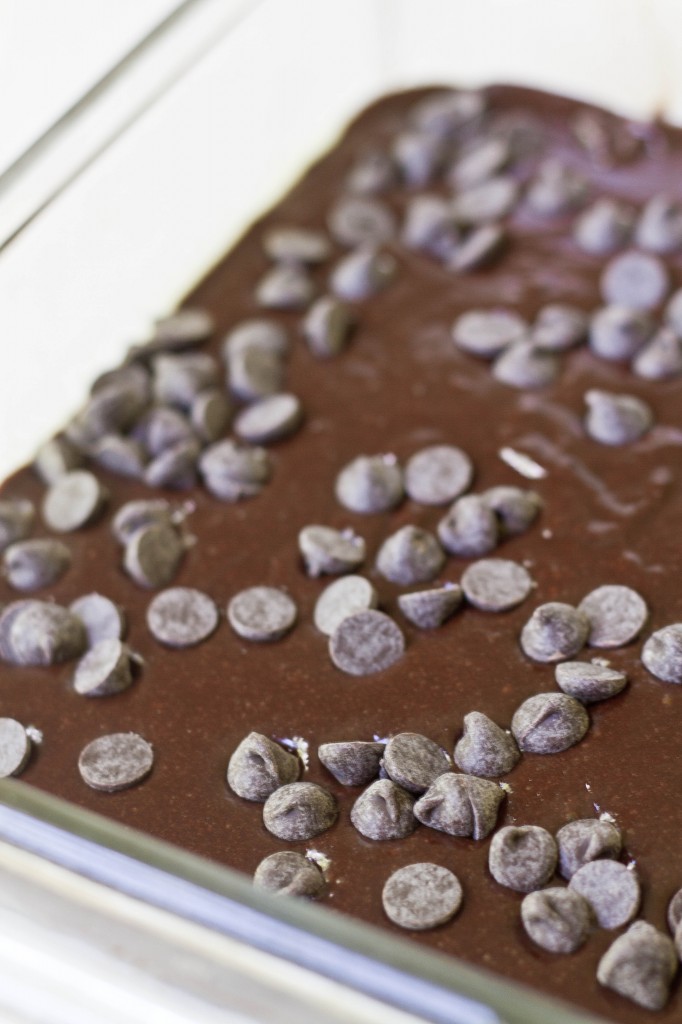
  8. Sprinkle the top with the remaining chocolate and gently press it into the batter.
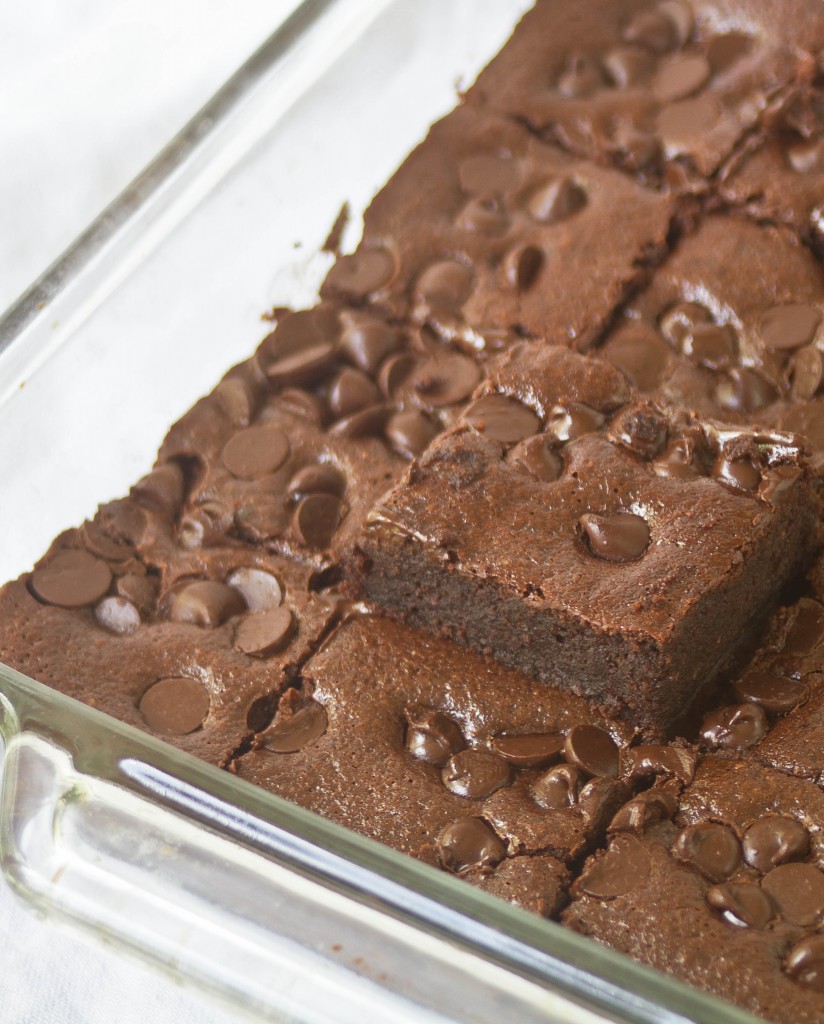
  9. Bake for 30 minutes or until a toothpick poked into the center comes out clean. Let these cool completely before cutting in.

The first time I made these I took them out of the oven after only 25 minutes. 2 hours later I cut in to a gooey and basically raw center. Oops. I stuck them back into the oven and—of course—got distracted, baking them a little too long and burning the tops of the ones towards the back. The lesson is bake as I say, not as I do.

“What Are Capers?”

what-are-capers

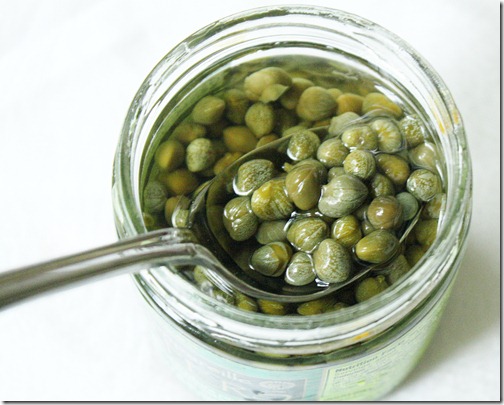
Until I started reading food blogs, I would have sworn capers were a type of fish that came in a can that no one except for old ladies and Nigel Thornberry ate(Does anyone know what I’m talking about?). But then I saw them, green little pearls that sort of look like fish eggs, except they were being used in vegan recipes. That only confused me more.

One day I was working in my restaurant and our job was to make the salsa verde used as a pork topper. The ingredients for it are simple: Parsley, jalapenos, shallots, and capers. I asked my shift manager what capers were, figuring she’d know having gone through culinary school, but her guess was as good as mine.

what-are-capers-trader-joes

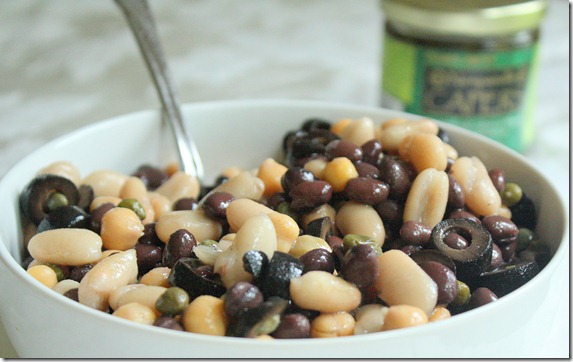
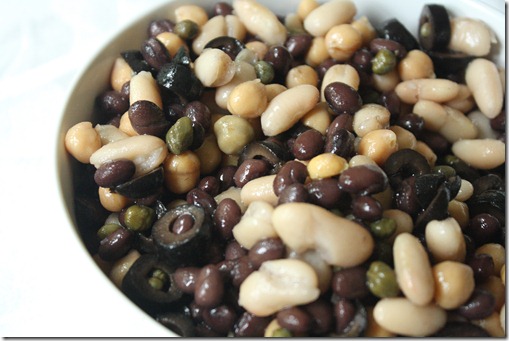
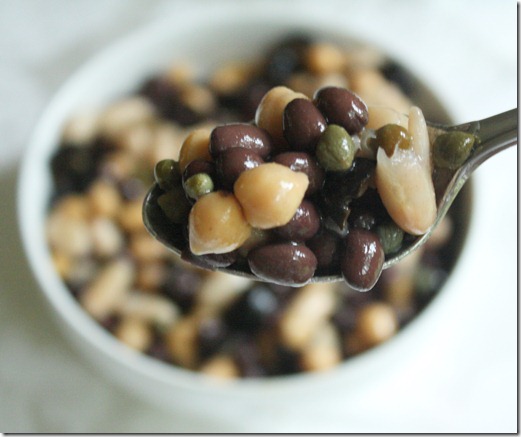
I went home that night and looked it up online and found out that capers are actually buds from the caper bush that are pickled to give a tart flavor to—the perfect touch to any dish(Side note: How did people know things before the internet? Seriously, I have no clue). I was excited to find them in Trader Joes and even more excited to make a dish with them. I’m leaving town on Friday and had a few too many open cans of beans in my refrigerator so I combined them to make this delicious bean salad.

what-are-capers-bean-salad

Bean Salad With Capers

Ingredients(Makes 4 servings:

  • 1 cup chickpeas
  • 1 cup black beans
  • 1 cup cannellini beans
  • 1/3 cup sliced black olives
  • 1 1/2 Tablespoons capers, drained
  • 1 Tablespoon extra virgin olive oil
  • Salt to taste

what-are-capers-recipe

Method

  1. In a large bowl, toss together the beans, olives, capers, and oil until evenly mixed.
  2. Taste and add salt if necessary. Serve room temperature.

what-are-capers-spoonful

If you want to make this starting with unopened cans of beans, use a full can of chickpeas, black beans, and cannellini, 1/2 cup of olives, 2 Tablespoons of capers and the same amount of oil.

Fess up: Did you know what capers are?

Raw Pad Thai

raw-pad-thai

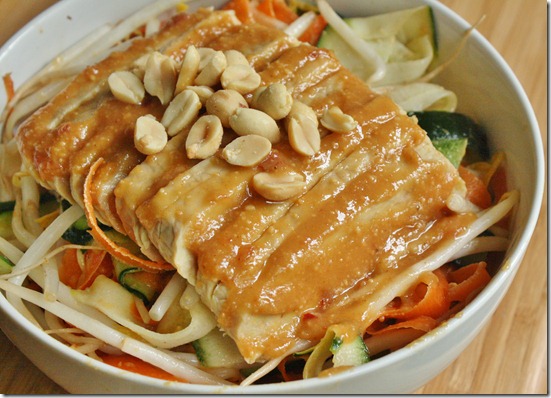
When I shared A Day In The Life Of A Restaurant Intern, a reader wanted to know more about the raw pad Thai bowl I had for lunch. This is something I’ve been making all Summer long and honestly I never blogged about it because I didn’t think it was that exciting. Healthy? Yes. Delicious? No doubt. An excuse to eat peanut butter for every meal? Totally. But not really exciting.

rw-pad-thai-miso

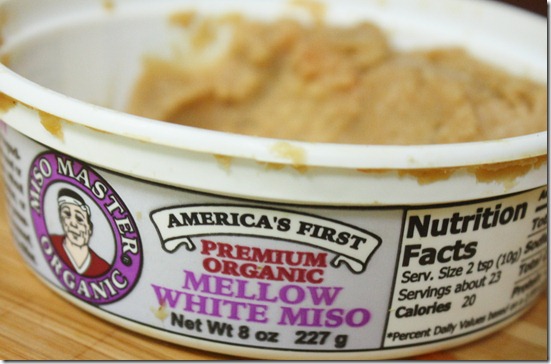
I never really make this the same way, sometimes adding sesame oil, sometimes using chickpeas instead of tempeh—you get the idea. One ingredient I highly recommend investing in is miso paste. I never really knew much about it before a few months ago and certainly never would buy it at the store. Now I wouldn’t keep a refrigerator without it. The salty/savory flavor is truly unique and adds a special depth of flavor that’s crosses cultures. I’ve used this in place of garlic, onions and salt in greens and beans and it tastes just as good. It’s definitely worth the investment.

Raw Pad Thai

Ingredients(For one serving):

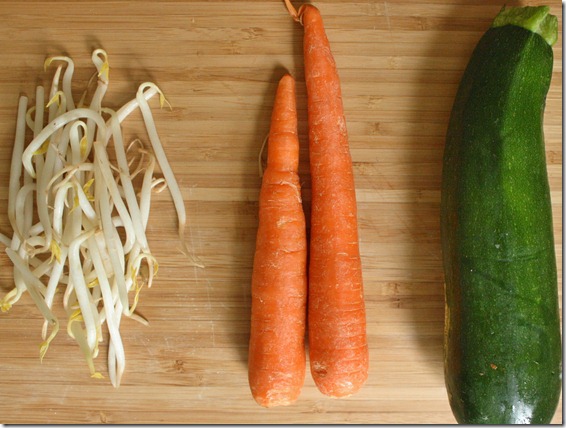
  • 1 zucchini
  • 2 carrots
  • 1/2 cup bean sprouts
  • 1/2 block tempeh
  • peanuts to garnish

For the sauce:

  • 2 Tablespoons peanut butter
  • 2 teaspoons maple syrup
  • 1 Tablespoon rice vinegar
  • 1/2 Tablespoon white miso paste
  • 1 teaspoon siracha sauce(optional)

raw-pad-thai-ingredients

Method:

  1. Using a vegetable peeler, peel the zucchini and carrots into long, thin “noodles” using as much of the vegetables as possible.
  2. Make the sauce by mixing together the peanut butter, maple syrup, vinegar, miso, and siracha if using until smooth. If necessary add a few teaspoons of water until the sauce is runny yet thick.
  3. Toss the sauce with the vegetable “noodles” and bean sprouts in a large bowl reserving about a tablespoon of sauce.
  4. Plate the noodles in a bowl.
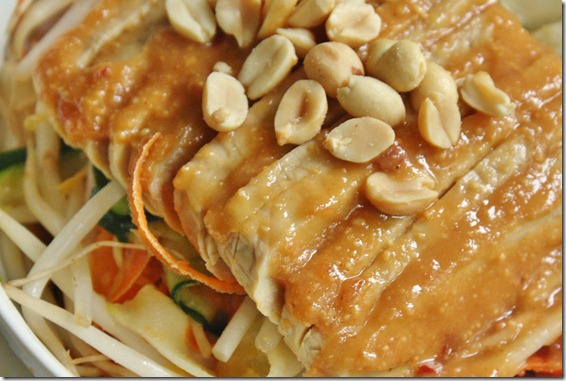
  5. Slice the tempeh on a bias and plate it on top of the sauced noodles.
  6. Spread the reserved sauce on top of the tempeh. Garnish with peanuts if desired.

raw-pad-thai-tempeh

Like I said, you can play around with the ingredients to suit what’s in your pantry. I could eat tempeh and peanut butter all day long so this is how I like it best. 

Hazelnut Chocolate Cake {Raw/Vegan}

hazelnut-chocolate-cake

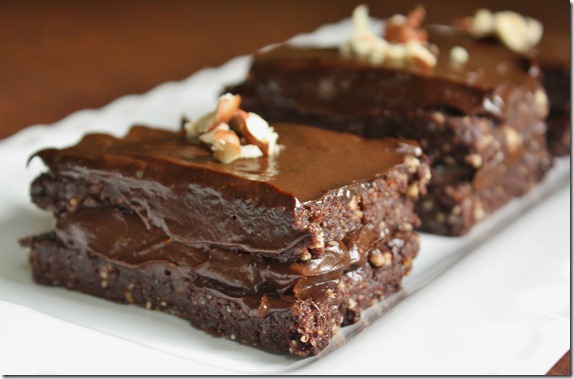
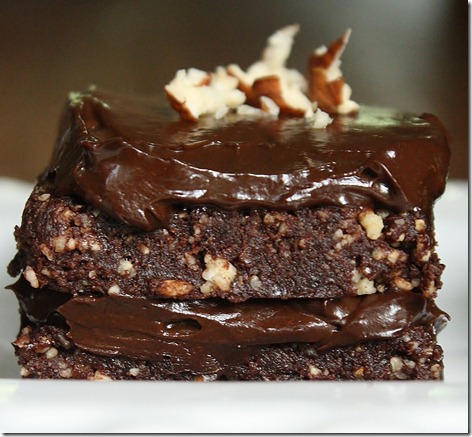
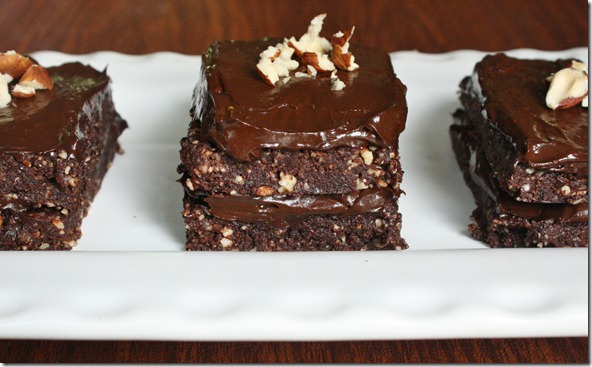
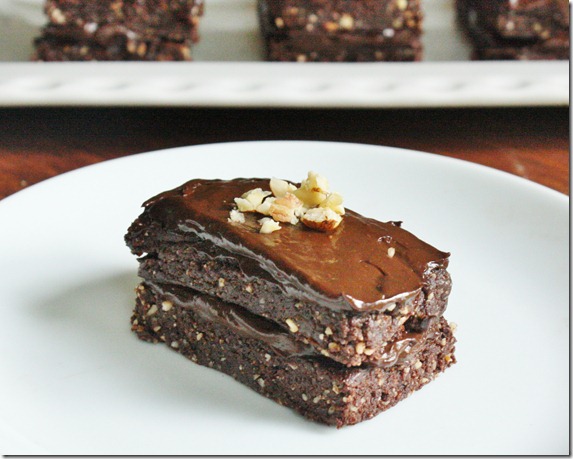
Saturday night we had a special dinner with family friends. For one weekend all 8 of us were around before starting vacations and school again; one of is even spending a year studying at Oxford(no, it’s not me; yes, I’m jealous). That called for cake. I had been wanting to make this recipe for a while and wanted to wait until just the right celebration. Everyone loved it, although when I told them the frosting involved avocado you would have thought I told them my own hair was in it. They started eating it again 2 seconds later when they remembered how good it was and decided you couldn’t taste the avocado.

hazelnut-chocolate-cake-front

I actually made this cake for Father’s Day last year and featured it as a guest post on Gena’s blog. Since then I’d completely forgotten about it and had to go look it up to remember how to make it. Now that I remembered, I kind of wish I could forget again. The ones that we didn’t give away didn’t last long in this house. It’s hard to say no to a piece of cake, and even harder when you can tell yourself it’s “healthy” because it has fruits and nuts in it.

Hazelnut Chocolate Cake {Raw/Vegan}

Prep time: 20 minutes

Cook time: 0 minutes

Ingredients(makes 5 2×3-inch frosted cakes):

  • 2 cups hazelnuts
  • 1 cup pitted dates
  • 3/4 cup cocoa powder, divided
  • 1/2 cup + 2 tablespoons maple syrup, divided
  • 1 medium avocado
  • Crushed hazelnuts for garnish

hazelnut-chocolate-cake-plated

Method:

  1. Pulse the hazelnuts in a food processor until finely ground into a flour
  2. Add in the dates, 1/2 cup cocoa powder, and 1/4 cup maple syrup and process until it forms into a thick dough that sticks together.
  3. Lay the dough out between two sheets of parchment paper and roll to about 3/4-inch thickness.
  4. With a sharp knife, cut the dough into either 8 or 10 equal sized rectangles. If there’s excess dough you can form it into a ball, roll it out, and cut again.
  5. Make the frosting by blending together the remaining maple syrup, cocoa powder, and the meat from the avocado until it’s uniform in color and texture. Taste it and adjust the sweetness if need be.
  6. Spread about 2 tablespoons of frosting over half of the cakes. Layer with another slice and spread an equal amount of frosting on top of that piece.
  7. Garnish with crushed hazelnuts.

hazelnut-chocolate-cake-slice

These took from start to finish about 20 minutes to make, maybe a little more than that because I was distracted. Even so these are much quicker to make than traditional cake and certainly have all the show-stopping qualities.

A Day In The Life Of A Restaurant Intern

Back in January when I started looking for a restaurant internship, I had no idea what to expect. I didn’t even know if those sorts of things existed or if anybody would want someone who didn’t attend culinary school. By amazing luck I got an internship at the best restaurant in town almost right away, “auditioned” in April to make sure it was a good fit, and started officially in June. Today’s my 4th-to-last day on the job and I thought I’d share what a “typical” day is like by chance anyone else looking for a restaurant internship is wondering what to expect.
August 10th 014

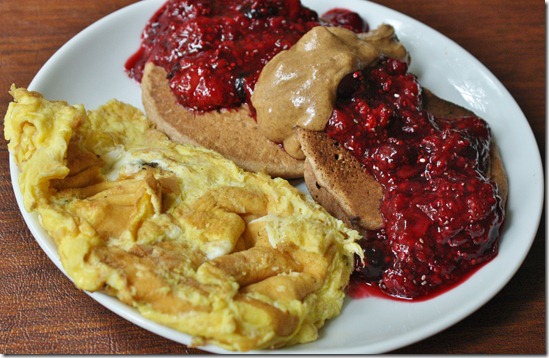
I work during the lunch shift Wednesdays and Fridays. Since I don’t have to be in until 10 I usually sleep in until around 8 and make breakfast around 8:30-9. This is usually the last chance I’ll get to eat a full meal until mid-afternoon so I try to make it filling with protein, fiber, and fat. A normal breakfast for me is 3 eggs, gluten-free pancakes, fruit “jam” made with microwaved berries and chia seeds that have gelled for a few minutes, and almond butter. This day I also was still hungry after breakfast so I grabbed a peach on the way out the door around 9:30.

August 10th 006

The restaurant is 5 miles away and I don’t have a car so I bike. Transportation is something to think about for any job you get. I didn’t know how to ride a bike when I first got the internship but quickly taught myself in time for my first day. Besides lowering your carbon footprint, you get pretty fit biking 5 miles 2 times a day 2 days a week.

Please don’t come and steal my bike now that you know which one it is.

August 10th 002

The first thing I do at the restaurant is change into a uniform. Add a spiffy coat and sleek black hat and—voila! You’re a chef. Pants are also part of the uniform; who doesn’t like to start their day by putting on someone else’s pants?
iphone 027

There are countless jobs I do at the restaurant and it’s hard to stay consistent since the menu changes weekly. Typically I do things that are long and repetitive, which no one else seems to like but I love. It makes the day go by faster to only do a few things for a while than a lot of things quickly.

One thing I usually do is make pasta. It’s an Italian restaurant so we go through pasta like it’s bread(which we also go through a lot of). It’s a little ironic to have a celiac making pasta in the kitchen but from what I hear I’m pretty good at it.
iphone 028

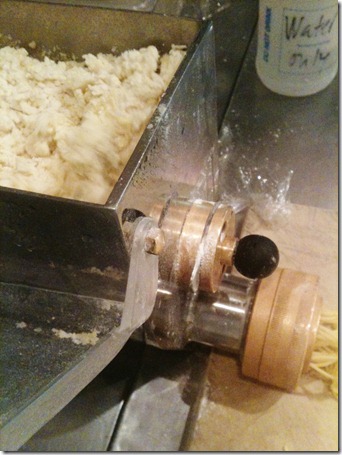
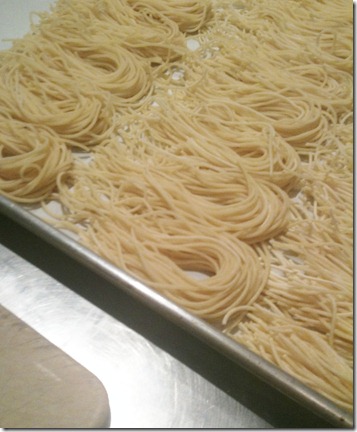
With the pasta machine I can make spaghettini(little spaghetti), pennette(little penne), and bucatini. It spits out the shape and I cut + bundle them to throw in the freezer. It usually gets used that day or the next, so it’s definitely fresh when we serve it.
August 10th 004

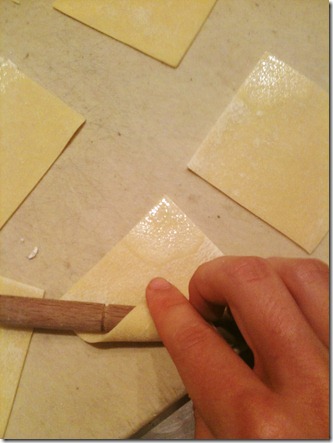
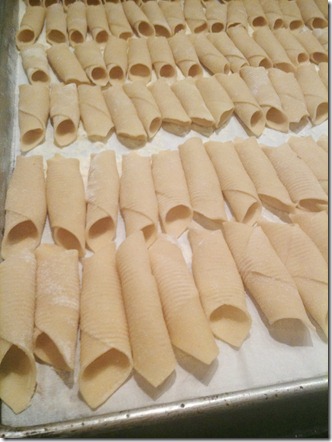
My favorite pasta to make, garganelli, is a little more complicated. I don’t make the dough for this; it’s usually made and sheeted the day before. What I do is take the sheets of pasta, which are roughly the size of a piece of paper, and cut them into 3-inch squares. Then I wet one corner and roll the other end over to it with the handle of a big wooden spoon(we used to have an actual dowel for this but I think it broke).
August 10th 005

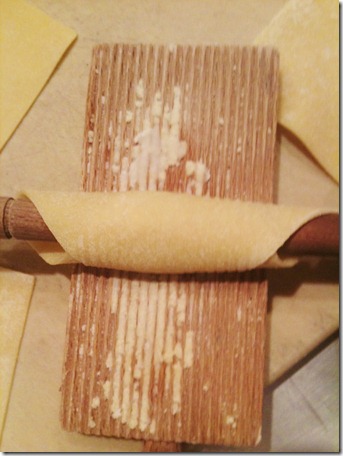
There’s a flat piece of wood with ridges in it that texturizes the pasta when it’s rolled on to it. It slips easily off the end and gets put on a floured tray to go in the freezer.
iphone 025

I told you I liked mindless, repetitive tasks, which is why I love doing this. I usually make 200+ at a time, which takes around an hour.

There’s also a lot of prep work that is involved with the vegetables we serve. Beets are commonly on the menu and need to be cleaned, roasted, and peeled along with the beet greens. Peas are also very time consuming. I’ve literally spent hours taking the fibers off of snow peas, on days when my coworkers got to go home early no less. That job really sucked.
August 11th 104

Technically we are allowed to make ourselves a snack or meal at the restaurant, but I choose not to. Part of this is because I’ve seen how easy it is for gluten contamination to occur in a restaurant that has open flour all over the counters; the other part is that I could eat the restaurant out of vegetables like it’s nobody’s business.

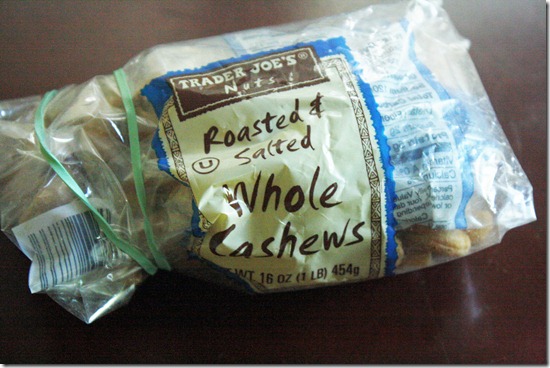
Some days I work straight through until 3 without eating; others I’ll have a snack around 12 or 1. It’s either a Ziploc full of nuts that I pack or a Larabar/Pranabar. Anything with nuts that’s portable and semi-filling is a go, especially since it’s not a meal that will spike your energy and then make you crash. Working in a kitchen really is like a marathon and not a sprint: It takes a lot out of you; you need to remind yourself to hydrate or you’ll forget and start getting dizzy; you’re always on your feet. If that isn’t a marathon, I don’t know what is.

August 10th 044

I get home around 3:30 after biking back. By this point I’m starving for lunch and something raw/vegan always taste good. This day I had a bowl with zucchini noodles, carrot noodles, bean sprouts, chickpeas, a homemade peanut sauce, and mushrooms sautéed in sesame oil. I was definitely craving mushrooms because I had just finished roasting a pan at the restaurant. The difference is their mushrooms are $20 a pound and mine are $4. I couldn’t imagine paying $20 a pound for mushrooms, or at least not the legal kind{kidding}.

The rest of my day isn’t that exciting; it involves more eating and a lot of Netflix + True Blood, aka how I’d be spending my entire Summer if it weren’t for my internship. I’ve really enjoyed my time at the restaurant, but I’m ready to move on. For the school year I’ll be focusing on balancing classes and food blogging. Maybe next Summer I’ll look for an actual job at a restaurant, but it would have to be one whose food philosophy 100% fits with mine or I would never truly feel comfortable cooking in that kitchen.

Black Bean Mole

Black-Bean-Mole

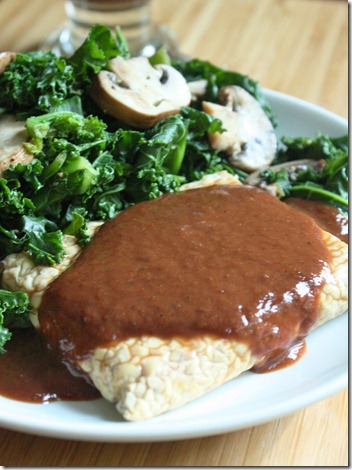
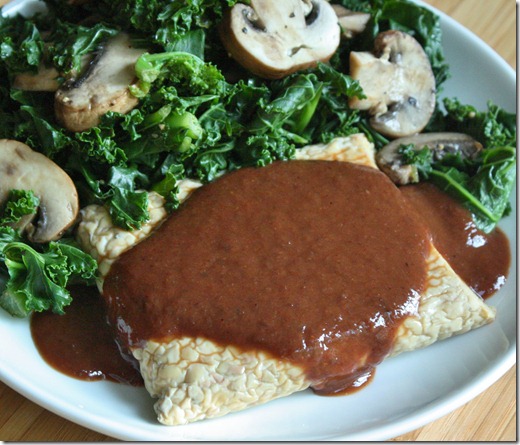
I spent this past weekend in Providence, one of my favorite cities around, and ran the inaugural Providence Rock N’ Roll half-marathon. The night before my friend and I went to Garden Grille Café, a vegetarian restaurant I can’t get enough of right on the edge of town. The special that night was cornmeal-crusted tempeh with a black bean mole sauce and roasted fingerling potatoes. There was nothing in that name I didn’t like so I got it and ate every last drop of sauce on that plate.

The mole was the best I ever had; it was also the first I ever had, but it was still incredibly good. Spicy, sweet, tangy—almost like a barbeque sauce but with a tantalizing bitterness. Of course I had to recreate it. Two days later I was making this in my own kitchen. I wasn’t sure if I had hit the nail on the head until I realized I was literally licking my food processor clean. At that point I figured it was pretty good.
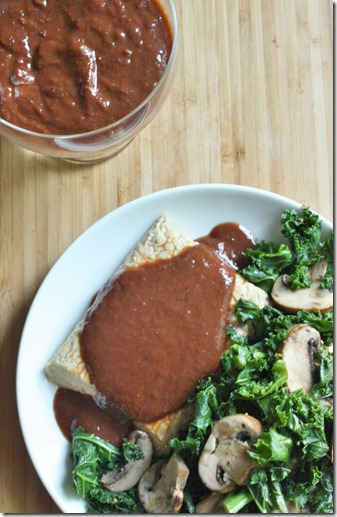
This mole is about as untraditional as it comes. For one, you don’t cook it at all. It’s entirely made in the food processor. I also used spices instead of actual chilies because that’s what I had on hand. That makes this a super friendly recipe if it’s your first mole.

Black Bean Mole

Ingredients:

  • 1/2 cup black beans, drained and rinsed
  • 2 Tablespoons tomato paste
  • 1 1/2 Tablespoons white vinegar
  • 5 Tablespoons honey
  • 1/4 cup sugar
  • 1 Tablespoon cocoa powder
  • 1 teaspoon sea salt
  • 1/2 teaspoon chili powder
  • 1/2 teaspoon cayenne pepper
  • 1/2 teaspoon garlic powder
  • 1/4 teaspoon paprika
  • 1/4 teaspoon cinnamon
  • 1/8 teaspoon mustard seed
  • ~1/4 cup water

Black-Bean-Mole-Overhead

Method:

  1. Combine all of the ingredients except for the water into a food processor and blend until smooth.
  2. Slowly add the water while blending until the sauce reaches a fluid yet thick consistency.
  3. Heat up before serving. Scoop a generous amount over protein like tofu, tempeh, or chicken.
Black-Bean-Mole-Side

After dinner we went over to Wildflour and I ate one of these. It’s OK; I was carb-loading.

Chocolate Cheesecake Bars {Raw/Vegan}

Chocolate-Cheesecake-Bars

Reading food blogs constantly sets of food cravings. I could be eating a perfectly healthy lunch or breakfast when all of a sudden a giant slice of German chocolate cake pops up on the screen and I get one of those I-need-chocolate-right-this-moment feelings. They’re awful. I’m sorry even to add to that.

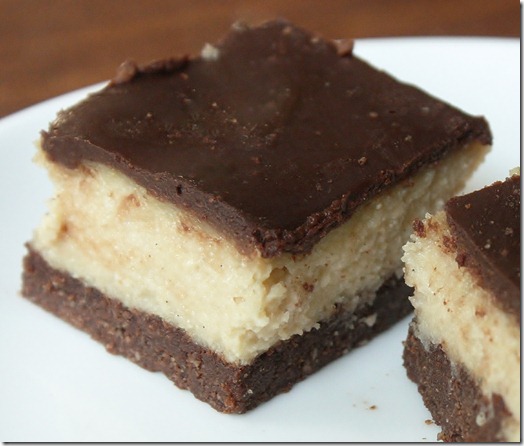
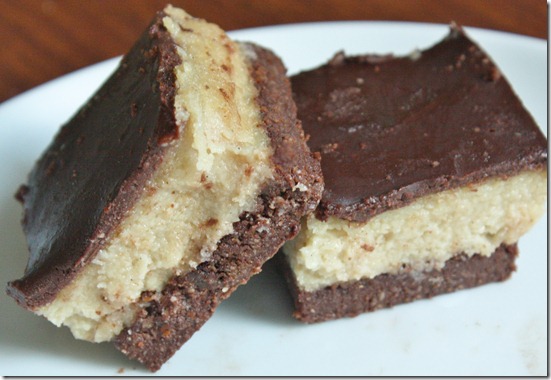
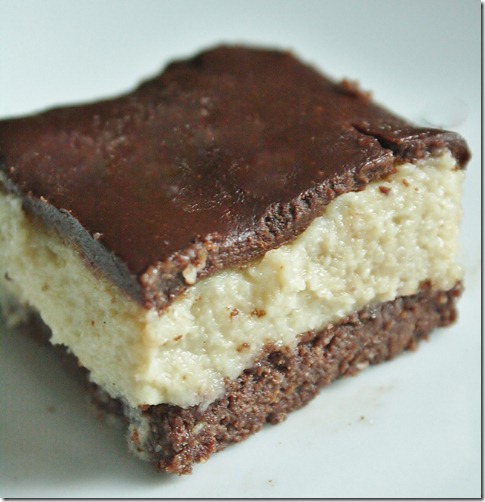
When Caroline posted these cheesecake bars, it set off a craving just like that. Before I knew it I had already begun laying out the ingredients to make a version of them that day. These might be marginally better for you, but they’re still definitely a rich treat. The crust is an almond cookie base, the filling a cashew cream “cheese”, and chocolate a soft coconut oil ganache. All together it makes the perfect blend on richness and sweetness.

Chocolate Cheesecake Bars

Ingredients:

For the crust:

  • 1 1/2 cups almonds
  • 2 Tablespoons almond butter
  • 1/4 cup cocoa powder
  • 2 Tablespoons coconut oil
  • 2 Tablespoons agave nectar

For the filling:

  • 2 1/2 cups cashews, soaked for 3-4 hours
  • 2 Tablespoons coconut oil
  • 5 Tablespoons agave nectar
  • 1 teaspoon vanilla extract or 1 vanilla bean
  • 1 teaspoon nutritional yeast*
  • 1 teaspoon lemon juice*

*These ingredients aren’t entirely necessary but they will add a more authentic tang to the filling to simulate real cream cheese.

For the ganache:

  • 1/4 cup cocoa powder
  • 1/3 cup agave nectar
  • 1/4 cup coconut oil

Chocolate-Cheesecake-Bars-Double

Method:

  1. Combine all of the ingredients for the crust together in a food processor and blend until it forms a clumpy dough.
  2. Press the dough flat into an 8×8 pan.
  3. Make the filling by blending all of the ingredients in a food processor until smooth.
  4. Spread the filling out across the top of the crust into an even layer.
  5. Make the ganache by melting the coconut oil and mixing it with the cocoa powder and agave nectar.
  6. Pour the ganache on top of the cheesecake filling and spread until smooth.
  7. Refrigerate for 2 hours until the ganache and filling have set. Cut into 16 squares and keep refrigerated until ready to serve.

Chocolate-cheesecake-bars-single

The one thing I would do differently next time is add cacao nibs or raw almonds into the filling. The ganache on top is quite soft and doesn’t add the crunch factor I expected it to. Besides that, this is a knock-out dessert.

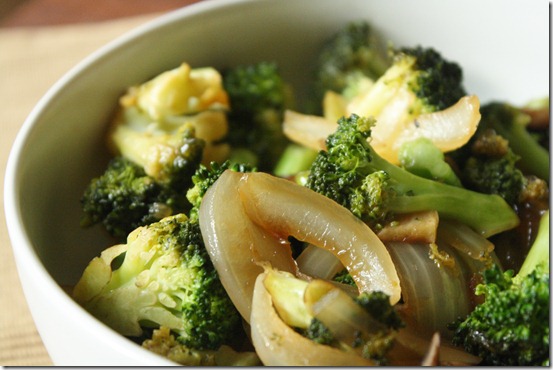
Healthy Chinese Broccoli

Healthy-Chinese-Broccoli

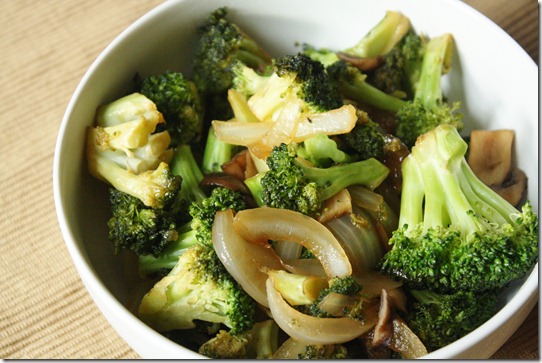
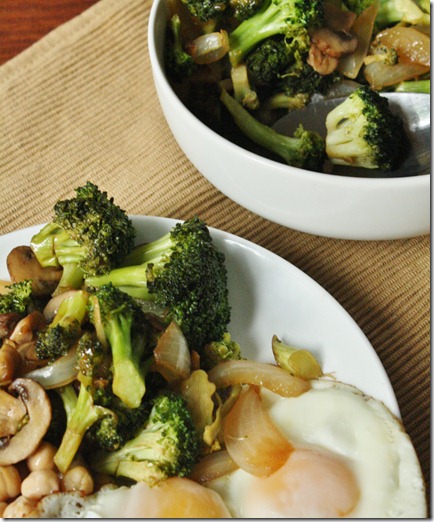
My favorite Chinese take-out to order has always been broccoli: Beef and broccoli, mushroom and broccoli, bean curd and broccoli. They just know how to do something to broccoli that makes it taste good. No doubt it’s full of sodium and sugar, which is part of why I wanted to make this myself. The other reason is, well, who doesn’t want to have delicious take-out food at half the cost whenever they feel like it?

Whether or not this is “healthy” you can debate. It has added sugar and a modest amount of sodium. Corn starch isn’t too “clean” an ingredient either. But I think making it for yourself, using ingredients you can see and touch, and being aware of what’s in your food is a pretty darn healthy way to live.

Healthy Chinese Broccoli

Ingredients(Makes 4 servings):

  • 4 cups raw broccoli
  • 2 Tablespoons sesame oil
  • 4 garlic cloves, minced
  • 1 yellow onion, julienned
  • 3 Tablespoons sugar
  • 2 Tablespoons rice vinegar
  • 2 Tablespoons soy sauce
  • 2 Tablespoon water
  • 1 Tablespoon corn starch or tapioca starch

Healthy-Chinese-Broccoli-Dish

Method:

  1. In a large pan, heat the sesame oil over a burner set to medium heat.
  2. Sauté the garlic in the sesame oil until lightly browned.
  3. In a small cup, mix the sugar, rice vinegar, and soy sauce until the sugar has mostly dissolved.
  4. Add the broccoli, onion, and sugar mixture into the pan and cover with a lid until the broccoli has steam cooked and turned bright green.
  5. While continuing to cook, remove the lid and mix together the contents of the pan until everything is covered in sauce.
  6. Dissolve the starch into 2 tablespoons of water and pour it into the pan to mix with the sauce.
  7. Cook until all the excess water has evaporated and the broccoli is covered in sauce. Plate and serve hot. 

Healthy-Chinese-Broccoli-Bowl

Chocolate Raspberry “Ice Cream”

Chocolate-Raspberry-Ice-Cream

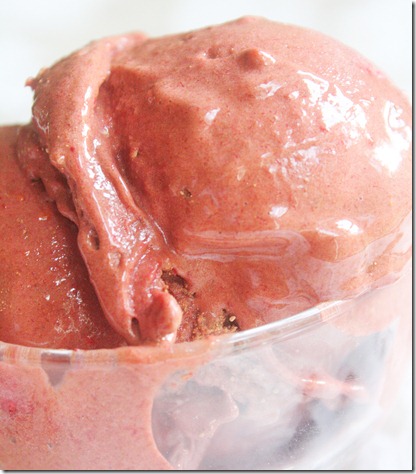
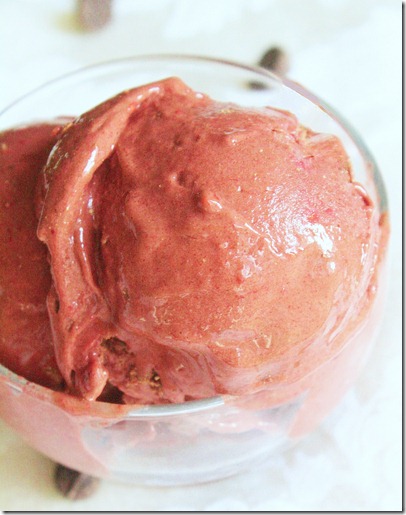
I’ve been going through bananas like crazy lately. Not because I actually like bananas, but because I love the creamy raw “ice cream” they become. I eat this once or twice a day to cut a sweet tooth craving, and this flavor is undoubtedly my new favorite. Cocoa powder and raspberries add the perfect sweet and bitter flavors that make this a true dessert, while the banana keeps it all smooth and creamy so you’d swear you’re eating actually ice cream.

A lot of people ask if these chocolate banana soft serves taste at all like banana. I’ll admit I’m not the most finicky when it comes to banana flavor, but I seriously cannot taste an ounce of banana in this behind the raspberry and chocolate. I’d love for a true banana hater to try it and leave a comment letting others know how it was for them.

Chocolate Raspberry “Ice Cream”

Ingredients:

  • 1 banana, cut into quarters and frozen
  • 1/2 cup raspberries, frozen
  • 2 Tablespoons cocoa powder
  • 1-2 Tablespoons almond milk(optional)

Chocolate-Raspberry-Ice-Cream-Scoop

Method:

  1. In a food processor, blend the bananas and raspberries until creamy. Add the almond milk as necessary if after a while the fruit still clumps together.
  2. Once smooth, add in the cocoa powder and continue blending until entirely mixed.
  3. Scoop and serve immediately.

Chocolate-Raspberry-Ice-Cream-Bowl

Improving Food Photography From Criticism

Have we all seen the show Toddlers and Tiaras?

*pauses*

If not, you’re missing out on one of the finer parts of life, like fireworks on the 4th of July and jumping into a pile of leaves in Fall. More importantly, you’re missing out on this simile:

Food photography is like Toddlers and Tiaras. You spend so much time building up something you love, dressing it with all the bells and whistles, giving it a touch of digitalized make-up and send it off to the judges. When you’re photo wins grand supreme(or just gets posted along with all the other grand supremes on food sites like Foodgawker and Tastespotting), you’re elated for it. But when it doesn’t, it’s crushing. Like a pageant mother wearing way too much sparkly make-up, you feel like you were rejected right along with the photo.

So what’s a pageant mother—I mean, food blogger—to do? Take the words of the judges and use them to make your next performance stronger. Most food sites will give constructive criticism which can be broken down to fix minute(or big) mistakes.

Composition:

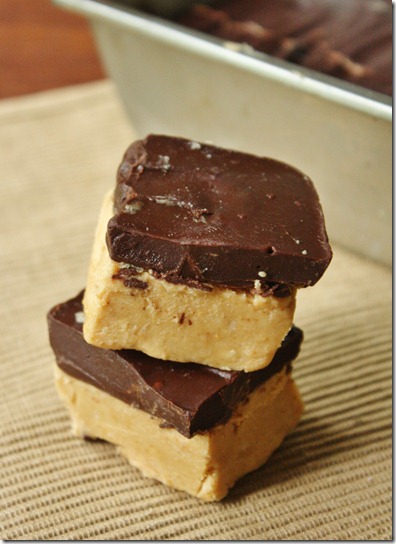
Chocolate-peanut-butter-bars

Chocolate Peanut Butter Bars, rejected by Tastespotting

This is perhaps the most annoyingly subjective criteria on which food sites judge food photos. What it boils down to is whether they like the picture or not: Are there extra things in the background that are distracting? Do the elements make sense? Does the food look presentable? What’s good composition to one person might seem poor to another.

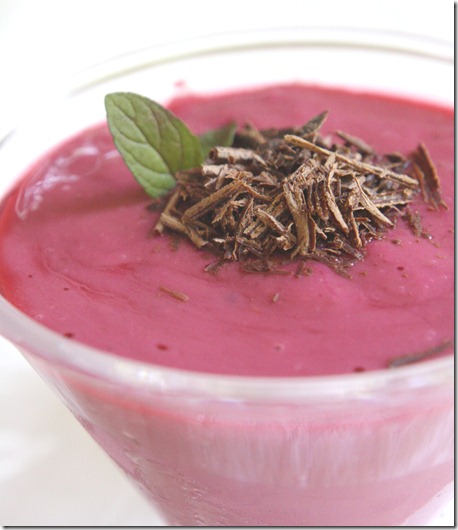
July 17th 040

Raspberry Tofu Mousse, rejected by Tastespotting

There’s absolutely no way to fix composition after the photo’s been taken unless you want to try and submit another day and hope they change their mind. Generally good composition should have the food be the star of the photo without other distracting elements. Tastespotting is even stricter about this insisting no hands or teeth marks. The bottom line is that it’s subjective and rather than catering to critics you should take and submit a photo that you enjoy and hope that the food sites enjoy them, too.

Harsh Lighting/Overexposure:

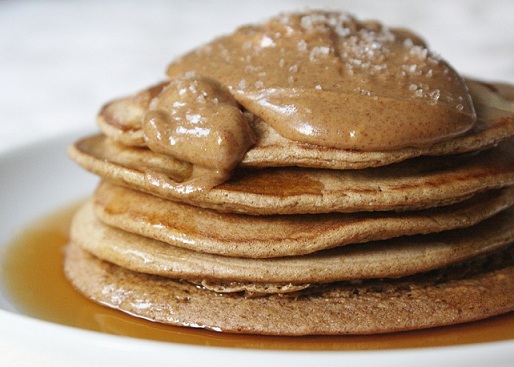
Gluten-Free Pancakes, rejected by Foodgawker

Just like it sounds, harsh lighting refers to the amount and intensity of brightness in a photograph. Too bright a photo can distract from the colors and contrast. Luckily, this is easy to fix by adjusting the brightness, contrast, shadows and highlights of a picture.

Low Lighting/Underexposure:

July 2nd 065

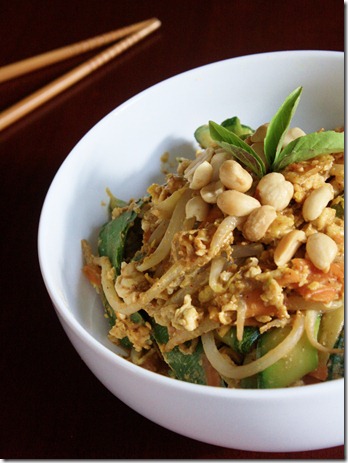
High-Protein Mock Thai, rejected by Foodgawker and Tastespotting

Low lighting can equally ruin a photo like harsh lighting in not letting all of the content be seen. Again, this one is easy to fix by adjusting brightness, contrast, shadows and highlights. It’s also important to make sure there isn’t too much black or dark brown present in the photo to begin with since this can easily overwhelm the food.

White Balance:

June 26th 033

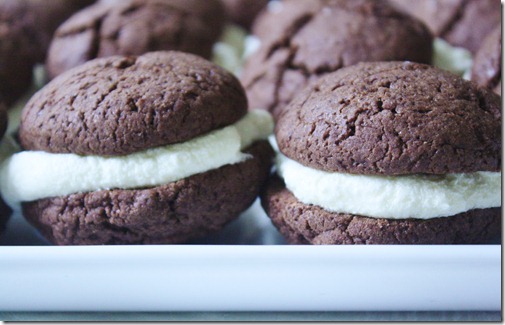
Gluten-Free Whoopie Pies, rejected by Foodgawker and Tastespotting

The white balance of a photo affects the colors and tones by designating the contrast between colors and “true white”. Most cameras automatically adjust the white balance but it can be specified for different lights. Unfortunately the white balance of a photo cannot be fixed on a computer unless you shoot and edit RAW files.

Dull/Unsharp:

July 12th 098

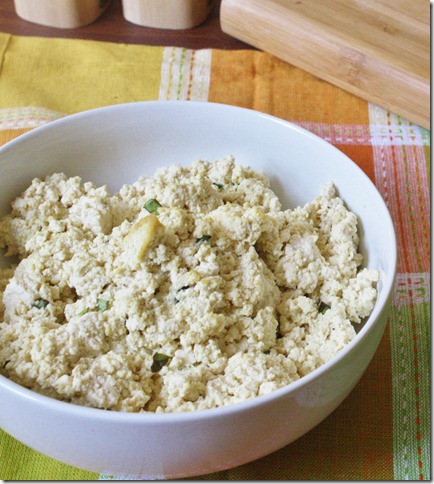
Tofu Ricotta, rejected by Foodgawker and Tastespotting

Dull/Unsharp images are usually a result from the camera focusing on the wrong part of the picture. It could also happen if a photos quality is drastically reduced. While most photo editing programs have a “sharpen” option, the result is usually poor and grainy. The best practice for sharp photos is making sure the camera is focused.

Does It Really Matter?

Peanut-Butter-Magic-Shell-Bowl

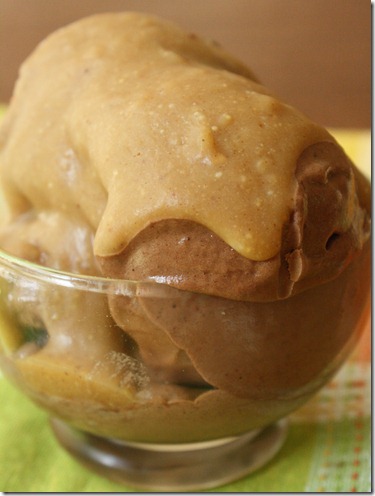
Peanut Butter Magic Shell, rejected by Foodgawker and Tastespotting

I attended a food blogging conference 2 weeks ago called Techmunch where one of the panels talked about improving food photography. Inevitably the conversation moved towards Foodgawker and Tastespotting and general grievances about being rejected. Brian gave a helpful reminder that, no matter what the critic thinks, no rejection defines you or your photos. You can still totally love a photo or photo set that gets rejected; one person’s opinion doesn’t make them good or not, so worry less what the critics have to say and take photos to please yourself.