Author Archives:

Autumn Almond Butter

Autumn-almond-butter

I don’t care what the calendar say–Autumn definitely came early this year. The temperature is cold and the leaves are all falling; store shelves are lined with cans of pumpkin pie mix and candy corn; the farmers’ market is back in swing with squashes no one has ever seen before; I’m back to hastily finishing homework and quizzes. Need I say more?

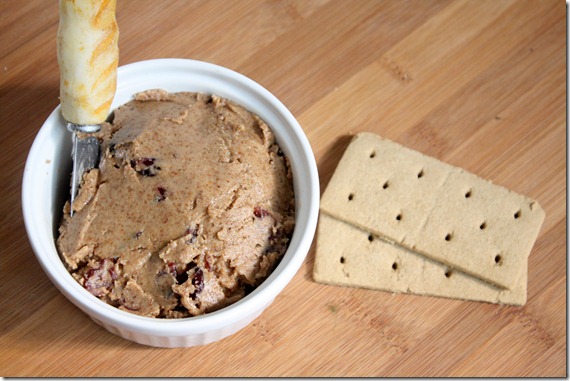
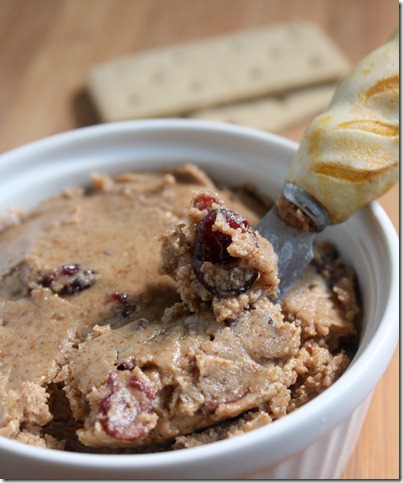
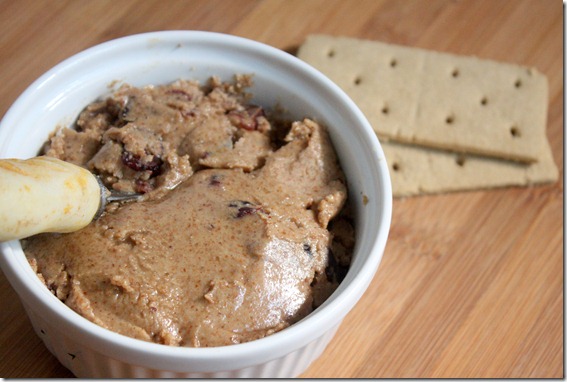
This weekend I was planning on making an almond version of Winnie’s amazing looking walnut butter, but I decided to save it for another time(when I actually have all the ingredients) and went with an Autumn themed one instead. I’m glad I made that decision because the spice from cinnamon and nutmeg paired with sweet cranberries have made cool mornings a little warmer.

I like my almond and peanut butters on the thicker side, so I didn’t blend this for too long. Taking Ashley’s tip, I’d suggest to keep blending up to 12-15 minutes before adding in the second batch of ingredients for a drippier butter.

Autumn Almond Butter

Prep time: 15 minutes

Cook time: 0 minutes

Ingredients(makes about 20oz):

  • 1lb almonds, raw or roasted, blanched or unblanched
  • 1 1/2 Tablespoons neutral oil(I used coconut oil)
  • 1/4 cup cane sugar
  • 1 1/2 teaspoons pumpkin pie spice
  • 1/2 teaspoon salt
  • 1/2 teaspoon maple extract
  • 1/4 cup dried cranberries

Autumn-almond-butter-lateral

Method:

  1. Combine the almonds and oil in a food processor and blend until the almonds form a thick paste(about 5-10 minutes). Scrape down the sides as necessary to make sure all of the almonds get processed.
  2. Stop the processor and add the sugar, spice, salt, and extract. Continue pulsing until the ingredients have all been mixed evenly.
  3. Turn off your food processor. Add in the cranberries and fold them in throughout the almond butter. Move to an air-tight container for storing.

Autumn-almond-butter-side

If your Autumn involves chocolate(and that’s a pretty good Autumn), add 1/4 cup of white chocolate chips at the end and fold them in along with the cranberries.

How To Fry Plantains

how-to-fry-plantains

I’d say I’m an adventurous eater and an adventurous cook. I’ll try anything once… except for deep frying, because we really don’t need to get the fire department involved.

For a long time I had never had a plantain. They just seemed… odd.

how-to-fry-plantains-ingredient

I mean, look at that—isn’t that kind of creepy? But also familiar looking. It took a freelance job to lure me outside of my comfort zone and try a plantain for the first time. And you know what? It wasn’t bad; in fact, it was good. The flavor was surprisingly sweet compared to what I expected. In fact it was cloyingly sweet, more like an apple than a banana. But the savory oil helped to balance out the flavors. Since then I’ve bought plantains and made them for myself a few times and I can’t figure out for the life of me why more cultures haven’t tapped into this delicious starch.

How To Fry Plantains

You’ll need(for 4 side servings)…

  • 2 plantains
  • 1 Tablespoon coconut oil*

*or other neutral oil.

how-to-fry-plantains-pan

Method:

  1. Peel the plantains and slice them on a bias.
  2. Heat the oil in a large frying pan over medium heat.
  3. Fry the plantains in the oil, turning every minute or so to brown each side.
  4. When browned all around, remove from the heat, drain from the oil, and serve hot.

how-to-fry-plantains-turning

I really like the subtle flavor of coconut with the plantains for a true tropical flavor. If you’re serving this as a dessert, sprinkle a couple tablespoons of brown sugar into the pan towards the end of cooking.

Have you ever tried a plantain? If not, would you try one now?

Nutty Roasted Broccoli

nutty-roasted-broccoli

A lot has changed since I started this blog 11 months ago. Personally, I think I’ve become a better blogger. I got my first DSLR camera for Christmas last year. At the time I didn’t know how to use it; hell, I’m still learning how to use it. I shot in auto-mode for so long that I’m just getting around to teaching myself to shoot in manual, which I’m enjoying more and more.

nutty-roasted-broccoli-raw

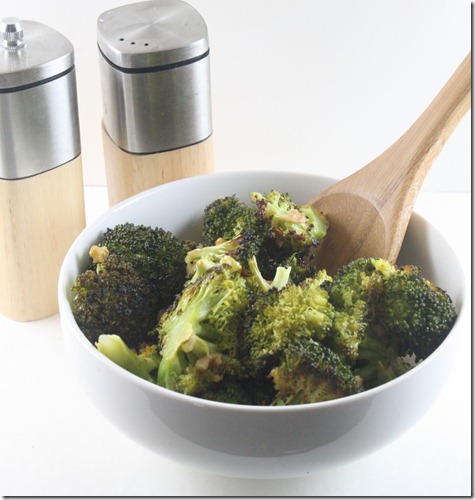
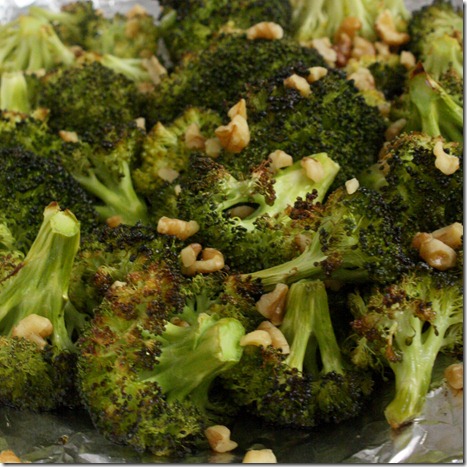
Even though my photos and writing may have changed, my recipes and the way I eat really hasn’t. Case in point: I made this broccoli last year and blogged about it, and I’m still making it today. I thought it deserved a new post, one that makes it look as great as it tastes. If you’ve never tried roasted broccoli before, you’re really missing out. It’s tender and earthy with a nutty flavor—like no other broccoli you’ve ever eaten. Toasted walnuts add a nice added crunch and compliments the flavor.

You can use frozen instead of fresh in this recipe, too, however the broccoli will have a soggy bite to it.

Nutty Roasted Broccoli

Prep time: 5 minutes

Cook time: 30 minutes

Ingredients(makes 4 servings):

  • 3 cups fresh broccoli florets
  • 3 Tablespoons olive oil
  • 3/4 teaspoon salt
  • 1/4 cup walnuts, crushed and toasted

nutty-roasted-broccoli-tray

Method:

  1. Preheat your oven to 375 degrees.
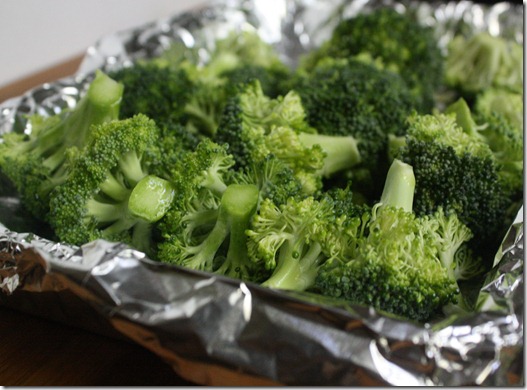
  2. Lay the broccoli florets out in a single layer on a baking tray.
  3. Pour the oil on top and sprinkle on the salt. Toss a few times with your hands.
  4. Roast in the oven for 30 minutes.
  5. When the broccoli’s done, take the tray out of the oven and add in the walnuts. Toss to distribute. Serve hot.

nutty-roasted-broccoli-bowl

Seriously, what was I thinking photographing in automatic all Summer when the lighting is best? I’m just learning more and more about aperture thanks to Anne’s guest post, and it’s like seeing through a whole new lens. It’s definitely worth the read to any photo enthusiasts.

Nutmeg Roasted Acorn Squash

nutmeg-roasted-acorn-squash

I’m already excited for Fall, not because of the weather or anything but because of the food. Roasted squash is comfort food to me. When they come into season there’s suddenly a treasure trove of new food to eat–acorn, pumpkin, butternut, spaghetti. All different and all delicious in their own way.

nutmeg-roasted-acorn-squash-pan

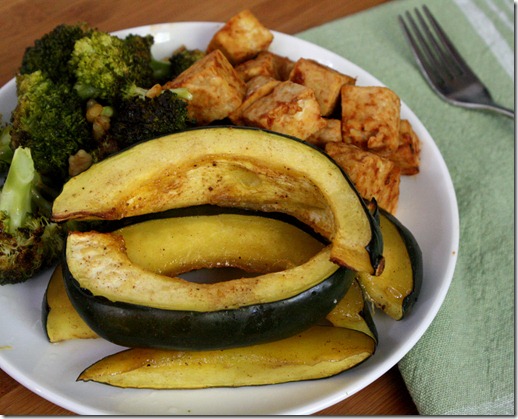
This recipe uses nutmeg, which is one of the more aggressive spices. It’s so aggressive it’s poisonous in large amounts, so you might want to have a light hand when seasoning this. The cinnamon helps to smooth out the flavor. By the end of cooking it smells like someone’s just baked a pie; that’s a smell that’s always welcomed in my house. 

Nutmeg Roasted Acorn Squash

Prep time: 5 minutes

Cook time: 45 minutes

Ingredients:

  • 1 acorn squash
  • 1/4 cup maple syrup
  • 1/2 teaspoon nutmeg
  • 1/4 teaspoon cinnamon
  • 1/2 teaspoon salt

nutmeg-roasted-acorn-squash-bowl

Method:

  1. Preheat your oven to 375 degrees.
  2. Cut the squash in half and remove the stringy inner seeds.
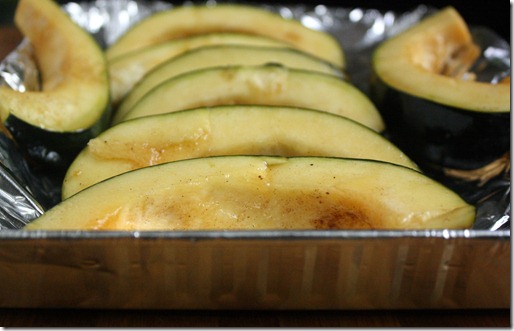
  3. Cut the squash along each ridge into long strips.
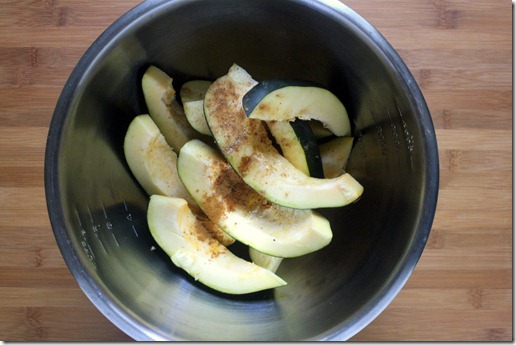
  4. In a mixing bowl, toss the squash, maple syrup, nutmeg, cinnamon, and salt until the squash is completely covered.
  5. Lay the squash out on a baking tray and roast for 45 minutes. Serve hot.

nutmeg-roasted-acorn-squash-close-up

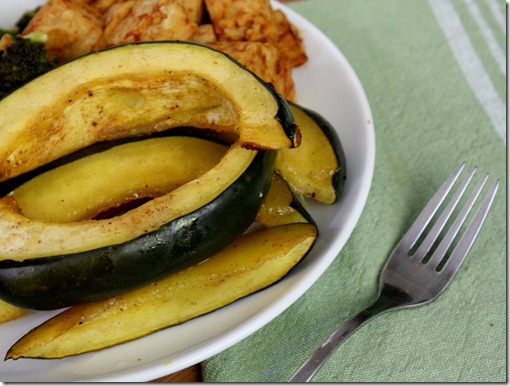
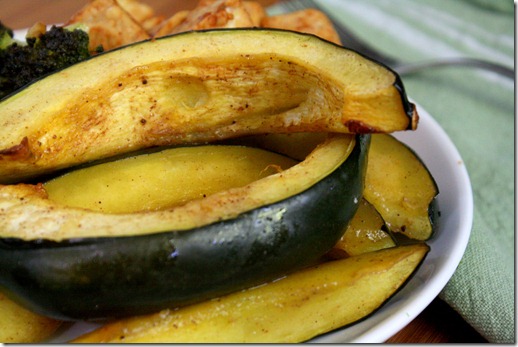
Despite the maple syrup, this recipe isn’t very sweet; it’s mostly spicy. There’ll be a lot of leftover spiced maple syrup in the mixing bowl. You can either pour it on top of the squash before roasting or reserve it as a finishing touch on the plate.

nutmeg-roasted-acorn-squash-plate

Chocolate Hazelnut Stuffed Figs

chocolate-hazelnut-stuffed-figs

In the time of the Ancient Greeks(my area of study), figs were considered a food of the Gods. Chocolate meanwhile was considered a food of the Gods by Mayans and Aztecs living thousands of miles away in South and Central America. Now, I’m not saying the Greeks were wrong, but I’d have to side with the Americans on this one.

chocolate-hazelnut-stuffed-figs-ingredient

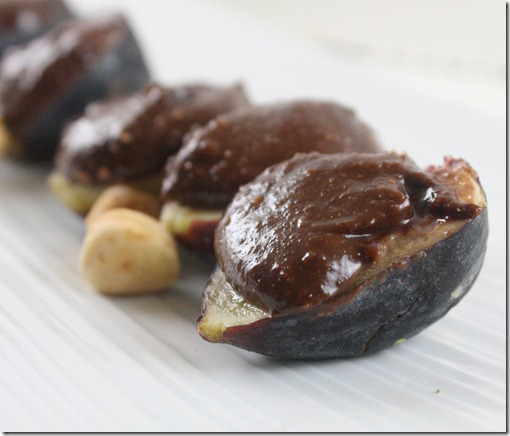
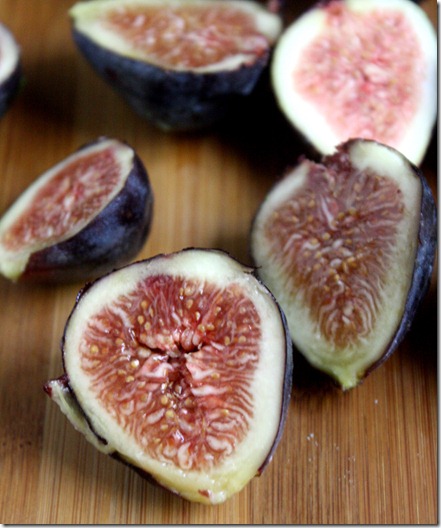
Even still, figs are pretty spectacular. For 2 weeks or so every year they’re at the peak of their season, and I always buy a few cartons when they go on sale. Figs remind me of France which leads me to France’s number 1 export(or at least in the heart of foodies): Nutella. The filling in this recipe is sort of like Nutella in that it uses cocoa powder and hazelnuts, but the raw ingredients produce a much more intense, dark flavor that pairs perfectly with sweet fruit.

Don’t have hazelnuts? This would taste great with almonds instead.

Chocolate Hazelnut Stuffed Figs

Prep time: 10 minutes

Cook time: 0 minutes

Ingredients(makes 16 amuse-bouches):

  • 8 Figs
  • 1/2 cup hazelnuts
  • 2 Tablespoons agave nectar
  • 2 Tablespoons cocoa powder
  • 2-3 Tablespoons water
  • Pinch of salt

chocolate-hazelnut-stuffed-figs-spread

Method:

  1. In a food processor, blend the hazelnuts until they start to form a paste.
  2. Add into the processor the agave, cocoa powder, and salt and continue blending until mixed.
  3. Slowly add the water until the filling is loose and spoonable like a thick mousse. Make sure not to add too much water and make this runny.
  4. Cut each fig lengthwise and lay them out cut side-up on a plate.
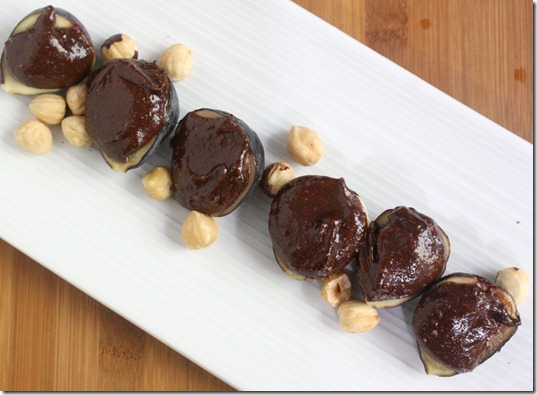
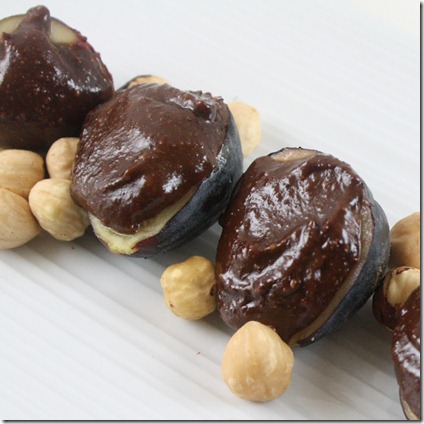
  5. Spoon 2 teaspoons of filling onto each fig. Serve at room temperature.

chocolate-hazelnut-stuffed-figs-garnish

I think the Greek Gods would be pleased.

Gluten-Free Banana Pancakes

gluten-free-banana-pancakes

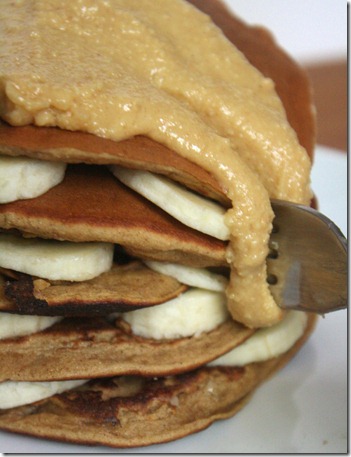
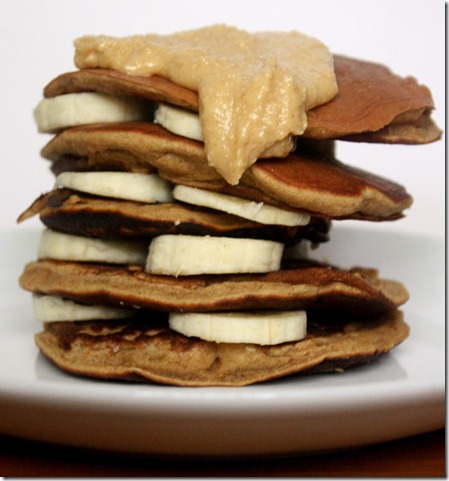
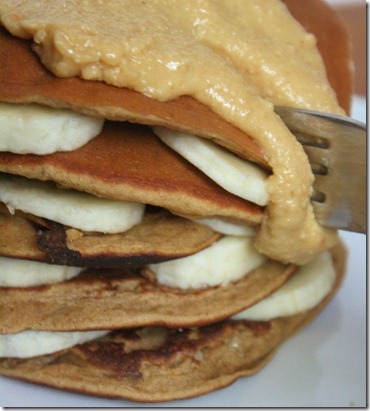
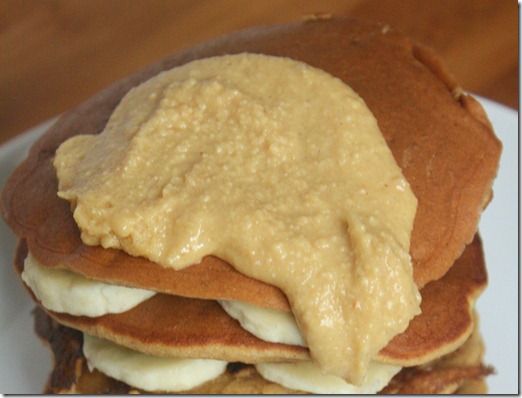
I’ve been waiting all week to share these. They aren’t some of the best gluten-free pancakes I’ve ever had, or vegan or banana. They’re just some of the best pancakes I’ve ever had—period. The banana sweetens these perfectly without added sugar, and the cinnamon adds a nice warm touch. They go especially good with a dollop of melting butter toffee peanut butter.

gluten-free-banana-pancakes-stack

Like my other pancake recipe, these use chickpea flour, which is a great gluten-free alternative to wheat flour. It has high protein and fiber contents making it a healthy breakfast that will fill you up and not have you crashing by 10am. I’m able to find it cheapest in my regular grocery store(Hannafords) in the natural/organic section for less than $4 a bag.

Gluten-Free Banana Pancakes

Prep Time: 5 minutes

Cook Time: 10 minutes

Ingredients(makes 1 serving):

  • 1/3 cup mashed banana(about 3/4 a medium-sized banana)
  • 1/2 cup chickpea flour
  • 1/4 teaspoon cinnamon
  • 1/4 teaspoon baking soda
  • 1/4-1/3 cup water

gluten-free-banana-pancakes-slice

Method:

  1. In a mixing bowl combine the mashed banana, chickpea flour, cinnamon, baking soda and 1/4 cup water and mix.
  2. Add more water if necessary to get the consistency somewhere between thick-runny and runny.
  3. Preheat a non-stick pan over medium heat.
  4. Scoop about 1/4 cup batter into the pan for each pancake. Only cook 1 or 2 at a time to avoid overcrowding.
  5. Cook on one side until the top is bubbly, then flip and cook for about another minute. Repeat until all the batter is used.

gluten-free-banana-pancakes-with-peanut-butter

Serve with maple syrup, peanut butter, bananas, blueberries—whatever, it will all be good.

Tempeh And Broccoli

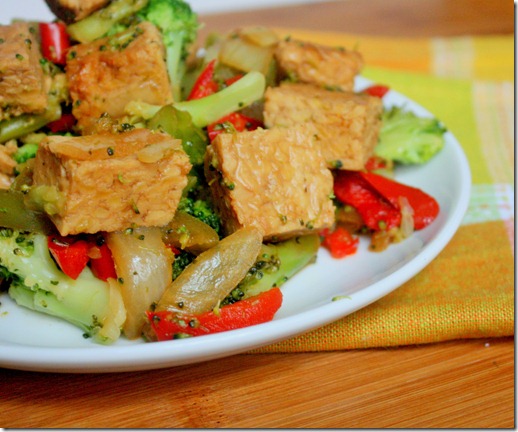
tempeh-and-broccoli

I’ve been getting a lot of questions on tempeh recently. I want to put all my thoughts into a post about it but until then you’ll only get recipes, which is pretty good considering half the time I eat tempeh it’s raw, cold from the fridge. I would not suggest eating it that way if it’s you’re first time; it would be a horrible, bland introduction to something that can be so tasty.

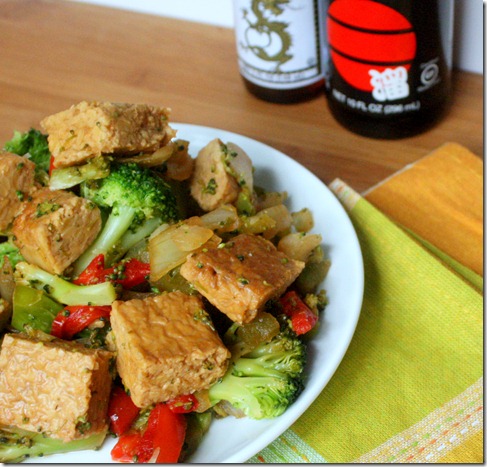
If tofu is soy chicken, tempeh is soy beef. It’s much firmer, earthier and has a chew to it. Naturally it’s a great vegetarian substitute for beef in Asian dishes, like beef and broccoli. Since broccoli was one of the three vegetables I liked growing up(the other being carrots and olives), beef and broccoli was what I always chose on Chinese take-out night. This recipe keeps all those same flavors and textures, but with whole food ingredients anyone can enjoy.

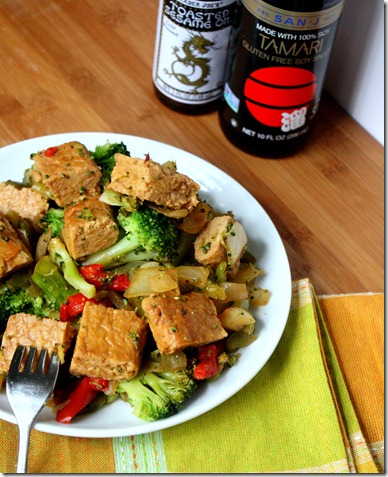
tempeh-and-broccoli-plated

You can substitute rice vinegar in place of apple cider vinegar for a more traditional ingredient list. I like apple cider vinegar here because it replicates the sweet, fruity flavor of plum sauce common in Asian cooking.

Tempeh And Broccoli(inspired by Caitlin)

Prep Time: 5 minutes

Cook Time: 10 minutes

Ingredients(makes 2 servings):

  • 1 block of tempeh, diced
  • 6 Tablespoons apple cider vinegar
  • 1/4 cup plus 1 Tablespoon soy sauce(or wheat-free tamari)
  • 2 Tablespoons agave nectar
  • 1 Tablespoon sesame oil, preferably toasted
  • 1/4 teaspoon chili powder
  • 2 cups broccoli, steamed
  • 1/2 onion, julienned
  • 1 bell pepper, julienned(optional)
  • 1/4 teaspoon garlic powder
  • 1/4 teaspoon salt

tempeh-and-broccoli-tablescape

  1. Combine the tempeh, apple cider vinegar, soy sauce, sesame oil, agave, and chili powder in a large pan and heat it on a burner set to medium-high.
  2. Cook for about 5 minutes flipping once until the liquid thickens up like a sauce.
  3. Add in the broccoli, onion, pepper, and garlic powder. Continue cooking over medium heat until the moisture has boiled off of the pan and the onions turn soft(about 5 minutes).
  4. Remove from the heat and season with salt. Plate and serve hot.

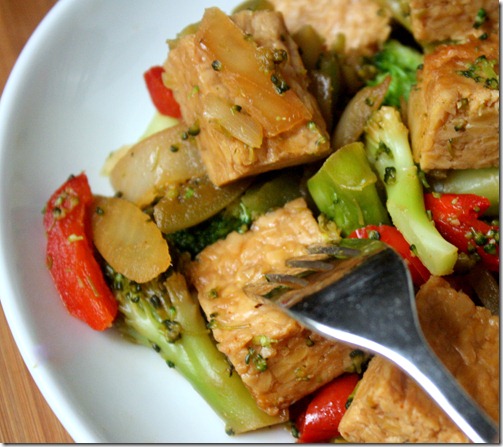
tempeh-and-broccoli-fork

When this is cooked the tempeh should be fork-tender with a sweet, nutty flavor and fall apart in your mouth. It’s a great introduction to a food that could become your best friend.

Eat Your Feelings

Sep. 4th 045

I have the internet to thank for letting me know this past weekend was Labor Day, and all of the tweets and Facebook statuses about having a day off from work. My mind was pretty occupied because it was moving weekend for me. For the third time I moved back to Providence to start another school year. But first was a day of packing, loading, driving, unloading, unpacking and organizing, and for someone who hates change like me that’s pretty much Hell on Earth.

Sep. 4th 056

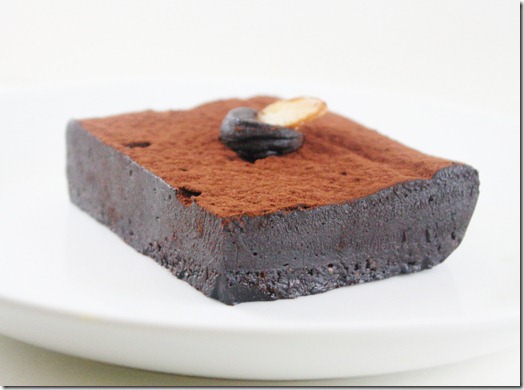
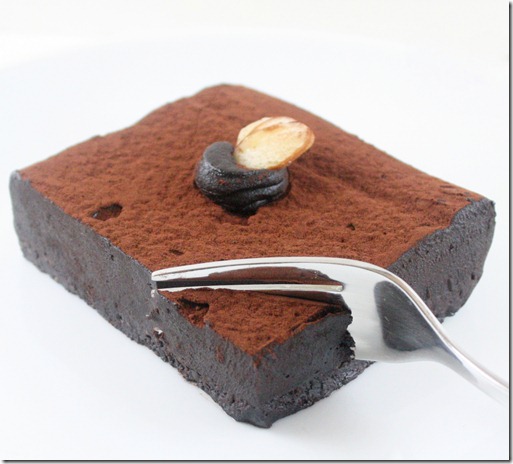
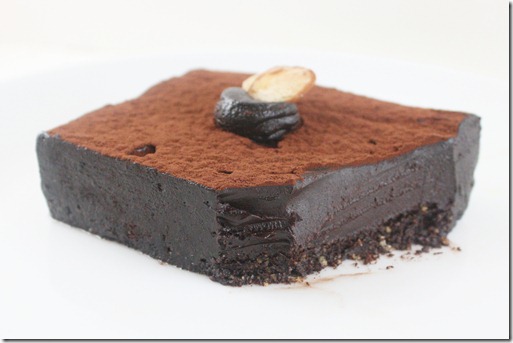
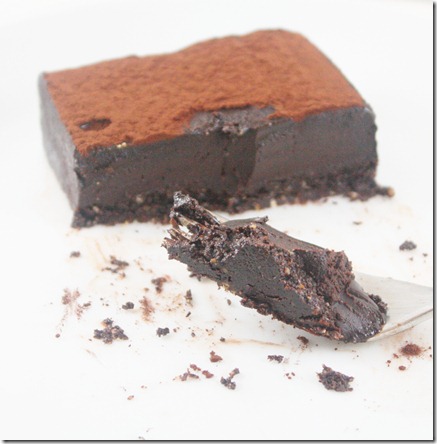
I should say the day wasn’t all bad; what definitely helped was the trip to Wildflour for a smoothie and raw ganache torte to take home for later. Some people like to unwind with a cold beer on a Friday night, or a glass of wine paired with dinner. I am without question a chocolate man. At the end of the day I just want to sit down with something rich, sweet, and—most importantly—chocolaty, and this was one hell of a day.

Sep. 4th 064

I thought I might stop after half. This thing is after all pretty much a block of coconut oil, cocoa powder, cocoa butter(?), sugar, and nuts, and I’ve still got a ways to go before I’ll be in the shape I want to be in for the Philadelphia Marathon. But with each bite I remembered the surprise trip to Bed, Bath & Beyond, the frantic trip through Whole Foods to restock an empty fridge, the plate of raw vegetables, hummus, and plain tempeh that became dinner because I had no energy to cook, and the chocolate made all of that feel better.

Sep. 4th 081

There’s been something going around on Pinterest to the effect of,

“Don’t reward yourself with food. You’re not a dog.”

Excuse me? But I love food, especially the ones that are bad for me. And I love dogs, too. I don’t see the problem here. 

Food has a way of affecting your mood, both good and bad. There are things you can’t control, like a long day at work, or other people’s attitude, or stressful move. But you can control what you put in your body. And sometimes the best thing for your body is filled with sugar, fat, and—of course—chocolate.

Sep. 4th 095

We all saw where that was going, right?

Go ahead; eat your feelings once and a while. You’ll feel better for it.

Butter Toffee Peanut Butter

butter-toffee-peanut-butter

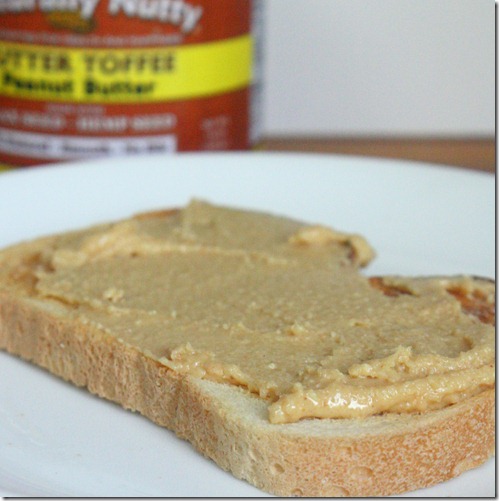
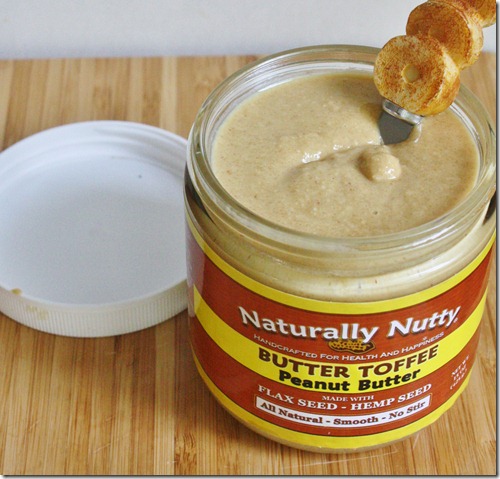
I’ve tried a lot of different peanut butters, but Naturally Nutty’s Butter Toffee Peanut Butter really takes the cake toast, with a sweet, buttery flavor combined with crunchy sugar granules. You can buy this peanut butter from their online store, or in stores if you’re lucky enough to live in Michigan. I, however, am cheap and a New Englander and so decided to make my own. 

butter-toffee-peanut-butter-drippy

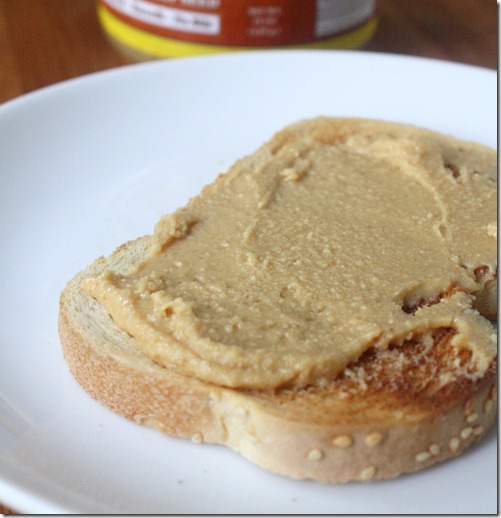
I would take the real deal brand name any day over mine, but this homemade version isn’t half bad, or a quarter bad, or bad at all. It’s great, in fact, slightly melted onto toast first thing in the morning or a square of chocolate at night.

Don’t have the time to make your own butter toffee peanuts? Buy your own and blend them up and you can have this in 5 minutes.

Butter Toffee Peanut Butter

Prep Time: 20 minutes

Cook Time: 30 minutes

Ingredients(makes about 24 ounces):

  • 1lb unsalted peanuts, skin-off
  • 1/2 cup butter
  • 1/2 cup sugar
  • 1/2 teaspoon salt

butter-toffee-peanut-butter-refrigerated

Method:

  1. Preheat your oven to 300 degrees and line a baking tray with non-stick foil or parchment paper.
  2. In a small pot over low heat, melt the butter, sugar, and salt together.
  3. Toss the peanuts in the melted butter and sugar until fully coated and lay them out on the baking tray in an even layer.
  4. Bake for about 30-35 minutes, until the butter and sugar start to bubble and coagulate, but making sure not to burn any of it.
  5. Remove the peanuts from the oven and let them cool completely.
  6. Move the peanuts into a food processor and blend until completely smooth.
  7. Store in sealed containers in a refrigerator for up to a month.

butter-toffee-peanut-butter-Toast

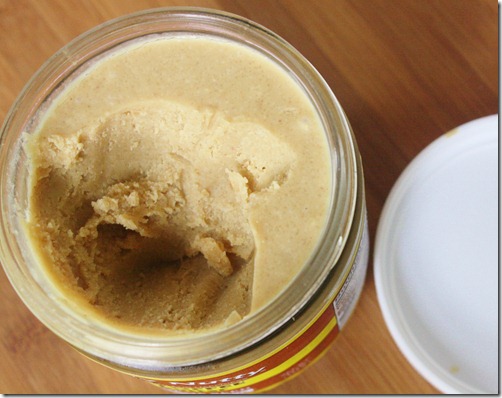
When cold, the consistency is solid yet still creamy and spreadable. You can let it sit out for 5 minutes to get even softer or microwave the jar for about 30 seconds to get it warm and drippy.

StumbleUpon Part 2: How & Why

Since I wrote How To Use StumbleUpon To Gain Traffic I’ve gotten a lot of other questions on exactly how to use it and what the benefits are, so I thought a follow-up post might be helpful. To be honest, when I wrote it I hardly new the answer to either of those questions. I—like most people—had just begun to learn how to use it and hadn’t yet experienced first hand the kind of traffic it could bring. That changed in August.

Capture8

August 16th I was poking around the backworks of this blog and noticed that the page views were off the charts for this little dog and pony show of mine. All of the traffic was coming from StumbleUpon. I clicked on the link and realized my Hazelnut Chocolate Cake was getting viewed. A lot. And it kept being viewed, and kept being viewed until now over 2 weeks later it finally died down.

I knew StumbleUpon was powerful for sharing content but I didn’t quite realize it was that powerful. Now that I’ve experienced that, I think I can write better on it. In this post I’ll share all the nitty-gritty analytic numbers and tell you how do it for yourself.

Why

2011-08-27 August 27th

These graphs from top to bottom show the page hits per day, per week, and per month. It’s very obvious where on each graph the spike occurs. What’s amazing to me is how long the effect lasts. Most link-backs create quick spikes that are over after a day but StumbleUpon’s content clearly lasts a lot longer than that.

Capture5

Another look at the numbers clearly shows where readers were brought from and what they looked at, and it’s no contests against StumbleUpon. What I found interesting was that my About Me page also saw a spike of traffic in that time; it’s the most convenient way for a potential reader to get to know the blogger and so should be eye-catching and kept up to date to keep readers around.

How

Capture9

The first step towards getting traffic through StumbleUpon is actually getting your content on StumbleUpon. As far as I can tell, there are two ways for either you or a reader to submit it. The first is to manually go into StumbleUpon, click on the Favorites tab and choosing “Add a Site”.

Capture

The other more simpler way is to install a plugin that adds a StumbleUpon button into every blog post(I recommend Share & Follow). All it takes is someone clicking that button to submit or favorite a page.

That’s the relatively easy part. From there, it’s really out of your control for the most part if a post will get picked up. It takes lots of strangers favoriting and sharing your post to gain momentum. You can share the link to the page in StumbleUpon on Twitter, Facebook, or through email to increase the odds of the page being seen. But if they aren’t motivated to share it with their friends and followers, then it’s not going anywhere. That’s what makes it so difficult for content to be picked up on StumbleUpon. Personally I only submit and share about 1/3rd of the posts I write because I don’t think the other 2/3rds stand a chance of being picked up. Even then in 6 months I’ve had maybe 2 or 3 successes, including this huge one. Be judicious in what you do submit and share knowing not every post you write is a gem.

Caveat

Capture12

All that traffic is nice, but what about subscribers? Above is data from my feedburner account. The green line represents feed subscribers. As you can see, there’s no spike whatsoever; instead, it’s just a slow and gradual increase. This means that, while StumbleUpon drives traffic, it doesn’t bring in consistent readers. 99% of people who saw the cake recipe either clicked around and left or just clicked Stumble and moved on.
Basically, StumbleUpon is good for giving 15 minutes of fame(or 2 weeks, which is even better) but it’s hardly consistent in its effect or very lasting. At the end of the day it would take a lot of posts being picked up consistently to turn a hokey blog like this one into something more main stream.

Do you have any more questions? Leave them in the comments.