Author Archives:

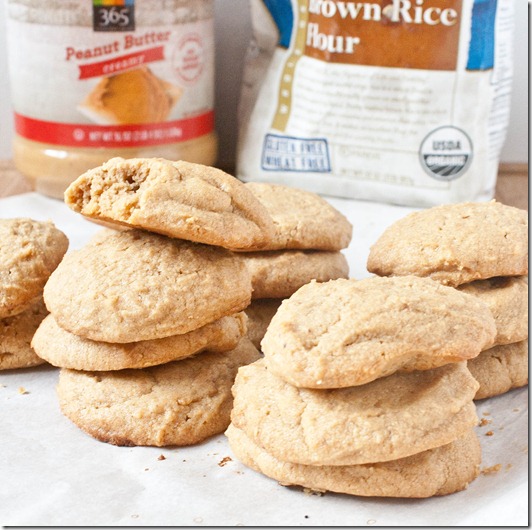
Egg-Free Peanut Butter Cookies

egg-free-peanut-butter-cookies

Well I made it 4 days into December before breaking down and making Christmas cookies. I couldn’t hold up to the pressure any longer.

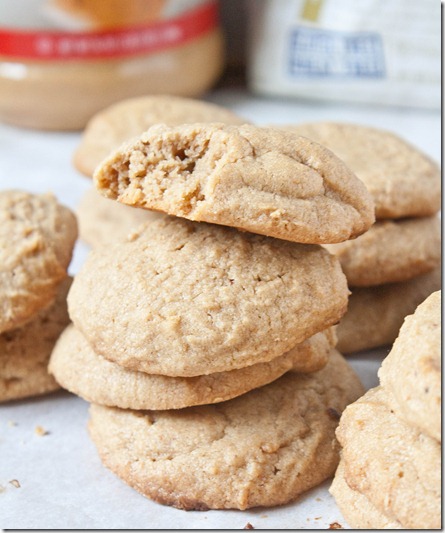
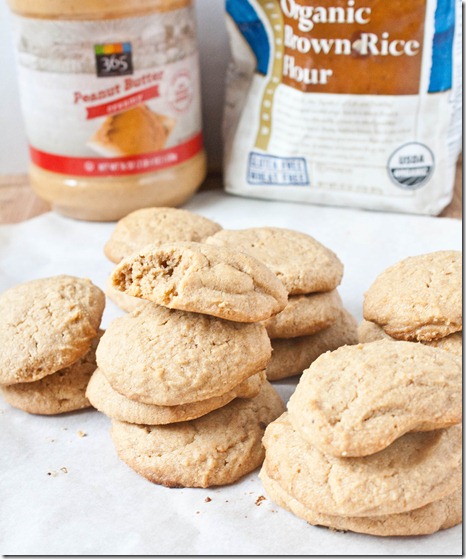
The truth is I’m not the biggest cookie fan. I have my favorites(like peanut butter cookies) but on the whole would rather have something else. One cookie I love is the peanut butter cookie from Wildflour Bakery which is gluten-free and vegan. It’s so sweet and soft and falls apart in your mouth. I thought I might try to make a cookie like theirs; this isn’t nearly the same, but I like it in its own respect which is why I’m posting the recipe. It’s less sweet but much more peanut buttery; it almost tastes like eating a spoonful of peanut butter in cookie form.

This recipe can easily be made vegan by using a dairy-free butter substitute. I would not recommend subbing in coconut oil for the butter in a 1:1 ratio because they do not act the same in baking and I can’t say for how it would turn out.

Egg-Free Peanut Butter Cookies

Prep time: 30 minutes

Cook time: 16-18 minutes

Ingredients(Makes about 1 1/2 dozen cookies):

  • 1 cup no-oil added peanut butter
  • 1/4 cup butter
  • 3/4 cup maple syrup
  • 3/4 cup brown rice flour
  • 1/4 cup tapioca starch(or corn starch)

egg-free-peanut-butter-cookies-stack

Method:

  1. Preheat your oven to 350 degrees and line a couple baking trays with parchment paper.
  2. Beat together all of the ingredients. Put the batter in the refrigerator of freezer to harden until you can handle the dough and roll it into balls.
  3. Once the dough has reached that stage, scoop the dough and roll it into balls. Place the balls about 2 inches apart on the baking trays.
  4. Bake for 16-20 minutes until the outside is golden. The cookies will still be very soft to the touch when they’re done.
  5. Remove the cookies from the oven and let them cool completely before handling. As they cool, the outside will harden up and make them less fragile.
  6. Store sealed in an airtight container at room temperature when not eating.

egg-free-peanut-butter-cookies (2)

Vegan Rum Raisin Ice Cream

Nov 26th 040

After a week and a half, this is the final recipe I have to share from Thanksgiving. I’m sorry to drag it on for so long, but I think I saved the best for last.

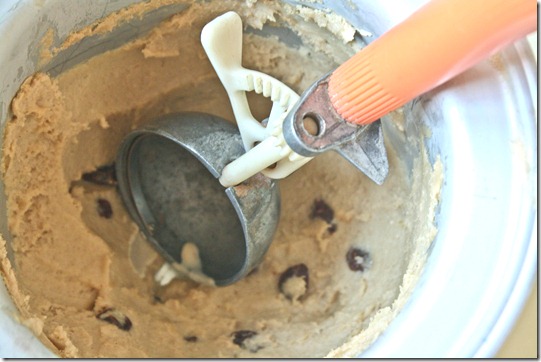
My favorite part of any meal is dessert. For this celebration I made my recipe for rum raisin ice cream again, only since I was short on time and feeling slightly lazy I skipped the custard base making the recipe totally vegan. You couldn’t tell I changed a thing; it was just as rich and creamy as the first batch.

This ended up being a favorite of everyone’s. I was a little heavy-handed with the rum; I’m sure that helped. My relatives described it as “a frozen tropical bar drink”. We ate almost the entire batch by the end of the day; I take that as a good sign. 

Vegan Rum Raisin Ice Cream

Prep time: 5 minutes

Cook time: 20 minutes to churn + 2 hours to set

Ingredients:

  • 2 1/2 cups coconut milk, preferably full fat
  • 1/2 cup cane sugar
  • 1/4 cup maple syrup
  • 1/4 cup rum
  • 1/4 teaspoon cinnamon
  • 1/4 cup Thompson raisins

Nov 26th 010

Method:

  1. Whisk together the coconut milk, sugar, maple syrup, rum, and cinnamon until it forms a smooth base.
  2. Turn on your ice cream maker and churn according to manufacturer’s directions. Add in the raisins during the final 2 minutes of churning.
  3. Put in the freezer to harden for at least 2 hours. Remove from the freezer and let sit on counter for 5 minutes before scooping for best result.

Nov 26th 049

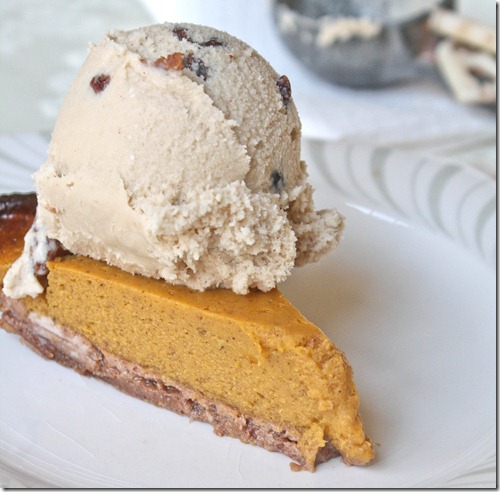
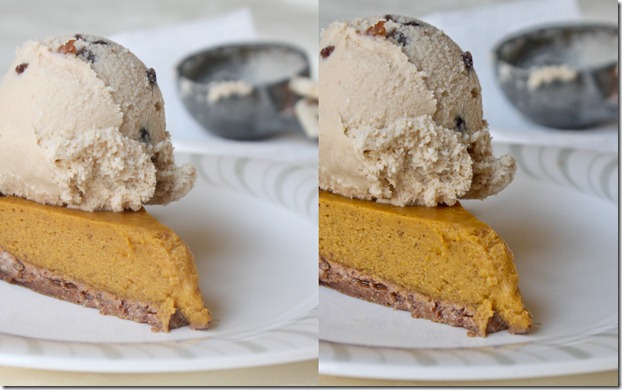
You really can’t go wrong with this plus a slice of paleo pumpkin pie—I’m telling you. Pumpkin, pecans, raisins, cinnamon, and rum. It’s all good.

Thanksgiving Cranberry Sauce Recipe

Nov 26th 076

Let’s look past the fact that Thanksgiving was now 2 weeks ago. You might want to make cranberry sauce for Christmas, or just for anytime, right? Maybe? Sure.

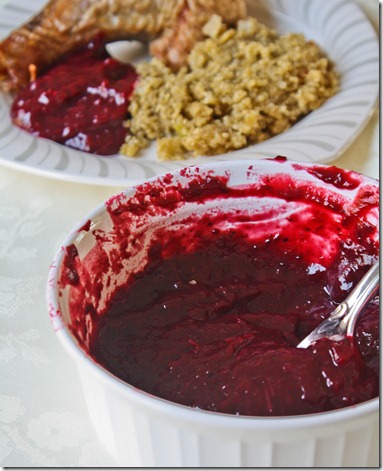
I wanted to make a sauce with a twist. Since my whole family is from northern New Hampshire, I tried adding some blueberries into the cranberry sauce. And a little ginger because who doesn’t like ginger? Orange juice replaces some of the sugar with a less refined sweetness to round out the flavor of the sauce.

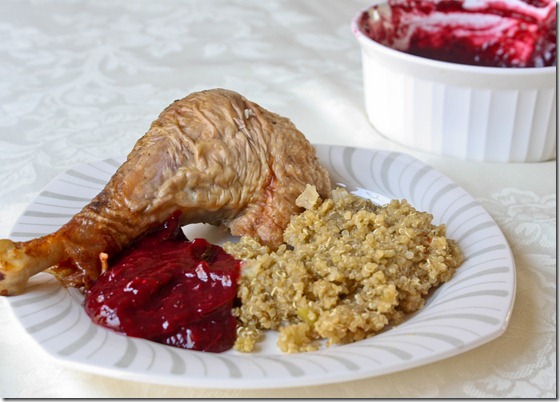
And since I figure somebody’s going to wonder or ask: No, that’s not my plate. Yes, I am still a vegetarian. But I did carve the turkey for the second year in a row because I’m damn good at it.

Thanksgiving Cranberry Sauce

Prep time: 5 minutes

Cook time: 30 minutes

Ingredients(Makes around 6 cups):

  • 24oz fresh cranberries
  • 1 cup blueberries
  • 2 cups orange juice
  • 1/4 teaspoon salt
  • 1/2-inch fresh ginger peeled and grated
  • 6 Tablespoons cane sugar

Nov 26th 093

Method:

  1. Combine the cranberries, blueberries, and orange juice together in a large pot.
  2. Cover the pot and bring the contents to a boil. Keep boiling until the juice evaporates.
  3. Once finished, pour the cranberries and blueberries into a food processor. Add in the salt, ginger, and cane sugar and puree until smooth.
  4. Move the sauce to a container and leave it out to cool. Once at room temperature, place the sauce in the refrigerator to until eating.

Nov 26th 069

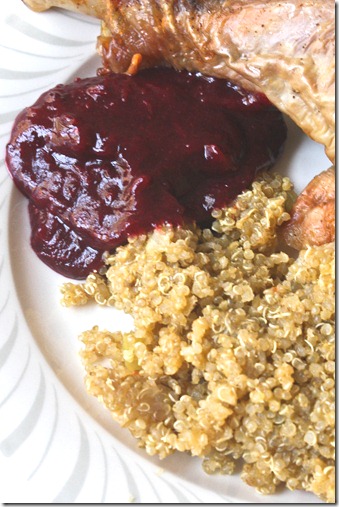
Next time I make this I want to swap another cup of cranberries for blueberries to make the flavor more prevalent. Nobody noticed there was blueberries in the sauce; I didn’t even notice and I made it.

Hooked On Lightroom

I can’t remembered if I mentioned it here but last month I won Attune Food’s October recipe challenge. They’re hosting another challenge for December which you should look into entering, blogger or not. Anyway, that came with a nice $200 prize, and while at first I wasn’t sure what to do with it it pretty soon became clear.

I took the plunge and finally bought Lightroom. Up until this point I’ve used free photo editing software(Picasa Photo Viewer and Microsoft Live Photo Gallery) but I figured since I’ve gotten more serious as a food blogger and am taking a photography class next semester it would be a good investment. Besides, the student and teacher version is on sale on amazon for only $89 now so I would highly recommend students and teacher readers taking advantage of that.

New folder1

Since it came in the mail on Thursday I’ve been playing around a lot on it. While I’m still far from understanding it all, I must say it’s done a tremendous job at editing photos. With all of the controls, it’s very easy to get the tones and clarity of a picture exactly where you want it to look its best. You can see the Lightroom version on the right is a lot brighter and clearer than the one on the left that was edited with free software.

New folder2

I’ve started to use it on food photos for this week’s post and again it doesn’t disappoint. Look how much better the color and contrast is in the photo on the right! 

New folder

Lightroom also does a great job at fixing white balance issues, which I apparently have a lot of because my photos always end up being too blue or too red. I love that you can edit each color hue individually to get something more natural looking.

New folder3

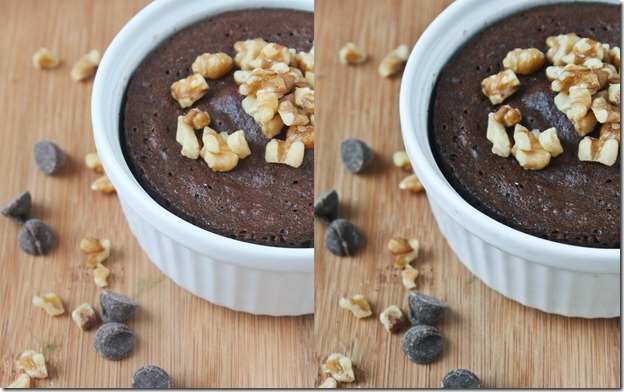
This is the only one where I’m not sure the photo edited with Lightroom looks any better than the other. I like them both very much. The Lightroom photo(on the right) has a more chocolaty look to it, but I like the brightness of the other photo. I wouldn’t say you need anything more than a free photo editor to get good photos but Lightroom makes it a lot easier to recover the nuances of photos that aren’t so great to begin with.

003

And now that I can edit RAW files I’ve changed my camera settings to shoot with them. I’m certainly no camera expert, but from what I understand the RAW data is a lot less compressed and gives you a wider variety of things in the photo to edit. I find the best way to learn things is by getting your hands dirty with them so I guess I’ll just keep trying new things and seeing which ones work.

Paleo Mug Cakes

You’re going to want to bookmark this one; trust me.

I never understood the appeal of mug cakes before recently. It seemed to me that if you wanted something chocolate and delicious you should put in the time and effort to bake some almond flour brownies and the extra hour would be well worth it. It also didn’t help that most mug cake recipes aren’t gluten-free, or—if they are—come out with a weird starchy taste to them.

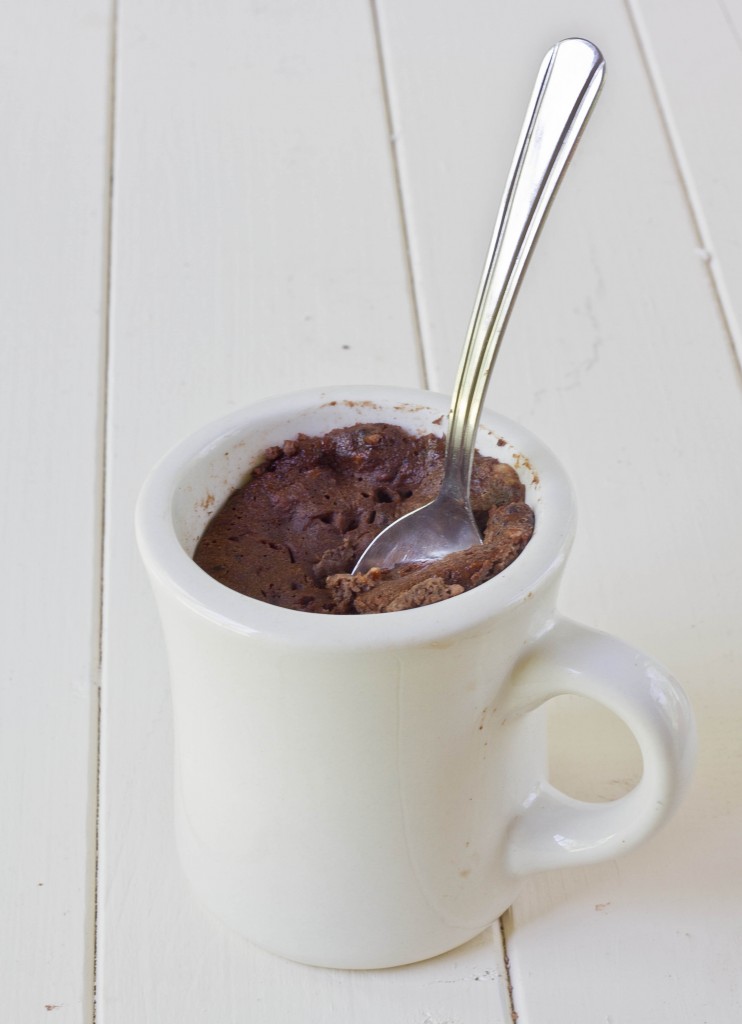
But now I’ve seen the light and have come around to mug cakes, partly because the oven I use was 3 floors below where I lived at the time I made this and partly because the recipe is so damn good. When I was trying the recipe, I also wanted something that was sort of healthy. This is healthy enough even to be eaten for breakfast, which I’ve done on a few too many occasions.

The original recipe is only 4 ingredients, but you can add in things like chocolate chips, walnuts, candied ginger, vanilla extract, and anything else to shake things up.

Paleo Mug Cake

Prep time: 5 minutes

Cook time: 3 minutes

Ingredients(Makes 1 cake):

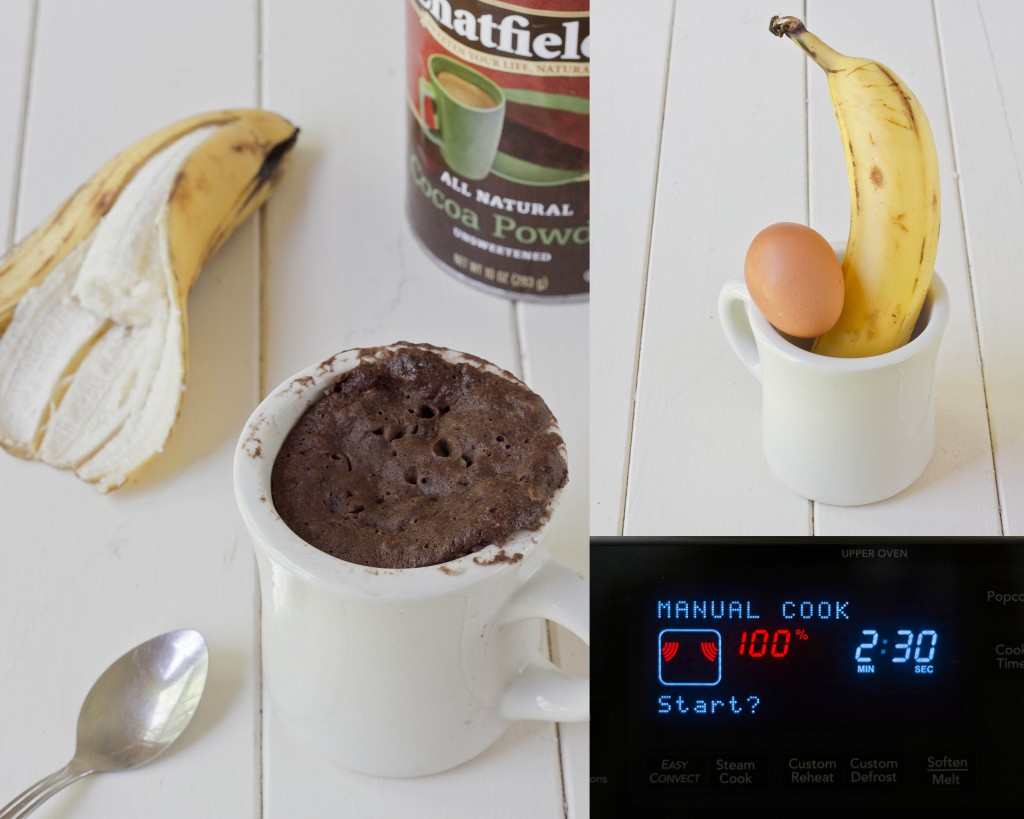
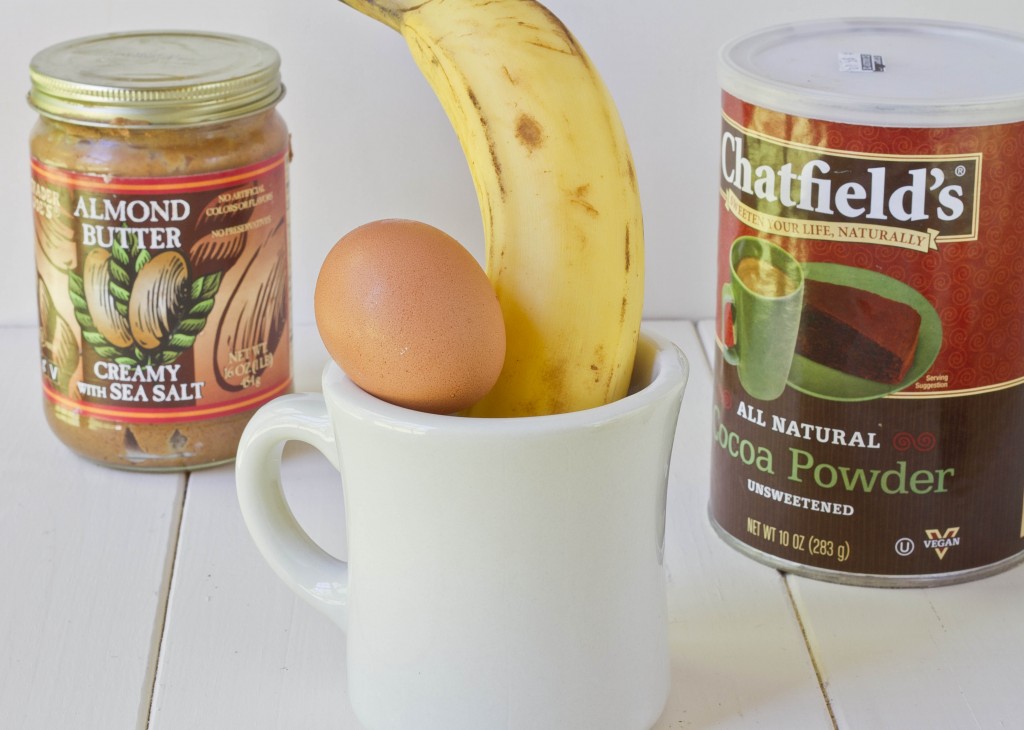
  • 1 small ripe banana
  • 1 1/2 Tablespoons almond butter(or any nut butter)
  • 1 egg
  • 2 heaping Tablespoons cocoa powder
  • 2 teaspoons sweetener(optional)
  • Chocolate chips, walnuts, dried fruit, or other mix-ins(optional)

Method:

  1. With a fork, mash the banana into a smooth puree.
  2. Mix the almond butter, egg, cocoa powder, and extra sweetener if using into the banana puree until it forms an even batter.
  3. Fold in any mix-ins into the batter that you’d like. Otherwise, our the batter into a mug or other microwave safe container. Be sure to only fill the container up to 2/3rds the way because it will expand in the microwave.
  4. Microwave on high for 2 and 1/2 minutes until the center is set. Carefully remove the mug from the microwave and enjoy hot, cold, or at room temperature.

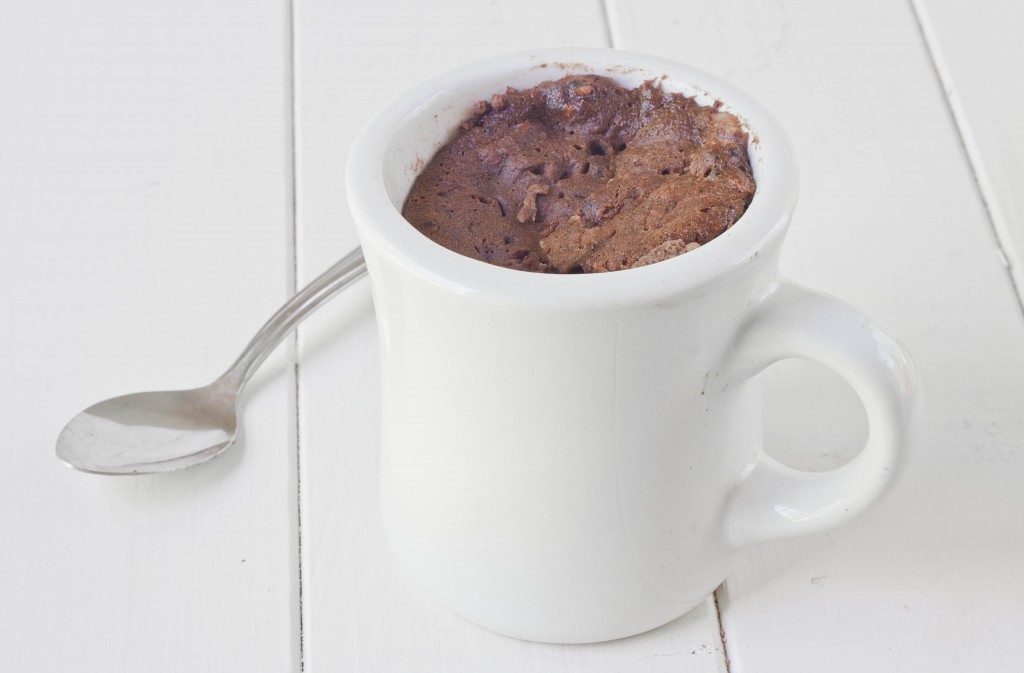
I don’t add sweetener to mine and it still tastes delicious. I’ve only ever made it with almond butter but I’m sure peanut butter would be a nice alteration. The banana flavor is definitely prevalent, especially once it cools, but that only reminds me of a chocolate covered banana which I love. The best things about these cakes are that they don’t have any sort of flour flavor to them and are rich and fudgy like a brownie. The worst thing about this recipe is once you make it you’ll never stop.

The Best (Vegan) Quinoa Stuffing

The-best-quinoa-stuffing

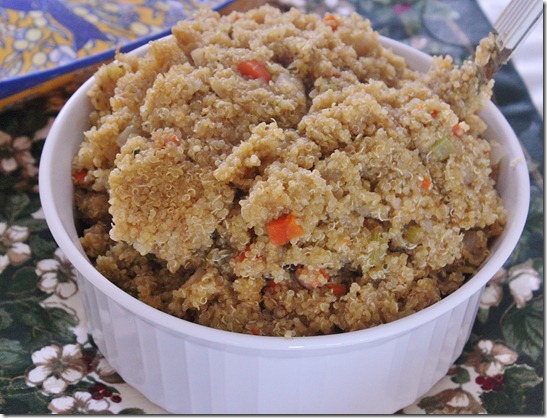
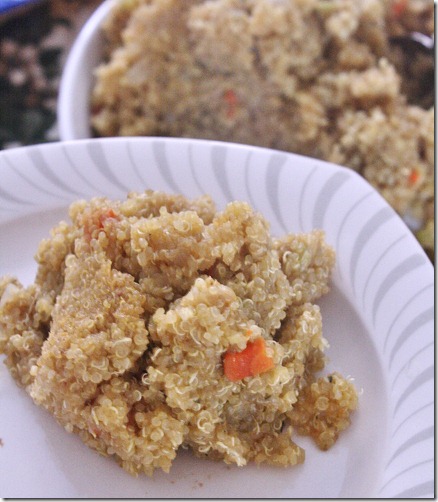
Since I eat quinoa all the time, I get asked a lot what recipe should somebody who’s not really a fan of quinoa try to get themselves to like it. This is that recipe.

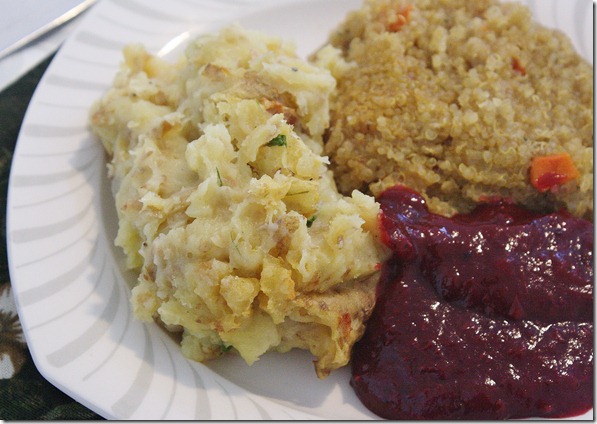
I made this last Thanksgiving and then again for Christmas Eve since it was such a hit. If you’ve never seen 80 year old aunts nudging each other to get the serving spoon for more quinoa, it’s quite hysterical. The only difference I made this year was using oil in place of butter and vegetable broth for chicken broth so that this was both vegan and gluten-free. You won’t miss the white bread in this untraditional stuffing.

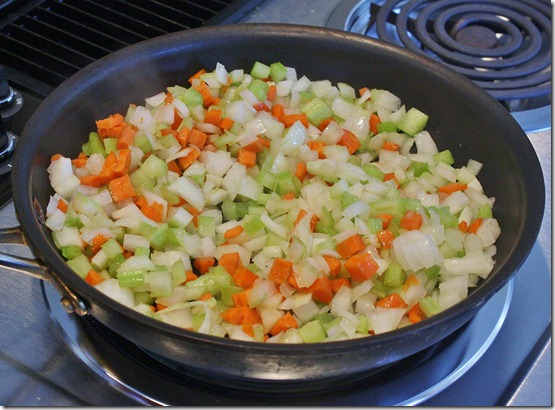
If you want to save some time and chopping, you can buy pre-diced mirepoix at most grocery stores like Trader Joe’s nowadays.

The Best Quinoa Dressing

Prep time: 5 minutes

Cook time: 20 minutes

Ingredients(Makes 8 servings):

  • 2 cups quinoa, rinsed
  • 4 cups vegetable broth(or chicken broth)
  • 2 medium carrots, diced
  • 2 stalks of celery, diced
  • 1 yellow onion, diced
  • 2 tablespoons olive oil
  • 1 tablespoon parsley
  • 1/2 tablespoon rosemary
  • 1/4 cup cane sugar

The-best-quinoa-stuffing-mirepoix

Method:

  1. Bring the quinoa and broth to a boil in a large pot. Cover the pot and turn off the heat, letting the quinoa sit to absorb the water.
  2. In a pan, sauté the onion, celery, and carrots in 2 tablespoons of oil until the onions are translucent and the carrots have cooked through.
  3. When the quinoa is fully cooked, add in the sautéed vegetables, sugar, and herbs. Mix those in while fluffing the quinoa.
  4. Move to a serving bowl and serve warm.

The-best-quinoa-stuffing-sserving

I’ve never been so happy for Thanksgiving leftovers.

Yellow Mashed Potatoes

yellow-mashed-potatoes-bowl

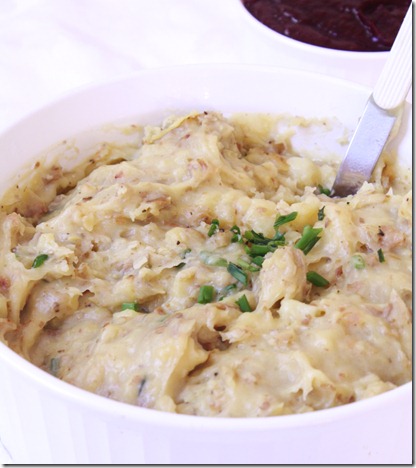
Every year for Thanksgiving we’ve had mashed Russet potatoes, and they’ve never really caught my attention. This year, since I’ve started to warm up a lot to the organic yellow potatoes I find at Whole Foods, I thought I’d try making mashed potatoes with those. They’re slightly waxier and starchier than Russet, which makes them perfect comfort food.

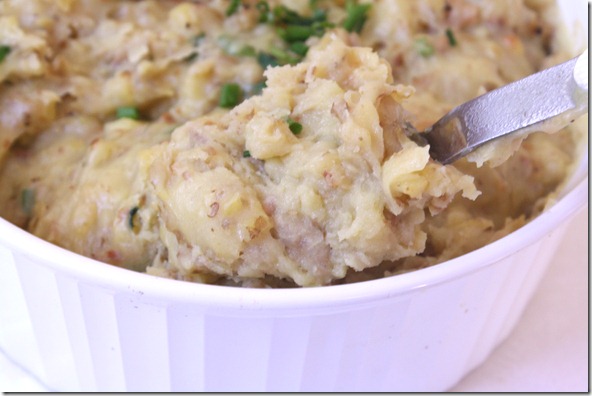
This recipe uses no cream or milk—just butter, which makes it very low in lactose and milk proteins. You could easily substitute a vegan margarine for dairy-free alternative. The chives and seasoning help to give it a subtle flavor while still highlighting the potatoes. I keep the skin on since it adds some fiber and nutrients and gives the dish texture.

Yellow Mashed Potatoes

Prep time: 15 minutes

Cook time: 80 minutes

Ingredients(Makes 10-12 servings):

  • 5lbs organic yellow potatoes
  • 1/2 cup butter
  • 1 teaspoon salt
  • 1/2 teaspoon black pepper
  • 2 Tablespoons chopped chives

yellow-mashed-potatoes

Method:

  1. Bake the potatoes skin on for an hour and 20 minutes at 350 degrees until all of them are cooked through.
  2. Let the potatoes cool enough to be handled. Dice them into quarters for easy processing.
  3. Add half of the potatoes, 1/4 cup of butter, 1/2 teaspoon of salt and 1/8 teaspoon of pepper and puree until mostly smooth. Scoop the potatoes into a serving bowl and repeat with the same ingredients.
  4. Fold the chopped chives into the potatoes. Garnish with extra chives. Serve hot.

yellow-mashed-potatoes-scoop

Maybe if I start recipe testing now I’ll master the art of gluten-free gravy by next Thanksgiving.

Paleo Pumpkin Pie

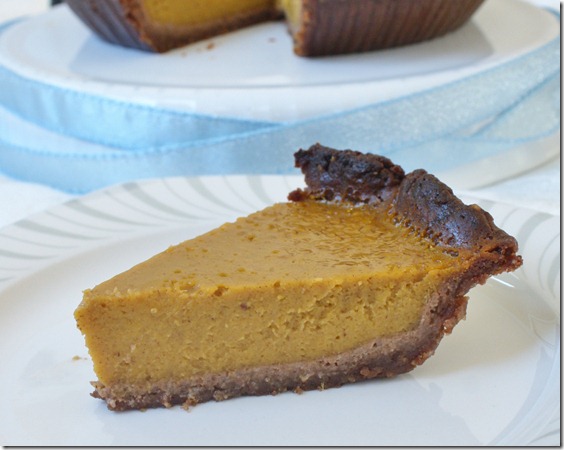
paleo-pumpkin-pie

I’ll be the first to admit I hardly eat like the paleo diet; I do, however, when such tasty desserts fit the bill.

I couldn’t decide between making a pumpkin or pecan pie this year. I decided to split the difference and make a pumpkin pie with a pecan-date crust. Since gluten is out of the question, I knew I’d have to get a little creative with the recipe.

For the filling I used butternut squash puree; this tastes much more similar to canned “pumpkin” than fresh sugar pumpkin. I also added some almond butter for richness and flavor. And the maple syrup sweetener adds a nice amber sweetness.

The crust tastes like a soft Larabar. The cinnamon adds amazing flavor to the pie. I was impressed that it held up so well to being baked for an hour. You could also use it as the crust for a raw pie with a little chilling.

Paleo Pumpkin Pie

Prep time: 15 minutes

Cook time: 1 hour

Ingredients(Makes 1 pie):

  • 1 1/4 cup pecans
  • 8oz dates
  • 1/4 teaspoon cinnamon
  • 2 Tablespoons water
  • 1 1/2 cups butternut squash puree
  • 1/2 cup maple syrup
  • 3 eggs
  • 1/4 cup almond butter
  • 1/2 teaspoon pumpkin pie spice
  • 1/2 teaspoon salt, divided

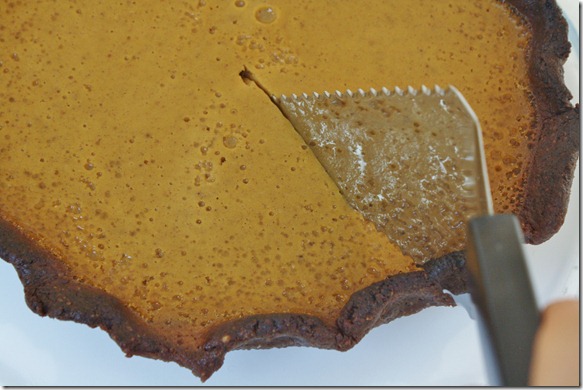
paleo-pumpkin-pie-slicing

Method:

  1. In a food processor, blend the dates, pecans, cinnamon and 1/4 teaspoon of salt until the dates and pecans are finely ground.
  2. Slowly add the water while the dough is pureeing until it comes together and forms a ball. Turn off the food processor.
  3. Preheat your oven to 350 degrees. Press the dough into a pie pan so that there’s 1/4-inch of dough on the bottom and along the sides.
  4. Mix together all of the remaining ingredients until the filling is smooth and uniform.
  5. Pour the filling into the crust. Put the pie onto a water bath and bake for an hour or until the center has cooked through.

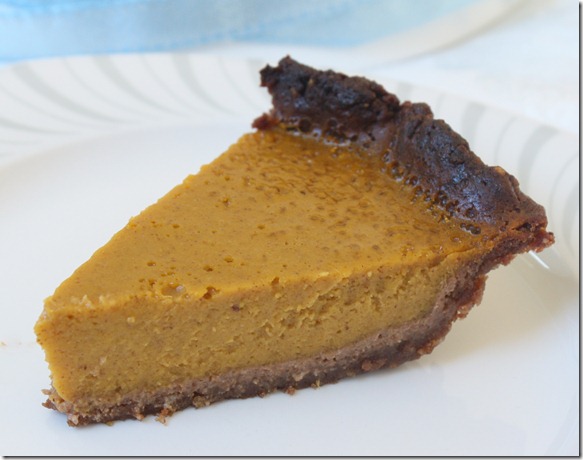
paleo-pumpkin-pie-serving

Don’t wait until next Thanksgiving to make this pie; it’s too good to wait. Find an excuse to make it this week. You’re almost out of leftovers, right? Right?

Cinnamon Honey Butter

cinnamon-honey-butter

This week is all about Thanksgiving recipes. In some respects that was poor planning on my part, since Thanksgiving won’t come around again for another 51 weeks; but I hope some of these recipes you’ll be able to work in and enjoy for Christmas or other times during the year, like this one.

This was so simple to make it almost didn’t feel like a recipe at all. And yet despite how easy it is, the flavor is rich and complex. You could easily make this to keep around for breakfast on toast or dinner on squash. It’s kind of addicting; before you know it you’ll be slathering this on anything.

This recipe calls for unsalted butter; I think it’s always best to keep that in stock since you can always add salt later on. If all you have is salted butter, just omit the added salt in the recipe and it will still taste great.

Cinnamon Honey Butter

Prep time: 5 minutes

Cook time: 0 minutes

Ingredients:

  • 1/2 cup unsalted butter, room temperature
  • 6 Tablespoons honey
  • 1/4 + 1/8 teaspoon cinnamon
  • 1/2 teaspoon salt

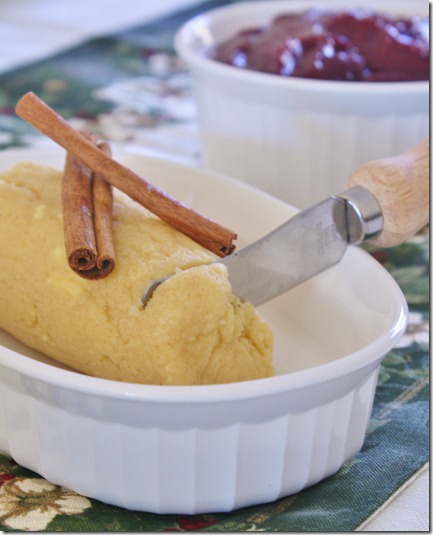
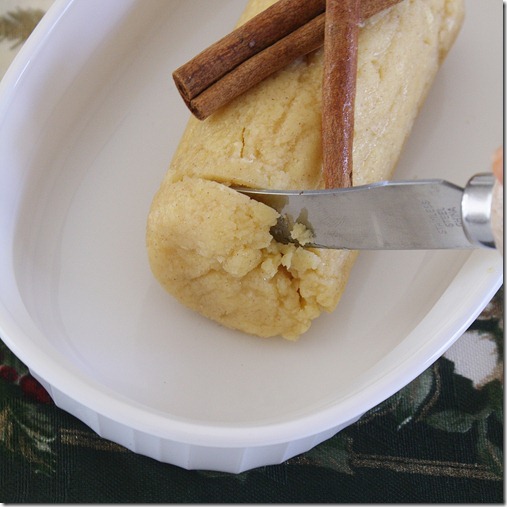
cinnamon-honey-butter-log

Method:

  1. In a small bowl, work all of the ingredients together until completely mixed together.
  2. Scoop the butter onto a piece of Saran wrap. Roll the butter into a log and place it in the refrigerator to solidify.
  3. Unwrap the butter and put it on a butter dish to serve.

cinnamon-honey-butter-serving

When I made this, I licked the bowl I mixed it in. It was simultaneously the grossest and best part of my day. The end.

My Marathon(Or Anytime) Playlist

I listen to music whenever I’m running or working out. I usually listen to music and try to sing along when I’m cooking and think I’m alone until somebody comes by and wonders who’s killing a cat. And now I’m listening to music as I write this.

You’re not really supposed to wear headphones when you’re running a race, but I couldn’t stand listening to my own thoughts for 4 hours. That would drive me nuts. My strategy for long runs is always to distract myself with music that’ll get my heart racing. A good playlist is invaluable for a marathon to take the focus off the pain.

This is the playlist I used for my most recent marathon. It’s pretty evenly mixed between 3 different genres for variety. I put the whole thing on random so I never really knew what was coming up.

Top 40:

Capture1

These types of songs are great because they’re usually up-tempo and kind of catchy. Plus you’ll probably already know them because they’re played on the radio every day.


Country:

Capture2

I’m a big country fan. For the skeptics, I promise it isn’t all songs about dogs dying, wives leaving, and drinking too many beers on a Friday night. There are definitely those songs but they aren’t all the songs. I usually look for the songs with a good, strong rhythm that you could picture people in a bar in Texas line dancing to(not that I’ve done that… yet).


Alternative Pop/Rock:

Capture3

These types of songs are really good for running in particular since the beat is so strong and they get your heart racing. I’m not a fan of the crazy, screaming metal rock like Metallica, though that works for some people, but alternative rock I find fun and invigorating.

 

Some albums to check out:


Here are a few of my favorite band and albums. If you’re looking to buy new music, I suggest listening to a few of these and seeing what catches your ear. Most of them are available to preview on Spotify.

Masterpiece Theater—Marianas Trench

Ever After—Marianas Trench(not on my playlist since it came out the day after my marathon, but I’ve been listening to it ever since)

Shallow Bay: The Best Of Breaking Benjamin—Breaking Benjamin

Incredible Machine—Sugarland

Various Songs—Miranda Lambert

The Singles Collection—Britney Spears

What are you favorite workout songs lately?