Author Archives:

Pumpkin Pie Spice Almonds

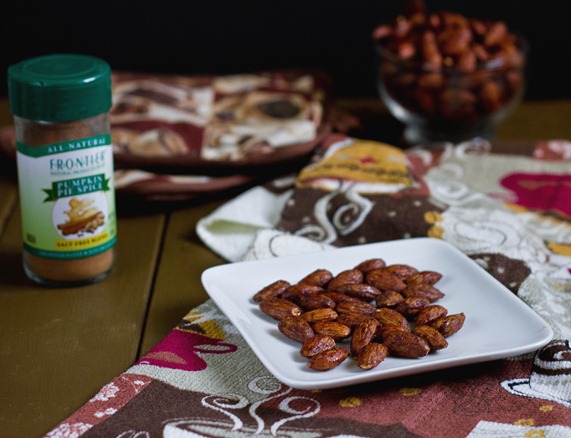
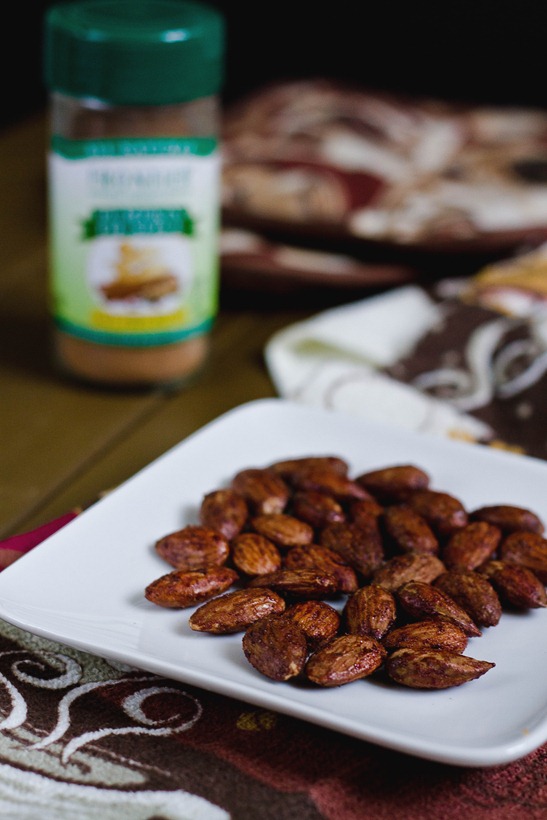
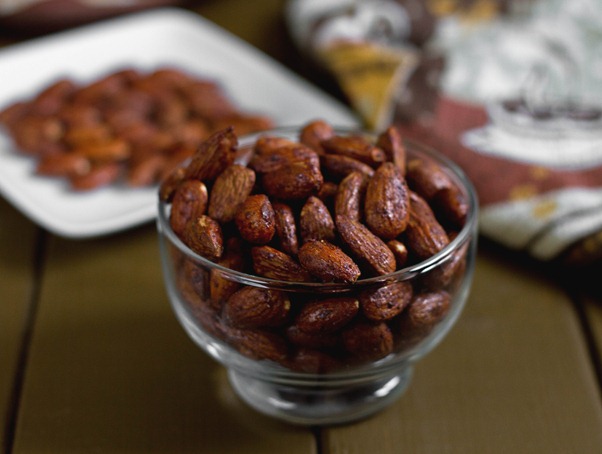
Pumpkin Spice Almonds

The nice thing about Fall and cooler temperatures is that it gets me to use the oven more. During the Summer I’d much rather make ice cream than cupcakes but recently I’ve been using my oven more and more. The kitchen is quickly becoming my favorite room again.

Roasting nuts is something I make time to do every year. You can come up with the most fun flavors using different spices, and they always are a healthier treat, too. A lot of the time I think I like pumpkin pie spice more than pumpkin itself. These almonds have all the right flavors to make you think of Fall in a portable, no-mess snack.

Pumpkin Spice Almonds Serving

If you don’t have pumpkin pie spice, there are plenty of recipes online to make your own. If you don’t feel like looking up a recipe, just toss together cinnamon, ginger, allspice, and nutmeg to get a range of flavors.

Pumpkin Pie Spice Almonds

Prep time: 5 minutes

Cook time: 15 minutes

Ingredients:

  • 1 1/4 cup raw almonds
  • 1/2 Tablespoon pumpkin pie spice
  • 1/4 tablespoon salt
  • 2 Tablespoons maple syrup

Method:

  1. Preheat your oven to 375 degrees.
  2. In a small bowl, combine all of the ingredients until the almonds are coated well.
  3. Lay out the almonds on a non-stick baking tray.
  4. Bake for 15-20 minutes disturbing the almonds halfway through until they’ve roasted to a darker brown. They should still be slightly sticky when you take them out.
  5. Let the almonds cool, break any that are stuck together apart, and store them at room temperature.

Pumpkin Spice Almonds Yield

These are a great snack to leave out at a party. Clean out a mini-pumpkin and serve it in that for something festive.

Smartphone Camera Apps + an HTC One X Giveaway

September 25th 033

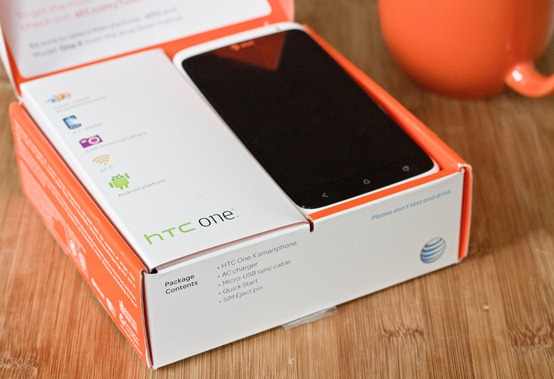
Back at the beginning of September I wrote a post about how I’m a part of AT&T’s “It’s what you do with what we do” campaign. AT&T gave me an HTC One X phone to test out(and one to giveaway in today’s post!) and see how I could make it fit my lifestyle as a food blogger. Immediately I set it up to use for social media and photo sharing. Over the last month I’ve had a lot of fun using the camera phone and 4G to tweet and post on Facebook more candid photos while I was cooking and setting up shots for blog posts. Thankfully I really haven’t ran into any bumps with the phone; you can read all about how I set it up in my first post.

The main thing I was interested in was using the 8 megapixel f2.0 camera to get great shots on the go and finding apps that would help enhance them. I found it really easy to take photos, work with them between apps, and upload them to the internet quickly. The big screen and big buttons makes it easier to see smaller details and work through the phone. And I found an Android app for just about anything I could need, from tweeting to reading my Kindle ebooks. I focused a lot on finding and trying photo apps that tied in with the great camera; I thought I’d share some of my favorites that I came across.

As a sidenote, I use Instagram a lot(@EvanThomas) but don’t talk about it here. It’s not one of my favorite apps for taking and editing photos, but it’s the only one with a social component. More often than not I’ll edit photos in one of the other apps and upload it to Instagram.

Screenshot_2012-09-18-18-10-45

My favorite photo for editing photos was a new one I found in the app store called pixlr-o-matic. I’m hardly exaggerating when I say this app has just about any effect you could ask for. There are literally hundreds of filters, borders, and textures to choose from. If you’re getting bored of the standard old Instagram features, this is definitely the best one to switch to.

Lightroom Photos47

I love the texture effects that add flares to the photos. As someone who’s worked with developing film, those are very hard to get naturally, so having the option to digitally manipulate them is awesome. Some of these filters and textures are so great that I’ve been using their online version to edit photos I take with my DSLR before sharing them online.
Screenshot_2012-08-31-13-28-25

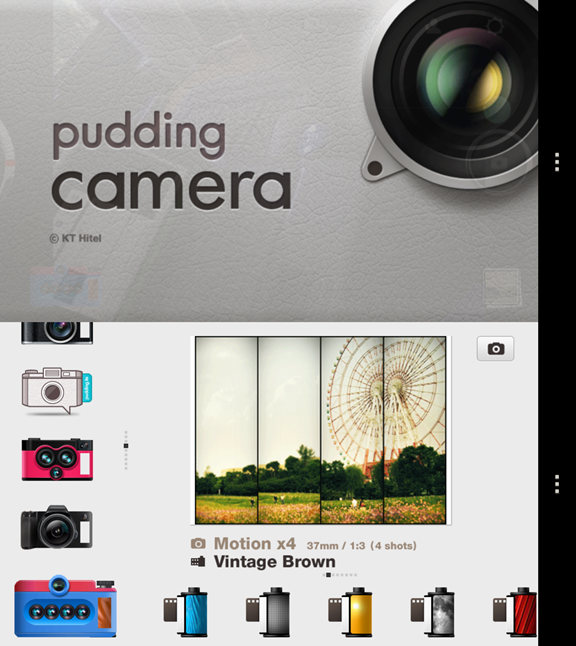
My favorite app is still Pudding Camera. I’ll usually take photos with this app and edit or share them in others afterwards. The interface is simply fun and easy to manage and it has just the right options so that there’s something for every occasion.

20120902140319

I’m really obsessed with the motion x4 setting which takes 4 different exposures. It’s useless for food photography but adds an interesting touch to pictures of large spaces. The fantasy setting is great if you want a focus center and soft blur around the edges to give a low aperture impression.
Screenshot_2012-09-10-16-01-24

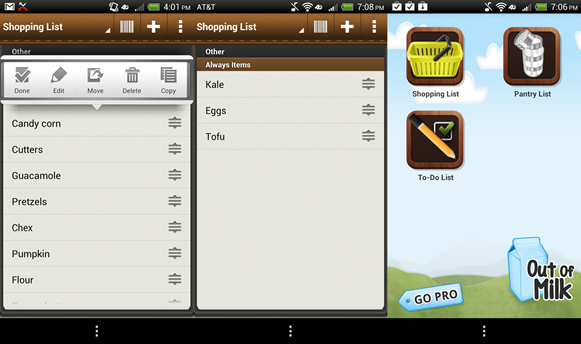
Not a photo app but an app I’ve really loved nonetheless—Out Of Milk is an app that keeps track of your shopping and other lists. There are a lot of apps like this but this one was my clear favorite. You can have different groups, such as items you always need to get every week. You can also cross an item off your list without deleting it, which I found helpful for the items I knew I’d need to add back on the list as soon as I got home. And there’s a part that keeps track of what you already have in your pantry.
September 1st 055

Giveaway:

ATT is letting me giveaway one HTC One X phone($500 value) without service to a reader! To enter, comment below with how you use technology to help with your cooking adventures. Also leave a separate comment for any additional entries.

Additional entries:

  • Like The Wannabe Chef on Facebook
  • Like AT&T on Facebook
  • If you have twitter, tweet “I want to win an @ATT smartphone http://wp.me/p18mer-1CN #ItsWhatYouDo”

I will randomly pick a winner out of the comments on Friday, October 5th. Good luck!

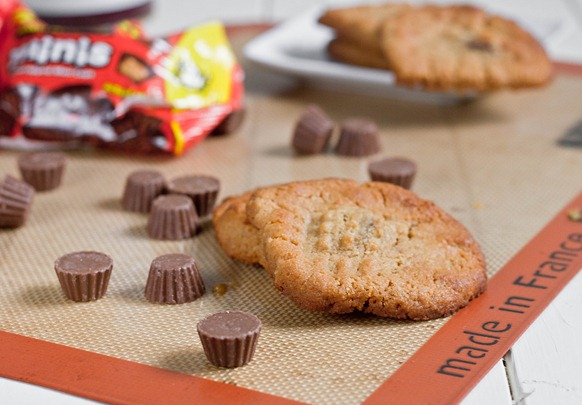
Reese’s Mini Peanut Butter Cookies

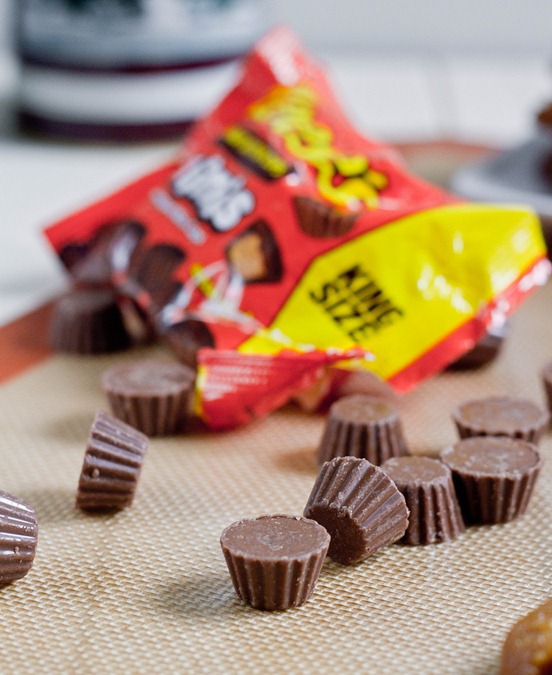
Reese's Peanut Butter Cups Minis

Reese’s have always been my favorite candy for as long as I can remember. They were always the hottest items on Halloween. Their new minis unrwapped peanut butter cups seemed like the perfect candies to bake with—the perfect size and no fussy wrappers.

Obviously a peanut butter and chocolate candy deserves a peanut butter cookie. These cookies are my favorite simple recipe to whip together; you can memorize it and take it wherever you go. You can drizzle these with extra chocolate or making them into ice cream sandwich cookies; and of course they’re gluten-free.

Reese's Peanut Butter Cups Minis Candy

If you can’t find mini Reese’s you can always buy the regular sized candies and chop them up, or swap in a different candy altogether.

Reese’s Mini Peanut Butter Cookies

Prep time: 10 minutes

Cook time: 15 minutes

Ingredients(Makes 14 cookies):

  • 1 cup no-stir peanut butter
  • 3/4 cup sugar
  • 1 egg
  • 1 teaspoon vanilla
  • 1/2 teaspoon baking soda
  • 1 King size Reese’s peanut butter cups mini unwrapped

Reese's Peanut Butter Cup Minis Serving

Method:

  1. Preheat your oven to 350 degrees.
  2. Combine in a large bowl the peanut butter, egg, sugar, baking soda and vanilla and mix.
  3. Add and fold in the mini Reese’s.
  4. Roll the dough into balls about an inch in diameter in between your hands and place them on a non-stick baking tray.
  5. Press down lightly on the dough in a criss-cross pattern with a fork.
  6. Bake for 15 minutes or until the edges start to brown. Remove from the oven and let them cool completely before moving them or otherwise they will break apart.


Tri-Pepper Quinoa

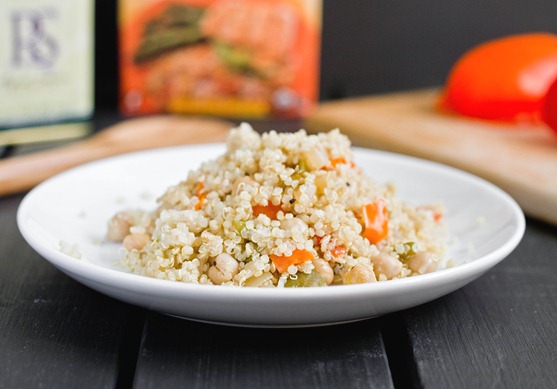
Tri-Pepper Quinoa

The easiest place to get inspired for recipes is the grocery store. Just going to the produce section and seeing the huge displays of vibrantly colored fruits and vegetables makes you want to eat that much more. My grocery store had a display of different colored peppers and I knew I wanted to use them for a recipe.

The colors fade from the peppers a little once you sauté them but it brings out a much sweeter flavor, too. They add the perfect touch with some seasoning to quinoa to make it a much more interesting dish.

Tri-Pepper Quinoa Peppers

If you want to dress this up, you can purchase some extra peppers, roast them until they’re cooked, and serve the quinoa inside the cooked peppers.

Tri-Pepper Quinoa

Prep time: 10 minutes

Cook time: 15 minutes

Ingredients:

  • 1 1/2 cup quinoa
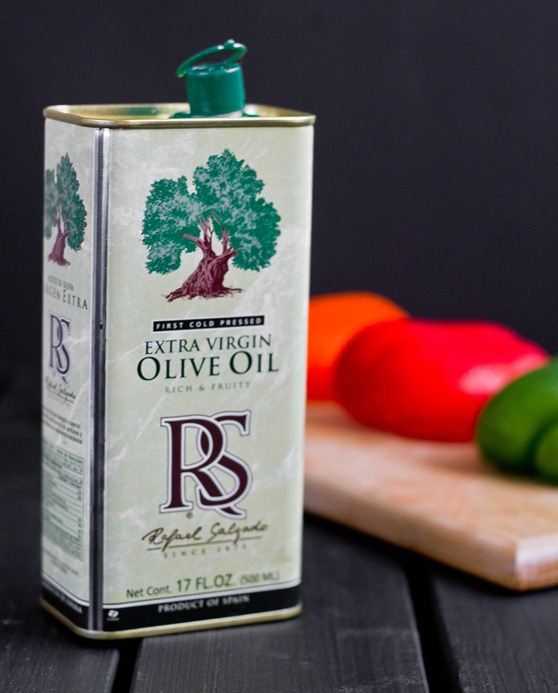
  • 3 Tablespoons olive oil
  • 1/2 green pepper, diced
  • 1/2 red pepper, diced
  • 1/2 yellow pepper, diced
  • 1 onion, diced
  • 3/4 salt
  • 1/4 tablespoon black pepper
  • 1 Tablespoon honey(optional)
  • 1 15oz can chickpeas

Tri-Pepper Quinoa Olive Oil

Method:

  1. Combine the quinoa with the appropriate amount of water(about 3 cups unless the brand you’re using says otherwise) in a pot over the stove. Bring to a boil, cover, and turn off the heat. Leave undisturbed for 15 minutes.
  2. While the quinoa is cooking, heat the olive oil in a large pan over a separate burner.
  3. Sauté the onion and the peppers until they start to turn color and char a little.
  4. Add the salt and pepper to the vegetables in the pan and remove from the heat.
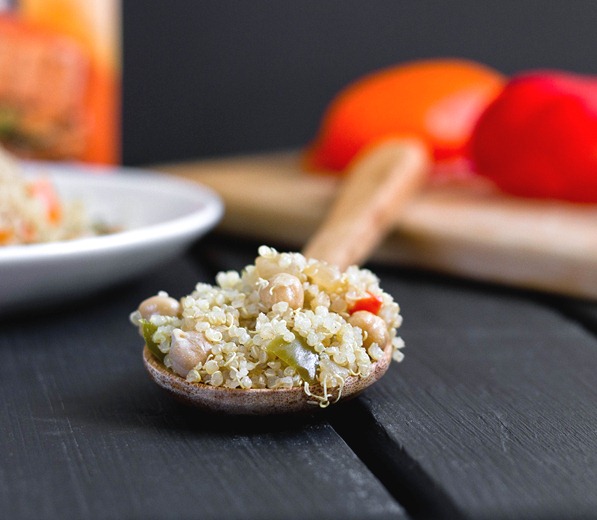
  5. Remove the lid from the quinoa and add in the chickpeas, honey, and sautéed vegetable. Mix well with a large spoon and serve hot.

Tri-Pepper Quinoa Finished Product

Biting into the peppers and onions reminded me of a meatloaf. If you’re not a vegetarian you can always leave the chickpeas out and serve this with some ground beef and I think it’d be excellent.

Grain-Free Pumpkin Muffins

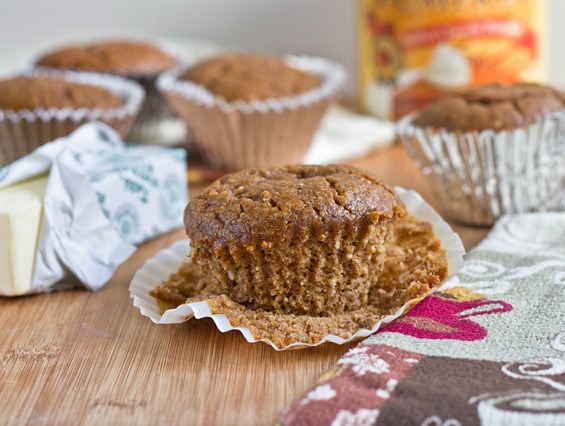
Grain-Free Pumpkin Muffins Serving

A lot of people debate what the difference between a muffin and a cupcake is. Some say it depends on whether it’s frosted or not while for others it’s about the texture. For me it’s about nutrition. Is it healthy enough that you’d want to eat it for breakfast? Then it’s a muffin. If it’s a sugar and fat bomb even without frosting, you’re probably looking at a cupcake. 

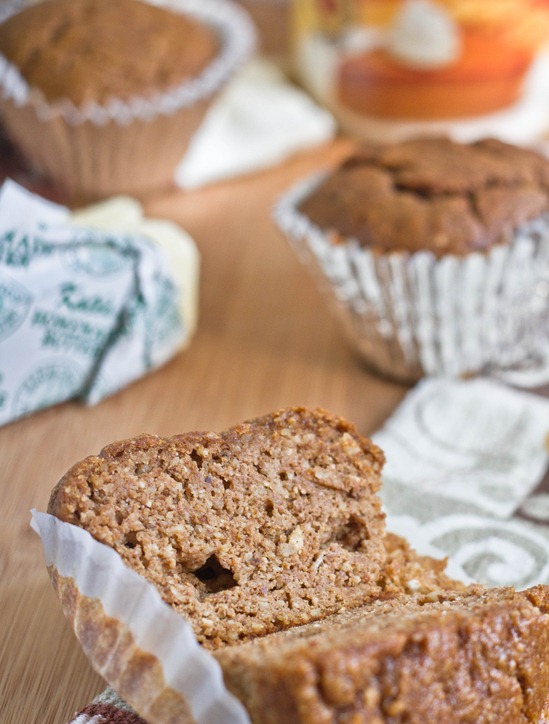
These muffins are dense, chewy, and hearty. The best way to eat one is warm with some peanut butter or cream cheese smeared inside. It’s not incredibly sweet but has a nice flavor from all of the pumpkin spices. It definitely passes the breakfast test.

Grain-Free Pumpkin Muffins Sliced

If you don’t have 3 cups of almond flour, you can make your own by grinding 3 cups of almonds in a food processor like I did. Make sure to run it for a really long time to avoid getting larger pieces of almonds.

Grain-Free Pumpkin Muffins

Prep time: 10 minutes

Cook time: 25 minutes

Ingredients(Makes about 10 muffins):

  • 3 cups almond flour or meal
  • 1 cup pumpkin
  • 1/4 cup vegetable oil
  • 3/4 cup maple syrup
  • 6 eggs
  • 2 Tablespoons tapioca starch
  • 2 teaspoon pumpkin pie spice
  • 1/2 teaspoon salt
  • 1 teaspoon baking soda

Method:

  1. Preheat your oven to 350 degrees.
  2. In a large bowl, mix together the almond flour, pumpkin, vegetable oil, maple syrup, and eggs until there are no clumps left.
  3. Mix in the tapioca starch, spice, salt and baking soda.
  4. Pour the batter into lined muffin tins.
  5. Bake for 25 minutes or until a toothpick inserted in the center comes out clean. Turn the oven off and let the muffins cool in there with the door slightly cracked open.
  6. Store at room temperature for 2-3 days or freeze them to make them last longer.

Grain-Free Pumpkin Muffins

Don’t skimp on the pumpkin spice blend; that’s where all the delicious pumpkin muffin flavor is.

Salty-Sweet Halloween Chex Mix

Salty-Sweet Halloween Chex Mix

Fall is really a much better season for foodies than Winter. You have your candy corn, your pumpkin spice, fresh apples—what more can you need? Besides, can you ever remember anyone making a recipe with fruitcake or ribbon candy that you just loved? Didn’t think so.

I’m not typically a big snacker but when I do feel like something to nibble on I have the hardest time deciding. Salty or sweet? Nutty or candy? Healthy or… not? There’s a lot to consider.

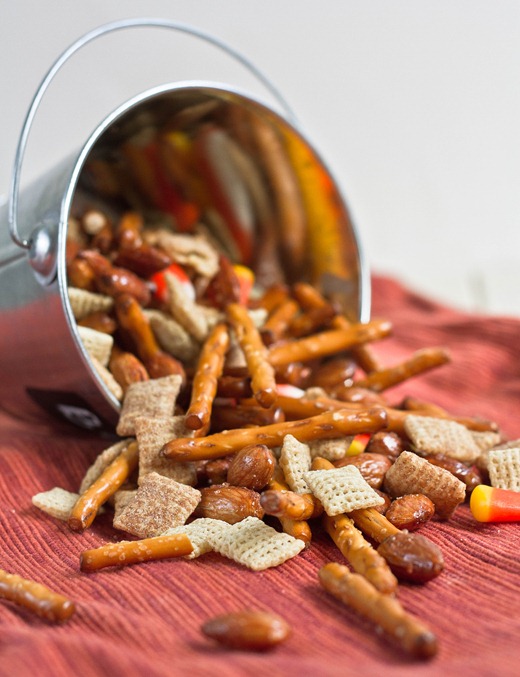
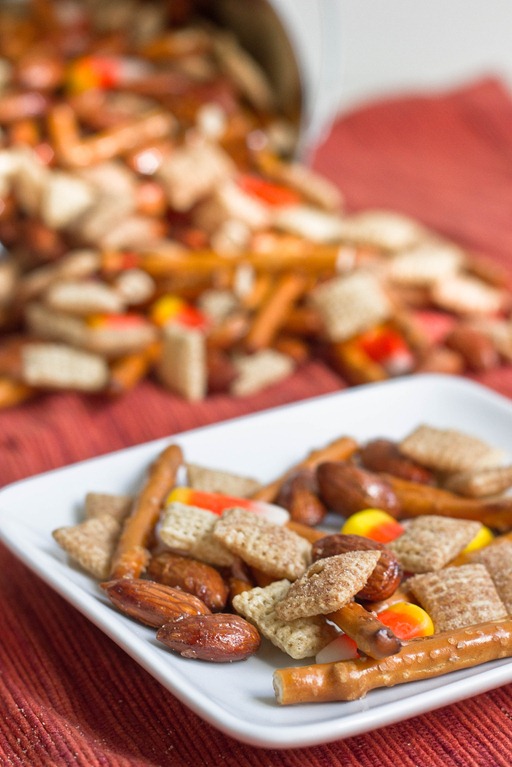
Salty-Sweet Halloween Chex Mix Bucket

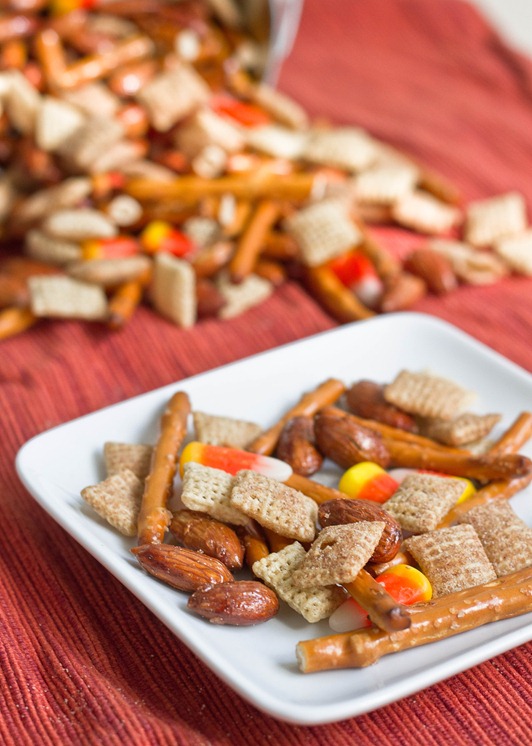
Lately I’ve been digging this Chex mix since it hits all the marks. It has candy corn—my all-time favorite candy—, spicy Chex cereal, salty gluten-free pretzels and sweet almonds. It’s a little healthy with whole grains and nuts and a little not. It’s easy enough to make for yourself but also fun enough to bring to a party.

If you don’t feel like making your own almonds, you can buy honey roasted or cinnamon sugar almonds and use those instead.

Salty-Sweet Halloween Chex Mix

Prep time: 5 minutes

Cook time: 0 minutes

Ingredients(Makes about 5 cups)

  • 2 cups cinnamon Chex cereal
  • 1 cup salted-maple almonds(recipe below)
  • 1 1/4 cup pretzel sticks*
  • 3/4 cup candy corn

*I used Snyder’s of Hanover gluten-free pretzel sticks

Method:

  1. Combine all of the ingredients in a large bowl and enjoy.

Salted-Maple Almonds

Prep time: 5 minutes

Cook time: 20 minutes

Ingredients(Makes 1 cup):

  • 1 cup almonds
  • 2 Tablespoons maple syrup
  • 1 teaspoon coarse salt

Method:

  1. Preheat your oven to 375 degrees.
  2. Mix all of the ingredients together in a small bowl.
  3. Pour the almonds on top of a non-stick baking try in a single layer.
  4. Roast for 20 minutes, disturbing the almonds about halfway through. Don’t worry if they still look sticky after 20 minutes; as they cool down they’ll become less wet.
  5. Break the almonds apart while they’re warm. Store in an airtight container for up to 2 weeks at room temperature.

Salty-Sweet Halloween Chex Mix Serving

A note about candy corn: Last year I found out through error that most name brand candy corns are not vegetarian because they have gelatin in them. However, CVS store brand is vegetarian so if that’s a concern you can still go ahead and enjoy this.

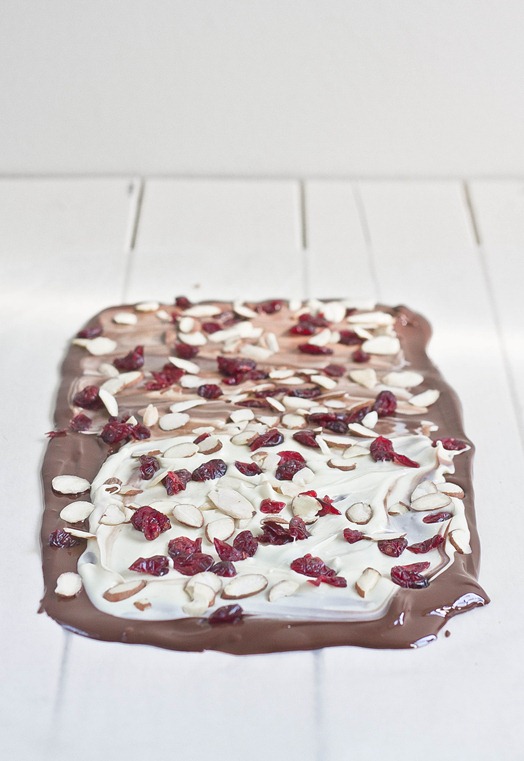
White Chocolate Cherry Almond Bark

White Chocolate Cherry Almond Bark

I don’t think bark should be a holiday food. It’s chocolate, nuts, and dried fruit—what’s holiday-like about that?! That sounds like anytime food to me. So feel free to make this whenever you feel like.
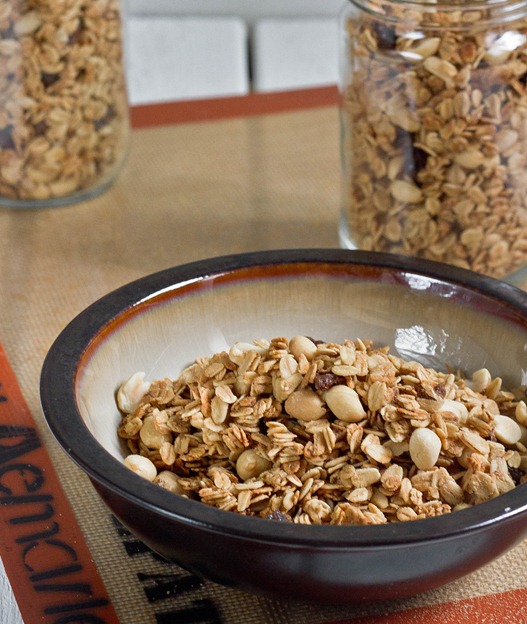
This is an actually an old recipe from my archives. Last time I made it I wasn’t happy with the photos so I thought I’d give it another post, not that I need much convincing when chocolate’s involved. I love white chocolate but don’t buy it very often. It’s much better at pairing with other flavors than just on its own.

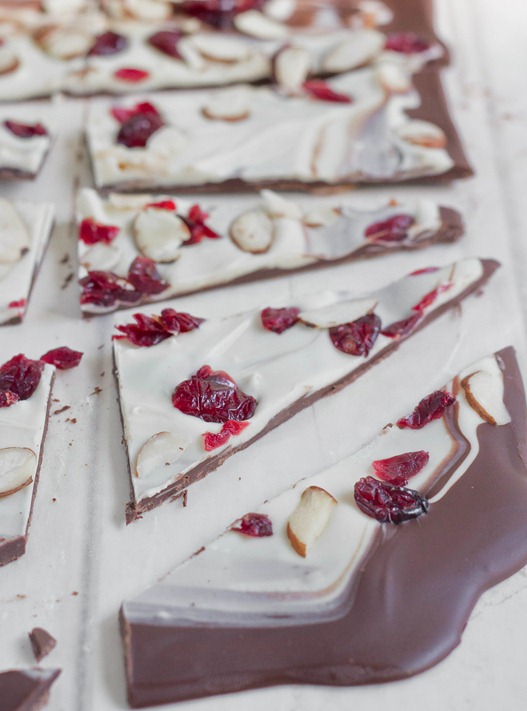
The tart cherries and unsweet almonds help to curb the sweetness of the white chocolate, and the dark chocolate on the bottom adds a bit of bitterness to the mix. Altogether it’s a winning combination.

White Chocolate Cherry Almond Bark Drying

You can use sliced, crushed, or slivered almonds—whatever you have. Also feel free to swap in cherry flavored craisins if you get to the store and realize you don’t feel like paying more for dried cherries; you’d be in good company.

White Chocolate Cherry Almond Bark

Prep time: 10 minutes

Cook time: 0 minutes

Ingredients:

  • 1/2 pound white chocolate
  • 1/2 pound semi-sweet or bitter-sweet chocolate
  • 1/2 cup sweetened or unsweetened dried cherries
  • 1/2 cup shaved almonds

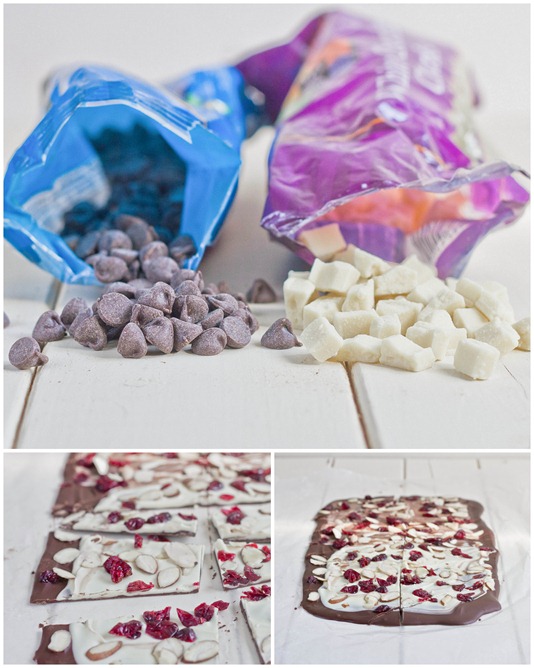
White Chocolate Cherry Almond Bark Collage

Method:

  1. Start by melting either the white or dark chocolate—whichever you want to be the base of the bark(I started with the white)—in a microwave or over a double boiler. Melt until completely smooth.
  2. Lay the chocolate out in a thin layer on a non-stick surface like wax paper.
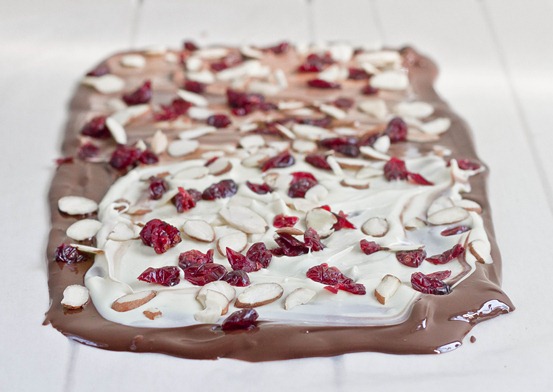
  3. Melt the other chocolate and carefully spread it on top of the first layer, gently swirling the two together with a utensil.
  4. Sprinkle on the cherries and the almonds all over the chocolate and press them in lightly with your hand.
  5. Freeze the chocolate for about 20 minutes until it has completely hardened.
  6. With a sharp knife, cut the chocolate into unequal pieces. Store for up to 2 weeks.

White Chocolate Cherry Almond Bark Yield

Just Photos: MixFest 2012

Mixfest 002

Mixfest 040

Mixfest 056

Mixfest 023

Mixfest 074

Mixfest 090

Peanut Butter Granola

Peanut Butter Granola

Sometimes I get sick of food. Kale, potatoes, eggs—all things I usually love—just don’t seem as appetizing lately. There are a few foods I never get sick of like peanut butter, oats, and yogurt. When that’s all you want to eat, what’s better to do than make granola?

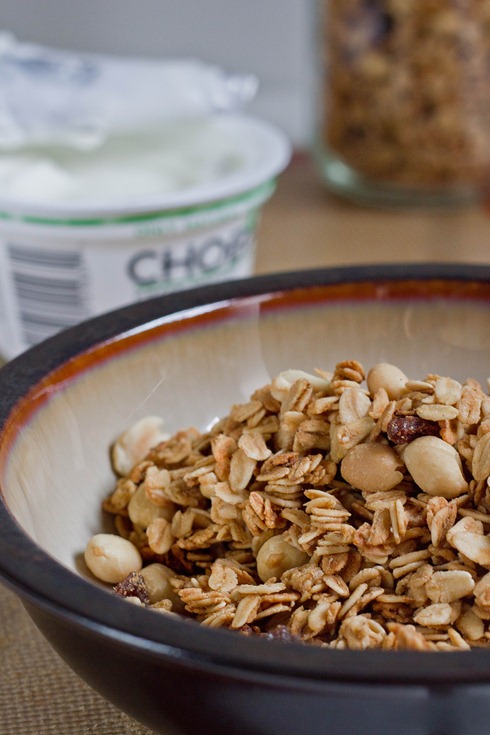
This has been my go-to lunch as of late. I’m usually hurried and granola and a container of yogurt are convenient and easy to pack; add a banana and you’re all set. I’m also a huge fan of GORP and ants on a log so raisins add the perfect touch to round out the recipe.

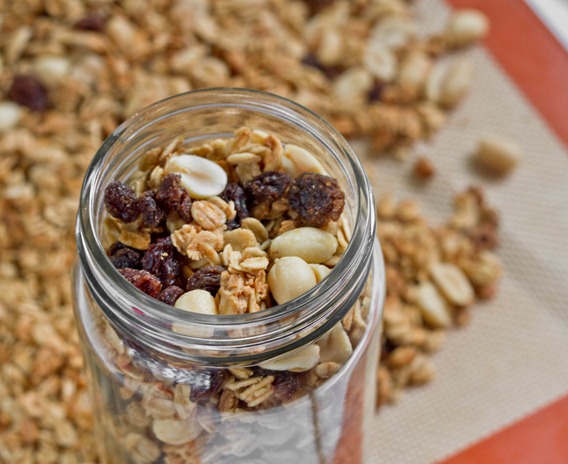
Peanut Butter Granola Jar

This granola doesn’t have an in-your-face peanut butter flavor; instead, it’s a lighter, sweeter nutty flavor. It’s also chewier than most other granolas I’ve made and reminds me of a crumbled up granola bar on top of yogurt.

Peanut Butter Granola

Prep time: 10 minutes

Cook time: 35 minutes

Ingredients(Makes about 3 1/2 cups):

  • 2 1/2 cups oats
  • 2 Tablespoons peanut butter
  • 2 Tablespoons peanut oil*
  • 1/3 cup maple syrup
  • 1/2 teaspoon vanilla extract
  • 1/4 cup salted roasted peanuts
  • 1/4 cup raisins

*You can use any type of oil but peanut oil will have the best flavor

Peanut Butter Granola Baked

Method:

  1. Preheat your oven to 350 degrees.
  2. In a large bowl, mix together the oats, peanut butter, oil, maple syrup and vanilla.
  3. Spread the oats out in a thin layer on a non-stick baking sheet.
  4. Bake for 35 minutes breaking up the oats with a utensil every ten minutes or so until the oats are toasty and golden.
  5. Let the oats cool before mixing in the peanuts and raisins. Store in a sealed container at room temperature.

Peanut Butter Granola Serving

Of course you could (and probably should) add chocolate chips as a mix-in. I’m not sure why I didn’t think of that; I must have been tired that day.

Vegan Honey Mustard Dip

Vegan Honey Mustard Dip

Last week I moved back to Providence. Now that everything’s been unpacked and I’m settled, there are really only two things I sorely miss: HGTV and the Food Network. While they aren’t my favorite channels, they’re certainly my favorite to have playing in the background when I’m working on other projects. And even better they’re perfect to get ideas from.

One of the last shows I watched was Melissa d’Arabian’s cooking program where she made an easy honey mustard dip. It instantly reminded me of the type of sauce you’d get from McDonalds with an order of chicken mcnuggets and knew it’d be good. However I wanted to make it more like something that I’d eat. 

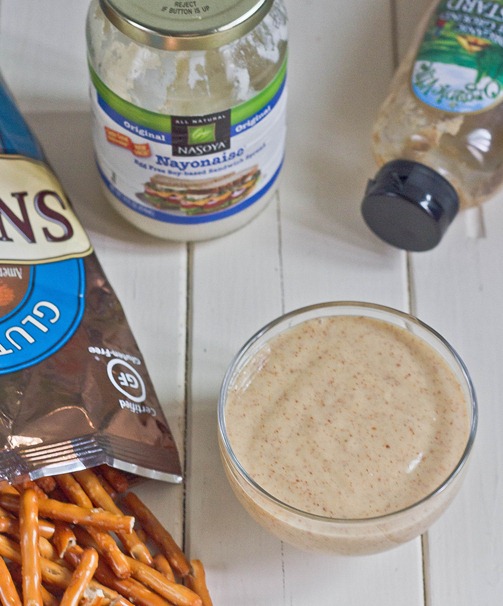
Vegan Honey Mustard Dip Ingredients

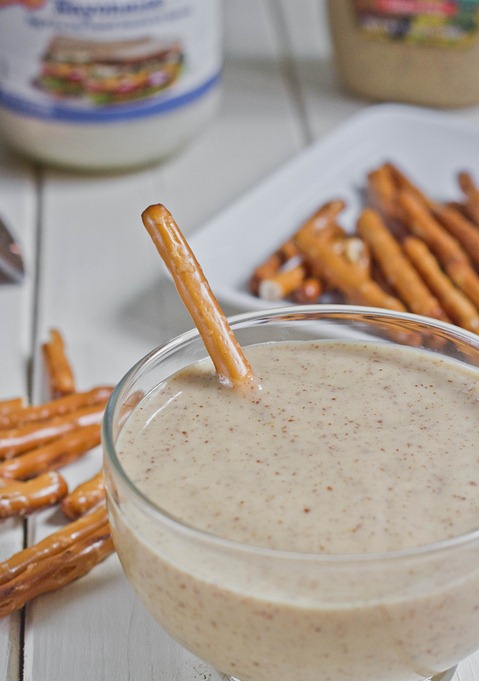
Instead of mayonnaise this recipe uses a vegan mayonnaise substitute that’s tofu based. While I’m sure that doesn’t sound appetizing, I actually prefer the flavor of it to traditional mayonnaise. Instead of honey I used two non-animal based sweeteners: maple syrup and agave. The maple syrup gives an earthy flavor while the agave makes the dip taste a little bit fruity.

Vegan Honey Mustard Dip

Prep time: 5 minutes

Cook time: 0 minutes

Ingredients:

  • 1/4 cup vegan mayonnaise
  • 1/4 cup stone ground mustard
  • 1 Tablespoon maple syrup
  • 1 Tablespoon agave nectar

Method:

  1. Mix all of the ingredients together in a small bowl.
  2. Add more or less sweetener to taste.
  3. Keep cold in the refrigerator when not eating.

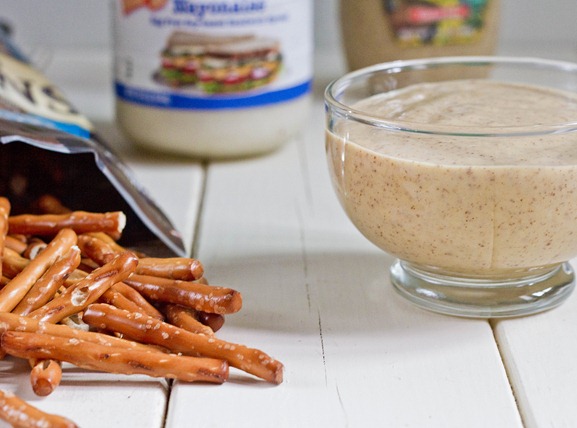
Vegan Honey Mustard Dip 2

This dip has been great with pretzels, apples, and carrots. You can also eat it with chicken or tofu. I’d be lying if I said I hadn’t thought about pouring this on a salad even though it’s not quite a dressing; it’s just too good to ignore.