Author Archives:

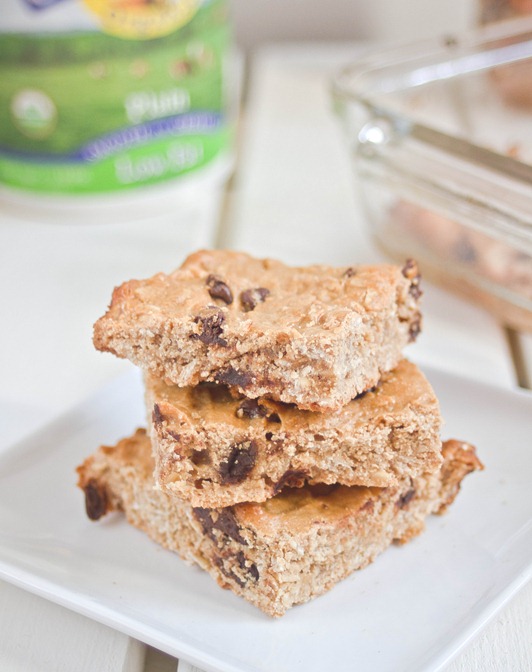
Peanut Butter Snack Squares

Peanut Butter Snack Bars

Every afternoon around 3pm I run into the problem of something healthy to snack on. I’d usually just prefer a bag of M&Ms and some Reese’s peanut butter cups and call it a day, but apparently that’s not good for you(who knew?). I went ahead and tried to make a healthy snack since it’s a lot easier and cheaper than finding tasty ones in the grocery store. And wouldn’t you know you can still have your peanut butter and chocolate and eat well, too?

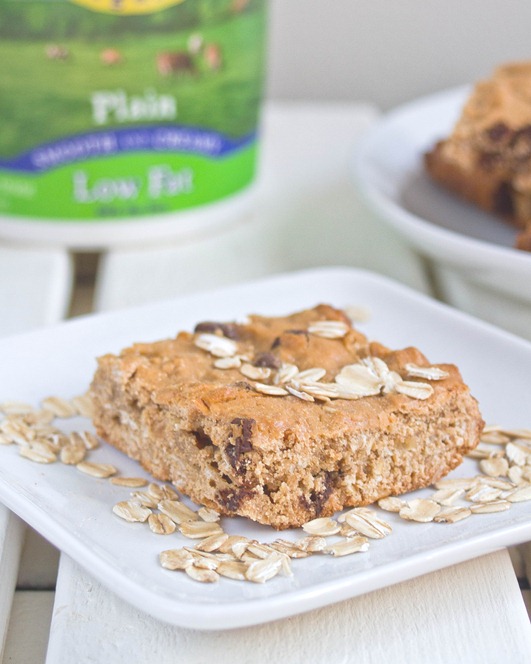
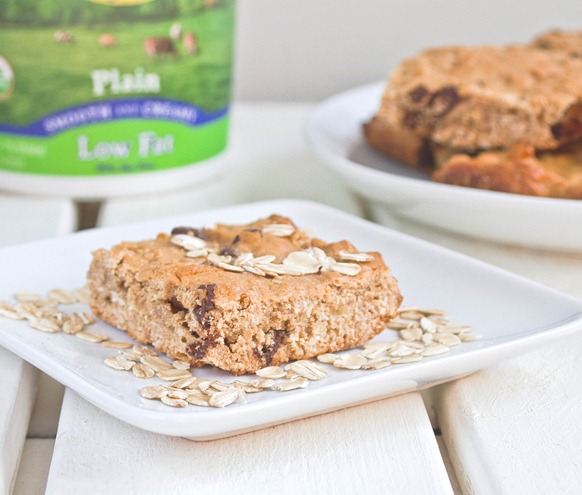
These definitely aren’t fudgy enough to be blondies or airy enough to be cake; that’s why I’d call them “squares” and say they’re the perfect afternoon pick-me-up when you’re not sure what to have. They’re filled with whole grains, peanut butter, and low-fat yogurt so they must be a better choice than anything from the vending machine.

Peanut Butter Snack Bars Healthy

If you want to make these really healthy, swap out the chocolate chips for raisins. Then again if you want to use both I won’t tell anyone.

Peanut Butter Snack Squares

Prep time: 15 minutes

Cook time: 25 minutes

Ingredients(Makes 9 squares):

  • 1 cup all-purpose gluten-free flour(or regular flour)
  • 3/4 cup gluten-free rolled oats
  • 1/2 cup + 2 Tablespoons sugar
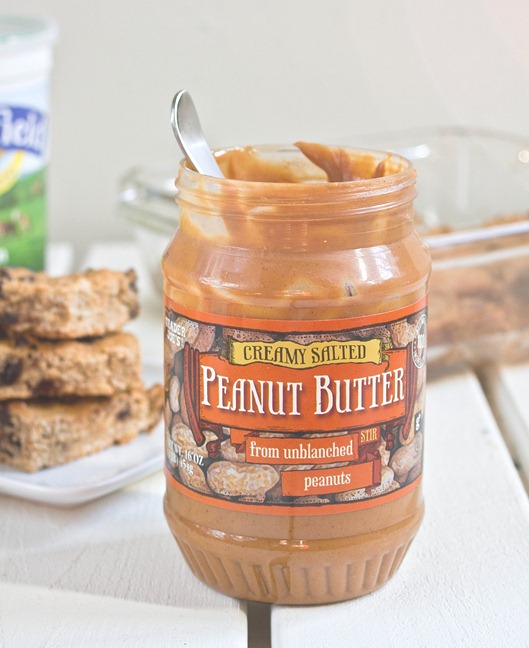
  • 1/2 cup peanut butter
  • 1/2 cup plain low-fat yogurt
  • 1 egg
  • 2-4 Tablespoons water
  • 1/3 cup chocolate chips

Peanut Butter Snack Bars Peanut Butter

Method:

  1. Preheat your oven to 350 degrees and grease an 8×8 baking pan.
  2. In a large bowl, mix together the flour, oats, and sugar.
  3. Add in the peanut butter, yogurt, and egg and beat well.
  4. Slowly add in water just until the batter is wet enough for you to stir with a whisk or spatula to mix it.
  5. Lastly fold in the chocolate chips.
  6. Pour the batter into the greased baking tray. Bake for about 25 minutes until the edges start to brown.
  7. Let the pan cool before cutting it into 9 squares. Store sealed in the refrigerator until ready to eat. 

Peanut Butter Snack Bars Serving

After a few days these start to stiffen up. Just pop them in the microwave for 30 seconds on a low setting and it’ll be just like they came out of the oven again!

Pumpkin Spice Buttercream

Pumpkin Spice Buttercream

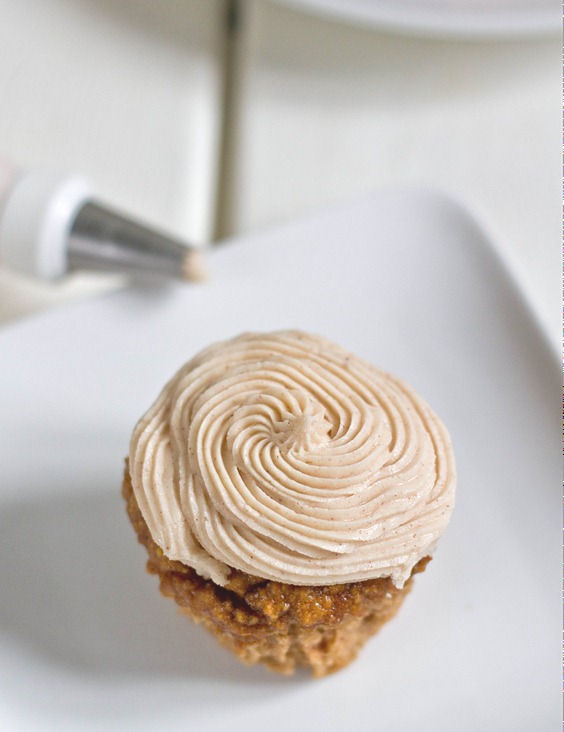
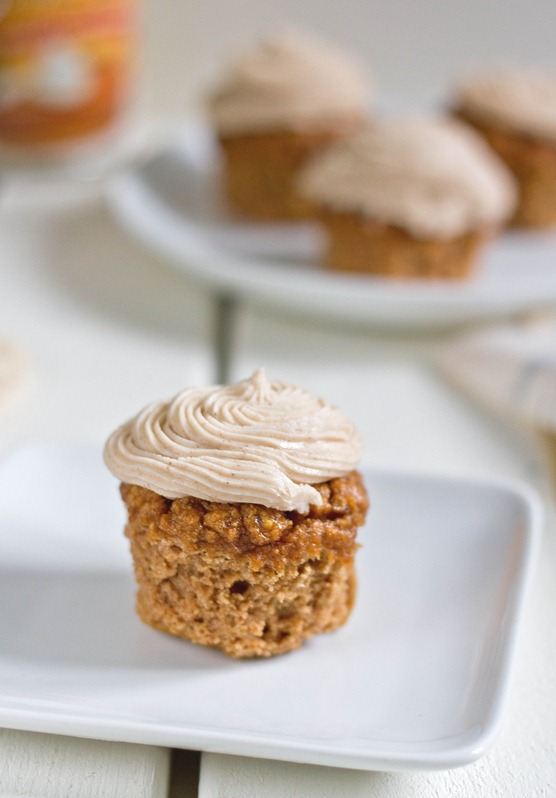
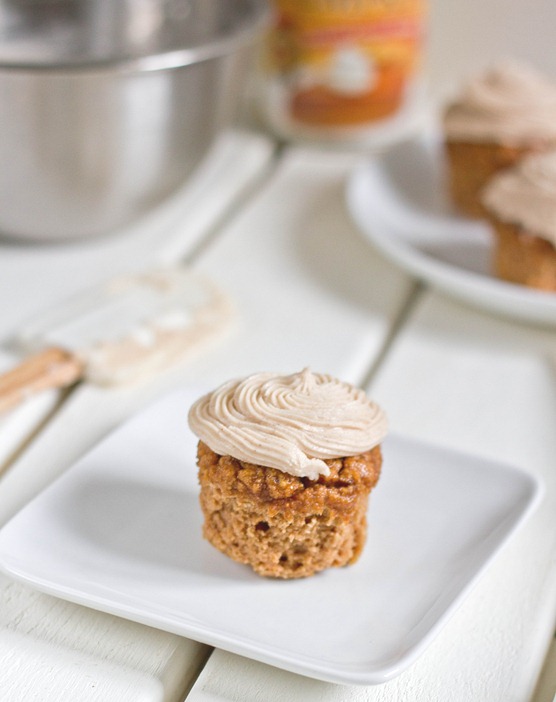
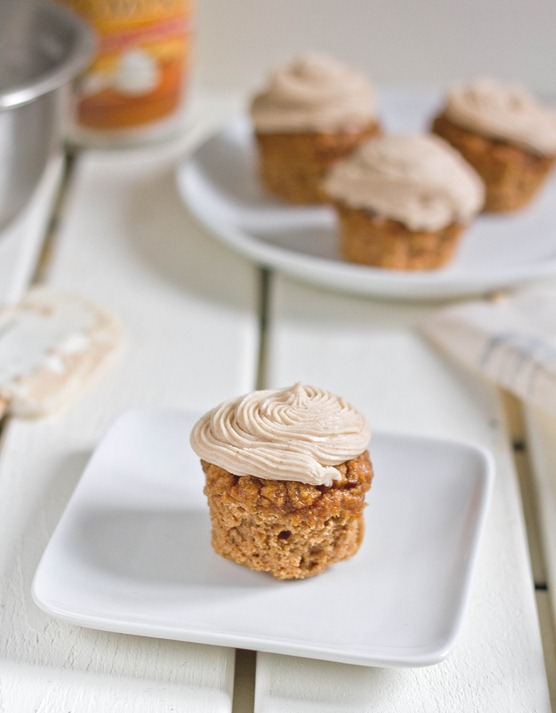
Last weekend I tried to make gluten-free pumpkin cupcakes; the result was a little disappointing and I’ll have to try again to come up with a recipe that isn’t. But what can never disappoint is frosting.

Although there texture was a little rough, the cupcakes still tasted fine so I went ahead and frosted and served them. Frosting can fix just about any cake disaster. Instead of vanilla extract or vanilla bean paste, pumpkin pie spice gives the perfect earthy flavor for Fall. You could easily pair this with a yellow or chocolate cupcake and it’d be just as good.

Pumpkin Spice Buttercream Serving

You can easily make this recipe non-dairy by using a dairy-free margarine and non-dairy milk. Don’t go too heavy-handed with the spice because the sugar really turns up the flavor.

Pumpkin Spice Buttercream

Prep time: 10 minutes

Cook time: 0 minutes

Ingredients(Makes enough for about 10 cupcakes):

  • 1 stick butter, room temperature
  • 2 cups powdered sugar
  • 1/2 teaspoon pumpkin pie spice
  • 1-3 teaspoons milk(optional)

Pumpkin Spice Buttercream Cupcake

Method:

  1. Beat together the room temperature butter, powdered sugar, and pumpkin pie spice until the frosting has an even consistency.
  2. If your frosting is on the thick side, add milk by the teaspoon until it’s at an easier consistency to work with.
  3. Make sure to use the frosting within 2-4 hours of preparing.

Pumpkin Spice Buttercream 2

Hopefully I’ll get the cupcakes right. Eventually. For now eating the frosting is just fine.

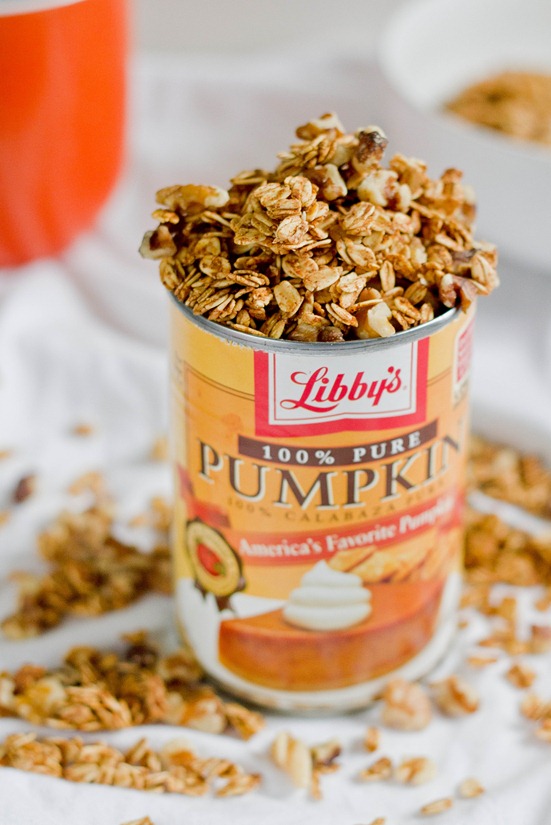
Homemade Pumpkin Granola

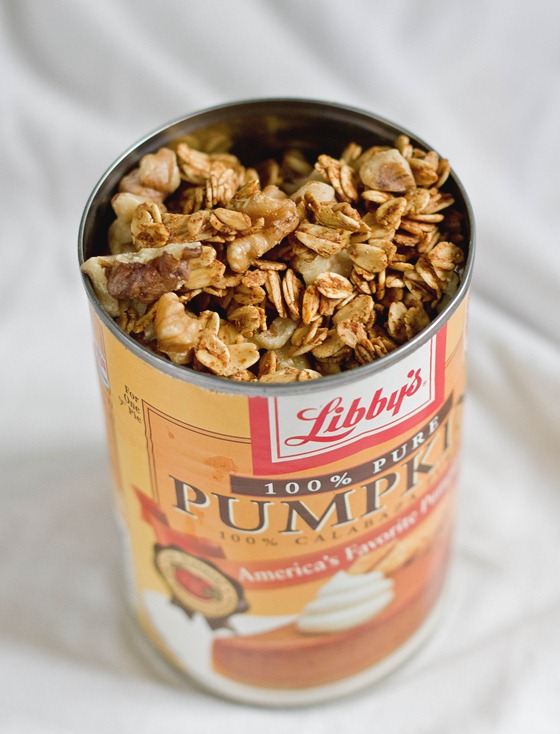
Homemade Pumpkin Granola

It was really only a matter of time before I combined pumpkin and granola, wasn’t it?

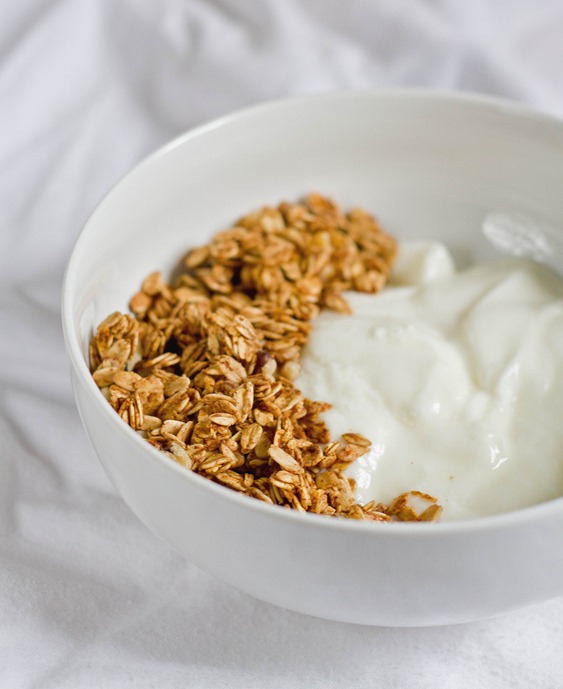
If you like granola and yogurt with a cup of tea on crisp Fall morning, this is definitely a recipe for you. Most of the flavor comes from the pumpkin spice rather than the actual pumpkin. Still it tastes(and smells!) delicious.

Homemade Pumpkin Granola Serving

If you don’t have pumpkin pie spice on hand, just use a mix of cinnamon, allspice, ginger, cloves, and nutmeg to get the same flavor. You can also add in an extra 1/2 cup of raisins or dried apple slices if you want to add a touch of sweetness.

Homemade Pumpkin Granola

Prep time: 10 minutes

Cook time: 25 minutes

Ingredients(Makes about 3 cups):

  • 2 1/2 cups rolled oats
  • 1/4 cup maple syrup
  • 2 Tablespoons pumpkin puree
  • 2 Tablespoons cooking oil
  • 1 Tablespoon pumpkin pie spice
  • 1/4 teaspoon salt
  • 1/2 cup crushed walnuts

Method:

  1. Preheat your oven to 350 degrees.
  2. In a large bowl, mix together the oats, maple syrup, pumpkin, oil, spice and salt thoroughly.
  3. Lay the wet oats out on a non-stick baking surface in a thin layer.
  4. Bake for 25 minutes, breaking up the oats around 10-15 minutes before taking them out of the oven.
  5. Let the oats cool completely once they’re done.
  6. Mix in the walnuts and store the granola in a sealed container at room temperature for up to 2 weeks.

Homemade Pumpkin Granola Yield

You can also feel free to add white chocolate chips and candy corn. I can say from experience that that’s a winning combination.

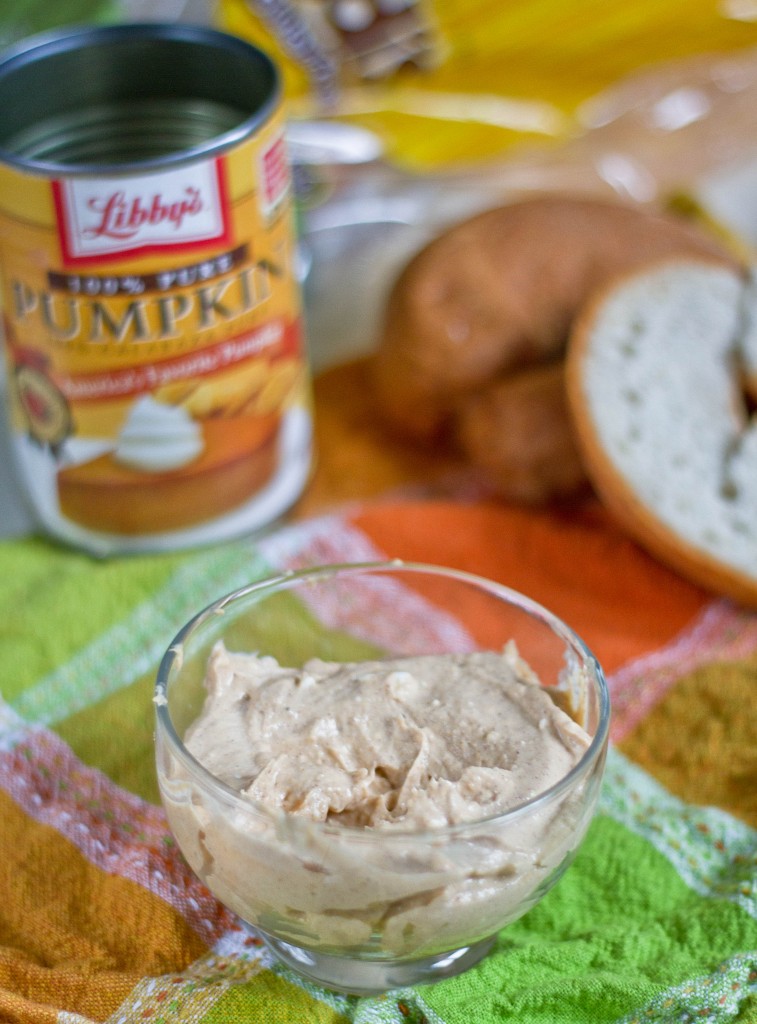
Homemade Pumpkin Cream Cheese

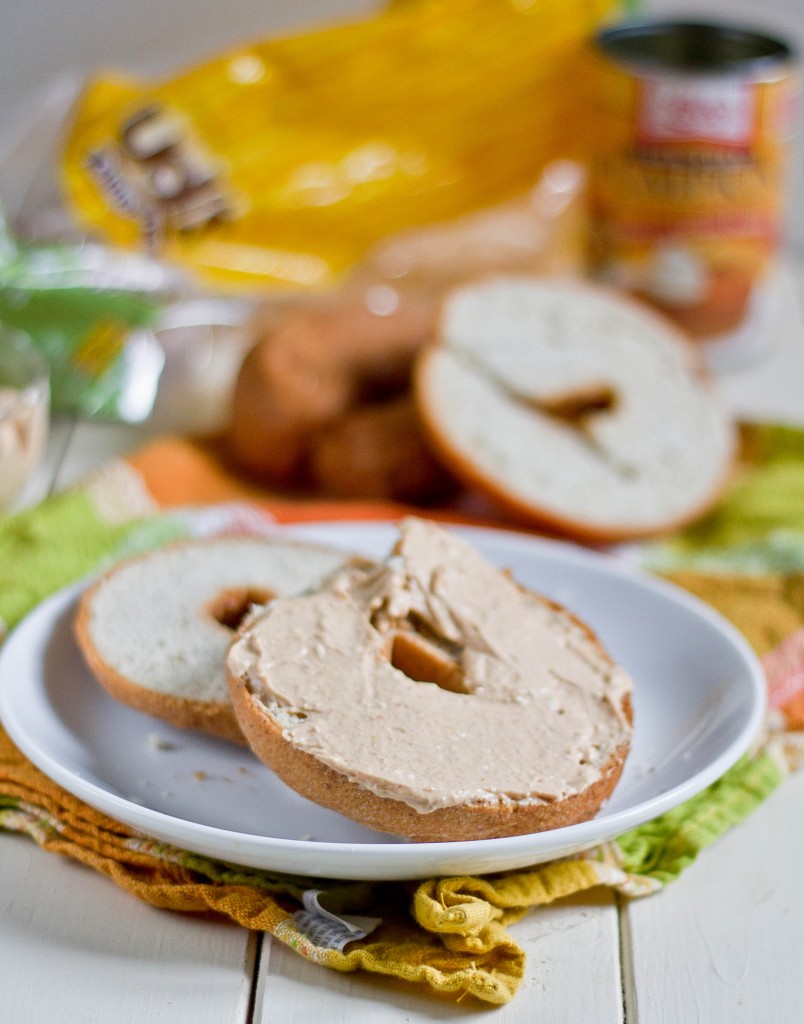
I used to be obsessed with Panera Bread and their cinnamon crunch bagels and fancy cream cheeses; it’s not nearly as much fun to go to when you can’t have gluten so it’s been a while. But this week I had extra cream cheese to use up and a hankering for gluten-free bagels and knew exactly what to make.

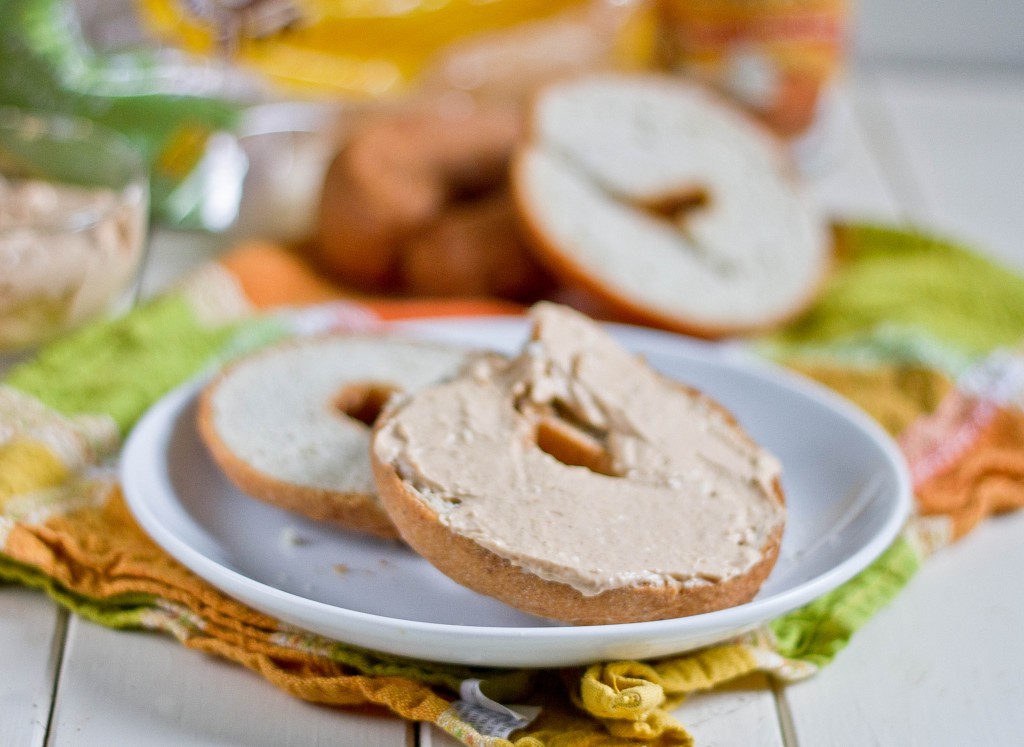
This cream cheese is simple and delicious. It has just the right amount of spice to make a plain bagel really taste special. I always catch myself licking the knife clean after I’m done spreading it on because it’s too good not to.

You don’t need to use particularly fancy ingredients for this recipe. If you don’t have maple syrup you can substitute honey or molasses. Use just as much sweetener as you prefer for the flavor.

Homemade Pumpkin Cream Cheese

Prep time: 5 minutes

Cook time: 0 minutes

Ingredients(Makes about 8 servings):

  • 1/2 cup cream cheese
  • 3 Tablespoons pumpkin puree
  • ~2 Tablespoons maple syrup
  • 1 teaspoon pumpkin pie spice

Method:

  1. In a small bowl, beat together all of the ingredients until there are no lumps left.
  2. Store in a sealed container in the refrigerator for up to 2 weeks after making. 

It almost makes you wonder how something so simple can be so good.

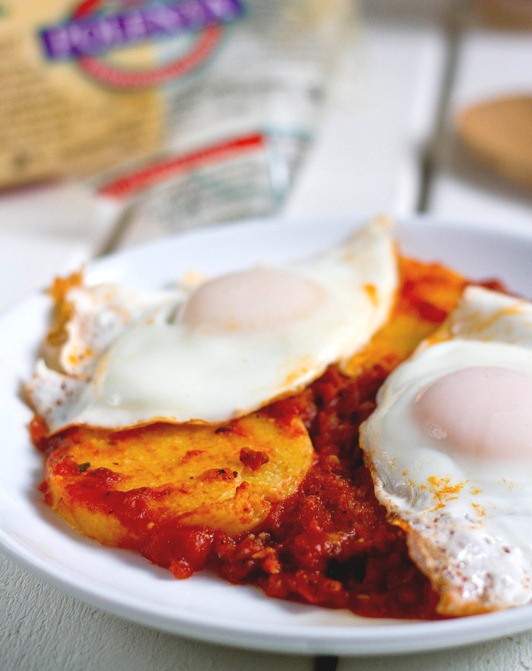
Easy Polenta And Eggs

Easy Polenta and Eggs

Real Italians look away; this recipe definitely isn’t for you. Otherwise keep reading.

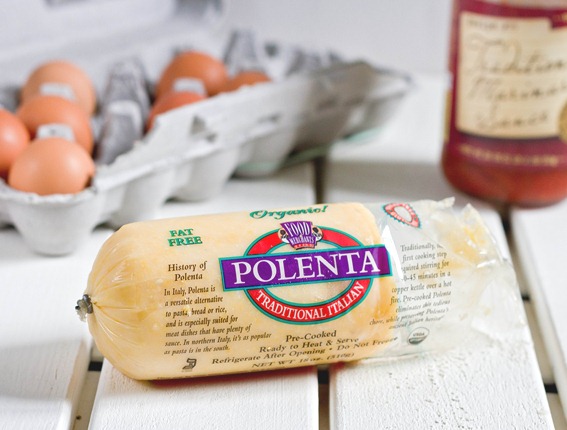
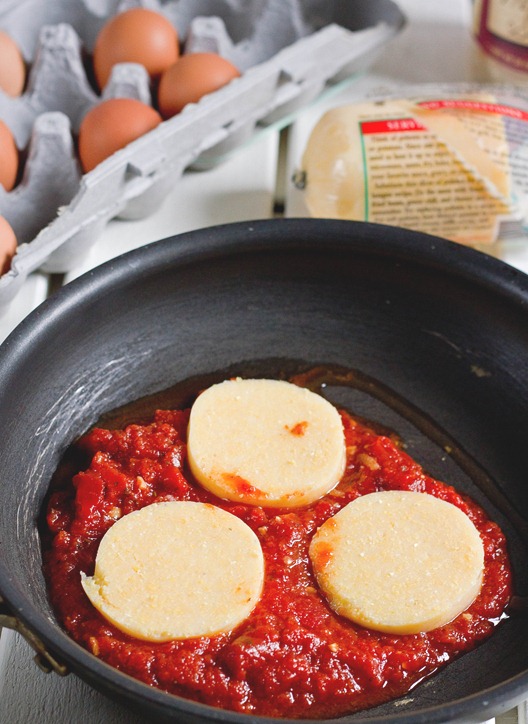
Now that it’s getting darker earlier and earlier I can’t help but be lazier when it comes to cooking meals. I’ve been looking for simpler things I can throw together in 10 minutes or so that still pack a lot of flavor. I’ve started keep a tube of pre-cooked polenta(the horror!) around to heat up in sauce whenever I need a quick Italian fix. Gourmet? Not at all. But it’s healthy, gluten-free, and much cheaper than take-out options.

Easy Polenta And Eggs Polenta

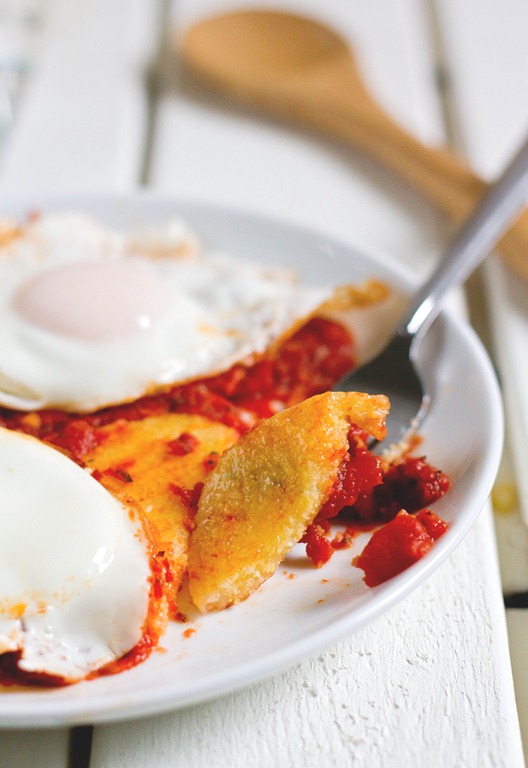
This is hardly a “recipe”; more like a list of ingredients to throw together for a quick meal. If you’re not a vegetarian, you can skip the eggs entirely and use a meat sauce instead. But I think there’s nothing better on a cold night than warm marinara sauce and runny yolks.

I’d generally say to expect 3-4 polenta slices, 3/4 cup sauce, and 2-3 eggs per person but you can customize this to perfectly fit your appetite.

Polenta And Eggs

Prep time: 5 minutes

Cook time: 10 minutes

Ingredients:

  • Pre-cooked polenta
  • Marinara sauce
  • Eggs

Easy Polenta and Eggs Pan

Method:

  1. Add enough marinara to fill a frying pan.
  2. Slice the polenta 1/2 an inch thick and spread it out on the sauce in a single layer.
  3. Cook for 2-3 minutes on medium in a covered pan, flip, and cook another 2-3 minutes.
  4. Move the polenta onto a dish but reserve the sauce in the pan. Add a little bit of water if it looks dry or is thinning.
  5. Poach the eggs in the tomato sauce until the tops are cooked but keeping the yolks runny.
  6. Serve the poached eggs and marinara sauce over the plated polenta.

Easy Polenta And Eggs Bite

Of course if you have time you can cook your own polenta and make the marinara sauce from scratch. But then again if you have time for all of that something tells me you aren’t looking at this recipe.

Raw Walnut Brownies

Raw Walnut Brownies

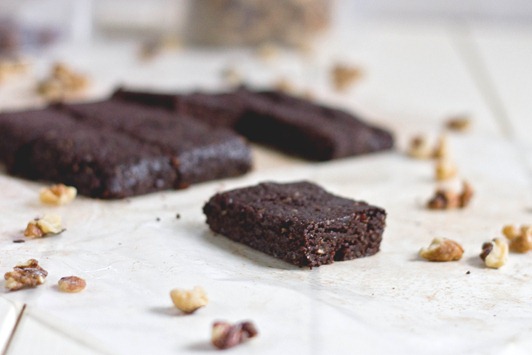
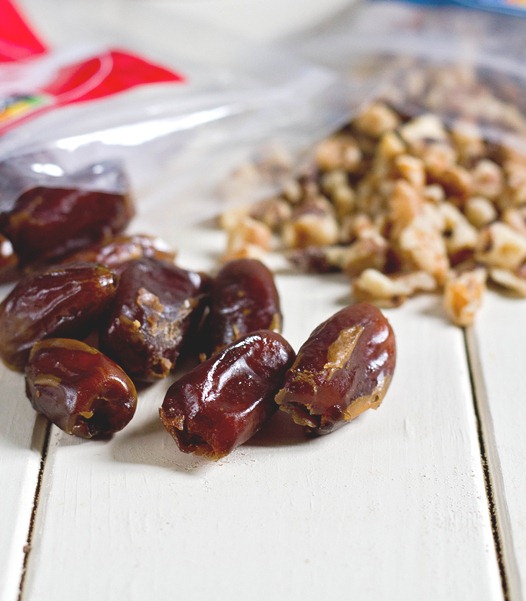
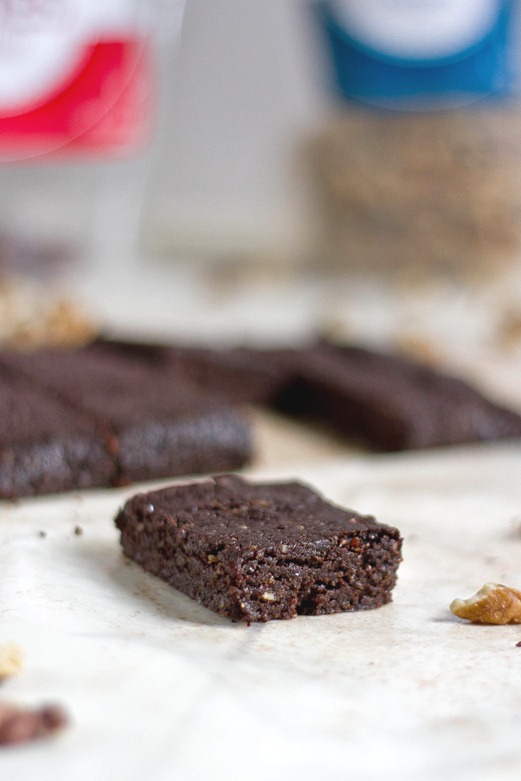
Sometimes the simplest recipes are the best. I don’t think that’s true always, but certainly in this case it is. It’s amazing what you can make with just dates, walnuts, and cocoa powder.

This is something I’ve been making for years now. I think I learned the originally recipe from a food blog that no longer exists; it’s simple enough that you don’t have to write it down or bookmark a page to remember it. The trick to making these well is recognizing what consistency the dough should be; thankfully these are very forgiving and it’s easy to figure out after making a few batches(and you’ll want to make a few batches).

Raw Walnut Brownies Block

You can use any nut for this but I think walnuts are the best both for flavor and texture. They also pack a lot of omega-3s which are great for anyone’s diet. I’d suggest adding crushed walnuts into the batter dough after processing to give these a crunch.

Raw Walnut Brownies

Prep time: 10 minutes

Cook time: 0 minutes

Ingredients(Makes 8 squares):

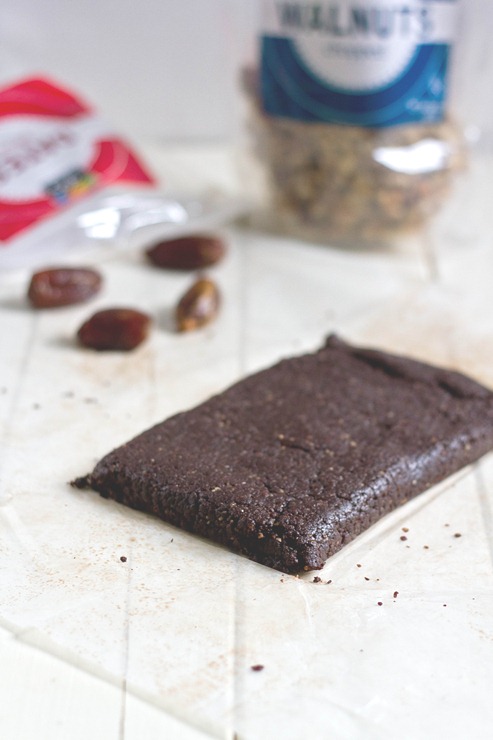
  • 2 cups pitted dates
  • 1 cup walnuts
  • 3 Tablespoons cocoa powder
  • 1-2 Tablespoons water

Raw Walnut Brownies Ingredients

Method:

  1. Blend the dates in a food processor until they are pulverized and start to stick together.
  2. Add the walnuts and continue blending until the dough starts to stick to itself. Add water as necessary if your ingredients are too dry to clump.
  3. Lastly add the cocoa powder and continue blending until it’s mixed in.
  4. Dump the processed ingredients onto a piece of parchment paper. With your hands, clump them together into a square or rectangle.
  5. Freeze the dough for 5-10 minutes until it’s firm and cut it into even sized squares. Store in the refrigerator for freshness.

Raw Walnut Brownies Serving

You can add chocolate chips or other dried fruit to make this a little more exciting, but I think this is a perfect snack or pick-me-up for after a meal all on its own.

White Chocolate Candy Corn Bark

White Chocolate Candy Corn Bark

Candy corn seems to be one of those foods that divides families. People either love it or they hate it. Personally, I’m addicted to it. Sometimes it tastes good; other times it tastes like nail polish remover. But I will always eat it.

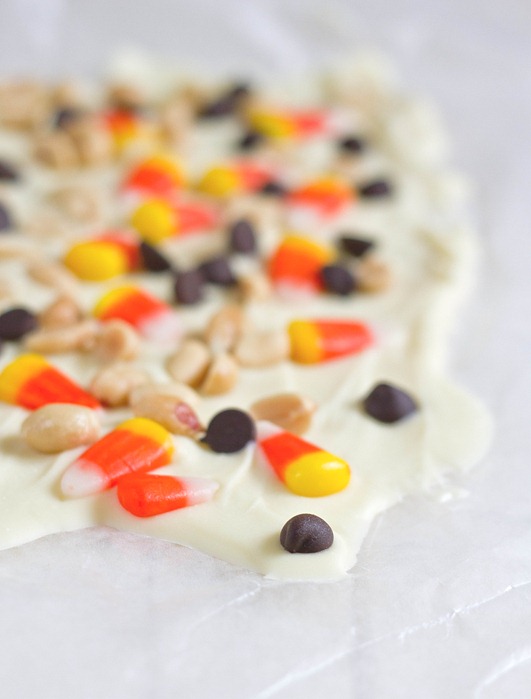
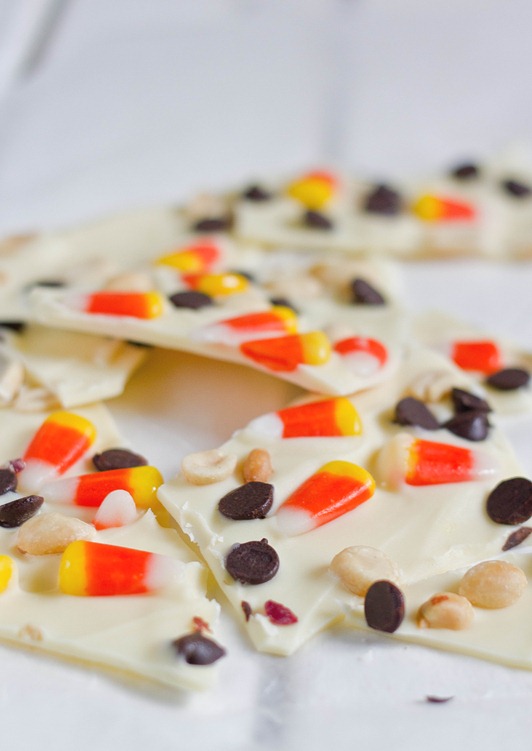
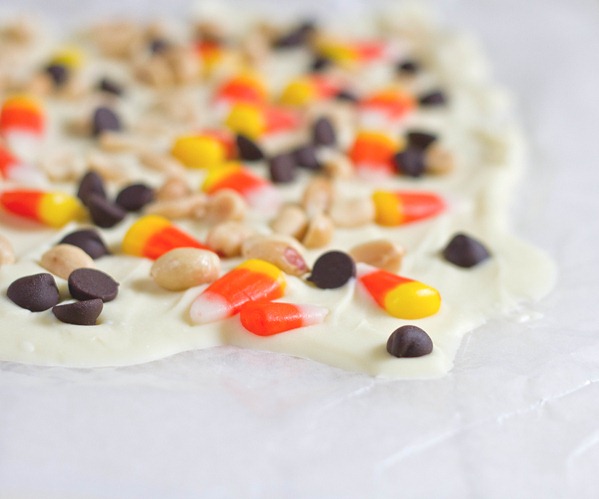
Still, candy corn on its own can be a bit much; I find it’s better with other things like Chex mix or Halloween crack corn that cut through the sweetness. White chocolate isn’t going to do much for that but peanuts and a little bit of dark chocolate definitely do. This bark is all around fun if you like candy corn and sweet treats.

White Chocolate Candy Corn Bark Broken

White Chocolate Candy Corn Bark

Prep time: 10 minutes

Cook time: 0 minutes

Ingredients(Makes about 16 pieces):

  • 8oz(1 cup) white chocolate chips
  • 1/4 cup candy corn
  • 1/4 cup roasted peanuts
  • 1/4 cup chocolate chip

Method:

  1. Melt the white chocolate chips in a microwave or over a double boiler.
  2. Pour the melted chocolate onto a non-stick surface and spread it into a layer about 3/8-inch thick.
  3. Evenly drop the candy corn, peanuts, and chocolate chips onto the bark and press them in gently.
  4. Move the chocolate to the refrigerator or freezer to harden for 15-20 minutes.
  5. Cut the bark with a sharp knife into asymmetrical pieces. Store in the refrigerator when not eating.

White Chocolate Candy Corn Bark Finished

If you serve this at a Halloween party you can make up fun stories like how the white chocolate is ectoplasm and the chocolate chips are ghost droppings. I don’t know what the candy corn and peanuts would be; any ideas?

Maple Cinnamon Cream Cheese Dip

Maple Cinnamon Cream Cheese Dip

Greek yogurt is one of those foods I always keep on hand. I was so excited when Stonyfield asked me to be a part of their Clean Plate Club to make and submit recipes using their yogurts. Substituting yogurt in dips or baked goods for fattier dairy products is a great and easy way to make recipes healthier.

When I’m busy I’d much rather have a meal or snack that I can eat with my hands and don’t have to worry about it getting cold. Dips and spread are great for that. I made this dip and it lasted me over a few days of snacking and went with just about everything.

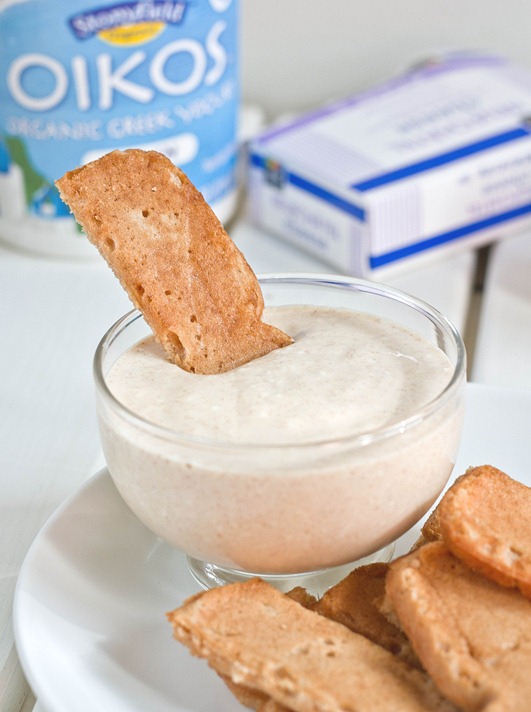
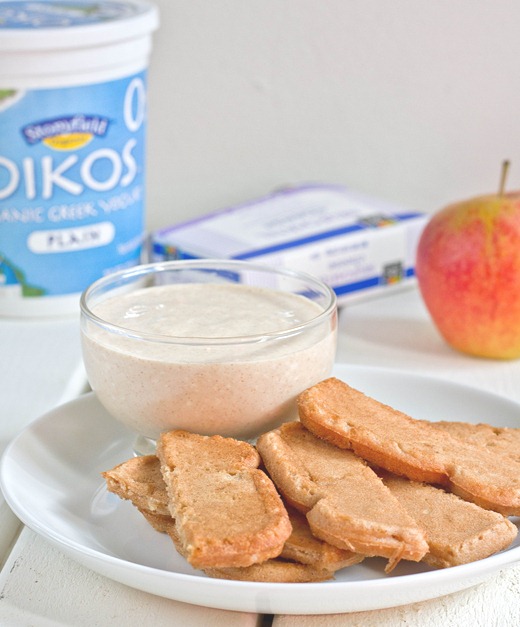
Maple Cinnamon Cream Cheese Dip  Oikos

You can serve this with chopped up fruit or cut up french toast and waffles for breakfast or with some gingersnaps and snickerdoodle cookies for a fun dessert. It keeps well in the refrigerator so it’s easy to

Maple Cinnamon Cream Cheese Dip

Prep time: 5 minutes

Cook time: 0 minutes

Ingredients(Makes about 1/2 cup):

  • 2 Tablespoons cream cheese, softened
  • 2 Tablespoons maple syrup
  • 1/2 teaspoon cinnamon
  • 1/4 cup plain Oikos greek yogurt

Method:

  1. In a small bowl, beat together all of the ingredients until there aren’t any clumps(you may want to use a whisk or hand mixer).
  2. Serve with fruit, waffles, french toast, or any other dippable breakfasts.

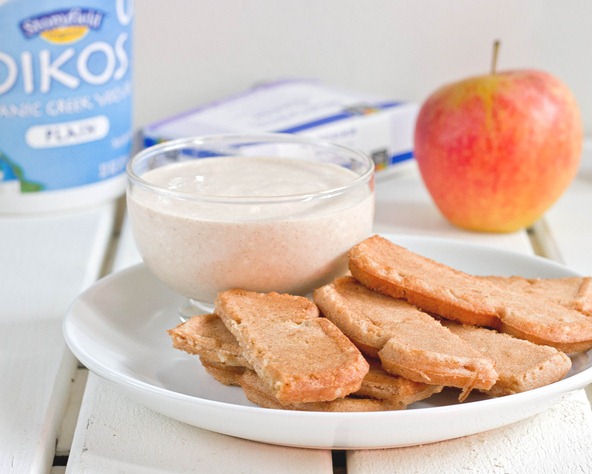
Maple Cinnamon Cream Cheese Dip Breakfast

And in case you were wondering, Van’s gluten-free french toast sticks are excellent, especially when you’re sure the last time you had french toast sticks was at least 10 years ago.

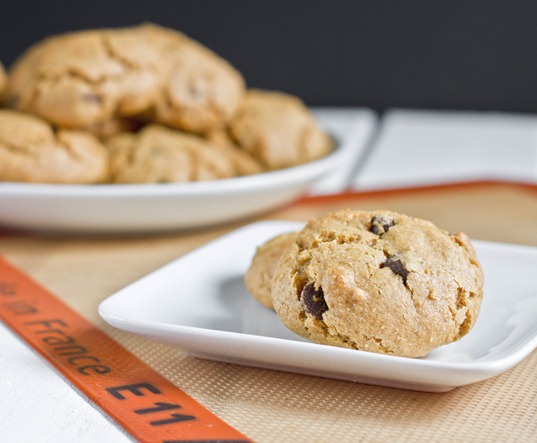
Gluten-Free Pumpkin Chocolate Chip Cookies

Gluten-Free Pumpkin Chocolate Chip Cookies

Pumpkin manages to find its way into everything this time of year. I haven’t quite figured out why it belongs in a latte; cookies make a lot more sense to me.

You really can’t go wrong with a chocolate chip cookie recipe. Pumpkin and pumpkin pie spice add a little bit of fun flavor and color and let you cut back on the butter while still making something delicious.

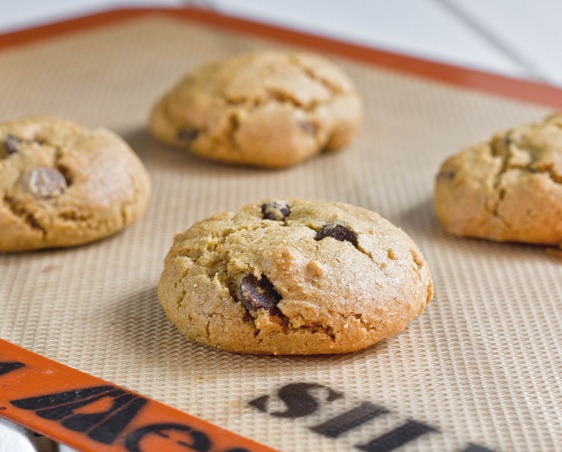
Gluten-Free Pumpkin Chocolate Chip Cookies Baked

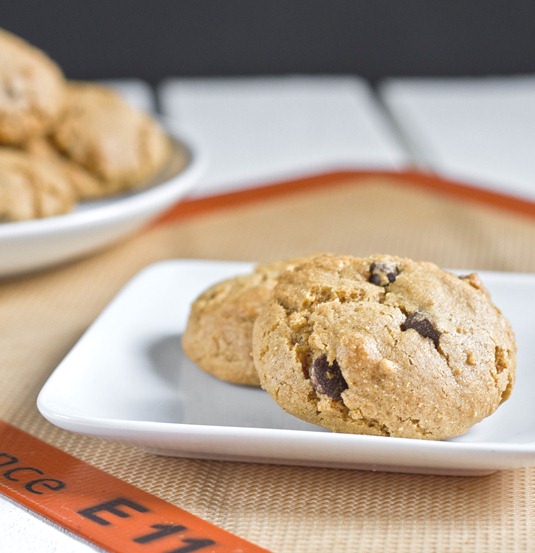
These are definitely cakey cookies. I find that most pumpkin cookie recipes turn out that way. If you don’t want to make them gluten-free, use cake or all-purpose flour so that they’ll still come out light and airy.

Gluten-Free Pumpkin Chocolate Chip Cookies

Prep time: 10 minutes

Cook time: 15 minutes

Ingredients(Makes about 14 cookies):

  • 1 1/2 cup + 2 Tablespoons all-purpose gluten-free flour(I used Bob’s Red Mill)
  • 1/2 cup + 2 Tablespoons sugar
  • 1/2 Tablespoon pumpkin pie spice
  • 1/2 teaspoon baking soda
  • 1/4 teaspoon salt
  • 4 Tablespoons butter, melted
  • 6 Tablespoons pumpkin puree
  • 1 egg
  • 1/2 cup chocolate chips

Method:

  1. Preheat your oven to 350 degrees and prepare a lined baking tray.
  2. Sift together the gluten-free flour, sugar, spice, baking soda and salt.
  3. Mix in the butter and pumpkin puree well.
  4. Beat in the egg until the batter is evenly wet.
  5. Add the chocolate chips and fold them in.
  6. Taking the dough between your hands, roll it into 1 1/2-inch balls and place them on the baking tray about 2 inches apart.
  7. Bake for 10-15 minutes until the bottoms begin to brown and the top is firm. Remove from the oven and let them cool completely before moving them.

Gluten-Free Pumpkin Chocolate Chip Cookies Serving

‘Tis the season for delicious treats. These would also be excellent with walnuts mixed in, too, or made into cookie sandwiches.


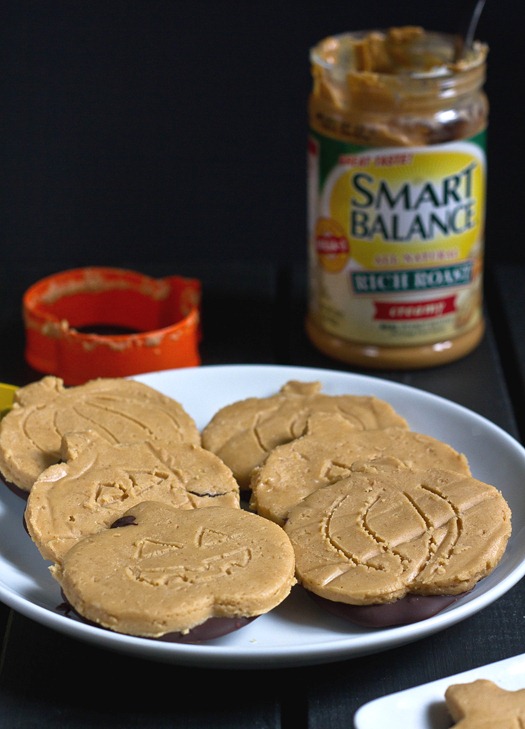
Homemade Peanut Butter Pumpkins

Homemade Peanut Butter Pumpkins

The seasonal candies are always my favorite part of the holidays. I’ll usually wait until the day after each holiday to go to the store and buy it all half-off, but why wait when you can make your own? I’ve made my own peanut butter cups before and it’s never been a hassle. Pumpkins seemed like a bit more of a challenge but oh so worth it.

Homemade Peanut Butter Pumpkins Peanut Butter

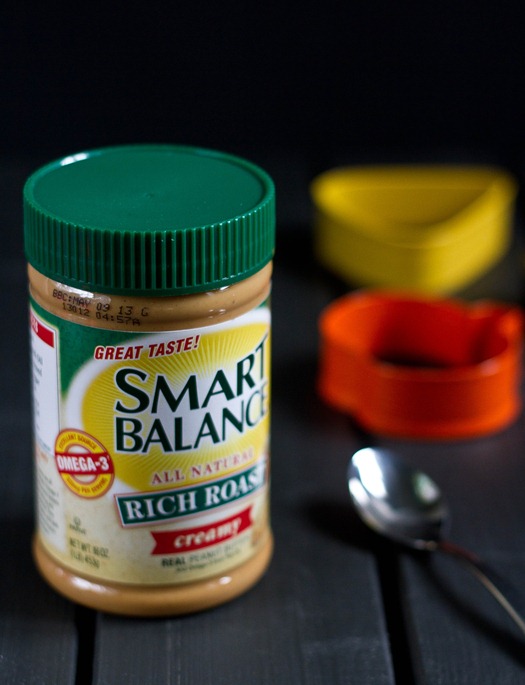
This recipe is also my entry in a Smart Balance recipe contest that starts today. They’ve asked 20 contestants to make a recipe using one or more of their products and put them on their Facebook page for fans to vote for. I love the Smart Balance peanut butter because of its rich, amber flavor. It has added plant-based omega-3s which are always good for a vegetarian diet.

Besides peanut butter, this recipe is super simple and uses only 4 other ingredients you probably already have: buttery spread(or butter), powdered sugar, and chocolate chips. The process doesn’t take much time at all even though there are quite a few steps. Just make sure to have room in your freezer to cool these quickly so you can move from one step to the next without waiting too long.

Homemade Peanut Butter Pumpkins Cookie Cutter

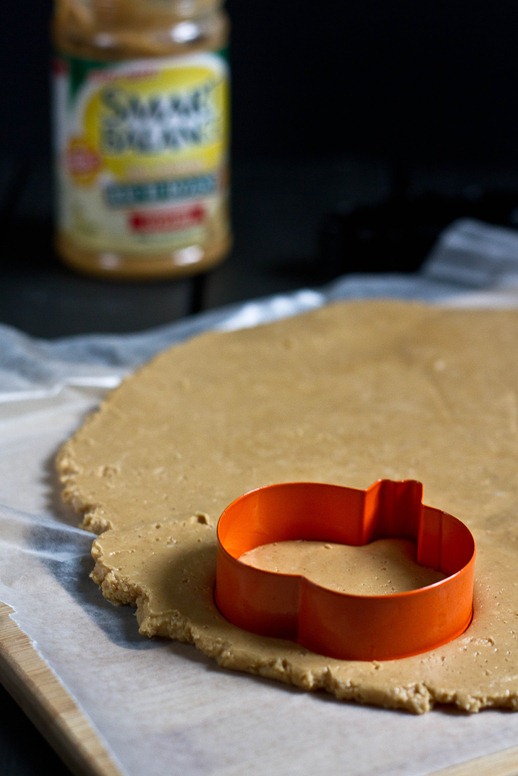
I found the pumpkin cookie cutter on Amazon and got it along with some other shapes; they also probably sell them in most craft stores around this time, too. You can use different cookie cutters for different holidays and keep the recipe year round. The basic steps will always be the same.

Homemade Peanut Butter Pumpkins

Prep time: 20 minutes

Cook time: 0 minutes

Ingredients(Makes about 16 pumpkins*):

*The yield will vary based on the size of your cookie cutters. I used a pretty standard 3-inch cookie cutter and got 16 pumpkins.

Homemade Peanut Butter Pumpkins Drying

Method:

  1. In a large bowl, combine the peanut butter and melted buttery stick until it’s homogenous.
  2. Sift in the powdered sugar stirring it in until it’s completely mixed in.
  3. Get out 2 sheets of parchment paper and place the peanut butter dough between the two. Press down until the dough is about 3/8-inch thick.
  4. Cut out as many pumpkins in the dough as you can. Put the dough into a freezer for 10-15 minutes until the dough is stiff.
  5. While the dough is in the freezer, melt the chocolate in the microwave or over a double boiler until it’s smooth.
  6. Take the dough out of the freezer and remove the pumpkins from the extra trim.
  7. On a separate piece of parchment paper, spoon tablespoons of melted chocolate about 3 inches from one another.
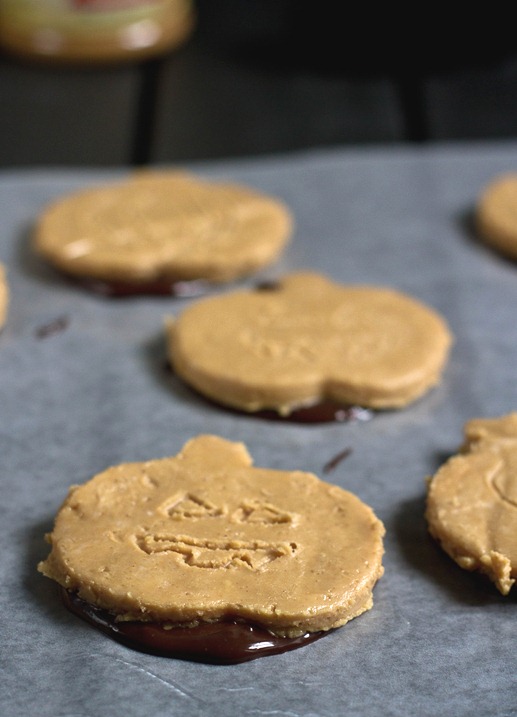
  8. Take each pumpkin and place them on top of the melted chocolate, pressing down and moving them around to cover the bottom. Repeat with all the pumpkins.
  9. If you desire, decorate the pumpkins by making faces or lines with a toothpick.
  10. Place the pumpkins back in the freezer until the chocolate is hardened. Take off the parchment paper and keep these in the refrigerator until ready to eat.
  11. Keep repeating this process with the extra dough and melted chocolate until it’s entirely used up.


Homemade Peanut Butter Pumpkins Finished


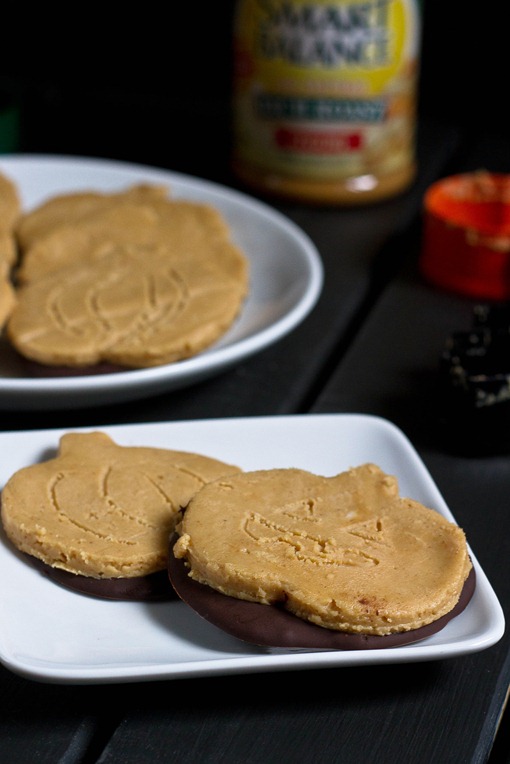
The peanut butter parts holds its shape but stays pretty soft so you can bite straight through it into the thin chocolate. I handed these out to friends last week and even though it was still September it definitely stirred some Halloween excitement. These would definitely be a hit at any party this time of year. If you like the recipe, too, don’t forget to vote!