Photography is expensive.
Anyone who has picked up photography as a hobby or who does it professionally will tell you that. And my wallet has definitely felt that crunch over the past few years, too. Last May I upgraded my camera to a pre-owned Canon 7D which I absolutely love. At the time I was looking into getting even more photography equipment but my good sense convinced me to stop at the necessities.
Still, good lighting is just as important as a good camera. I always work with natural light, but that’s not so easy when your natural light is one 2 x 4 window on the far wall in your bedroom. These DIY light reflectors have been a saving grace.
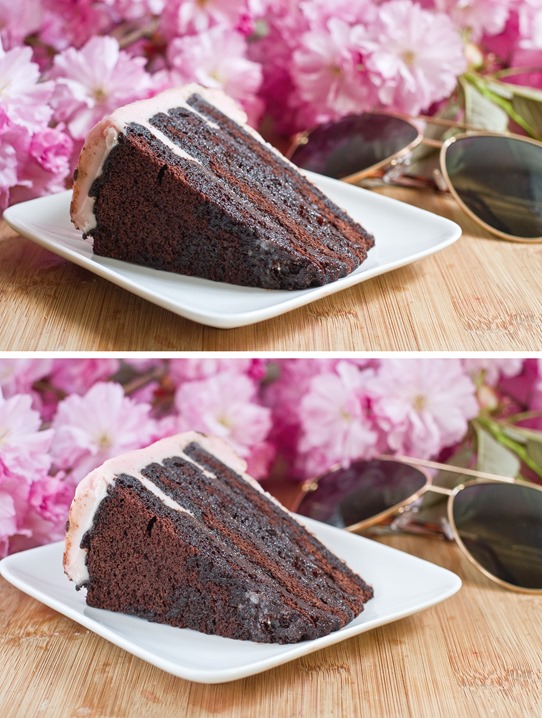
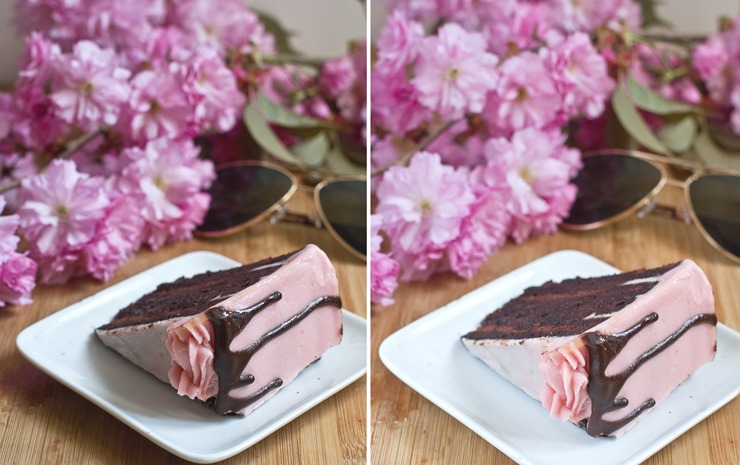
Both of these photos were taken in the same place with the same light source and all of the same camera settings. I edited them slightly but you can still see the huge difference in the shadows between the two. The difference is that the bottom photo had a reflector bouncing light back onto the subject.
You probably won’t believe how simple or cheap the reflector is to make yourself. You probably have all of the materials already.
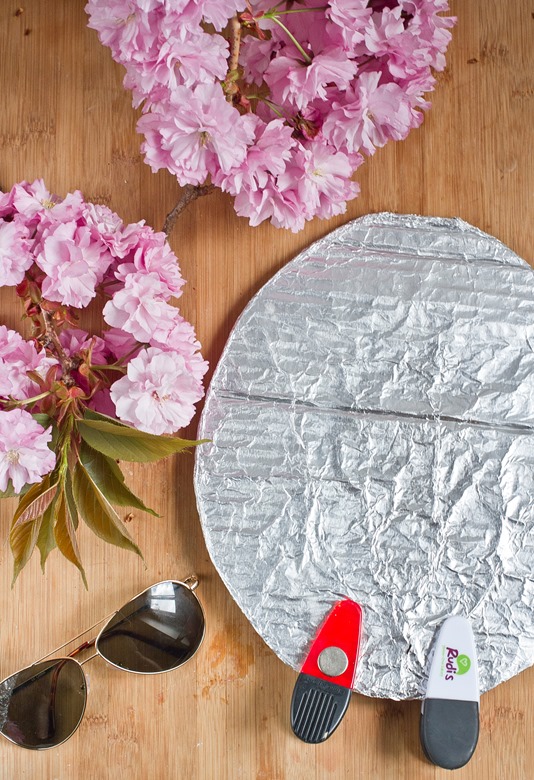
All you need to make a reflector is cardboard, aluminum foil, and tape. That’s it. Simply cut the cardboard into an oval or a rectangle, wrap the aluminum foil around it and tape it into place. For the round one I use 2 chip clips to make it stand on its own but you can use any number of materials. This clearly isn’t rocket science.
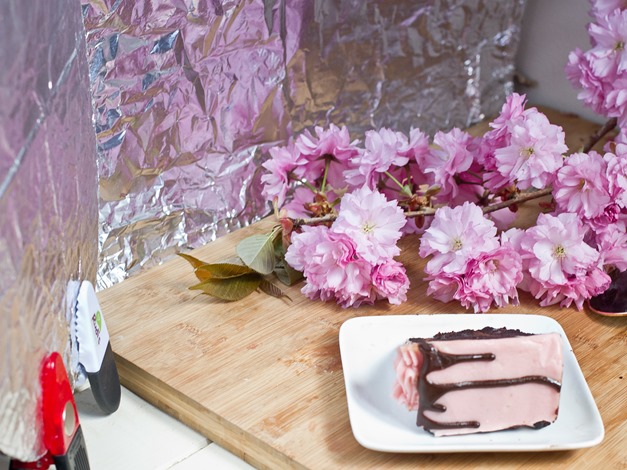
My set up usually involved a large, rectangular reflector on the side facing opposite to the light source and a smaller one I can move around and position to target the focal point or any shadowy areas.
You don’t want a light source too powerful hitting the aluminum foil or else it will look like you’re shining a flashlight onto the food. Just soft, natural light is all you need to make a big difference in your photos.
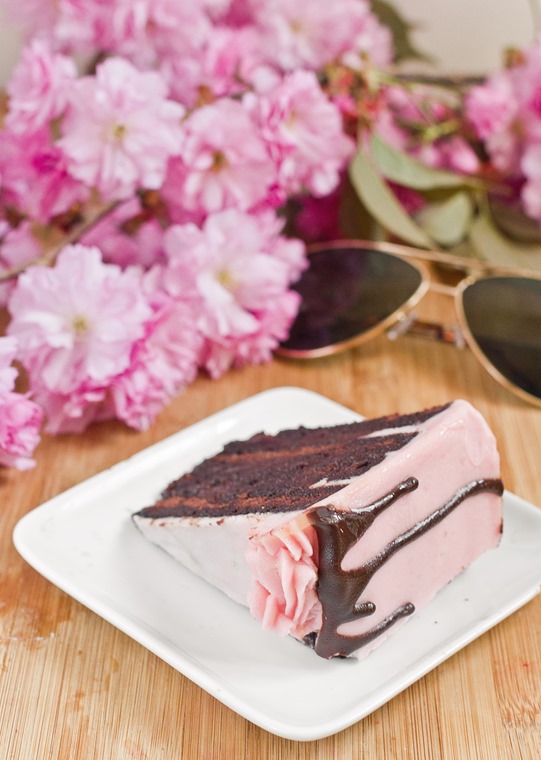
Once again the same photo only without and with the reflectors. It’s incredible what about 50 cents worth of material can do.
Hope this was helpful! With all of that saved money you can go out and buy yourself a slice of cake.




This is awesome. Making this tomorrow, and you’re right–already have everything on hand.
Thanks!
Thanks for this tutorial. Working on my blog, I am always trying to learn new photography tips. This suits my budget perfectly!
Awesome!!! Thank you for the tip!
Love this!!! Thanks for sharing 🙂