Yearly Archives: 2011

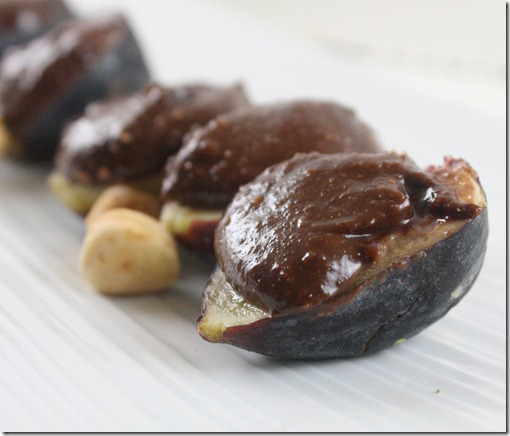
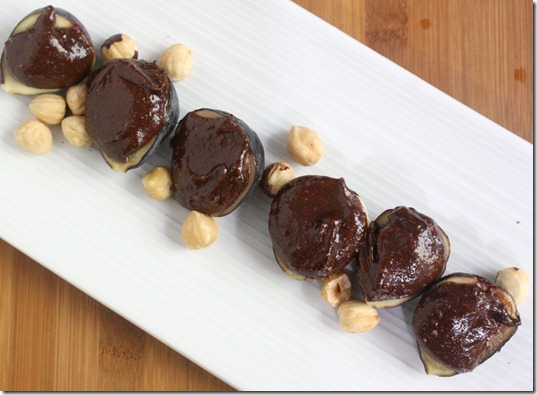
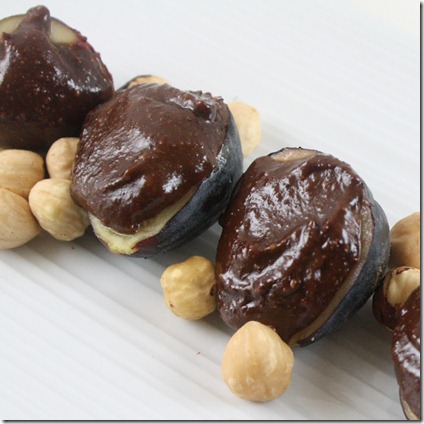
Chocolate Hazelnut Stuffed Figs

chocolate-hazelnut-stuffed-figs

In the time of the Ancient Greeks(my area of study), figs were considered a food of the Gods. Chocolate meanwhile was considered a food of the Gods by Mayans and Aztecs living thousands of miles away in South and Central America. Now, I’m not saying the Greeks were wrong, but I’d have to side with the Americans on this one.

chocolate-hazelnut-stuffed-figs-ingredient

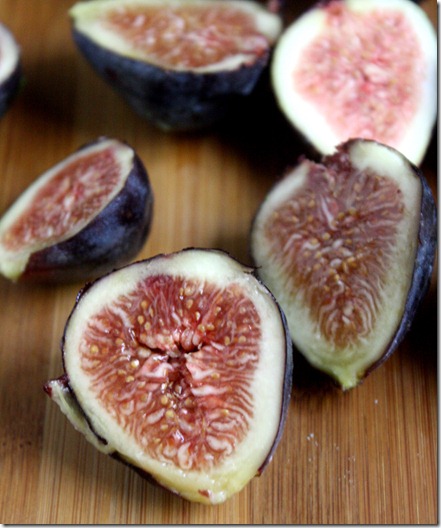
Even still, figs are pretty spectacular. For 2 weeks or so every year they’re at the peak of their season, and I always buy a few cartons when they go on sale. Figs remind me of France which leads me to France’s number 1 export(or at least in the heart of foodies): Nutella. The filling in this recipe is sort of like Nutella in that it uses cocoa powder and hazelnuts, but the raw ingredients produce a much more intense, dark flavor that pairs perfectly with sweet fruit.

Don’t have hazelnuts? This would taste great with almonds instead.

Chocolate Hazelnut Stuffed Figs

Prep time: 10 minutes

Cook time: 0 minutes

Ingredients(makes 16 amuse-bouches):

  • 8 Figs
  • 1/2 cup hazelnuts
  • 2 Tablespoons agave nectar
  • 2 Tablespoons cocoa powder
  • 2-3 Tablespoons water
  • Pinch of salt

chocolate-hazelnut-stuffed-figs-spread

Method:

  1. In a food processor, blend the hazelnuts until they start to form a paste.
  2. Add into the processor the agave, cocoa powder, and salt and continue blending until mixed.
  3. Slowly add the water until the filling is loose and spoonable like a thick mousse. Make sure not to add too much water and make this runny.
  4. Cut each fig lengthwise and lay them out cut side-up on a plate.
  5. Spoon 2 teaspoons of filling onto each fig. Serve at room temperature.

chocolate-hazelnut-stuffed-figs-garnish

I think the Greek Gods would be pleased.

Gluten-Free Banana Pancakes

gluten-free-banana-pancakes

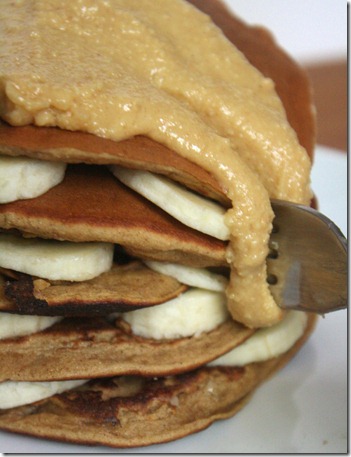
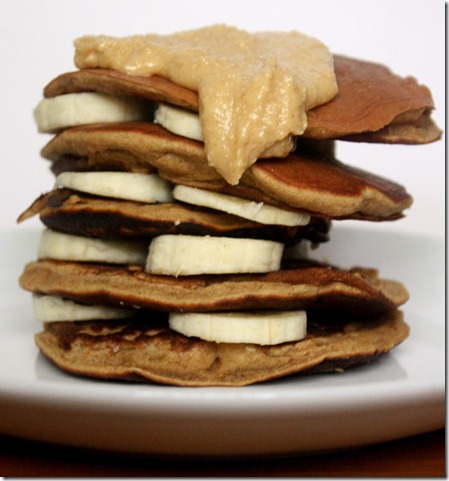
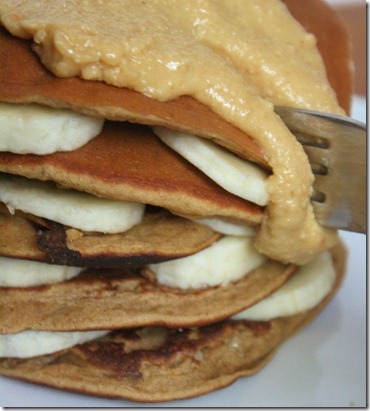
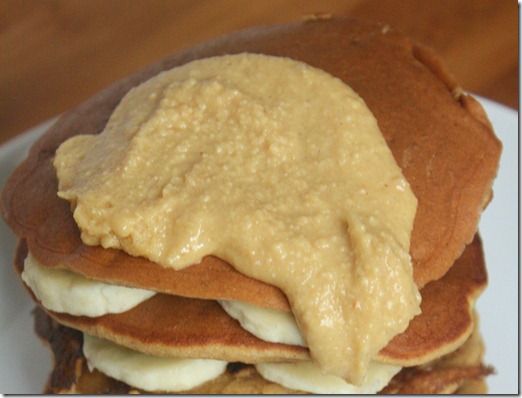
I’ve been waiting all week to share these. They aren’t some of the best gluten-free pancakes I’ve ever had, or vegan or banana. They’re just some of the best pancakes I’ve ever had—period. The banana sweetens these perfectly without added sugar, and the cinnamon adds a nice warm touch. They go especially good with a dollop of melting butter toffee peanut butter.

gluten-free-banana-pancakes-stack

Like my other pancake recipe, these use chickpea flour, which is a great gluten-free alternative to wheat flour. It has high protein and fiber contents making it a healthy breakfast that will fill you up and not have you crashing by 10am. I’m able to find it cheapest in my regular grocery store(Hannafords) in the natural/organic section for less than $4 a bag.

Gluten-Free Banana Pancakes

Prep Time: 5 minutes

Cook Time: 10 minutes

Ingredients(makes 1 serving):

  • 1/3 cup mashed banana(about 3/4 a medium-sized banana)
  • 1/2 cup chickpea flour
  • 1/4 teaspoon cinnamon
  • 1/4 teaspoon baking soda
  • 1/4-1/3 cup water

gluten-free-banana-pancakes-slice

Method:

  1. In a mixing bowl combine the mashed banana, chickpea flour, cinnamon, baking soda and 1/4 cup water and mix.
  2. Add more water if necessary to get the consistency somewhere between thick-runny and runny.
  3. Preheat a non-stick pan over medium heat.
  4. Scoop about 1/4 cup batter into the pan for each pancake. Only cook 1 or 2 at a time to avoid overcrowding.
  5. Cook on one side until the top is bubbly, then flip and cook for about another minute. Repeat until all the batter is used.

gluten-free-banana-pancakes-with-peanut-butter

Serve with maple syrup, peanut butter, bananas, blueberries—whatever, it will all be good.

Tempeh And Broccoli

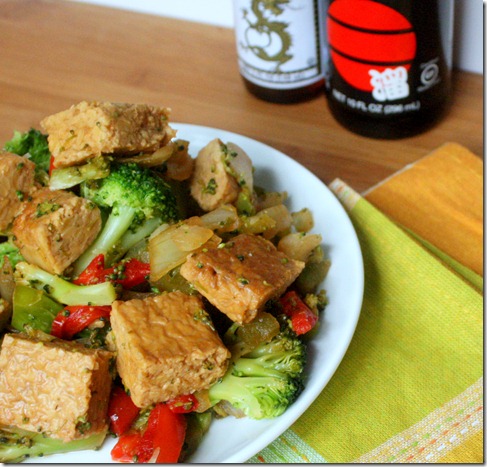
tempeh-and-broccoli

I’ve been getting a lot of questions on tempeh recently. I want to put all my thoughts into a post about it but until then you’ll only get recipes, which is pretty good considering half the time I eat tempeh it’s raw, cold from the fridge. I would not suggest eating it that way if it’s you’re first time; it would be a horrible, bland introduction to something that can be so tasty.

If tofu is soy chicken, tempeh is soy beef. It’s much firmer, earthier and has a chew to it. Naturally it’s a great vegetarian substitute for beef in Asian dishes, like beef and broccoli. Since broccoli was one of the three vegetables I liked growing up(the other being carrots and olives), beef and broccoli was what I always chose on Chinese take-out night. This recipe keeps all those same flavors and textures, but with whole food ingredients anyone can enjoy.

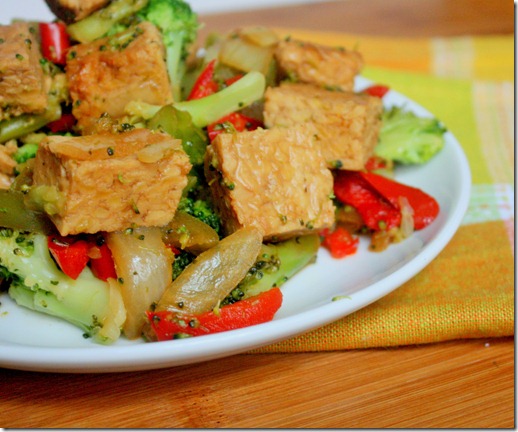
tempeh-and-broccoli-plated

You can substitute rice vinegar in place of apple cider vinegar for a more traditional ingredient list. I like apple cider vinegar here because it replicates the sweet, fruity flavor of plum sauce common in Asian cooking.

Tempeh And Broccoli(inspired by Caitlin)

Prep Time: 5 minutes

Cook Time: 10 minutes

Ingredients(makes 2 servings):

  • 1 block of tempeh, diced
  • 6 Tablespoons apple cider vinegar
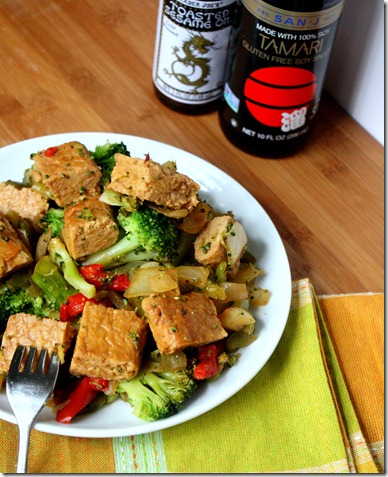
  • 1/4 cup plus 1 Tablespoon soy sauce(or wheat-free tamari)
  • 2 Tablespoons agave nectar
  • 1 Tablespoon sesame oil, preferably toasted
  • 1/4 teaspoon chili powder
  • 2 cups broccoli, steamed
  • 1/2 onion, julienned
  • 1 bell pepper, julienned(optional)
  • 1/4 teaspoon garlic powder
  • 1/4 teaspoon salt

tempeh-and-broccoli-tablescape

  1. Combine the tempeh, apple cider vinegar, soy sauce, sesame oil, agave, and chili powder in a large pan and heat it on a burner set to medium-high.
  2. Cook for about 5 minutes flipping once until the liquid thickens up like a sauce.
  3. Add in the broccoli, onion, pepper, and garlic powder. Continue cooking over medium heat until the moisture has boiled off of the pan and the onions turn soft(about 5 minutes).
  4. Remove from the heat and season with salt. Plate and serve hot.

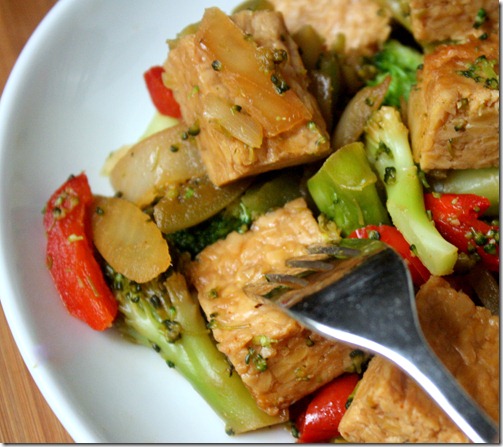
tempeh-and-broccoli-fork

When this is cooked the tempeh should be fork-tender with a sweet, nutty flavor and fall apart in your mouth. It’s a great introduction to a food that could become your best friend.

Eat Your Feelings

Sep. 4th 045

I have the internet to thank for letting me know this past weekend was Labor Day, and all of the tweets and Facebook statuses about having a day off from work. My mind was pretty occupied because it was moving weekend for me. For the third time I moved back to Providence to start another school year. But first was a day of packing, loading, driving, unloading, unpacking and organizing, and for someone who hates change like me that’s pretty much Hell on Earth.

Sep. 4th 056

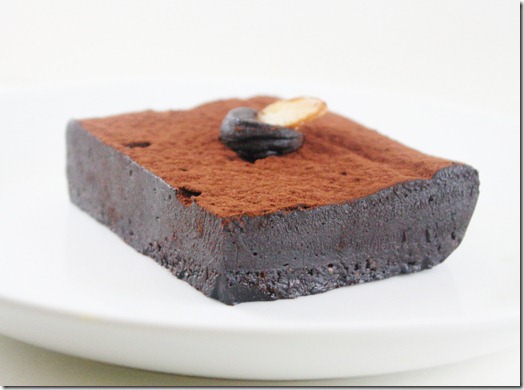
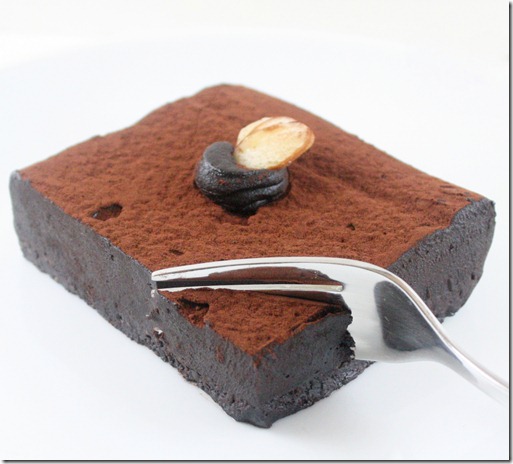
I should say the day wasn’t all bad; what definitely helped was the trip to Wildflour for a smoothie and raw ganache torte to take home for later. Some people like to unwind with a cold beer on a Friday night, or a glass of wine paired with dinner. I am without question a chocolate man. At the end of the day I just want to sit down with something rich, sweet, and—most importantly—chocolaty, and this was one hell of a day.

Sep. 4th 064

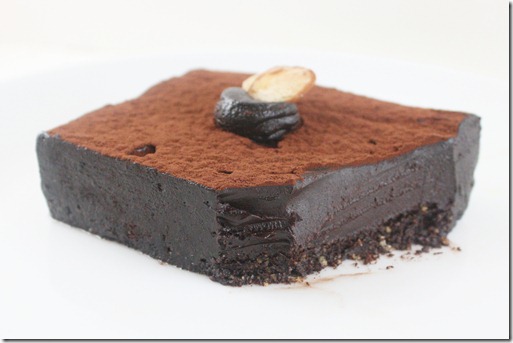
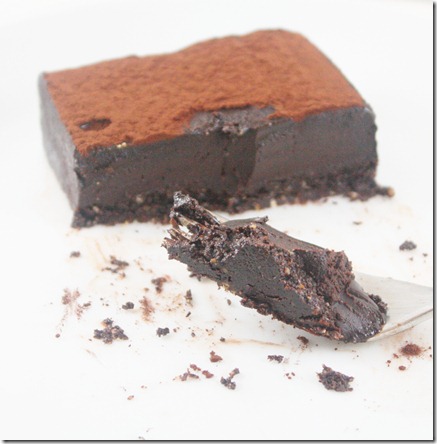
I thought I might stop after half. This thing is after all pretty much a block of coconut oil, cocoa powder, cocoa butter(?), sugar, and nuts, and I’ve still got a ways to go before I’ll be in the shape I want to be in for the Philadelphia Marathon. But with each bite I remembered the surprise trip to Bed, Bath & Beyond, the frantic trip through Whole Foods to restock an empty fridge, the plate of raw vegetables, hummus, and plain tempeh that became dinner because I had no energy to cook, and the chocolate made all of that feel better.

Sep. 4th 081

There’s been something going around on Pinterest to the effect of,

“Don’t reward yourself with food. You’re not a dog.”

Excuse me? But I love food, especially the ones that are bad for me. And I love dogs, too. I don’t see the problem here. 

Food has a way of affecting your mood, both good and bad. There are things you can’t control, like a long day at work, or other people’s attitude, or stressful move. But you can control what you put in your body. And sometimes the best thing for your body is filled with sugar, fat, and—of course—chocolate.

Sep. 4th 095

We all saw where that was going, right?

Go ahead; eat your feelings once and a while. You’ll feel better for it.

Butter Toffee Peanut Butter

butter-toffee-peanut-butter

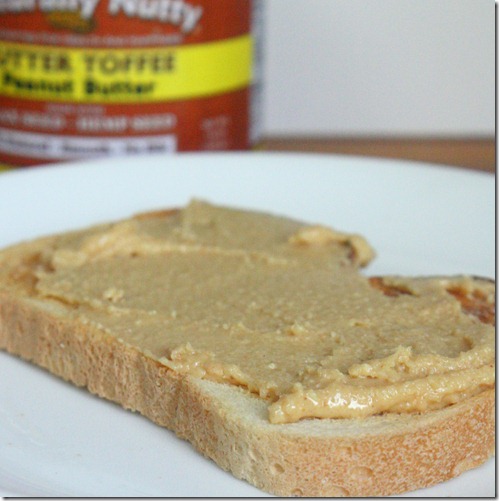
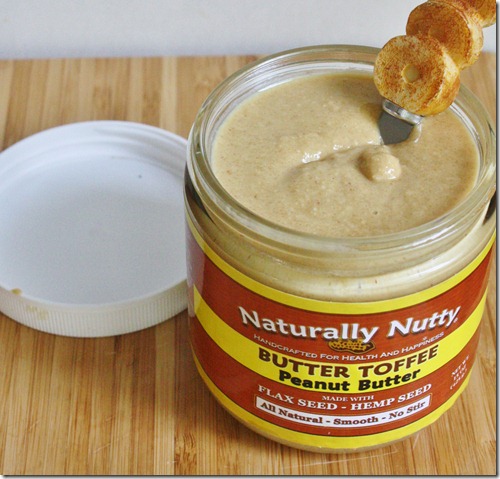
I’ve tried a lot of different peanut butters, but Naturally Nutty’s Butter Toffee Peanut Butter really takes the cake toast, with a sweet, buttery flavor combined with crunchy sugar granules. You can buy this peanut butter from their online store, or in stores if you’re lucky enough to live in Michigan. I, however, am cheap and a New Englander and so decided to make my own. 

butter-toffee-peanut-butter-drippy

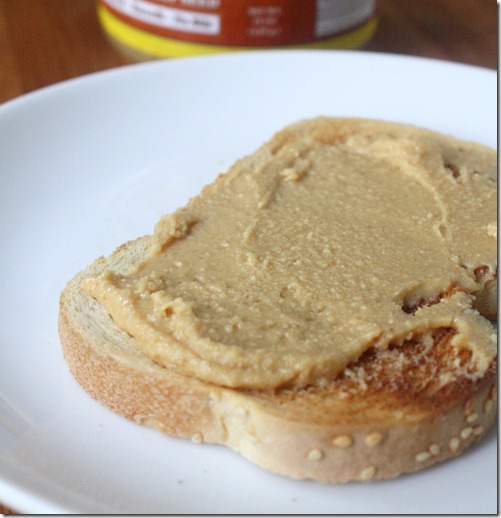
I would take the real deal brand name any day over mine, but this homemade version isn’t half bad, or a quarter bad, or bad at all. It’s great, in fact, slightly melted onto toast first thing in the morning or a square of chocolate at night.

Don’t have the time to make your own butter toffee peanuts? Buy your own and blend them up and you can have this in 5 minutes.

Butter Toffee Peanut Butter

Prep Time: 20 minutes

Cook Time: 30 minutes

Ingredients(makes about 24 ounces):

  • 1lb unsalted peanuts, skin-off
  • 1/2 cup butter
  • 1/2 cup sugar
  • 1/2 teaspoon salt

butter-toffee-peanut-butter-refrigerated

Method:

  1. Preheat your oven to 300 degrees and line a baking tray with non-stick foil or parchment paper.
  2. In a small pot over low heat, melt the butter, sugar, and salt together.
  3. Toss the peanuts in the melted butter and sugar until fully coated and lay them out on the baking tray in an even layer.
  4. Bake for about 30-35 minutes, until the butter and sugar start to bubble and coagulate, but making sure not to burn any of it.
  5. Remove the peanuts from the oven and let them cool completely.
  6. Move the peanuts into a food processor and blend until completely smooth.
  7. Store in sealed containers in a refrigerator for up to a month.

butter-toffee-peanut-butter-Toast

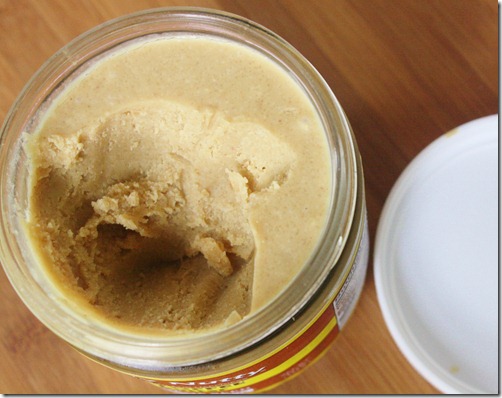
When cold, the consistency is solid yet still creamy and spreadable. You can let it sit out for 5 minutes to get even softer or microwave the jar for about 30 seconds to get it warm and drippy.

StumbleUpon Part 2: How & Why

Since I wrote How To Use StumbleUpon To Gain Traffic I’ve gotten a lot of other questions on exactly how to use it and what the benefits are, so I thought a follow-up post might be helpful. To be honest, when I wrote it I hardly new the answer to either of those questions. I—like most people—had just begun to learn how to use it and hadn’t yet experienced first hand the kind of traffic it could bring. That changed in August.

Capture8

August 16th I was poking around the backworks of this blog and noticed that the page views were off the charts for this little dog and pony show of mine. All of the traffic was coming from StumbleUpon. I clicked on the link and realized my Hazelnut Chocolate Cake was getting viewed. A lot. And it kept being viewed, and kept being viewed until now over 2 weeks later it finally died down.

I knew StumbleUpon was powerful for sharing content but I didn’t quite realize it was that powerful. Now that I’ve experienced that, I think I can write better on it. In this post I’ll share all the nitty-gritty analytic numbers and tell you how do it for yourself.

Why

2011-08-27 August 27th

These graphs from top to bottom show the page hits per day, per week, and per month. It’s very obvious where on each graph the spike occurs. What’s amazing to me is how long the effect lasts. Most link-backs create quick spikes that are over after a day but StumbleUpon’s content clearly lasts a lot longer than that.

Capture5

Another look at the numbers clearly shows where readers were brought from and what they looked at, and it’s no contests against StumbleUpon. What I found interesting was that my About Me page also saw a spike of traffic in that time; it’s the most convenient way for a potential reader to get to know the blogger and so should be eye-catching and kept up to date to keep readers around.

How

Capture9

The first step towards getting traffic through StumbleUpon is actually getting your content on StumbleUpon. As far as I can tell, there are two ways for either you or a reader to submit it. The first is to manually go into StumbleUpon, click on the Favorites tab and choosing “Add a Site”.

Capture

The other more simpler way is to install a plugin that adds a StumbleUpon button into every blog post(I recommend Share & Follow). All it takes is someone clicking that button to submit or favorite a page.

That’s the relatively easy part. From there, it’s really out of your control for the most part if a post will get picked up. It takes lots of strangers favoriting and sharing your post to gain momentum. You can share the link to the page in StumbleUpon on Twitter, Facebook, or through email to increase the odds of the page being seen. But if they aren’t motivated to share it with their friends and followers, then it’s not going anywhere. That’s what makes it so difficult for content to be picked up on StumbleUpon. Personally I only submit and share about 1/3rd of the posts I write because I don’t think the other 2/3rds stand a chance of being picked up. Even then in 6 months I’ve had maybe 2 or 3 successes, including this huge one. Be judicious in what you do submit and share knowing not every post you write is a gem.

Caveat

Capture12

All that traffic is nice, but what about subscribers? Above is data from my feedburner account. The green line represents feed subscribers. As you can see, there’s no spike whatsoever; instead, it’s just a slow and gradual increase. This means that, while StumbleUpon drives traffic, it doesn’t bring in consistent readers. 99% of people who saw the cake recipe either clicked around and left or just clicked Stumble and moved on.

Basically, StumbleUpon is good for giving 15 minutes of fame(or 2 weeks, which is even better) but it’s hardly consistent in its effect or very lasting. At the end of the day it would take a lot of posts being picked up consistently to turn a hokey blog like this one into something more main stream.

Do you have any more questions? Leave them in the comments.

How To Massage Kale

how-to-massage-kale-serve

I know this is the second kale post in 3 days, but bear with me; it’s that good.

The first time I had massaged kale was at Whole Foods from the salad bar. It was so good I ended up getting it every time I went in. But after a while of paying $7.99 per pound for it I figured it had to be cheaper to make at home.

Massaging your own kale takes just a few ingredients and 5 minutes. It breaks down the kale without heating it so the nutrients all remain but the taste is less bitter and bite less sharp. It’s a great nutritious side dish or base for a salad.

how-to-massage-kale-music-candle

It’s totally optional but dimming the lights, lighting a candle, and putting on a slow song really sets the mood. This is a massage after all. 

How To Massage Kale

Prep time: 5 minutes

Cook time: 0 minutes

You’ll need(for 2 side servings)…

  • 2 cups roughly chopped kale
  • 1/2 a large avocado
  • Juice of 1/2 lemon(or lime), about 1 Tablespoon
  • 1 medium tomato, diced
  • 1/4 teaspoon sea salt

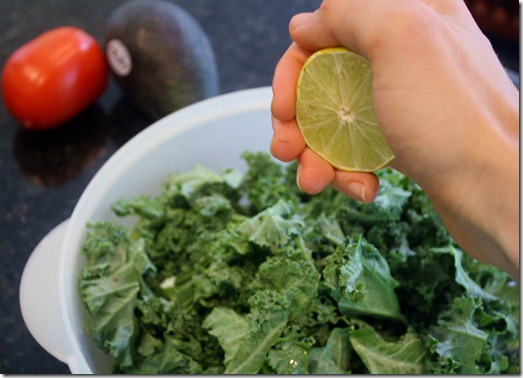
how-to-massage-kale-lime

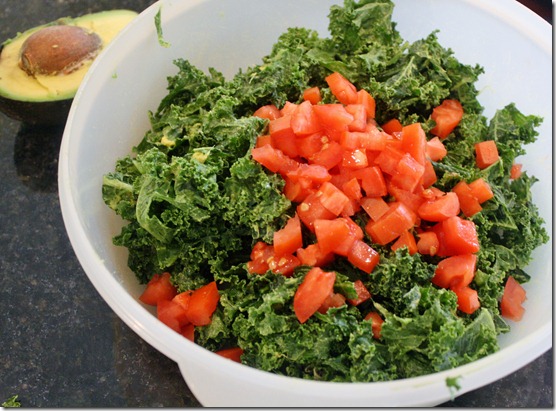
In a large bowl, mix the greens with the citrus juice.

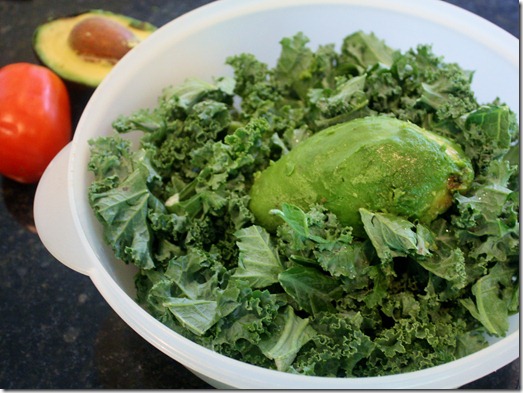
how-to-massage-kale-avocado

Add in your avocado. Then it’s time to gently massage the avocado into the kale…

how-to-massage-kale-technique

Or, if you’re like me, it’s going to look a lot more like clumsy groping than an actual massage. I guess the two are close enough; one usually leads to the other, right? Anyway, massage the kale by working it with you’re hands, incorporating the avocado and lemon juice. You’ll hear a lot of crunching noise. After about 5 minutes you’ll notice the kale turns from a muted color to a more lively green. That’s when it’s ready.

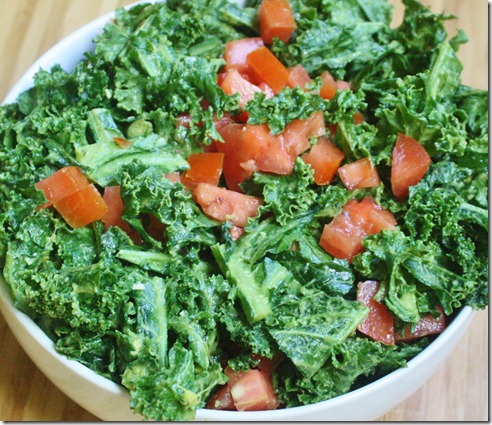
how-to-massage-kale-tomato-dice

Add in the diced tomato and sea salt and gently fold all of the ingredients together. Serve at room temperature.

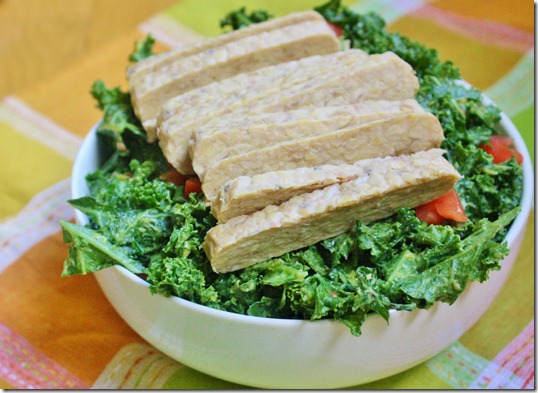
how-to-massage-kale

This method is so much cheaper than buying it from the salad bar, and much quicker than I expected, too! Whole Foods uses about twice as much avocado for this much kale. That’s probably why it tastes so much better there.

Go-To Hummus Recipe

go-to-Hummus-recipe

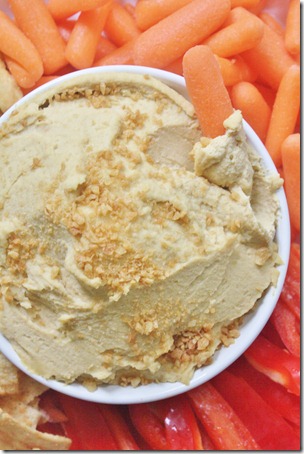
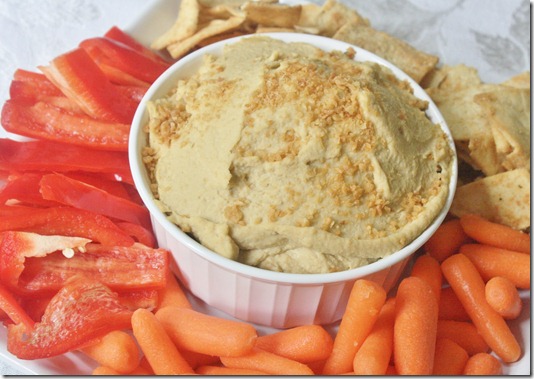
This weekend was a rush. When everyone else was loading up on food to brace for Hurricane Irene, we were loading up on food for a neighborhood party. I made a few things including hummus, because what’s a party without hummus? Ain’t no party like a hummus party ‘cause a hummus party don’t stop.

My favorite hummus recipe isn’t very fancy. It doesn’t have red pepper or pine nuts or artichokes or whatever. It’s just a trusty, reliable, go-to garlic hummus. What really helps enhance the flavor is a hefty dose of salt, good olive oil, and peeled chickpeas.

go-to-Hummus-recipe-plate

Peeling chickpeas is a little tip I learned from bloggers for a smoother, creamier hummus. It takes a lot more time and it’s kind of a gross process, but once you taste hummus made with peeled chickpeas it’s hard to justify going back to “regular”. If you don’t have time, don’t worry and skip it.

Go-To Hummus Recipe

Prep Time: 5 minutes(plus way more if you decide to peel the chickpeas)

Cook Time: 0 minutes

Ingredients:

  • 2 (14-ounce) can chickpeas, drained and peeled(optional but recommended)
  • 6 roasted garlic cloves
  • 2 Tablespoons tahini
  • 1/4 cup extra virgin olive oil(preferably Greek)
  • 1 Tablespoon lemon juice
  • 1/2 teaspoon salt

go-to-hummus-recipe-overhead

Method:

  1. Combine all of the ingredients in a food processor and blend until smooth. Add extra water if desired for a slightly thinner consistency.
  2. Serve at room temperature. Store leftovers in a refrigerator. 

go-to-Hummus-recipes-veggies

I added a little bit of Garlic Gold on top for some added crunch and texture. It was a neighborhood party and there was a storm keeping everyone inside; garlic breath was not a big concern.

Sesame Mushroom And Kale

sesame-mushroom-and-kale

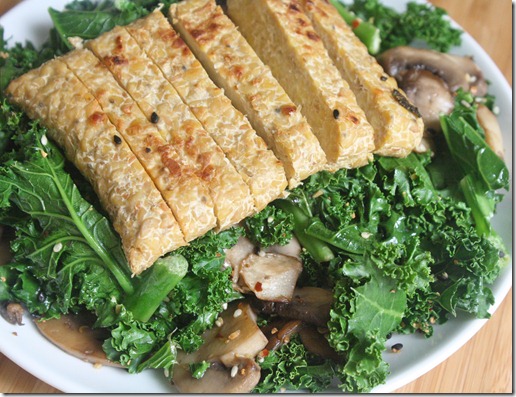
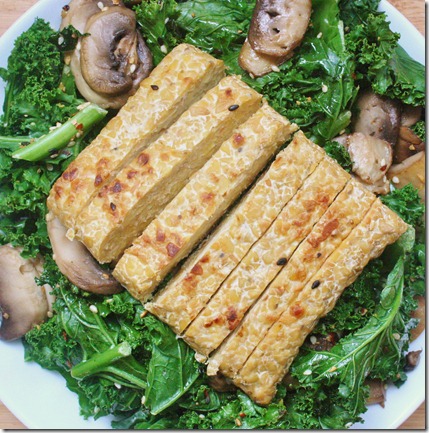
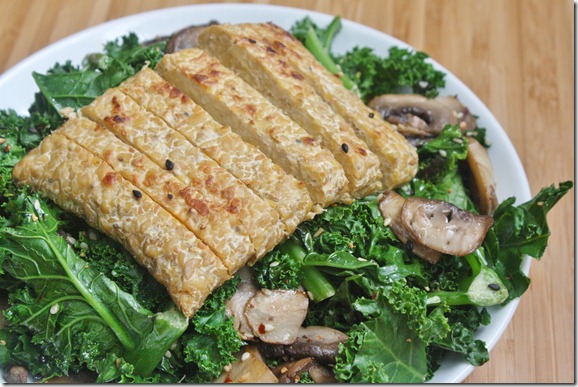
Last week a reader asked me to post about how I cook kale and specifically a mushroom/kale side dish I photographed. You don’t have to ask me twice to cook this dish; kale and mushrooms are two of my favorite foods when prepared properly.

This recipe cooks kale by steaming it, which gets it to that soft and tender point without removing many nutrients. Properly steamed kale should be bright green, stiff, and still have a crunch in its stalk.
As for the mushrooms, I’m a big believer in that you don’t need to buy the expensive mushrooms to bring out an expensive flavor. Mushrooms do a great job of soaking up whatever you give them, so I use oil and seasonings to make the cheapest mushrooms taste like a 5 star dish. 

sesame-mushroom-and-kale-ingredient

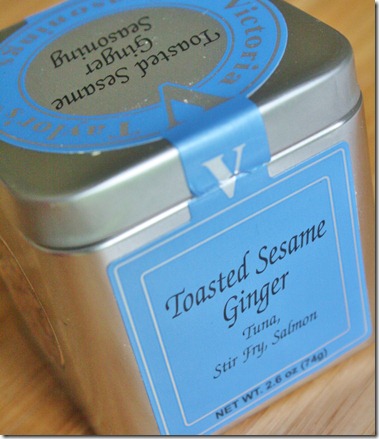
I’m crazy for this sesame seasoning I got in a swag bag from a conference last month.

sesame-mushroom-and-kale-sesame-blend

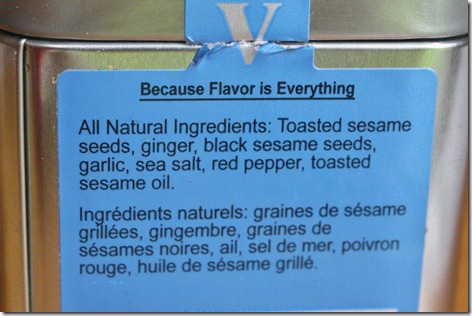
They do not hold back on the ginger, which I love. You can either use a seasoning like this or make the recipe with just sesame seeds and salt for a milder flavor.

Sesame Mushroom And Kale

Prep time: 0 minutes

Cook time: 10 minutes

Ingredients(makes 2 servings):

  • 2 Tablespoons sesame oil
  • 2/3 cup sliced mushrooms
  • 2 cups kale
  • 1/2 teaspoon salt
  • 1 Tablespoon sesame seeds

sesame-mushroom-and-kale-overhead

Method:

  1. Heat the oil in a pan that has a lid over medium heat.
  2. Sauté the mushrooms until they’ve browned on both sides.
  3. Add the kale and cover the pan. Let it stand still for about a minute while the kale steams.
  4. When all of the kale has turned a vibrant green color, remove the pan from the heat. Add the salt and sesame seeds and toss all of the ingredients together.
  5. Serve hot.

sesame-mushroom-and-kale-with-tempeh

I like to eat mine with seared tempeh, another favorite. Just toss the tempeh in the pan and cook it until it’s browned on both side. It’s delicious and one of the healthiest soy products for you. If you know anyone who refuses to eat healthy because they think healthy eating is bland, this is the dish that will change their mind.

Quick Fruit Sauce

quick-fruit-sauce

This Summer I’ve been obsessed with these pancakes. Maybe it’s because I hadn’t had good gluten-free pancakes before them. Or because I’m just relishing having a stove that’s not 3 floors down(oh, the life of a student).

As much as I loved having them with a dredge of maple syrup, I figured that couldn’t be good day after day. Instead I wanted to sweeten them the natural way with some fruit. By using chia seeds to thicken the sauce, it comes together literally in minutes but has the texture of a sauce that’s been cooking for much longer.

quick-fruit-sauce-bite

Look how thick it is(that’s what she said)! It’s hearty, warm, and the perfect pancake companion. The chia seeds not only thicken but also add a healthy dose of omega-3s.

You can use almost any fruit for this—strawberries, blueberries, cherries, grapes, mango. The one exception I’ve found is that using all raspberries creates a very tart sauce. If you want to make a raspberry version, switch out half with a sweeter fruit like strawberries or add a tablespoon of sweetener.

Quick Fruit Sauce

Prep Time: 0 minutes

Cook Time: 5 minutes

Ingredients(makes 1-2 servings):

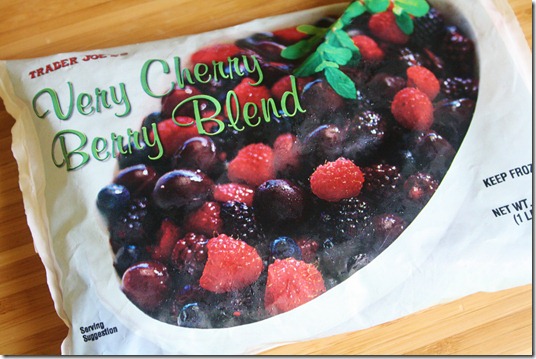
  • 3/4 cup fruit, fresh or frozen
  • 1 Tablespoon chia seeds

quick-fruit-sauce-ingredients

Method:

  1. Pour the fruit into a microwavable bowl and microwave on high for 1 minute for fresh fruit or 3 minute for frozen fruit until hot and bubbly.
  2. Mash the fruit into a puree and mix in the chia seeds.
  3. Let the sauce sit for 5 minutes to thicken. Pour hot onto pancakes, waffles, French toast, or a dessert.

quick-fruit-sauce-plate

This is so easy to make, I throw it together in between mixing and pouring the pancake batter. If it gets better than that, I don’t know how.