Yearly Archives: 2011

Healthy Frozen S’mores Parfaits

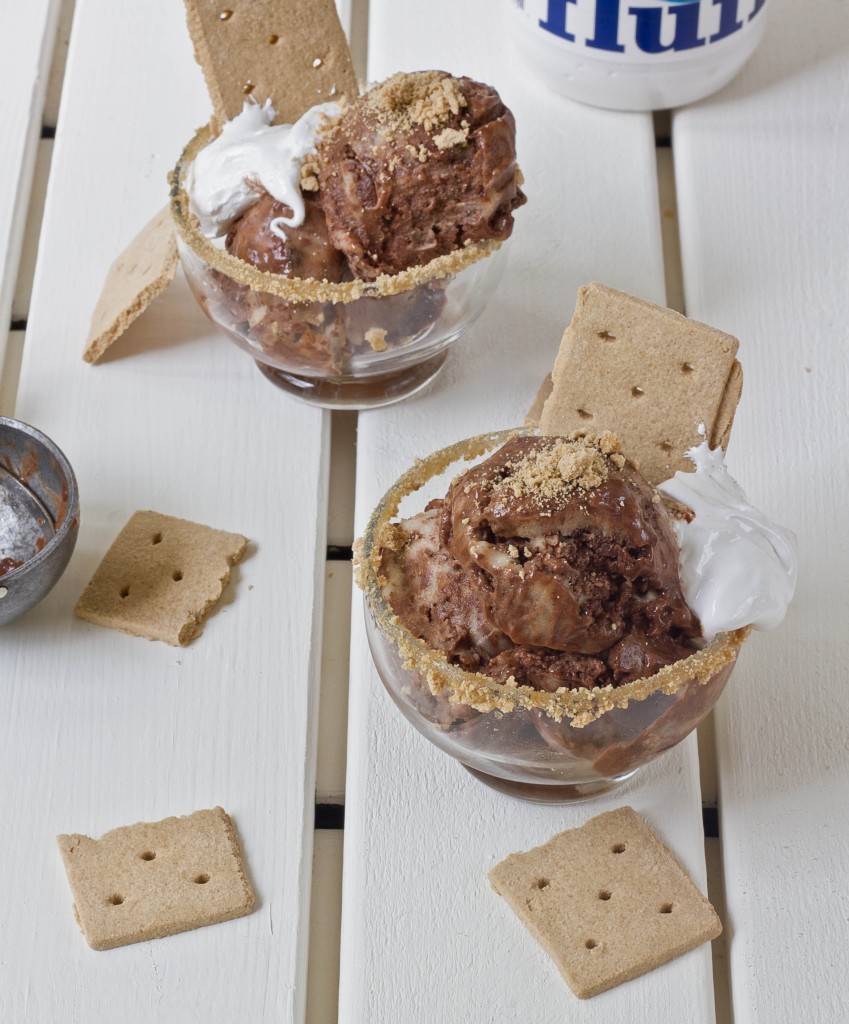
There’s been a recent explosion of s’mores desserts on food blogs lately. Besides making me think “You’re killing me, Smalls,” it’s also made me jealous and hungry for some s’mores(and if you don’t get the quote go out to Blockbuster or Red Box or however people get movies these days and rent The Sandlot). And so I made them my way, with chocolate banana soft serve, original Fluff, and a touch of gluten-free graham cracker crumbs.

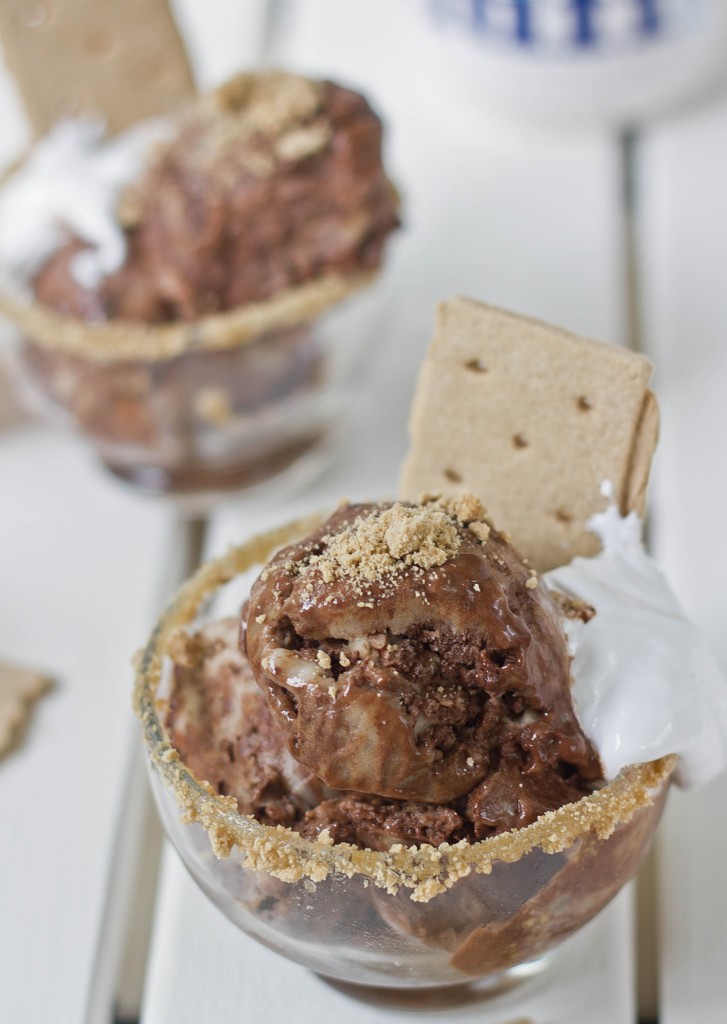
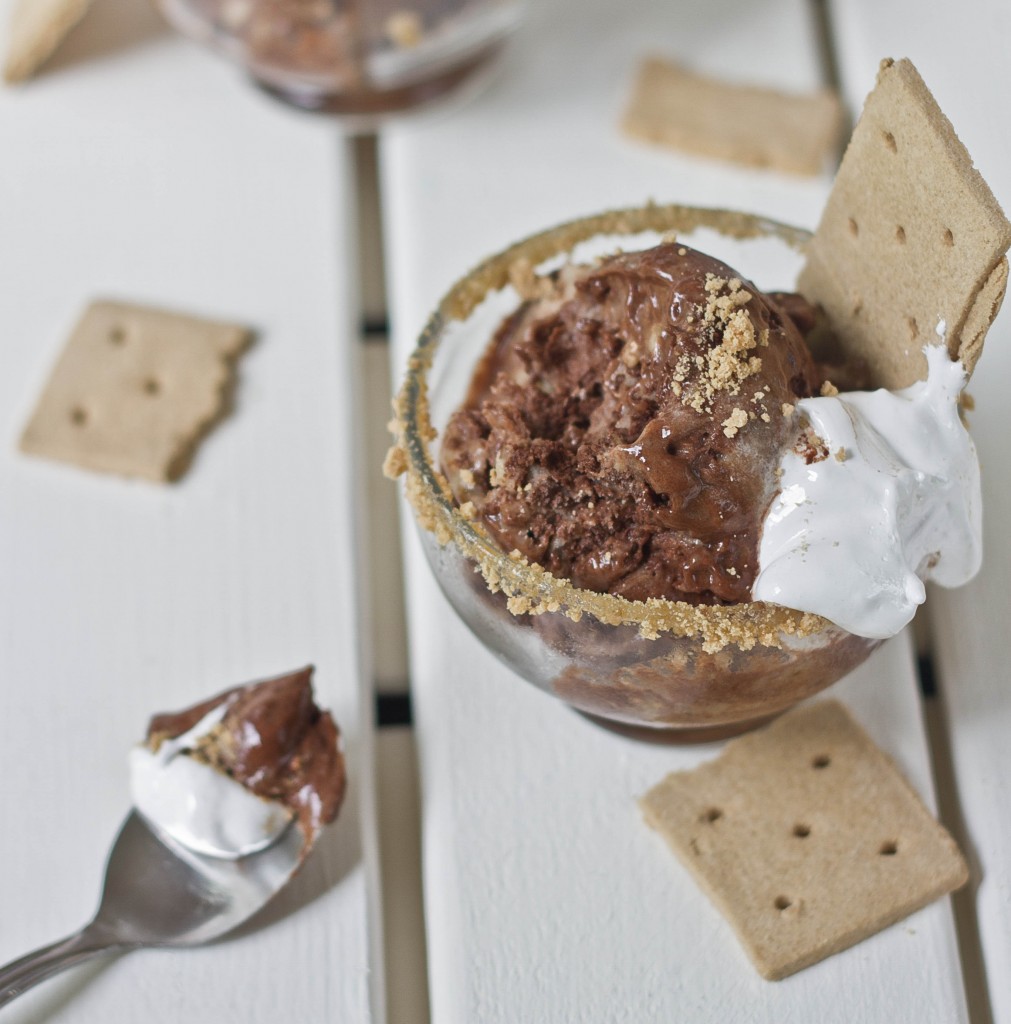
These have just the right ratio of chocolate to marshmallow to graham cracker. It’s cool, creamy, and sweet; being from Massachusetts, I wouldn’t recommend anything other than marshmallow Fluff, but you could always use marshmallows or—gasp—an imitation marshmallow crème. Add a scoop of peanut butter, too, for something extra special.

Healthy Frozen S’mores Parfaits

Prep time: 10 minutes

Cook time: 0 minutes

Ingredients(Makes 2 servings):

  • 2 large frozen bananas
  • 3 Tablespoons cocoa powder
  • 2 Tablespoons Fluff OR 1/4 cup miniature marshmallows
  • 2 graham crackers

Method:
  1. Throw the frozen bananas into a food processor and turn it on. Blend until creamy.
  2. Add in the cocoa powder and pulse until it’s mixed in.
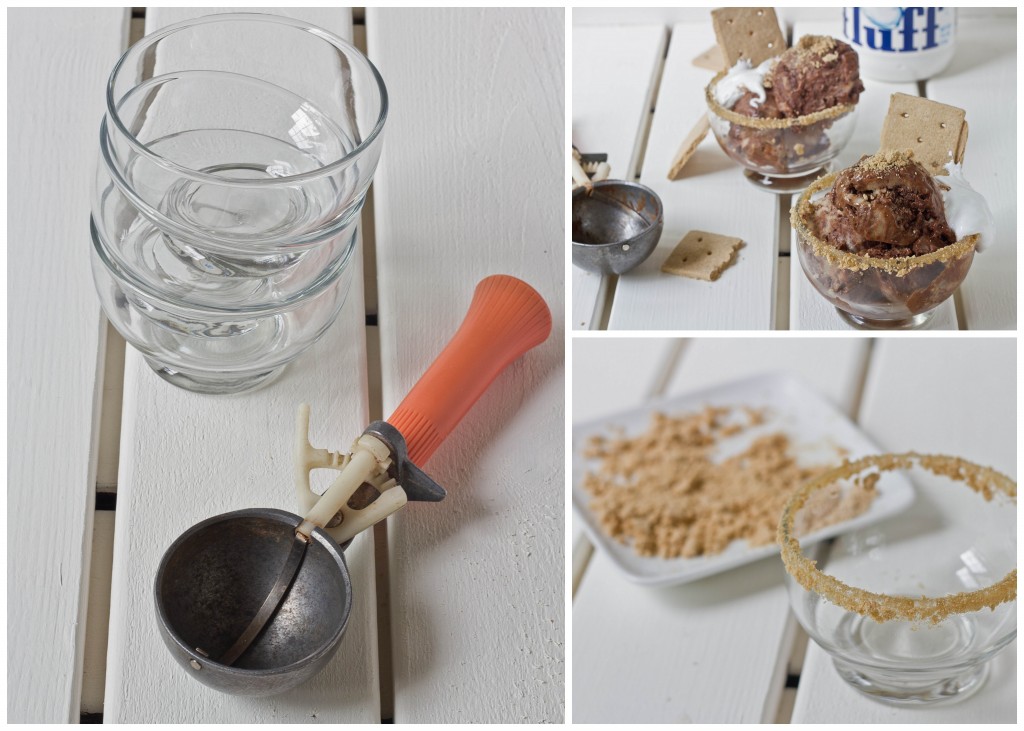
  3. Scoop the chocolate-banana mixture into the glasses. 
  4. Finish with a tablespoon of Fluff or marshmallows and graham crackers. Serve immediately.

Technically the recipe is for 2 parfaits but every time I’ve made this I’ve eaten the whole batch by myself. I’m not sure if it’s because I’m extra hungry or this is just extra good—I assume both. It’s (mostly) healthy anyway so dig right in.

4 Inexpensive Ways To Improve Food Photography

Ever since I got a Canon Rebel as my Christmas present last year, I’ve been trying and trying to take better photos. While a fancy camera is nice, it doesn’t do all the work for you. And better lenses can cost anywhere from $100 into the thousands. Being a student 9 months out of the year and having an awesome but unpaid internship over the Summer, I’m on the lookout for anything cheap that enhances photo. Since I’ve started using these(all under $20!), I’ve had a few photos accepted onto Foodgawker and Tastespotting—proof that you don’t need all the bells and whistles for your photos to get noticed.

1. Close-Up Macro Filter Lenses: $10.49

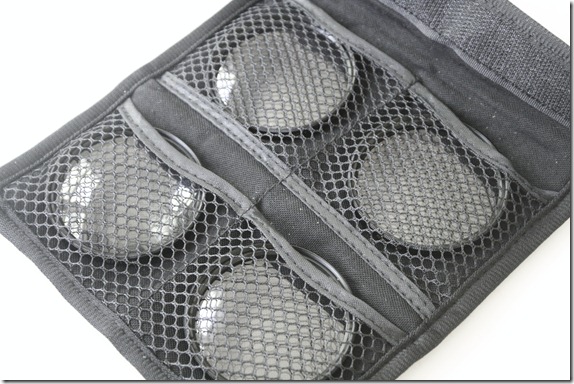
July 10th 053

These are perfect for the person who has just bought the fancy $500 camera and doesn’t want to pay anymore for specialty lenses. I first learned about these from Caroline who takes amazing food photos and hoped that buying them would help me take pictures half as good as hers.

Each lens magnifies a certain amount: x1, x2, x4, and x10. They can also be stacked on one another for even more magnification, so for instance you could make a x15 by stacking the x1, x4, and x10 lenses. It can be hard to focus the camera with them on, but if you’re patient they’re good for close-up shots of food. And for the price they’re really quite a bargain.

2. Dollar Store Placemats: $1

July 10th 048

I’ve been trying to get better about adding props to my photos and the easiest one so far to master has been the placemat. Picking a background in contrast with the food will make it stand out more. Since I didn’t want to break the bank, I went to the dollar store. I didn’t keep track of how much I spent, but I see 5 placemats, so I’m going to go out on a limb and say I paid $5. That certainly sounds like a reasonable deal to me.

3. White/Grey Posterboard: $.10-.99

January 30th 047

Another easy and cheap background is posterboard, which you can find at any CVS in the crafts aisle. White is a favorite color for food bloggers because it draws no attention, putting the spotlight solely on the food. You can use it as a background or, like the placemats, underneath as a surface.

Another tip the photo editor at a newspaper I take pictures for told me is to use a slightly grey-toned paper to set a camera’s white balance under natural light to get truer colors. Jessica does a great job at making colors pop with a grey background.

4. Natural Lighting: Free

June 18th 007

We all know lighting is important. Last December I made a light-box specifically for it. But there’s NO reason to pay a penny for it, especially during the Summer when the sun’s out until 8pm anyway. Natural lighting provides for the best food photos, which is why anything you can buy at a hardware store tries to replicate it.

May 13th 024

Take advantage of it whenever and wherever possible. And I truly mean “wherever”; if the best lighting in your house is in the spare bedroom, take the plate of food and camera there. You might feel silly at the time, but with a close-up no one will be able to tell the location anyway. And you can always crop the bed out of the background; I’ve done that.

What are your cheap photography tips and tricks?

Pizza Omelet

July 12th 043

Do you remember that joyous moment when Bagel Bites promised you pizza in the morning, pizza in the evening, pizza at supper time? And do you remember that heart-wrenching moment when you realized a diet of only Bagel Bites probably wasn’t that good for you?

I do.

Let’s fast forward ~10 years to my current egg phase, when I could(and usually do) eat eggs with every meal. They’re cheap, tasty, and oh so good for you. Like tofu, they’re pretty tasteless, too, and take on the flavors you add to them. Flavors like pizza. I mean, who can say no to melted cheese?

July 12th 065

Pizza Omelet

Ingredients:

  • 3 eggs
  • 1/4 cup pizza sauce
  • 1/4 cup shredded mozzarella cheese(I used Daiya)
  • Torn basil for garnish(optional)
  • Oil for greasing

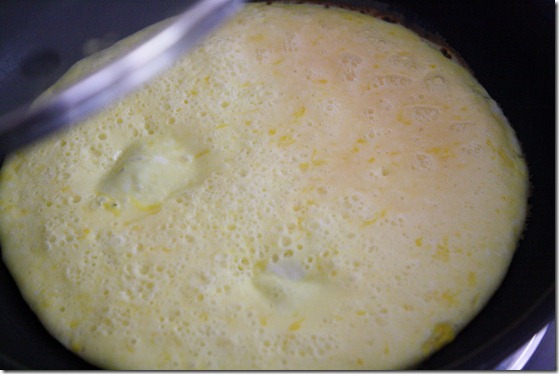
Lightly grease a 10’ frying pan and heat it over a burner set to medium. Meanwhile, crack and whisk together the 3 eggs until completely beaten.

When the pan has heated, pour in the eggs and cover with a lid.

July 12th 033

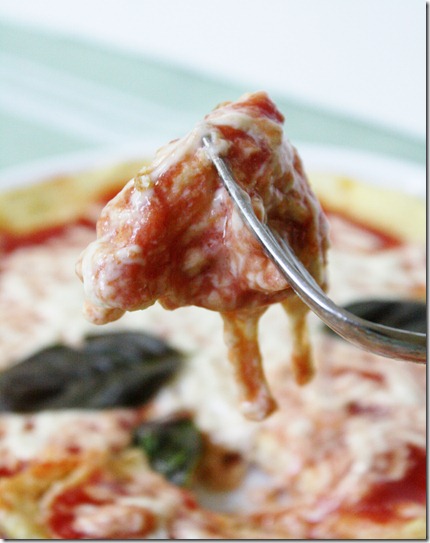
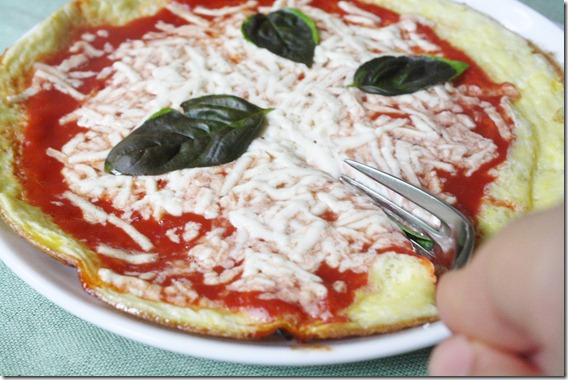
Once the egg has completely cooked, pour on the sauce and spread across the surface. Sprinkle on the cheese in an even layer, return the lid, and turn off the heat leaving the pan on the burner for a few minutes until the cheese has melted. Once ready, slide the omelet onto a plate and garnish with fresh basil.

July 12th 050

Maybe it’s the fact that I haven’t had a “real” pizza in ages, or maybe this is just damn good; either way, I’m obsessed. Anything herby with melted cheese is a winner in my book. It’s also a good way to sneak protein into a picky-eater’s diet, but don’t tell them that.

Tofu “Ricotta” Cheese

July 12th 098

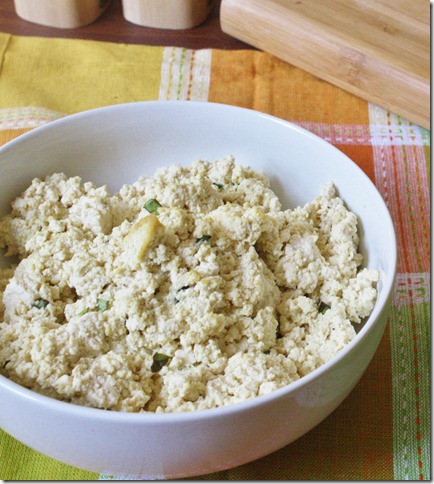
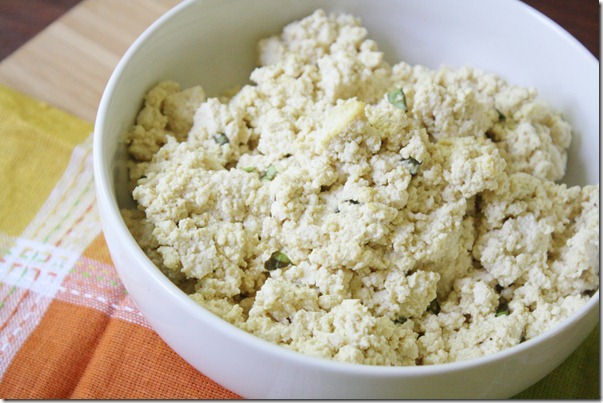
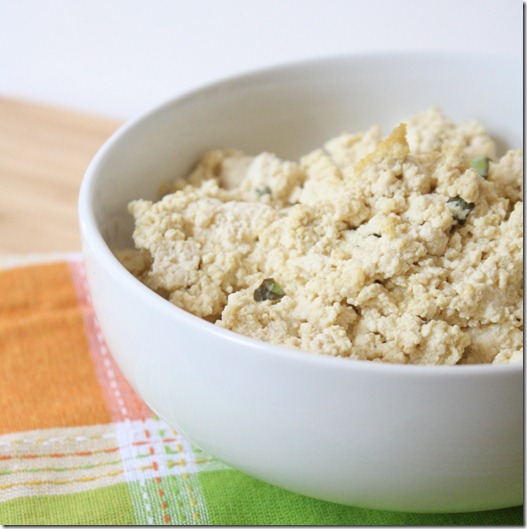
For whatever reason, I’ve never loved cheese. If I did, I probably would have gotten my fingers caught in more mouse traps as a child. So giving up cheese along with dairy was never hard, but last Summer I tried this Whole Foods recipe for a vegan “ricotta” and really loved it. The herby, seasoned flavor far exceeded any “real” cheese I’d ever tried. For whatever reason I forgot about it for a year and just decided to make it again this week with a few tweaks.

July 12th 074

Making your own cheese substitute has advantages and disadvantages compared to store brands. Since it’s tofu-based, this recipe is higher in protein than most fake cheeses. And the addition of fresh herbs and seasoning creates an unparalleled flavor. Since it doesn’t have a bunch of funky ingredients and stabilizers, it won’t melt like other fake cheese. But is that really such a bad trade off?

Tofu “Ricotta” Cheese(adapted from this recipe)

Ingredients:

  • 1 block extra firm tofu
  • 2 Tablespoons tahini
  • 1/4 teaspoon onion powder
  • 1/4 teaspoon garlic powder
  • 1/4 cup nutritional yeast
  • 1 Tablespoon lemon juice
  • 1 Tablespoon fresh chopped basil
  • 1/2 teaspoon salt + more to taste
  • 1/4 teaspoon black pepper

July 12th 090

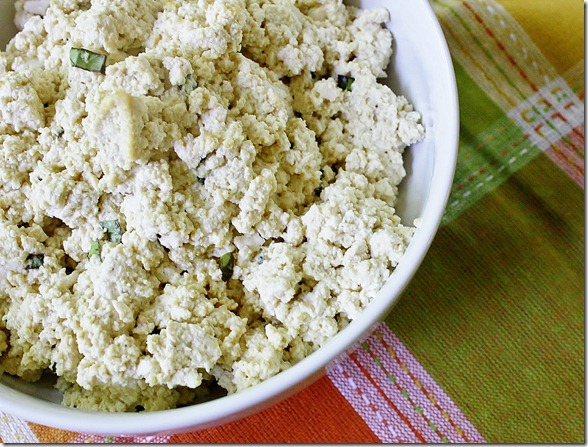
Combine all of the ingredients together in a large bowl. Using a fork, press into the tofu block breaking it up into smaller clumps and mixing it with the other ingredients. Continue this until the ingredients are homogenous and the consistency resembles ricotta cheese. Store in an airtight container in the refrigerator for up to a week.

July 12th 121

I haven’t found many uses for this so far besides eating it straight from the bowl, but I’m sure with time I’ll find others. Unless I eat it all straight from the bowl, which is a likely scenario, too.

Raw Chocolate Mint Mousse

July 5th 010

I’ve been holding out on you.

I’m sorry.

July 5th 017

I made this about a week ago and never got around to posting the recipe. But late is definitely better than never.

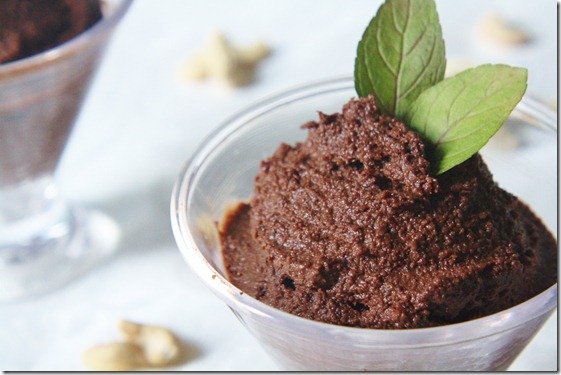
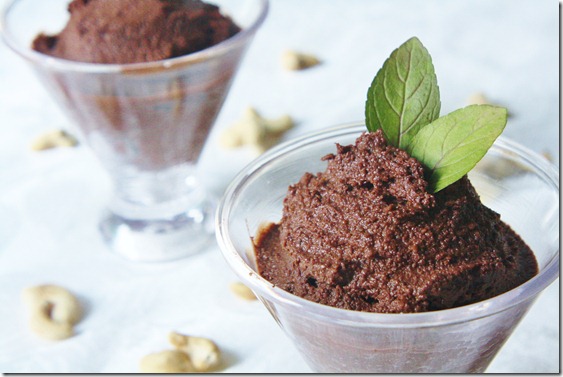
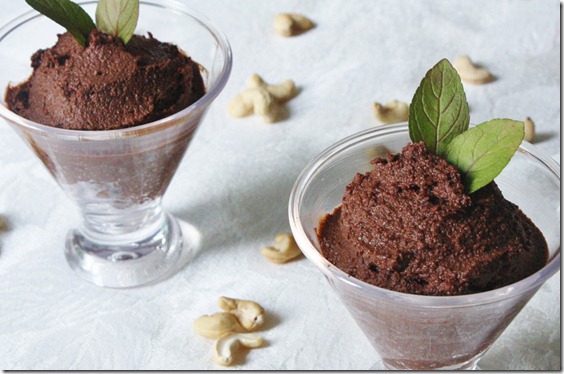
It all started when I went to London and had the raw chocolate, vanilla, and mint mousse parfait from saf, which was by far the best thing I had the entire trip. I had been thinking about it as soon as I got back. Luckily, it wasn’t too hard to recreate because the ingredients were listed on the side of the dessert so all I had to do was copy them.

Let me tell you this tasted exactly like the real thing, which is good because I’m not sure I can afford a plane ticket to London every time I get a craving for this mousse. So, if you’re like me and have no plans to be near Kensington Square anytime soon, bookmark this recipe. If you do have plans to be there, send me a postcard. And some mousse.

Raw Chocolate Mint Mousse

Ingredients:

  • 2 cups cashews, soaked for at about 3 hours
  • 6 Tablespoons maple syrup or agave
  • 1.5oz unsweetened baking chocolate, melted
  • 3 Tablespoons cocoa powder
  • 10 mint leaves, finely chopped plus more for garnish
  • 1/4-1/2 cup water

Combine the cashews, sweetener, melted chocolate, cocoa powder, and mint in a food processor and process until it makes a smooth paste.

If serving immediately, slowly add in water to the processor as it’s blending until it reaches a light and airy consistency. Scoop into serving dishes and garnish with extra mint leaves.

If serving later, add in a tad more water than you think you should until the dessert is slightly runny. Pour into serving bowls and refrigerate until serving. As the mousse cools, the texture will firm up. If it firms up too much, simply whisk a couple teaspoons of water into the mousse with a fork until it’s come back to the right consistency again.

July 5th 033

I like this better than raw chocolate mousse made with avocado because it actually has the light and airy texture of an egg and cream mousse. The taste is very rich and very minty.

July 5th 007

It’s a lot of fat, but I’m going to pull out the “healthy fat” card here. We’re all going to die of something; if raw chocolate mousse does me in, I’m OK with that.

Greens & Beans

July 10th 098

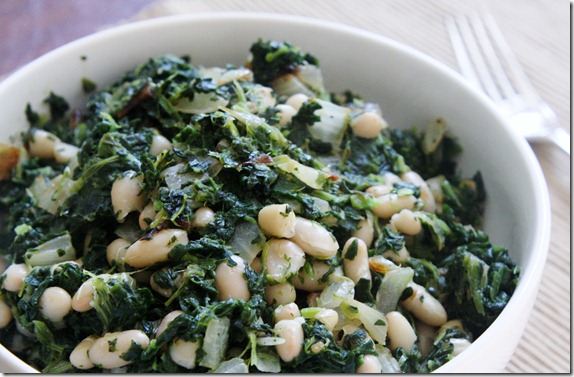
For a food blogger, I’m not a very adventurous eater. I eat a lot of the same things over and over again. I eat a lot of omelets. I love making raw noodles in peanut sauce. And, when in doubt, I always go back to greens and beans.

It’s not as much of a recipe as a methodology: You take some greens and some beans, sauté flavor into them and boom! It’s a meal. And it doesn’t make you think too hard, which is always nice at the end of the day.

Greens & Beans

Ingredients(Makes 2 servings):

  • 1/2 an onion, diced
  • 1 clove garlic, minced
  • 1 1/2 Tablespoons olive oil
  • 1 can beans, drained(I like cannellini)
  • 2 cups fresh OR 1 cup frozen greens, thawed(spinach, kale, etc.)
  • 1 Tablespoon lemon juice
  • Salt and pepper to taste
  • Butter(optional)

Heat the oil in a pan over medium heat. Add in the garlic and onion and sauté for a few minutes until the onions translucent and garlic is crispy.

July 10th 069

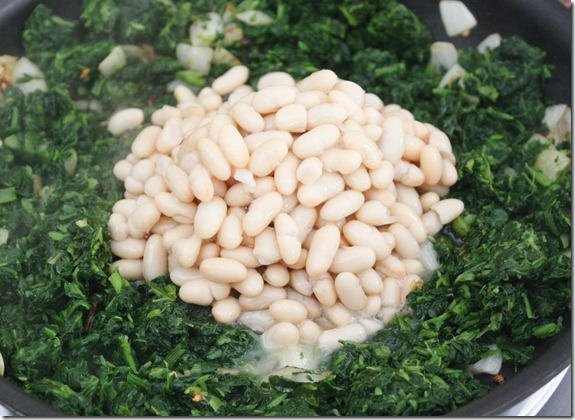
Add in the greens and beans and mix them in with the garlic and onions. Add in the lemon, salt, and pepper and cook until heated through. Serve hot.

July 10th 096

Sometimes I’ll add an extra clove of garlic just because I can, you know, on the days when I don’t plan on having to speak to someone face to face. I love getting bites of crispy garlic through the dish.

July 10th 110

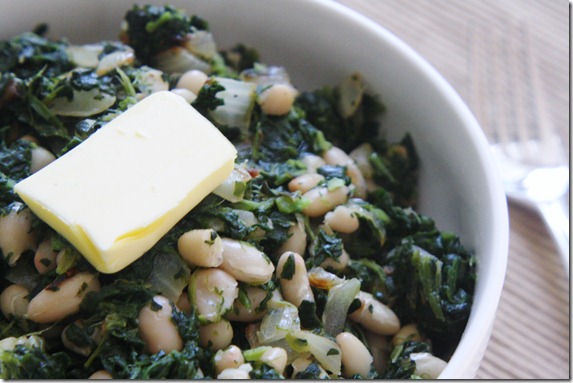
And then there’s butter. I don’t eat butter often, but a pat of Smör Icelandic butter(that’s the good butter Ina Garten’s always harping on about) really hits the spot, especially after it’s melted in.

The Best Grilled Tofu

July 10th 117

Tofu gets such a bad rap. And you know what? It kind of deserves it. Just eaten plain, tofu is bland and a little disgusting.

But like any girl wearing glasses and overalls in a cliché 90s movie, tofu can get dressed up and steal the show. It takes on any flavor added to it, and when cooked properly has a “meaty” texture.

July 10th 136

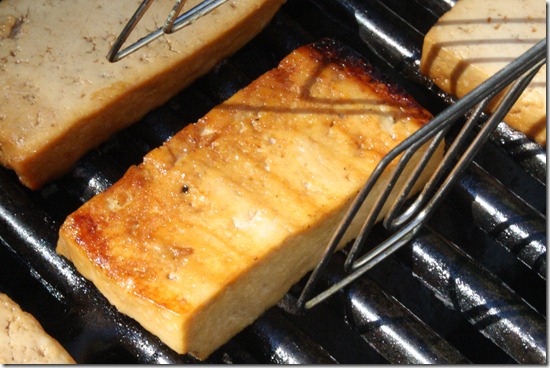
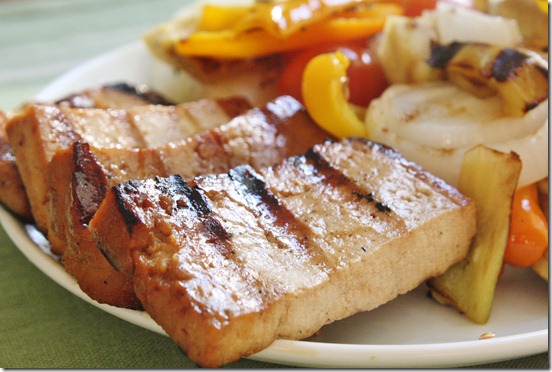
There’s no reason for tofu-eaters to be left behind during grilling season. With the right marinade tofu makes a tasty grilled entrée. And this is the best(and simplest!) marinade I’ve ever tried. All it takes is time and patience for the flavors to be absorbed. It works well baked, too, but in the Summer there’s no other way to go than grilled.

The Best Grilled Tofu

Ingredients:

  • 1 block firm tofu, sliced 3/4 inch thick
  • 1/3 cup soy sauce
  • 1/3 cup maple syrup
  • 2 Tablespoons lemon juice
  • 1 Tablespoon toasted sesame oil

July 10th 130

Combine all of the liquid ingredients and marinate the sliced tofu in the mixture for at least 3 hours, preferably overnight.

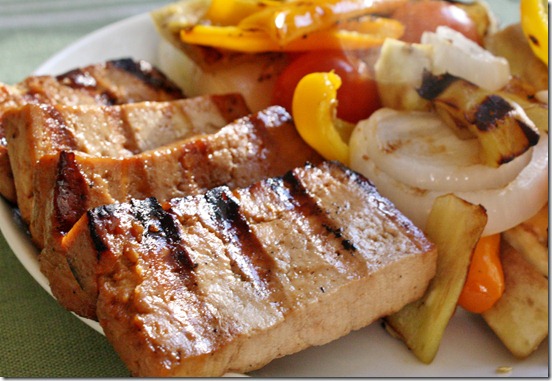
Heat a grill to high and lay the strips of tofu out. Flip after 3-5 minutes once the bottom side has grill marks and cook for another 3-5 minutes. Serve hot or refrigerate and serve cold.

July 10th 133

You can reuse the marinating liquid again and again since there’s a very low risk of spreading bacteria with tofu. Either add more tofu to the marinade immediately or freeze it until using again.

I can’t get enough of this. I could easily eat a block of tofu in one sitting. That’s what makes it the best.
Dairy-Free Rum Raisin Ice Cream

2011-07-05 July 5th

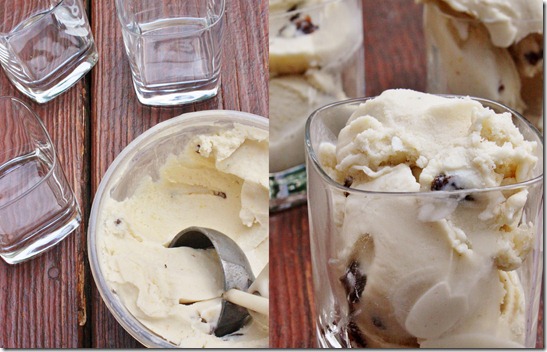
My favorite kitchen tool is my ice cream maker. I could tell you how useful and multi-purposed the food processor is for making healthy dishes, but it just can’t hold a candle to an ice cream maker. It doesn’t churn out fresh, delicious ice cream. And don’t try and tell me “But you can make 1-ingredient banana ice cream in a food processor” because we all know as good as that is it’s not the real deal. If I want ice cream, I want fat, sugar, and preferably alcohol.

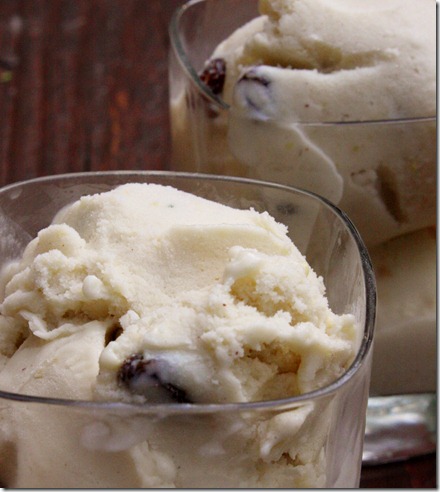
I hadn’t had rum raisin ice cream in years before making this. I’m not even sure what inspired me to go that direction, but I’m glad I did. As soon as I tasted the chilled base, I knew I wouldn’t be able to stop at one serving. Cinnamon and maple syrup are the secret ingredients that add warm and deep flavors complimenting the rum, which there is plenty of. For an extra special kick, soak the raisins in a rum and water mixture before adding them to the ice cream.

Dairy-Free Rum Raisin Ice Cream

Ingredients:

  • 2 1/2 cups coconut milk, preferably full fat
  • 1/2 cup cane sugar
  • 2 egg yolks
  • 1/4 cup maple syrup
  • 1/4 cup rum
  • 1/4 teaspoon cinnamon
  • 1/4 cup Thompson raisins

For the base, gently heat the coconut milk and sugar over low heat until lightly bubbling. Remove from the heat and temper the eggs yolk until they can be combined into the base. Let this cool to room temperature and then refrigerate for at least 2 hours.

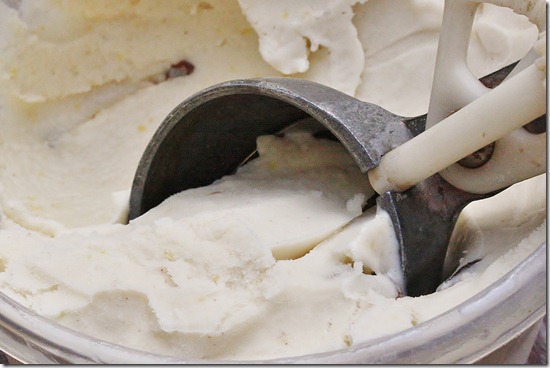
July 5th 041

Whisk together the cold base, maple syrup, rum, and cinnamon, pour into an ice cream maker and churn under manufacturer’s instructions. In the last 5 minutes, add in the raisins. Freeze for 2 hours before serving.

July 5th 068

This really tastes like rum. Like, really. You might get a little tipsy after eating too much of this. I did. But you won’t regret it, because, really, how could you regret this?

Protein-Packed Mock Thai

July 2nd 065

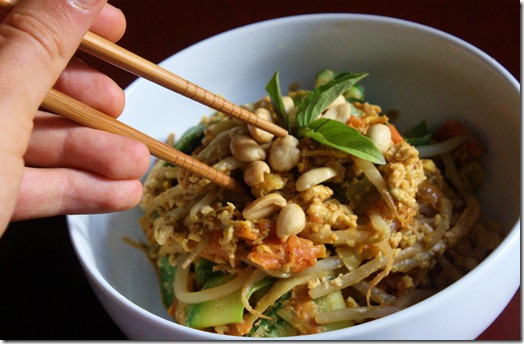
I didn’t learn to eat with chopsticks until 10th grade. I ate plenty of Asian food before then, but it was usually takeout eaten at home with forks and spoons. If I did use the chopsticks, it was to poke a dumpling from the side and cautiously try to dip it into duck sauce without it falling off.

July 2nd 080

But then, in 10th grade, a magical thing happened: A Panda Express opened up in the Comm. Ave cafeteria where I ate lunch. I could have Panda Express Every. Day. Let’s ignore how unhealthy that must have been for me—their orange chicken was sensational. It was great enough to motivate me to learn to use chopsticks. 

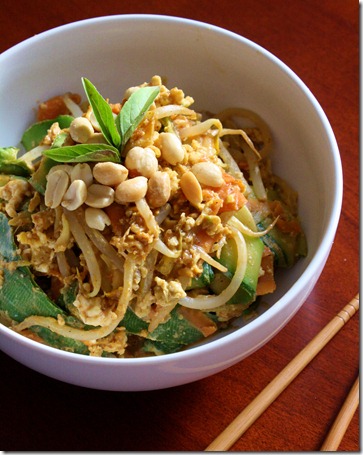
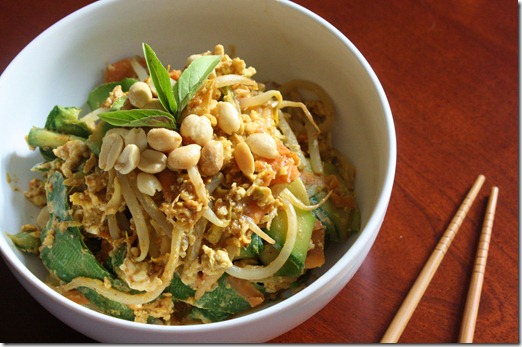
This is one skill I hold dear to my heart. While I don’t always post it, I love working with Asian ingredients to make flavorful, often unphotogenic meals. You can’t go wrong if you keep adding soy sauce, vinegar, and honey with a little spice. My favorite dish is Pad Thai, but like orange chicken, the original is probably not something you should eat every day. But now you can.
July 2nd 054

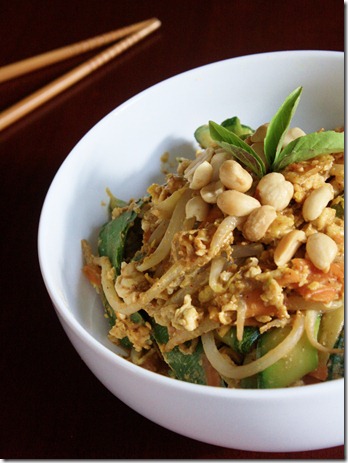
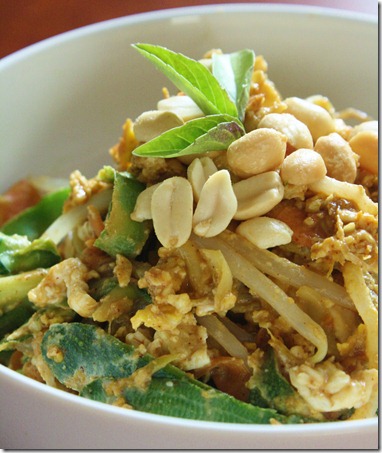
This recipe uses vegetables in place of the noodles to cut down on refined grains and carbs and boost the vegetable servings. Trust me when I say you won’t miss them. The sauce has an extra protein punch from peanut flour, which is higher in protein and lower in fat than peanut butter, which also works well in this recipe in a pinch. I use eggs which are my favorite protein to make this a filling meal but you can swap in cubed tofu to make this a vegan dish. The result is filling and just as delicious as the original. If you don’t know how to use chopsticks yet, let this be a reason to learn.

Protein-Packed Mock Thai

Ingredients(Makes 2 small portions or 1 large):

  • 1 zucchini, peeled into shreds
  • 1 carrot, peeled into shreds
  • 1/2 cup bean sprouts
  • 3 eggs
  • 1/4 cup partially defatted peanut flour*
  • 2 Tablespoons tamarind paste**
  • 1/2 Tablespoon sesame oil
  • 2 teaspoons soy sauce(or wheat-free tamari)
  • 1/2 Tablespoon rice vinegar
  • 1/4 teaspoon chili powder
  • ~2 Tablespoons water to thin

*If unavailable, swap for 2 tablespoons peanut butter and omit the water.

**This is the signature flavor of Pad Thai. The best substitute is brown sugar, though the flavor won’t be as complex.

July 2nd 042

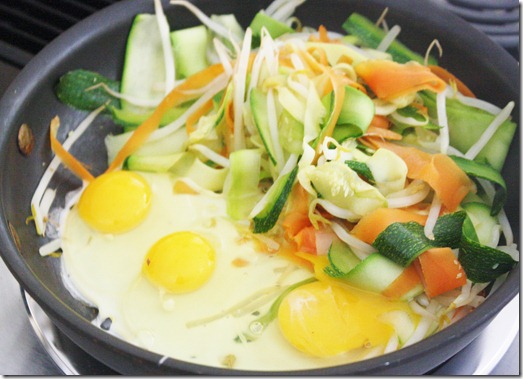
Heat a pan to medium and add in the zucchini and carrot noodles and bean sprouts. Sauté for a few minutes until cooked and softened.

Crack in the eggs and toss the vegetables with them. Continue sautéing until the eggs have completely cooked.

July 2nd 057

Turn off the heat, pour in the sauce, and toss it together with the noodles until completely mixed. Scoop into bowls for serving.

Garnish with salted peanuts and Thai basil leaves.

July 2nd 051

Dig in.

What’s your favorite dish to order at a Chinese/Japanese/Thai restaurant?

Secrets Of A Restaurant Chef (Intern)

Secrets of a Restaurant Chef

Move over, Anne Burrell, there’s a new restaurant chef in town.

Some of you have asked about my internship, which has been well underway for a month now. I haven’t talked about it much simply because I wasn’t sure what to talk about. A lot of the things I’m learning don’t translate to blog posts easily. So I sent out a plea asking for jumping points and here are some of the FAQ I got.

What’s involved in a typical shift?

My shift starts at 10am. The chef lays out a list of ingredients that need to be prepped for that night or the next few days so often I get started on one or two of those tasks. Our service is 11:30-2, during which time I could continue with food prep if it’s a light day or if things are busy get pulled into the salad and pizza station. The dinner shift chefs come in at 2 and for the last hour I’m there I usually work on one or two things that still need to be done for that night. I get out at 3 and, even though it’s just 5 hours of work, I feel as though a truck hit me usually. Time spent in the kitchen is no joke.

How do you think this internship will help you get to where you want to go?

To be honest I have no clue where I want to go. As much as I love food blogging, I wouldn’t put much stock into it as a job. I thought that working in a restaurant would be a logical step towards a real career. The very first day, my shift boss told me outright “keep cooking as a hobby.” As much as I’ve enjoyed learning to cook in a restaurant setting, I’m not sure I could see myself doing it day in and day out. Regardless, I’m picking up a lot of practical skills.

How do you stay gluten-free in an Italian restaurant setting?

Simply put, I avoid eating anything at the restaurant as much as I can. The food isn’t bad; in fact it’s terrific. It’s just what I would call a “meat and wheat” kind of menu and that’s not how I eat at all. Since I have to actually ingest gluten to have a reaction, I can work with it as much as I need to. If I do need a snack, I keep a bag of cashews with me.

What has been your biggest kitchen mistake?

Thankfully, I haven’t made any huge, irreversible mistakes. The only thing I can think of is when I was chopping parsley and nicked a tiny piece of my fingernail chopping it fine.

Another time I was using the meat slicer to cut prosciutto thinly and I got maybe 15 slices out of it before the meat was torn to shreds and useless. I’m not sure if it’s the way the meat was marbled or if I mishandled it on the slicer but I felt pretty bad after that.

What’s the best thing you’ve learned so far?

My knife skills have advanced leaps and bounds since getting into the kitchen. I now know the proper way to hold it and how to dice all the different types of vegetables. I’m even becoming jealous of the fancy knives and cutting boards I’m spoiled with at the restaurant and think I might have to splurge on a set for myself at the end of the Summer.

What has been the best job so far? The worst?

My favorite jobs are the ones that are simple, repetitive, and take a long time so I can zone out. Cleaning sugar snap peas and rolling garganelli pasta are some of the best.

The worst are beets—anything to do with them, like peeling hundreds of tiny beets after they’ve cooled or having to devein the leaves. Both leave me with sore hands and dirt under my fingernails for a week.

What goes on behind the scenes of your place?

There’s really no behind the scenes dirt to spill, and not just because it’s an open kitchen. I love the restaurant and their commitment to using fresh, local ingredients whenever possible.

Well, that’s a glimpse into my internship. If you have any other questions, I’d be happy to answer them either in the comments section or in a separate post.