Yearly Archives: 2011

The Most Popular Recipes Of 2011

Life’s a bit of a popularity contest; I’m not delusioned into thinking otherwise. And so, instead of me telling you what my favorite recipes have been so far, I figured it’d be more useful to show you the recipes you all picked as the best—the popular crowd.

These are my 5 most visited recipes over the past year. Rereading the comments on all of these posts, I’m shocked by how many people tried(and loved) them. It makes me happy since I loved all of these, too. Hopefully as popular as they are you’ll find one that’s new to you and be inspired to try it out like others have.
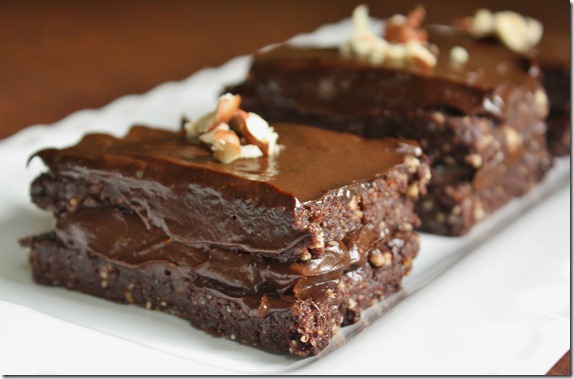
hazelnut-chocolate-cake

These Raw Vegan Hazelnut Chocolate Cakes blew up on stumbleupon. With almost 40,000 views and a couple hundred likes, it’s been a huge hit for plenty of foodies. But don’t think it’s just for raw vegans; this tastes delicious no matter who you are(even the avocado frosting, which I swear you won’t be able to taste anything funny in).
July 14th 074

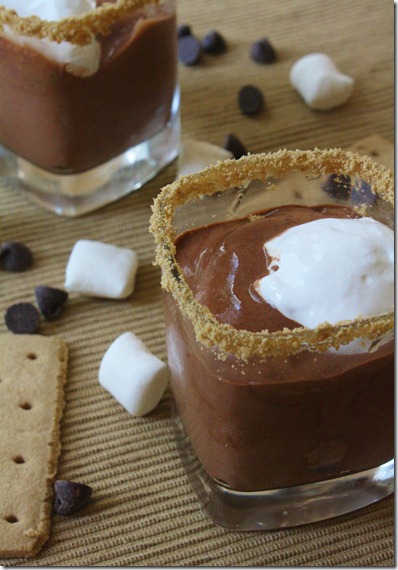
Healthy Frozen Smore Parfaits were a huge hit on Pinterest over the Summer. I have to say I made these more times than I can count myself; they were the perfect way to beat the Summer heat with 2 servings of fruit in each serving. 
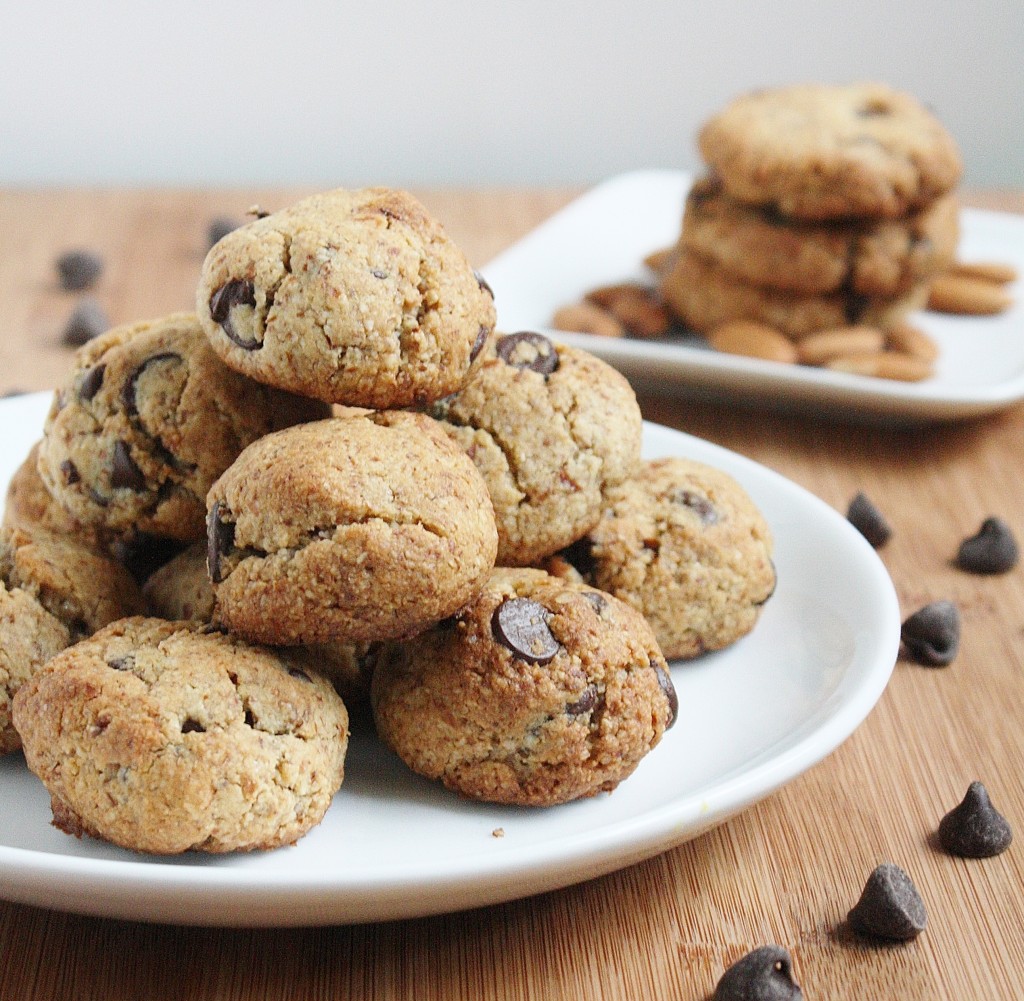
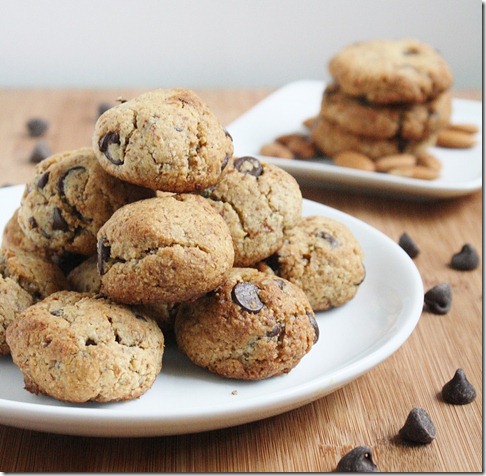
If you’ve ever googled “Almond Flour Cookies”, you’ve probably landed on these Almond Flour Chocolate Chip Cookies. It’s one of my most visited daily pages and has been visited even more frequently in the past few weeks; looks like a lot of people will be having gluten-free holidays. The best thing about these is that you probably already have all the ingredients for them in your pantry. 
May 8th 049

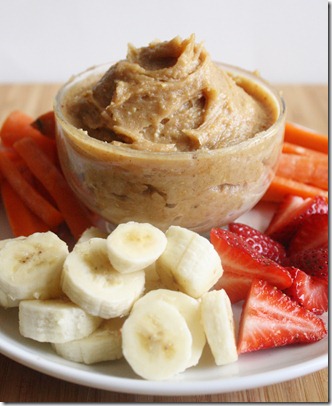
To this day I’m surprised by how often this Peanut Butter Yogurt Dip is pinned on Pinterest. If everyone who pinned this onto a board called “NEED TO MAKE!!” actually has—well that would be a lot of peanut butter. Apparently it’s a big hit with little kids, which I can understand since I love it and am pretty much just a big kid at heart.  

January-6th-067

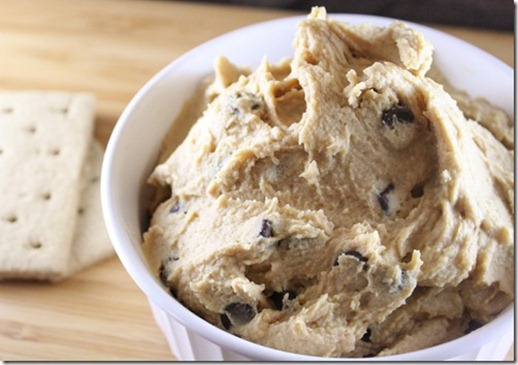
This Peanut Butter Chocolate Chip Hummus is probably my most made recipe judging by the comments and testaments I’ve gotten. If you’re still afraid of the idea of a sweet hummus, trust the hundreds of people who tried it and know that you can’t taste anything but goodness.

Here’s to 2012 being an even tastier year.

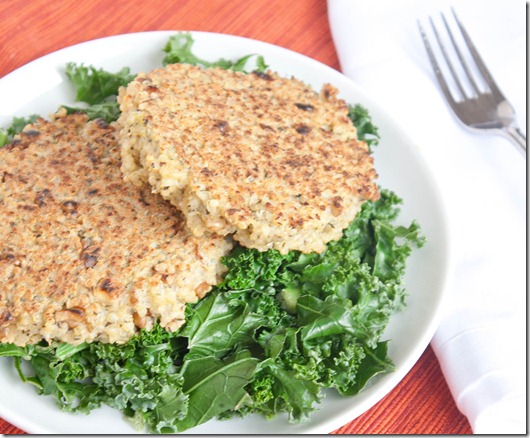
Walnut & Herb Quinoa Cakes

walnut-and-herb-quinoa-cakes

One of my favorite things about being home so far has been having a stove to use whenever; it’s much more motivating to cook something when your refrigerator and stove aren’t separated by 3 flights of stairs.

Quinoa cakes are something that have always intrigued me; they look so fancy and yet always sounded like something easy to make. Finally after seeing Emily post about them, I knew I had to try them. These couldn’t have been easier to throw together. I just took the ingredients out of my pantry and they were cooked before I knew it.

This recipe calls for precooked quinoa, so if you’re planning on making this note that cooking the quinoa will take extra time if you don’t already have some.

Walnut & Herb Quinoa Cakes(inspired by this recipe)

Prep time: 5 minutes

Cook time: 10 minutes

Ingredients(Makes 2 cakes or 1 serving):

  • 3/4 cup + 2 Tablespoons cooked quinoa
  • 1 egg
  • 1 teaspoon Herbes de Provence
  • 1/2 teaspoon salt
  • 2 Tablespoons crushed walnuts
  • Oil for cooking

walnut-and-herb-quinoa-cakes-fork

Method:

  1. Combine the first five ingredients together in a bowl and mix until it all comes together.
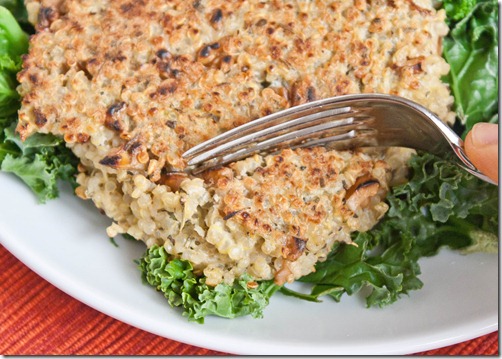
  2. Heat a large frying pan over medium-high heat and add a little oil to keep the cakes from sticking. Drop a lump of the quinoa mixture onto the hot pan and with a spoon or fork flatten it into a patty shape.
  3. Cook for 5 minutes on each side, flipping once halfway through to get a nice, crisp crust. Repeat with the other half of quinoa and egg mixture.
  4. Serve hot or cold as leftovers.

walnut-and-herb-quinoa-cakes-serving

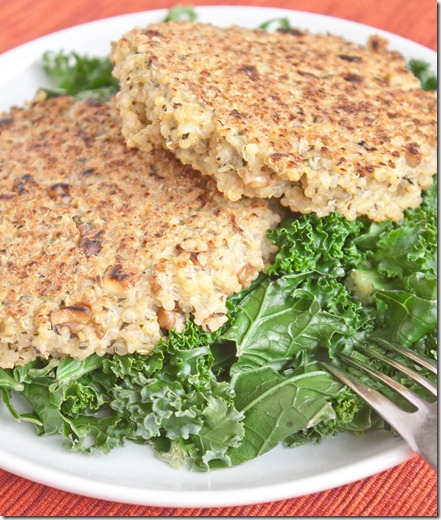
I loved how the walnuts on the outside toasted up and gave incredible flavor to the cakes. Overall this was a surprisingly easy and delicious recipe, something I’d make again and again.

Classic Peanut Butter Cookies

IMG_8377

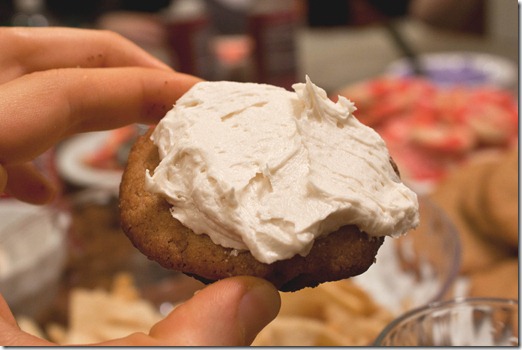
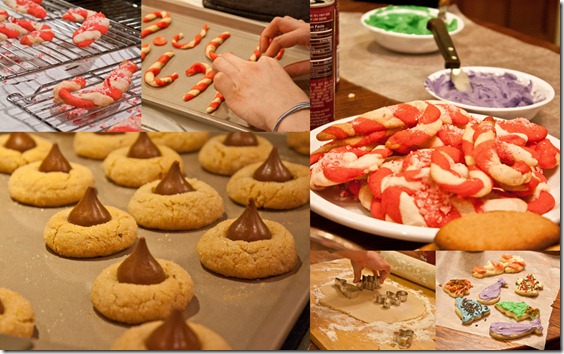
Last week I got together with old friends for an annual cookie baking party. Good company, tons of sugar, and frosting—what’s not to love?

Lightroom Photos2

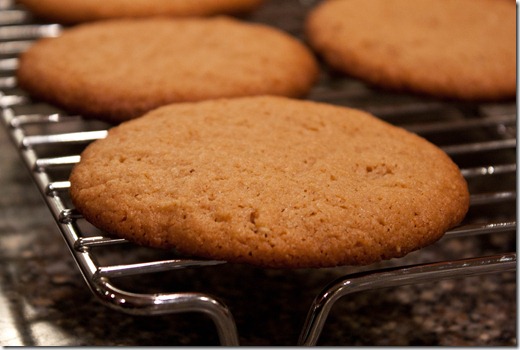
For my part I offered to bring peanut butter and make peanut butter cookies. The hostess knows I’m allergic to wheat and when she asked what we could make that was gluten-free, this recipe popped into my mind because of how simple and crowd-pleasing it is; who doesn’t love peanut butter cookies?

…Well, probably people who are allergic to peanut butter, but thankfully no one there was. If you are allergic to peanut butter, you can easily substitute almond butter or sunflower seed butter in these for a similar taste and texture.

Classic Peanut Butter Cookies

Prep time: 10 minutes

Cook time: 12 minutes

Ingredients(Makes 24 cookies):

  • 2 cups salted peanut butter
  • 2 eggs
  • 1 1/2 cups sugar
  • 1 teaspoon vanilla extract
  • 1 teaspoon baking powder

IMG_8298

Method:

  1. Preheat your oven to 350 degrees.
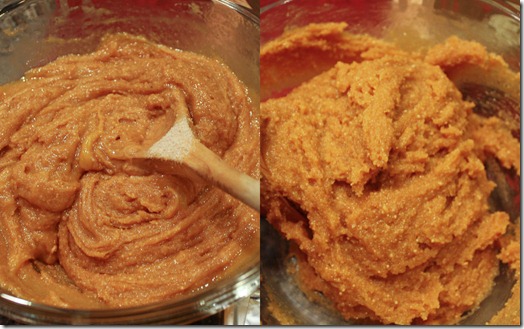
  2. Mix together all of the ingredients in a large bowl until the dough is thick and sticks to itself.
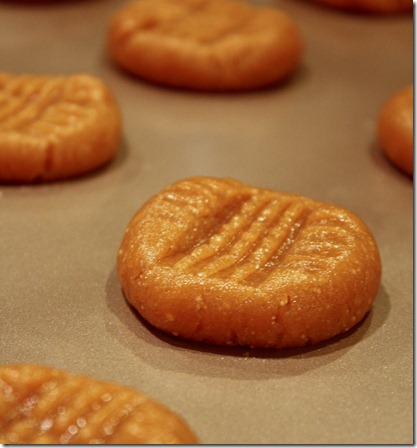
  3. Break about an ounce of dough off and roll it into a ball in between your hands. Place on a non-stick cookie tray and press down lightly with a fork in a criss-cross pattern. Repeat with all of the dough.
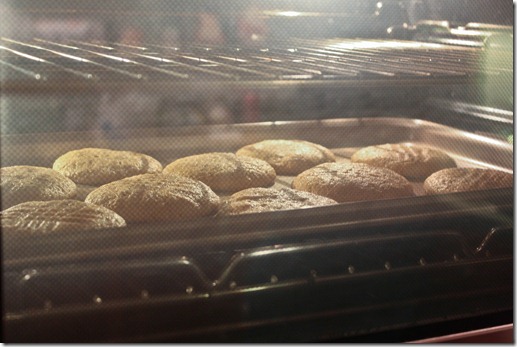
  4. Bake for 12-15 minutes until the edges begin to darken. Remove from the oven and let them cool on a wire rack until the outside has crisped.
  5. Store at room temperature in a sealed container for up to a week.

IMG_8307

IMG_8314

Mine came out a little flat, probably because I didn’t measure any of the ingredients and only looked at the recipe after the fact. Oh well, they still tasted great, and there was definitely no shortage of cookies that night.

Lightroom Photos

Eat Healthy: Raw Brownies

filling-up-on-raw-brownies

I could never give up chocolate. It’s a daily thing for me. Even when I want to eat healthy, I’m always drawn back to it, and frankly I have no willpower to resist.

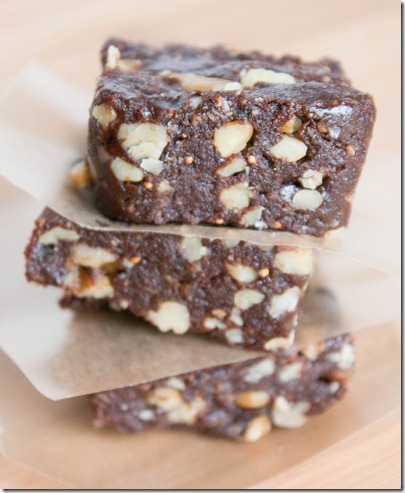
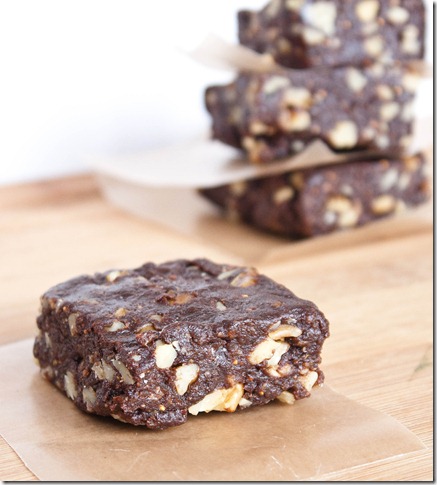
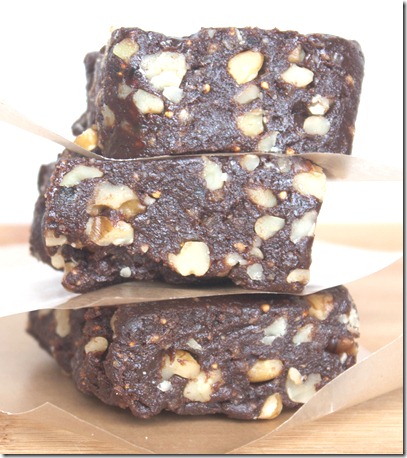
That’s where the beauty of something like raw brownies come in. These are sweetened with dried fruit and the only fat comes from nuts, which are whole foods. It’s a big improvement over refined sugar, cocoa butter and milk fat. To make these, I threw together some dates, figs, hazelnuts and walnuts in my food processor, and then folded in extra walnuts when it was done to give them an added crunch. Not only are they delicious, but they’re filling, too.

filling-up-on-raw-brownies-serving

Since that’s not exactly a recipe, I thought I’d share a few raw chocolate cake recipes I have made in the past that are similar and just as delicious:

Gabriel’s recipe is super simple. It has added coconut oil and agave nectar which makes the brownies a little more moist and extravagant. It’d be the perfect thing to make if you want to impress someone and show off how good raw food can be.

Katie’s recipe has just fruit for the sweetener and nuts for the fat like the ones I made. I like the addition of vanilla for a stronger chocolate flavor.

filling-up-on-raw-brownies-stack

I went through the first batch of these all too quickly. You’d better double the recipes since I’m sure you’ll fall in love with them, too.

No-Bake Peanut Butter S’mores Bars

I love it when people request certain desserts for parties because it makes it so much easier to decide what to bring. This year my cousin asked for Christmas Eve that I bring the same dessert I brought last year: Peanut Butter S’mores Bars.

These are absolutely one of my favorites, too. I’ve also been meaning to make them all year because I wanted to take better pictures than the old ones I had for this recipe, so it was an all around win. 

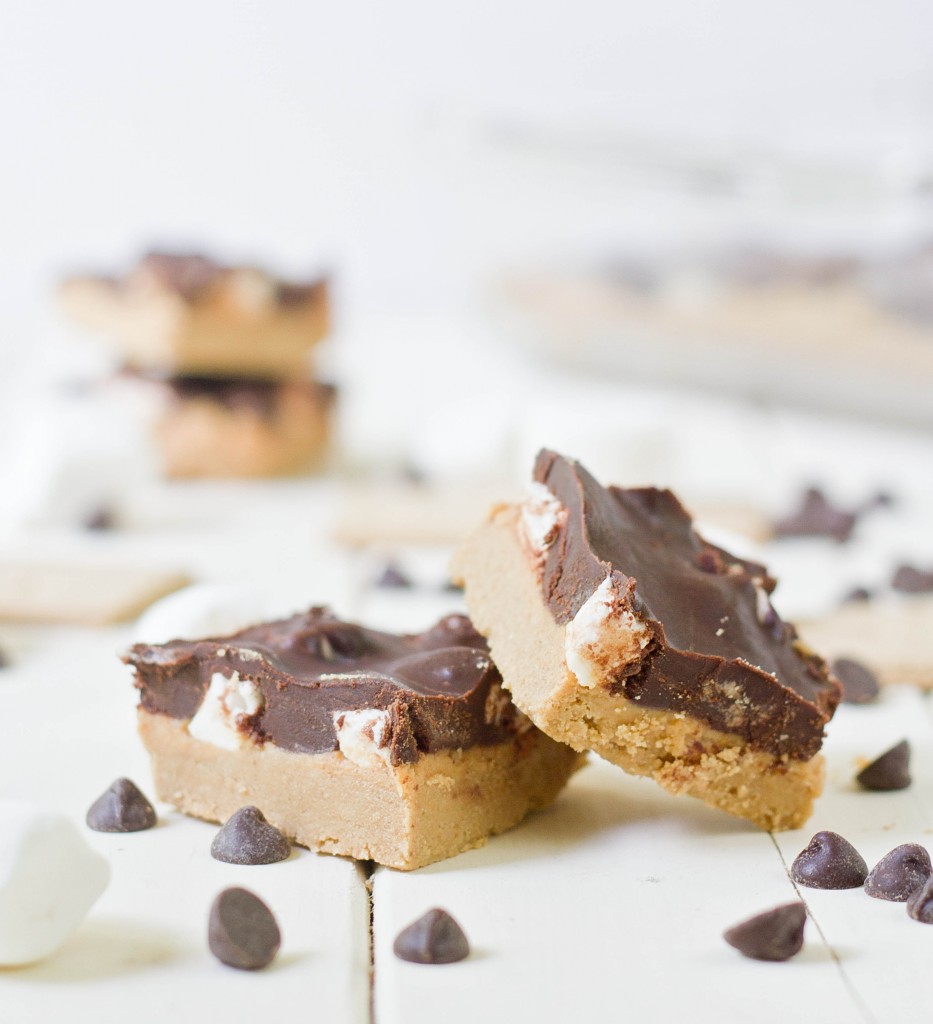
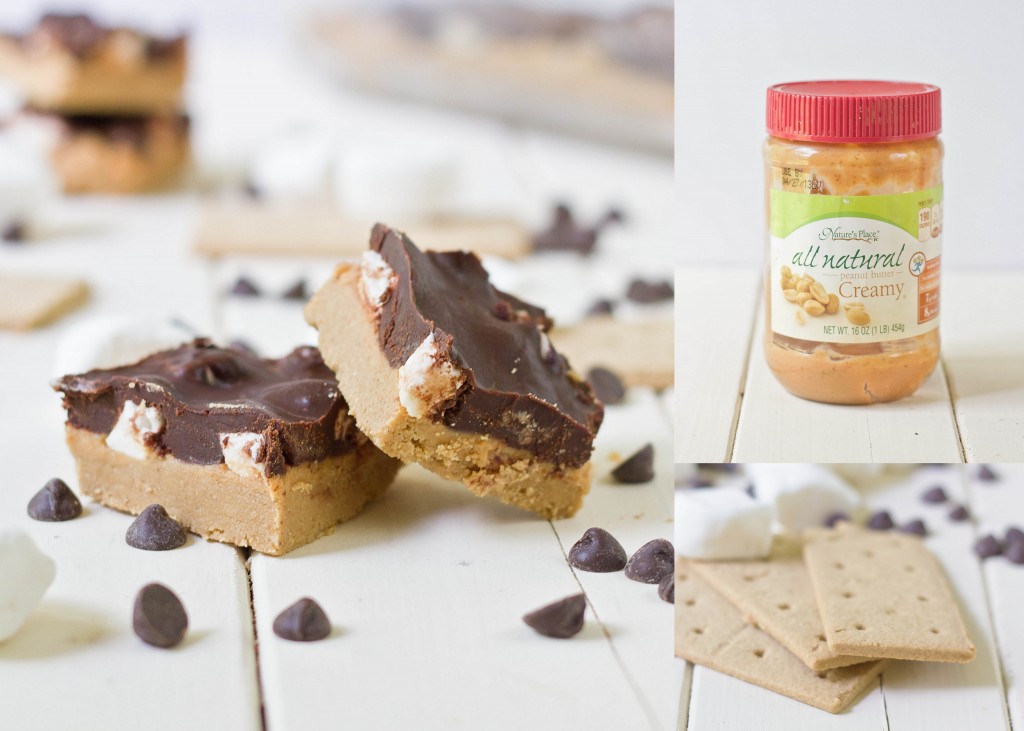
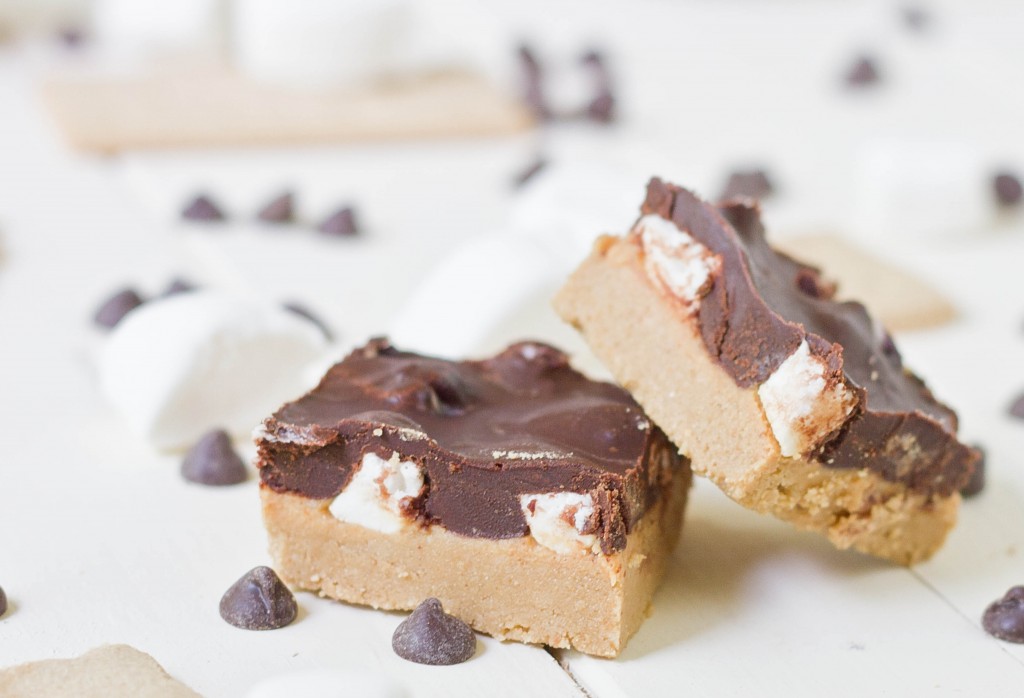
The bars are a layer of peanut butter graham cracker crust with a peanut butter and marshmallow filling topped with soft chocolate ganache. The best thing about them is that they’re no-bake, so you don’t have to turn on your oven to make these; just a microwave will do.

These bars can easily be adjusted for different dietary restrictions. To make them gluten-free, use gluten-free graham crackers. To make them vegan, use vegan graham crackers, vegan marshmallows, a dairy-free margarine and dairy free chocolate chips. I made all of these alterations for this batch and they came out perfectly.

No-Bake Peanut Butter S’mores Bars

Prep time: 15 minutes

Cook time: 0 minutes(allow at least 30 minutes for these to harden in the refrigerator)

Ingredients(Makes 16 bars)

For the crust:

  • 16 individual graham crackers(not full sheets) OR 8oz graham crackers crumbs
  • 3 tablespoons butter
  • 6 tablespoons natural style peanut butter
  • 1/2 cup powdered sugar

For the filling:

  • 1/3 cup natural style peanut butter
  • 2 tablespoons butter
  • 2 tablespoons powdered sugar
  • 1/2 cup mini-marshmallows, or 1 cup regular marshmallows cut into bite-sized pieces

For the top:

  • 6oz(about 3/4 cup) chocolate chips
  • 1 tablespoon butter 

Method:

  1. Melt together 3 Tablespoons of butter and 6 Tablespoons of peanut butter until it’s thin and creamy.
  2. Break the graham crackers into fine crumbs. Running them through a food process for 30 seconds is the best way to do this.
  3. In a large bowl, add the peanut butter mixture to the graham cracker crumbs. Sift in 1/2 cup powdered sugar. Work the dough until the ingredients have come together and press it into an 8×8 pan in an even layer.
  4. Make the filling by melting together 1/3 cup of peanut butter and 2 Tablespoons of butter. Sift in 2 Tablespoons of powdered sugar and beat until smooth.
  5. Pour the mixture over the crust. Spread it out to cover all parts.
  6. Press in the marshmallows on top of the peanut butter layer.
  7. Melt together the chocolate chips and 1 Tablespoon of butter until it’s smooth and runny.
  8. Pour the chocolate on top of the dessert in an even layer. Carefully spread it out to make sure it covers as much of the marshmallows as possible.
  9. Put the dessert in the refrigerator to harden. Remove 10 minutes before serving, cut into 16 pieces and serve.

I have a feeling I know what I’ll be making next Christmas Eve.

Happy Holidays

This is going to be a busy weekend. No matter what you celebrate, I hope you get the chance to enjoy some relaxation and time with family.

Here are a few photos from around my neighborhood and house that I thought I’d share. Happy holidays!

IMG_7996

IMG_8043

IMG_8094

IMG_8095

IMG_8253-2

IMG_8224

IMG_7761

IMG_7768

IMG_8216-2

IMG_8209

IMG_7769

IMG_8136

IMG_8169

IMG_7773

Homemade Gluten-Free Cookie Mix

almond-flour-chocolate-chip-cookies-doughballs

If you’re giving out brownies, you might as well give out cookies, too, right? Again, I used one of my favorite recipes for the mix: Almond flour chocolate chip cookies. Since the full recipe didn’t fit in a single jar, I scaled the ingredients down a bit; don’t worry, though, because it’s still the same delicious recipe. These cookies bake more like doughballs and have a really soft, chewy center, which is my idea of a perfect cookie.

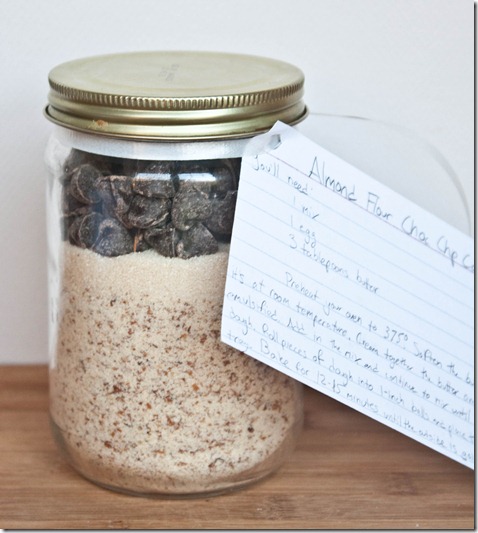
homemade-gluten-free-chocolate-chip-cookie-mix

For the mix, you need:

  • 1 18oz mason jar
  • 1 cup plus 2 Tablespoons almond flour
  • 1/2 teaspoon baking powder
  • 1/4 teaspoon salt
  • 1/4 cup sugar
  • Enough chocolate chips to fill the jar
  • 1 index card
  • Ribbon to attach the card.

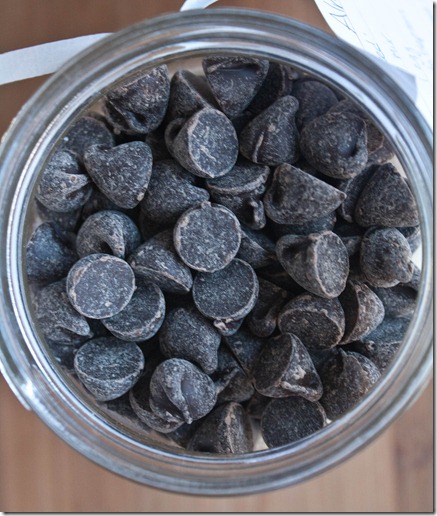
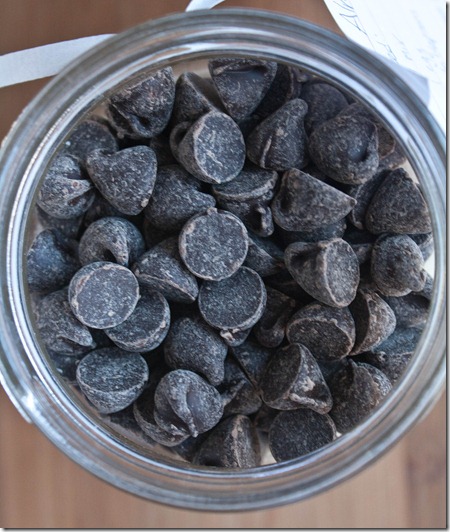
homemade-gluten-free-chocolate chips

Method:

  1. Clean and dry an 18oz mason jar
  2. Add in layers the almond flour, baking powder, salt, sugar, and chocolate chips.
  3. Write on an index card the following:

“You’ll need:

1 mix
1 egg
3 Tablespoons butter

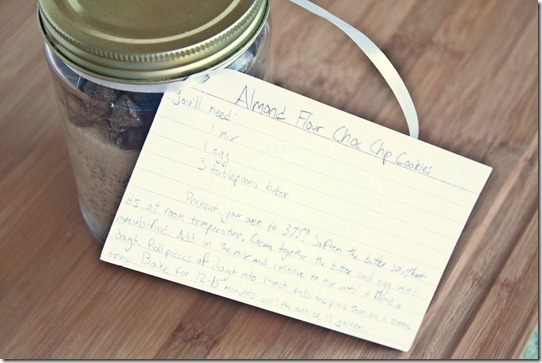
Preheat your oven to 375 degrees. Soften the butter to room temperature and cream it together with the egg. Add in the mix and continue to blend until it forms a dough. Roll pieces of dough into 1-inch balls and place them on a cookie tray. Bake for 12-15 minutes until the outside is golden.”

homemade-gluten-free-chocolate-chip-cookie-mix-card

Hopefully between brownies and cookies you’ll find something for somebody special.

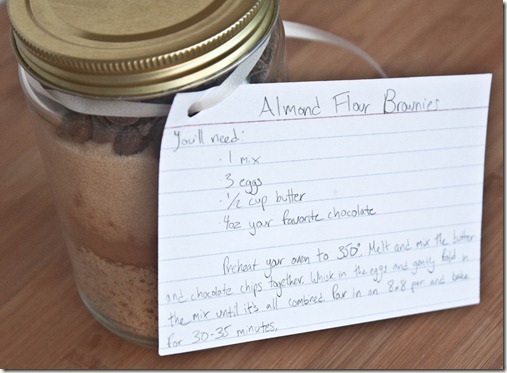
Homemade Gluten-Free Brownie Mix

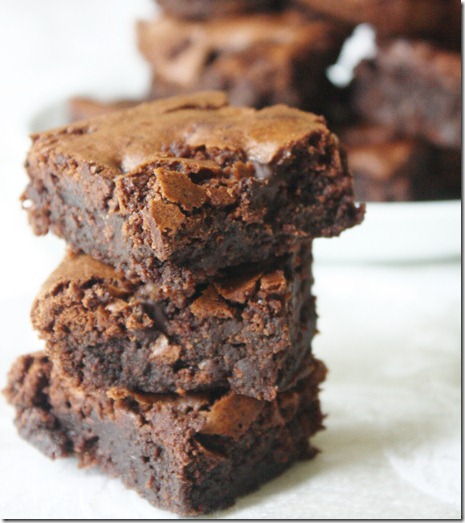
almond-flour-brownies

Sunday night I realized I needed a secret santa gift in just a few days and that I hadn’t bought anything. Whoops. I raced around the house to see if there was anything I could pass off as a well thought out gift and couldn’t find a thing. Then it hit me: Homemade mixes. They’re easy, thoughtful, and I already had everything I needed. Plus, who wouldn’t want to get what essentially equal gooey brownies only for whenever you want them?

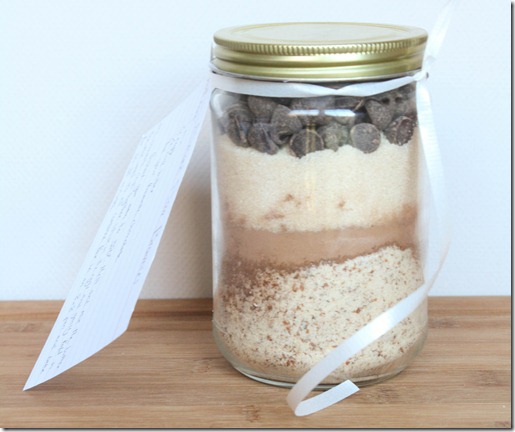
homemade-gluten-free-brownie-mix

I based the ingredients in my mix off of my almond flour brownie recipe since they’re easily my favorite brownies ever. Theoretically you can use any brownie recipe you love, but if you use this one I promise you the gift recipient won’t be disappointed at all.

For the mix, you need:

  • 1 18oz mason jar
  • 3/4 cup almond flour
  • 1/2 teaspoon baking powder
  • 1/4 teaspoon salt
  • 2 Tablespoons cocoa powder
  • 3/4 cup sugar
  • Enough chocolate chips to fill the jar
  • 1 index card
  • Ribbon to attach the card.

homemade-gluten-free-chocolate chips

Method:

  1. Clean and dry an 18oz mason jar
  2. Add in layers the almond flour, baking powder, salt, cocoa powder, sugar, and chocolate chips.
  3. Write on an index card the following:

“You’ll need:

1 mix
3 eggs
1/2 cup butter
4oz your favorite chocolate

Preheat your oven to 350 degrees. Melt and mix the butter and chocolate together. Work in the eggs and gently fold in the mix until it’s all combined. Pour in an 8×8 pan and bake for 30-35 minutes.”

homemade-gluten-free-brownie-mix-card

It’s not quite as fun as baking brownies because you don’t get to lick the bowl. Go ahead and steal a few chocolate chips for yourself to compensate and feel good knowing you’re giving a thoughtful gift.

Tomorrow: Chocolate chip cookie mix!

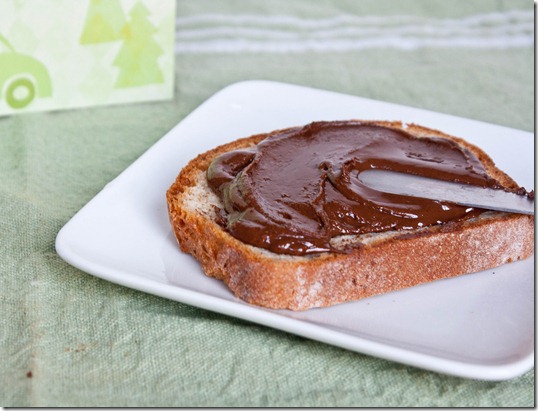
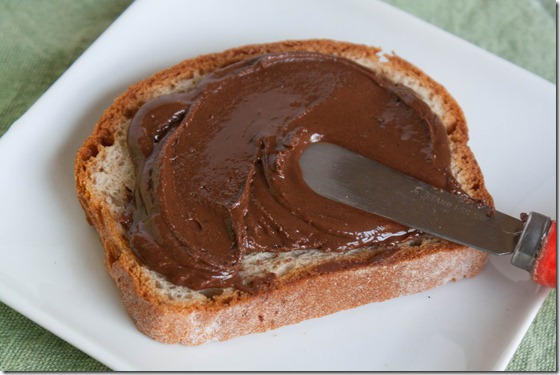
Chocolate Mint Almond Butter

mint-chocolate-almond-butter

Have you tried Justin’s chocolate almond butter? Don’t because you might never want to eat anything else. It’s really terrific. I just love the combination of chocolate and almonds; I figured this could only be made better with mint, and I think I was right.

This is another super easy do-it-yourself gift for foodies(vegan and gluten-free!) or a treat for yourself. I can’t believe how good this is in the morning in a bowl of oatmeal. I used Trader Joe’s creamy unsalted almond butter to get things going a little quicker, but you can also make it from raw or roasted almonds for a fully homemade treat.

Mint Chocolate Almond Butter

Prep time: 10 minutes

Cook time: 0 minutes

Ingredients(Makes about 16oz):

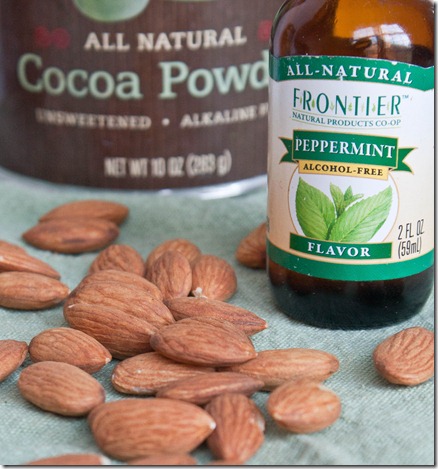
  • 12oz(3 cups) almonds OR 12oz(1 1/2 cups) natural almond butter
  • 1/4 cup cocoa powder
  • 1 teaspoon mint extract
  • 1/4 cup powdered sugar

mint-chocolate-almond-butter-ingredients

Method:

  1. Put the almonds into a food processor and blend until smooth and runny. If you’re starting with almond butter, skip this step and just scrape the almond butter into the food processor.
  2. Add in the powdered sugar, cocoa powder, and mint extract and blend until completely emulsified.
  3. Scrape the almond butter into a seal-tight jar. Store at room temperature for up to a month.

mint-chocolate-almond-butter-close-up

If you want to eat this off of a spoon, I wouldn’t judge; there’s been plenty of that this week.

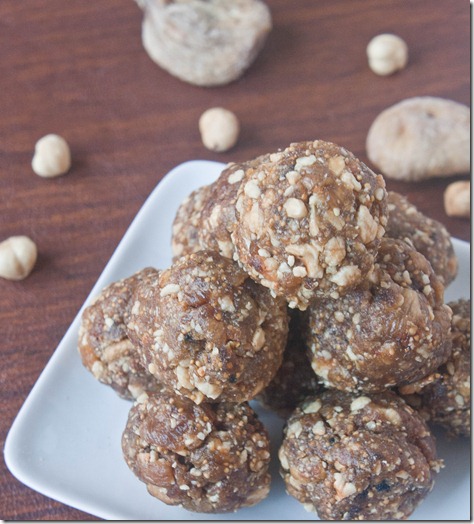
Fig And Hazelnut Balls

fig-and-hazelnut-balls

One of the things I said I was going to do now was eat better, especially when it comes to sugar. Now I’m not delusioned too think I could ever give up the sweet stuff; instead I’m just looking to eat more sweets that also have nutrition to them. And for that I look towards dried fruit.

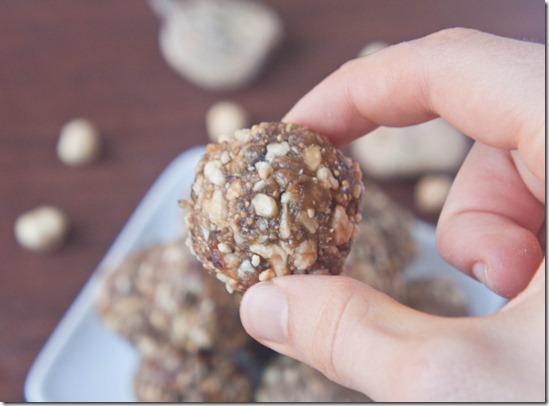
fig-and-hazelnut-ball

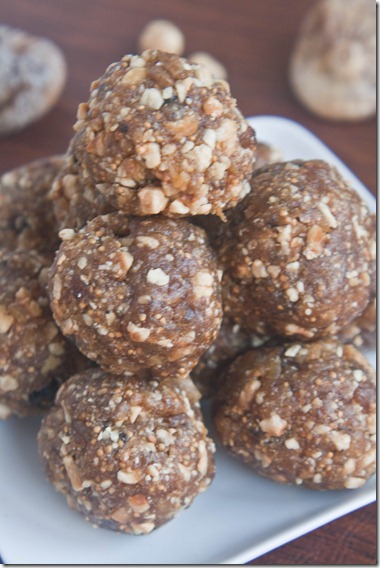
I’ve always loved fruit and nut snack bars like Larabars. They’re one of those all-too-few things that taste good and are good for you. They’re also incredibly easy to make at home, which opens up infinite flavor combinations. The combination of figs, hazelnuts, cinnamon and nutmeg taste like Winter to me.

Fig And Hazelnut Balls

Prep time: 5 minutes

Cook time: 0 minutes

Ingredients(Makes about 14):

  • 8oz pitted dates
  • 8 figs, chopped
  • 3/4 cup toasted hazelnuts
  • 1/2 teaspoon cinnamon
  • 1/4 teaspoon nutmeg

Method:

  1. In a food processor, blend the dates until they form a sticky dough ball. If after a few minutes your dates haven’t come together, they might have been too dry to begin. Simply add a tablespoon of water and continue blending until they do come together.
  2. Move the date dough to a separate bowl. Chop the hazelnuts and figs in the food processor until they’re broken into small pieces.
  3. Dump the fig and hazelnut bits into the bowl with the date dough, adding in the cinnamon and nutmeg. Knead the two together. Break off pieces to roll into a ball or into a bar.
  4. Store in an air-tight container at room temperature for up to a week.

fig-and-hazelnut-balls-stack

I used the roasted salted hazelnuts from Oh Nuts! and the little bit of salt really was a nice touch if you like salty-sweet snacks. It’s not going to fool anyone as a dessert but it’s a good snack to keep on hand to fight an afternoon sweet craving.